

Visual Effects
Blur Sensitive Data
Screen recordings often capture things viewers shouldn’t see — customer data, passwords, internal URLs. A blur masks part of the picture for as long as you need, without changing your original recording.
Adding a blur
Section titled “Adding a blur”-
Open Clips and move the playhead to the moment the sensitive information appears.
-
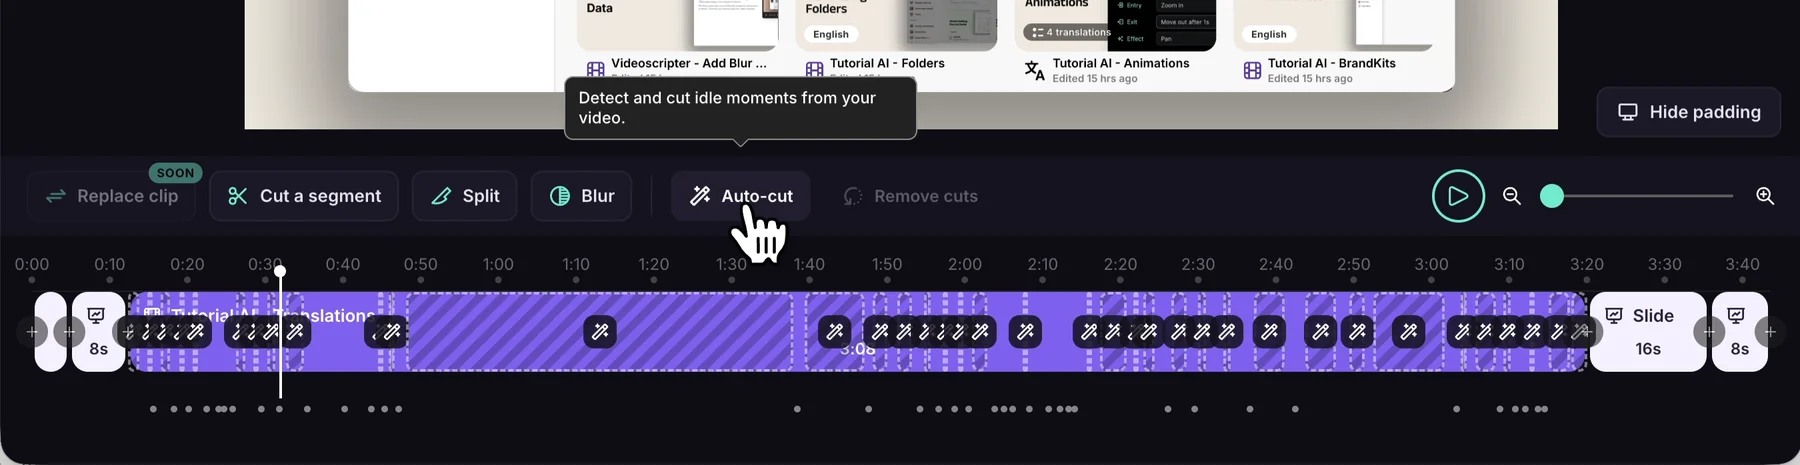
Click Blur in the toolbar. Playback pauses, and a blur is added at the playhead.
-
The step bar reads Blur · Drag the box on the video · drag its bar on the timeline:
- Drag and resize the box on the video so it fully covers the sensitive area.
- Drag the ends of the blur’s bar on the timeline so it stays on screen for as long as the information is visible.
-
Click Done to return to the rest of Clips.
If a blur already covers the spot at the playhead, no new one is added — adjust the existing blur instead. If there are no blurs yet, the step bar reads Add a blur, then size it on the video and shows an Add blur button.
Blurring several areas
Section titled “Blurring several areas”While you’re in Blur, click Add another blur to mask a second area, then size and time it the same way. Each blur has its own box and its own bar on the timeline.
Removing a blur
Section titled “Removing a blur”Select the blur, then press Backspace or Delete.
Previewing
Section titled “Previewing”Move the playhead a moment before the blur starts and press Space to check it covers the information for the whole time it’s visible. Use the zoom slider or pinch on your trackpad to place the start and end precisely.
What to blur
Section titled “What to blur”- Customer data — names, emails, phone numbers, addresses
- Credentials — passwords, API keys, tokens
- Financial data — account numbers, balances, transactions
- Internal URLs — staging environments, admin panels
- Personal information — colleagues’ names, chat messages, email content