

Clips
Clips Overview
Clips is where you edit the footage in your project. Your script is still where you shape the tutorial — Clips is where you cut out mistakes, split a recording, combine recordings, and replace parts that went out of date.
What a clip is
Section titled “What a clip is”A project is made of clips and slides, in the same order as your script:
- Clip — one piece of recording footage. Each clip owns a section of the script: the narration spoken over it.
- Slide — a title, agenda, outro, or other slide. Slides sit between or inside clips.
- Cut — a part of a clip that’s removed from the video. It stays greyed out on the timeline, so you can adjust or restore it.
- Trim — a cut at the very start or end of a clip.
- Split — dividing one clip into two at the playhead.
A new project starts with one clip per recording. Splitting, inserting, and removing clips changes that — see the articles linked at the end.
Opening Clips
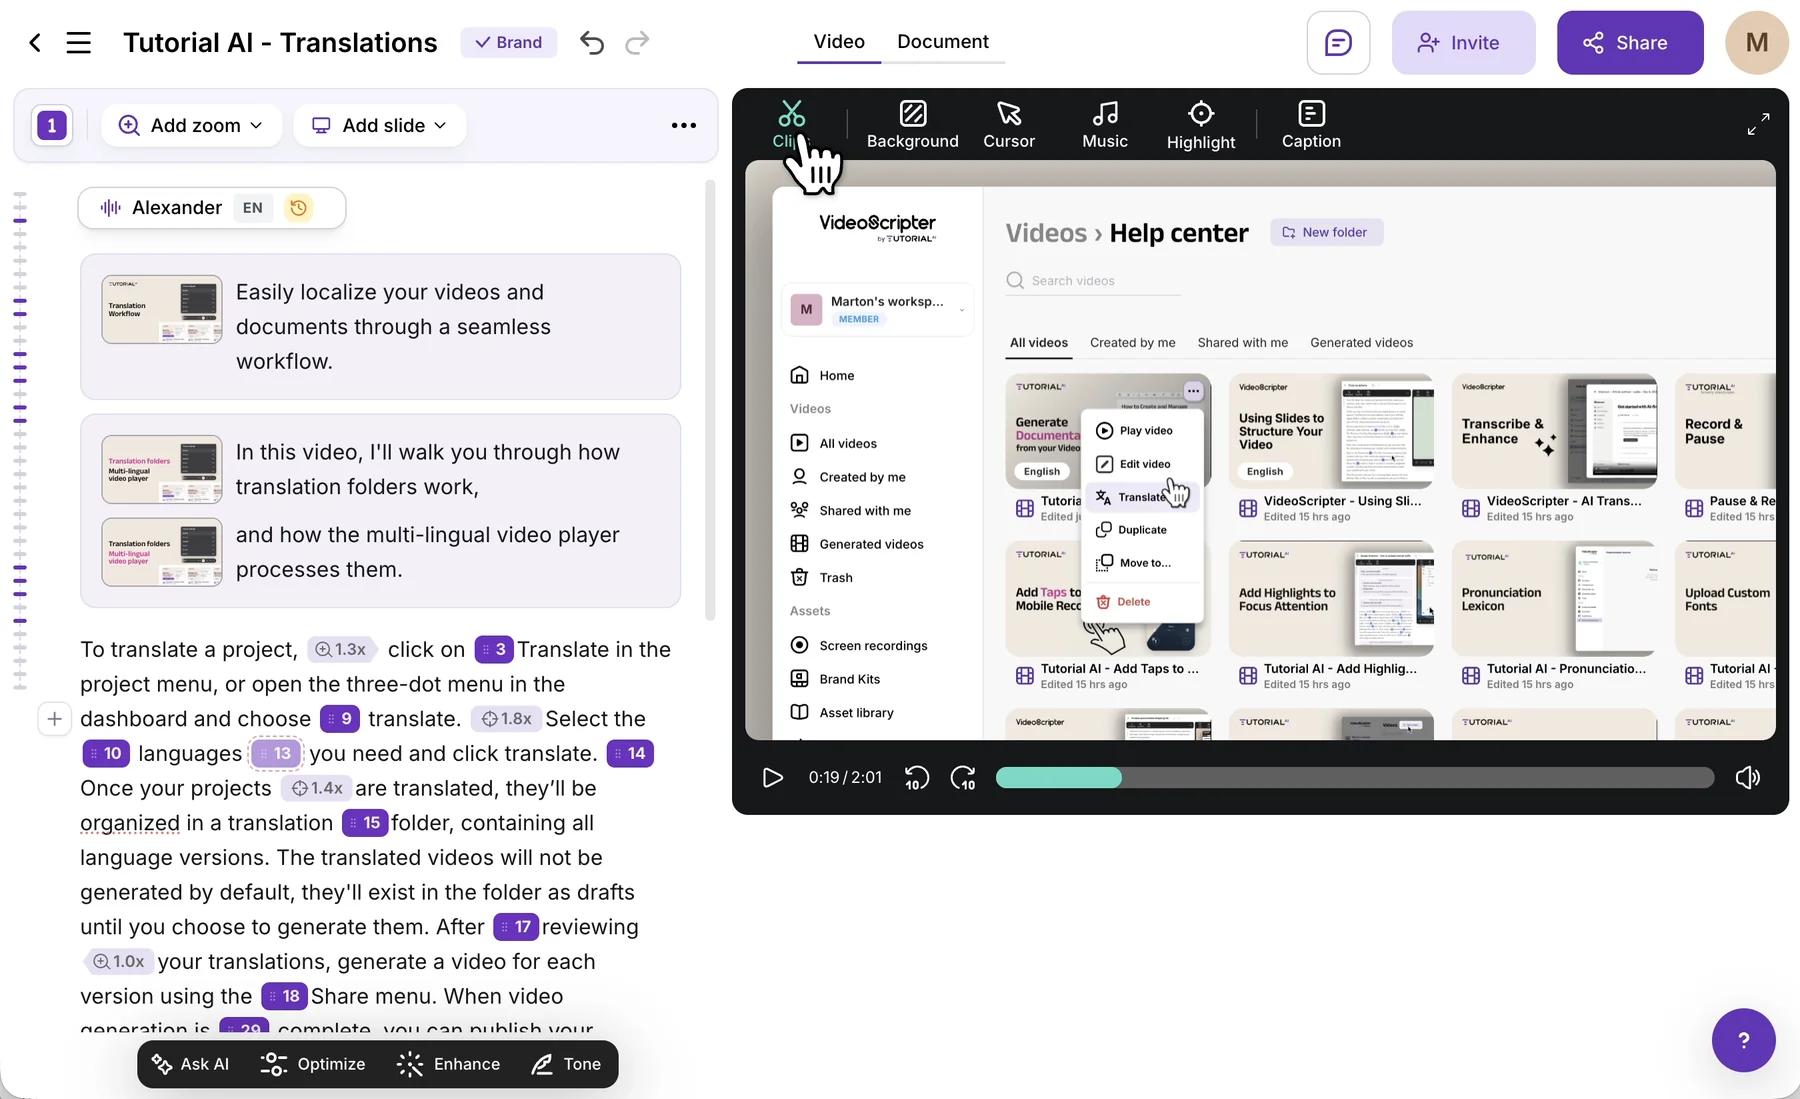
Section titled “Opening Clips”Click Clips in the toolbar above the video preview.
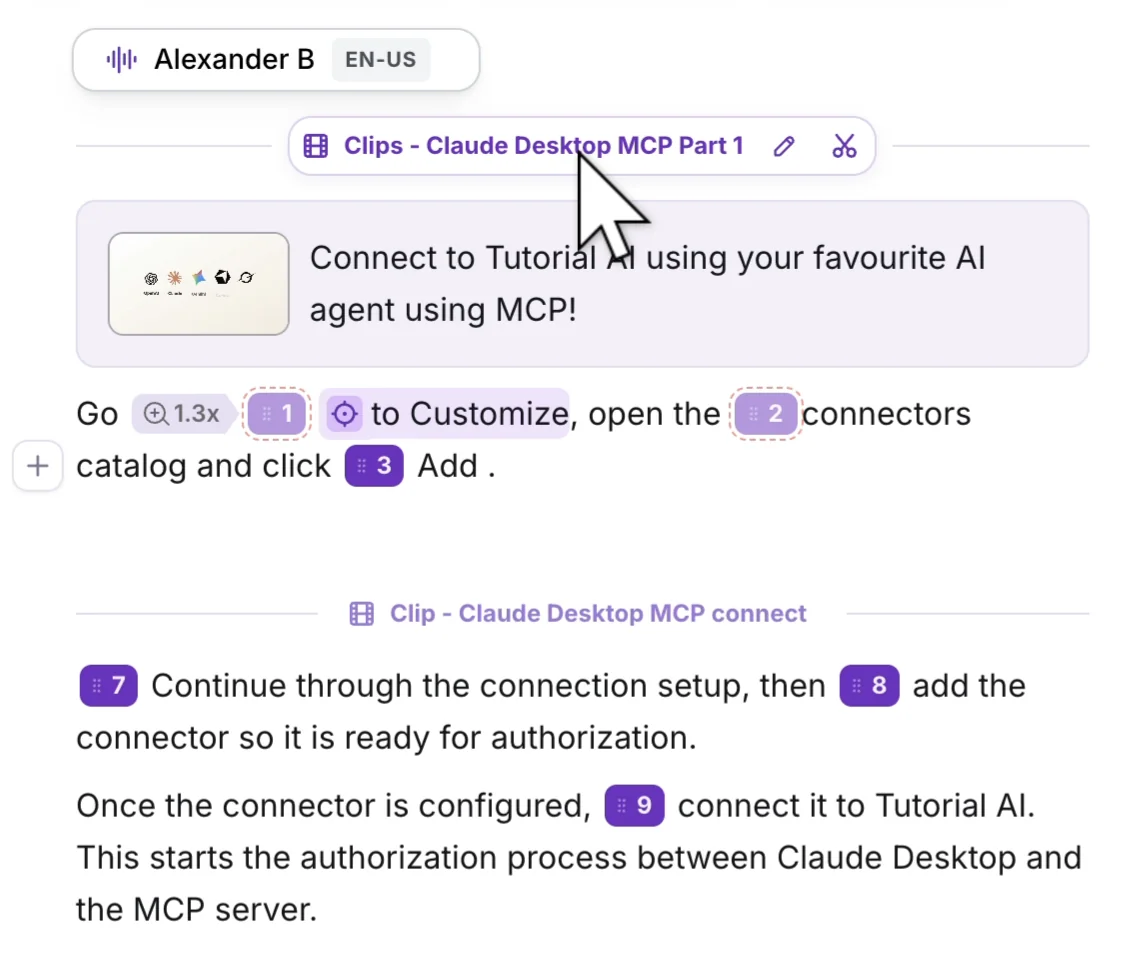
You can also open a specific clip from the script: each clip has a heading with its name, and the scissors icon opens that clip in Clips with the playhead at its start. The pencil renames it.
The toolbar
Section titled “The toolbar”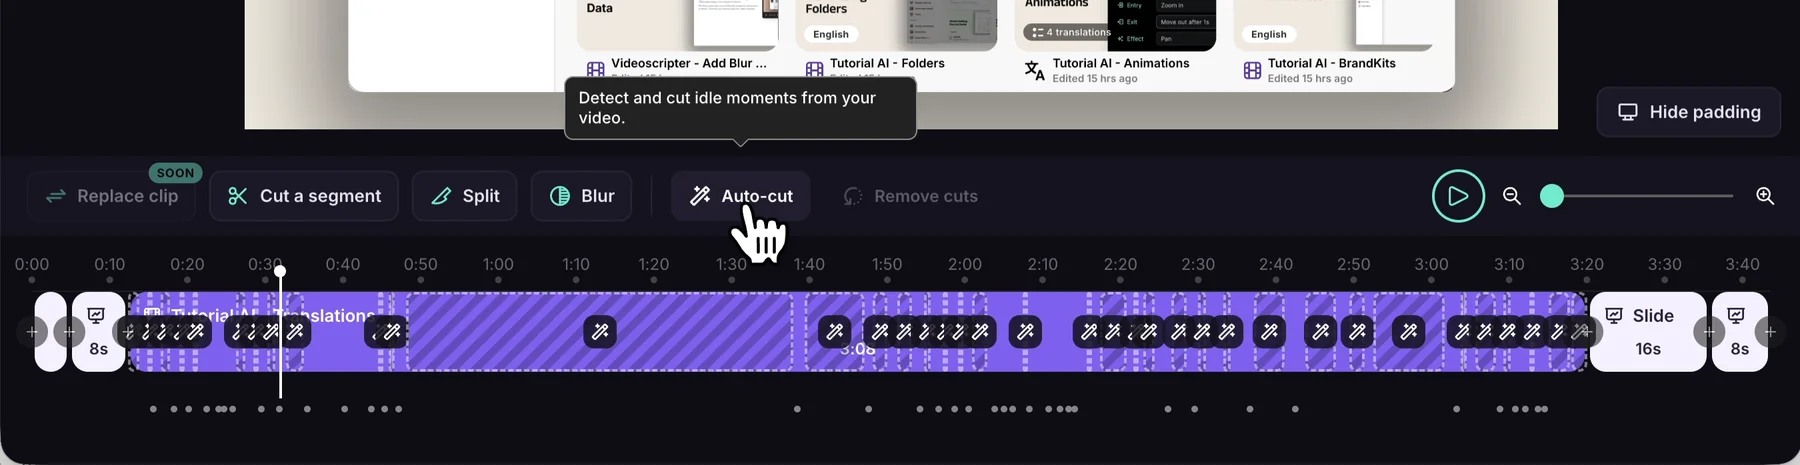
| Button | What it does |
|---|---|
| Replace clip Soon | Swap a clip’s footage and keep its script. |
| Cut a segment | Mark the start and end of a segment to remove it from your video. See Cut & Trim. |
| Split | Split the recording at the playhead. See Split & Remove Clips. |
| Blur | Mask part of the picture. Available on Growth, Team, and Enterprise plans. See Blur. |
| Auto-cut | Detect and cut idle moments. Hover to preview what it would cut. |
| Remove cuts | Restore everything that’s greyed out. |
| Play and zoom | Play the preview, and zoom the timeline in or out. |
Cut a segment, Split, and Blur work on recording footage only, so they’re unavailable while the playhead is on a slide. While a task is in progress, a step bar replaces the left side of the toolbar and tells you what to do next.
The timeline
Section titled “The timeline”- Clips and slides appear as separate blocks, in script order. Each clip shows its name.
- Hover over the timeline while paused to scrub the preview. Move away and the playhead returns to where it was.
- Slides play for their set duration while the video frame holds still. Slides can’t be cut.
- Greyed-out, hatched areas are cuts.
- Hover over a gap between blocks to see the + (Insert here) for adding a recording, slide, or clip from another project. See Combine Videos.
- Click a highlight on the timeline to open it in Highlight mode.
To see more of the picture while you edit, click Hide padding. It only changes your view — the final video keeps its padding. Zoom effects are always off in Clips.
The right-click menu
Section titled “The right-click menu”Right-click any block on the timeline. The menu shows its name and duration.
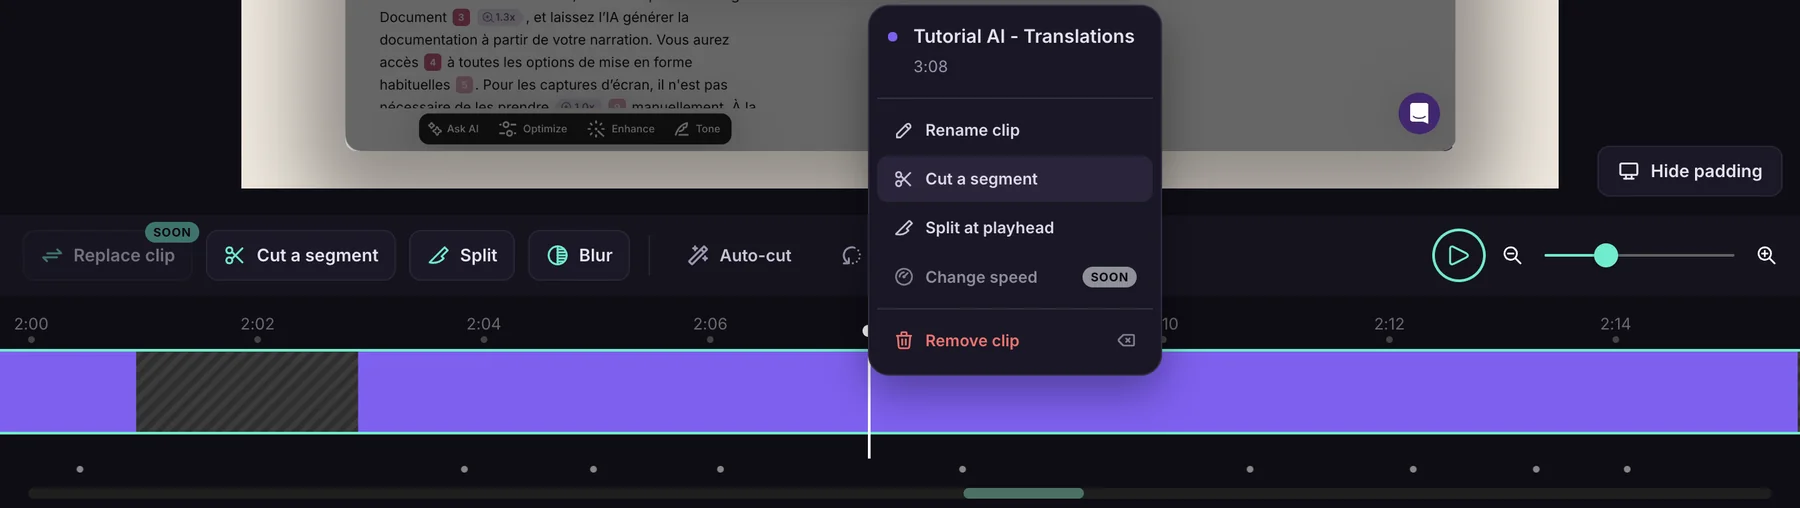
On a clip: Rename clip, Cut a segment, Split at playhead, Change speed (coming soon), and Remove clip.
On a slide: Edit slide content and Delete slide and narration.
If an item is unavailable, hover over it to see why.
Keyboard shortcuts
Section titled “Keyboard shortcuts”| Key | Action |
|---|---|
| Space | Play or pause |
| Left / Right arrow | Move the playhead one frame |
| Shift + Click on the timeline | Add a cut |
| Escape | Cancel the current task, such as an unfinished cut |
| Backspace / Delete | With a clip selected: open the Remove clip confirmation. With a blur or highlight selected: remove it. |
Undo and redo
Section titled “Undo and redo”Every confirmed action — a cut, split, insert, removal, Auto-cut, or Remove cuts — is one undo step. Use the undo and redo buttons at the top left. Discarding an insert before you confirm it doesn’t use up an undo step.
Coming soon
Section titled “Coming soon”- Replace clip — swap a clip’s footage while keeping its script.
- Change speed on a clip.
- Library as an insert source, for uploaded images and videos.