

Clips
Cut & Trim
Mistakes happen when you record — a pause while a page loads, a wrong click, a false start. Instead of recording again, remove those parts in Clips. Cut footage stays in your project, greyed out on the timeline, so you can adjust or restore it at any time.
Opening Clips
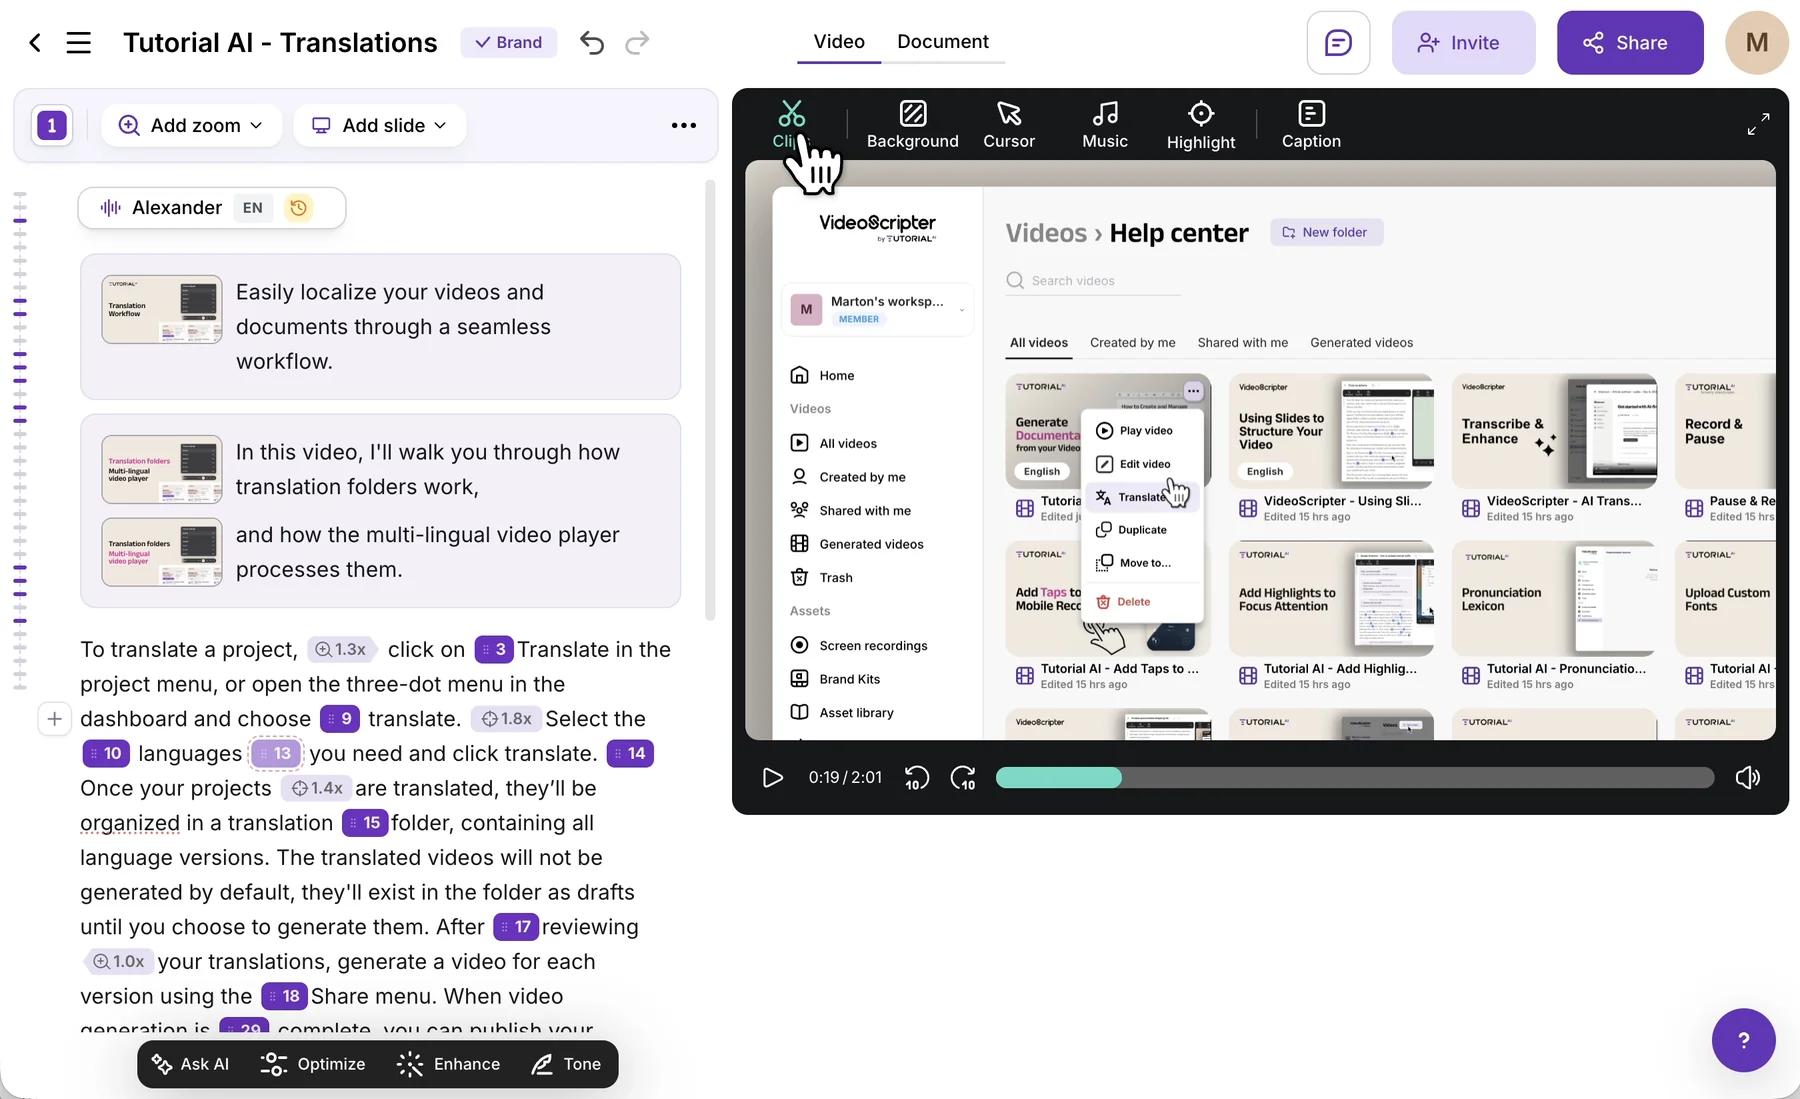
Section titled “Opening Clips”Click Clips in the toolbar above the video preview. Your recording opens on a timeline, where you can cut, trim, and review every edit. New to Clips? Start with the overview.
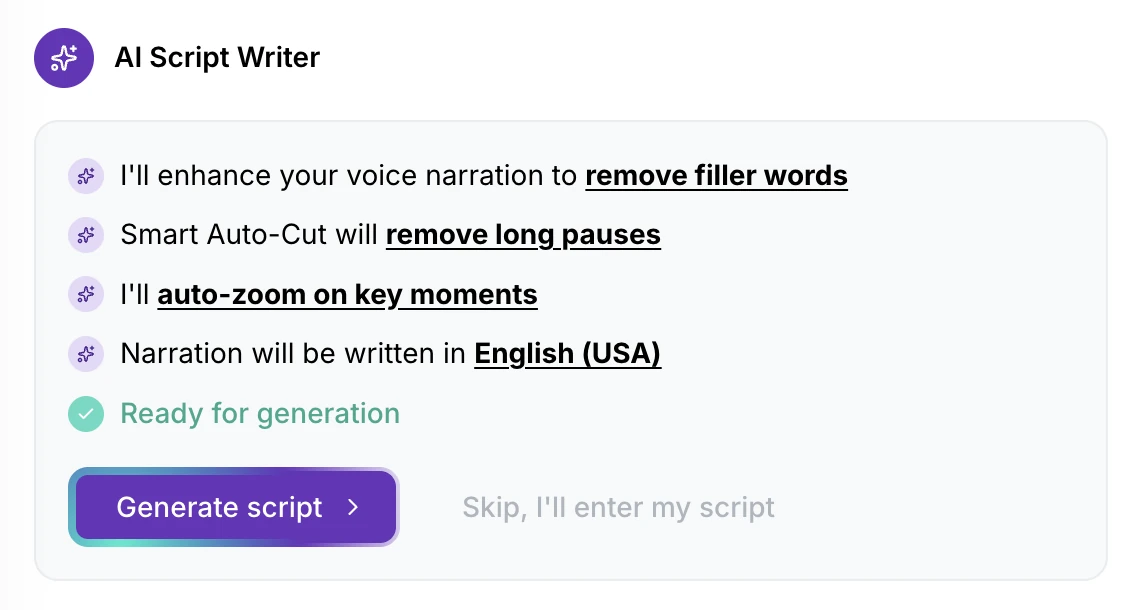
Smart Auto-Cut when you create a project
Section titled “Smart Auto-Cut when you create a project”When the AI Script Writer generates your script, Smart Auto-Cut removes long pauses from each recording automatically. It’s on by default.
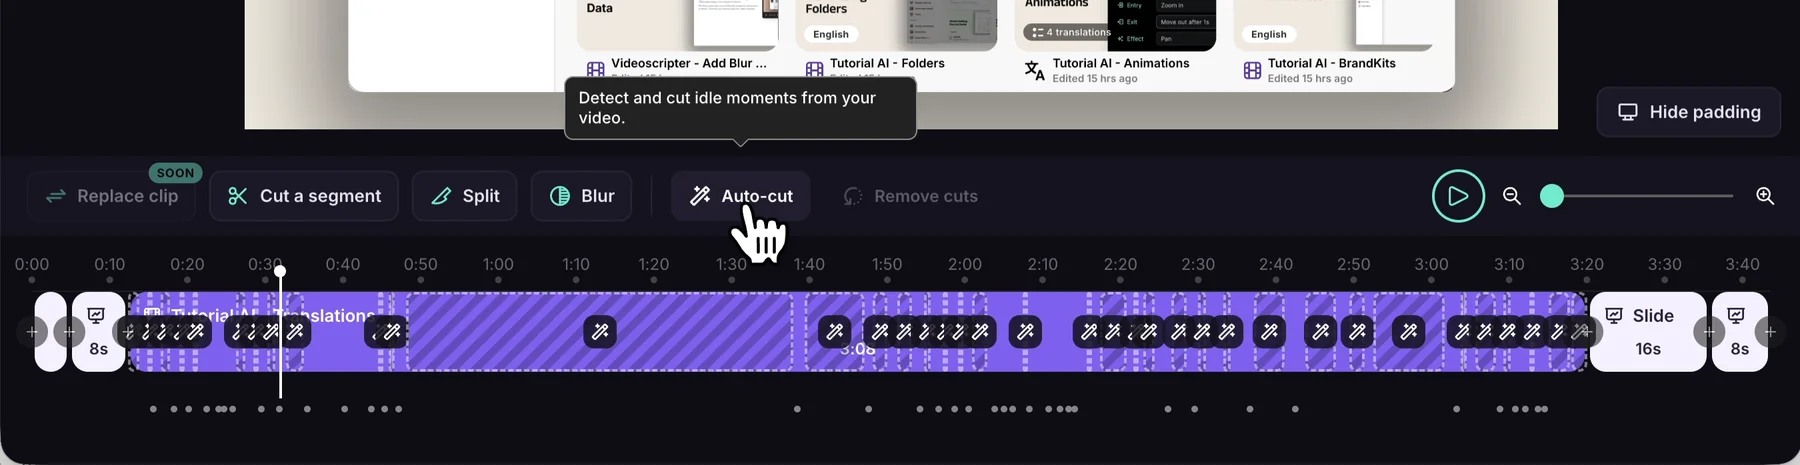
Removing idle moments with Auto-cut
Section titled “Removing idle moments with Auto-cut”Auto-cut in the Clips toolbar detects idle moments — stretches with no mouse or keyboard activity, such as waiting for a page to load — and cuts them. Hover over Auto-cut to preview the spans it would remove; nothing changes until you click.
Treat automatic cuts as suggestions: keep the ones that tighten the pacing, and adjust or undo any that remove something viewers need to see.
- Auto-cut only affects the clip you’re on. Other clips are unchanged.
- Your own cuts take priority over automatic ones.
- Auto-cut isn’t available for mobile recordings.
Zooming the timeline
Section titled “Zooming the timeline”Drag the zoom slider, or pinch on your trackpad, to zoom in for precise edits and back out to review the whole recording.

To see more of the picture while you cut, click Hide padding above the timeline. It only changes your view — the final video keeps its padding.
Cutting a segment
Section titled “Cutting a segment”-
Move the playhead to where the cut should start.
-
Click Cut a segment in the toolbar. The playhead position becomes the start of the cut.

-
The step bar reads Cut a segment · Click the end. Click the end point on the timeline — before or after the start both work.

The removed span turns greyed out. To stop without cutting, click Cancel or press Escape.
Shortcut: Shift + Click on the timeline to add a cut.
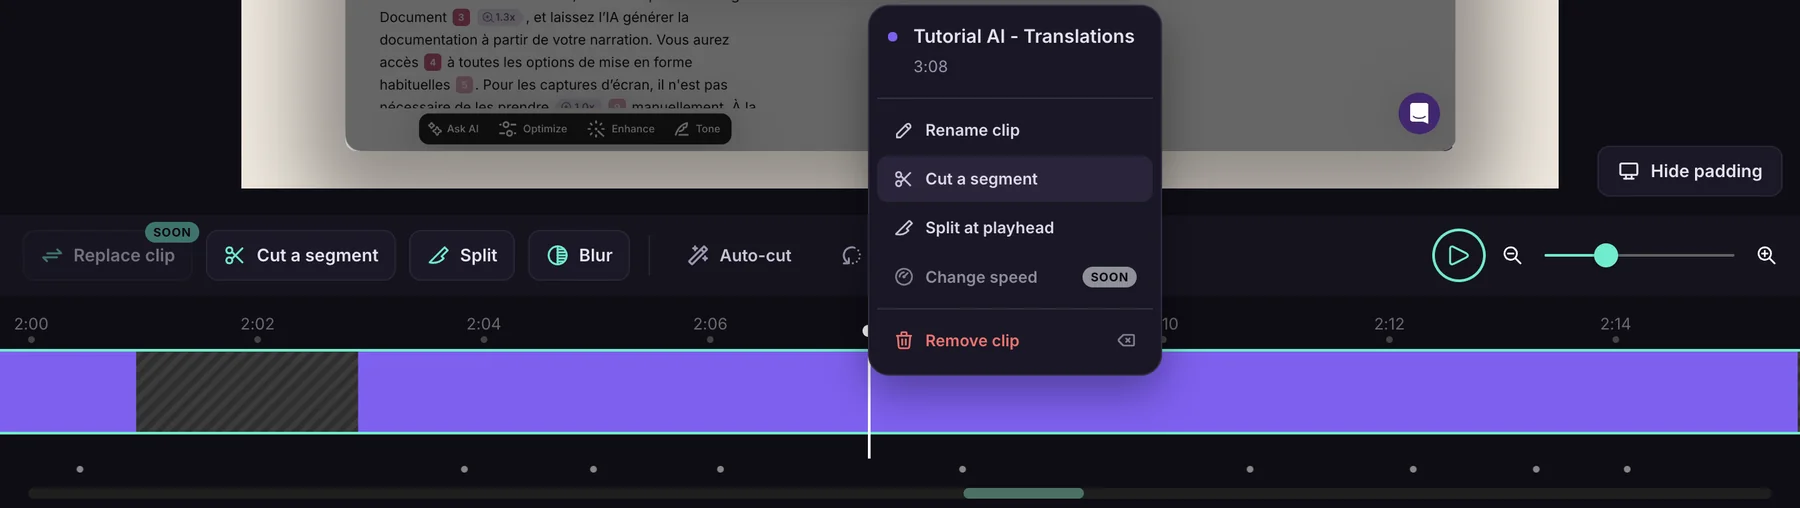
You can also right-click a clip on the timeline and choose Cut a segment.
Adjusting or undoing a cut
Section titled “Adjusting or undoing a cut”Drag a cut’s start or end edge to make it shorter or longer. To restore a cut completely, hover over it and click Undo cut.

To restore everything that was cut — manual and automatic — click Remove cuts in the toolbar.
Trimming the start or end
Section titled “Trimming the start or end”A trim is a cut that touches the start or end of a clip. Drag the handle at either edge of the clip inward to remove opening or closing footage.

A cut always stays inside one clip. If you click past the edge of a clip while cutting, the cut stops at the clip’s edge and becomes a trim.
Previewing your edits
Section titled “Previewing your edits”Press Space or click play to watch the result. Cut footage is skipped, so you can check that every transition feels natural and nothing important was removed.