You finish a small Unity mechanic that finally feels right. The jump has weight, the collectible pickup sound lands at the right moment, the score text updates cleanly, and for a minute you think, “I should turn this into a tutorial.”
Then the second thought hits. Building the Unity project was the easy part. Explaining it clearly, recording it without rambling, and turning it into something another developer can follow is a different skill.
That gap is where most Tutorial Unity content falls apart. Good developers often know the workflow, but they don’t package it well. They record one long take, talk through mistakes, skip setup details, and leave viewers to reverse-engineer the important parts. If you want to create software tutorials that feel structured and useful, you need a workflow for teaching, not just a workflow for coding.
Unity is unusually good for this kind of teaching. Its component model is visible, its editor exposes state directly, and the engine’s built-in tooling makes it possible to teach with measurable results instead of vague advice. That makes it a strong subject not just for learning game development, but for learning how to explain technical work well.
From Unity Project to Your First Tutorial
The most teachable Unity projects are rarely the most ambitious ones. They’re the projects with a complete loop. A player object moves, interacts with something in the scene, triggers feedback, and updates a visible state like score or UI text.
That’s the kind of project I’d use for a first tutorial every time.
A clean beginner tutorial usually starts with a 2D scene, one controllable character, a few pickups, and a visible score. That gives you enough surface area to teach scene setup, components, scripting, prefabs, collisions, and UI without losing the viewer in architecture decisions they don’t need yet.
Practical rule: Teach one loop that works end to end before you teach systems that scale.
That matters because viewers don’t remember disconnected facts very well. They remember sequences. Create a project, place objects, write a movement script, add a collectible, update the score, then show the finished result in the Game view. Unity is well suited to this because the editor makes cause and effect visible. When you change a Rigidbody2D value or a TextMeshPro field, the consequence shows up quickly.
The same principle applies when you record the tutorial. Don’t think like an editor first. Think like a senior developer onboarding a teammate. What would they need to reproduce the mechanic cleanly on their own, and what would just slow them down?
A solid first Unity tutorial doesn’t need cinematic production. It needs good sequencing, visible intent, and fewer dead moments.
Getting Started with Your First Unity Project
Start with a fresh project and keep the scope narrow. For a first pass, choose 2D and build something you can finish in one sitting. A moving player, a floor, and a collectible already gives you enough to teach core Unity habits without introducing unnecessary asset complexity.
Unity has been a major foundation for tutorial content because it spans 2D, 3D, mobile, VR/AR, and multiplayer workflows, and its ecosystem is designed to be teachable with visual workflows and built-in performance tools like the Stats window, which lets tutorials focus on measurable outcomes rather than only abstract theory, as Unity’s learning material shows in its walkthrough of the Stats window workflow.

Install for stability, not novelty
If you’re new, don’t optimize for the newest feature set. Optimize for a version and package setup you can explain cleanly. The more variables you introduce early, the more time you’ll spend troubleshooting package differences instead of teaching Unity itself.
A practical setup looks like this:
- Use Unity Hub so project versions stay organized and easy to reopen.
- Create a new 2D project instead of converting a 3D template later.
- Name the project after the mechanic, not something generic like TestProject.
- Create folders immediately for Scripts, Prefabs, Scenes, Sprites, and UI.
That folder step sounds minor, but it changes how beginners think. If you teach organization from the first ten minutes, the project stays readable when you start recording.
Learn the windows you’ll live in
Most first-time Unity users bounce between panels without understanding what each one is for. That’s why I like to define them by job, not by official label alone.
| Window | What you actually use it for |
|---|---|
| Scene | Positioning and inspecting the world while building |
| Game | Checking what the player actually sees |
| Hierarchy | Understanding what exists in the current scene |
| Inspector | Editing component values and wiring references |
| Project | Managing files, assets, and reusable objects |
The key teaching move here is to narrate your intent. Don’t say, “Click this panel.” Say, “We’re selecting the player in the Hierarchy so we can edit its Rigidbody2D in the Inspector.” That small shift helps viewers learn the editor vocabulary and the reason for each action.
The fastest way to confuse a beginner is to click around Unity without naming what window you’re in and why.
Use the editor as part of the lesson
Before writing code, create a simple scene and run it. Add a sprite or placeholder shape for the player, a ground object with a collider, and a camera that frames the play area. Then press Play and point out what isn’t there yet.
That moment matters. It turns the tutorial from a list of steps into a before-and-after transformation.
If you want to teach like a practitioner, show the rough starting point on purpose.
Building the Core Game Player Controls and Physics
Player movement is where many beginner tutorials accidentally teach bad habits. The character moves, so the lesson seems successful, but the code couples input and physics in a way that becomes unreliable as soon as frame rate changes.
Unity tutorials that hold up over time separate input capture from physics execution. Input is polled in Update() and applied in FixedUpdate(), which keeps physics on the fixed timestep and reduces missed inputs or uneven force application when frame rate fluctuates, as demonstrated in this Unity movement tutorial.
Create the player object correctly
Build the player from plain components first. Don’t hide the fundamentals behind a downloaded controller.
Your player object should usually have:
- A Sprite Renderer so there’s something visible on screen
- A Rigidbody2D so movement interacts with Unity’s physics system
- A Collider2D so the character can hit the ground and triggers
- A custom C# script that owns movement values and state
Attach the script to the same GameObject. Then expose movement fields in the Inspector rather than hard-coding everything. It makes the tutorial easier to understand because viewers can see what values are tunable.
Split responsibility between Update and FixedUpdate
A clean starter controller often stores horizontal input in one variable, checks jump input in Update(), and then applies velocity or force in FixedUpdate().
The shape looks like this conceptually:
- Read player intent every rendered frame.
- Store that intent in variables.
- Apply movement through Rigidbody2D on the physics step.
- Reset one-time actions like jump after they’ve been consumed.
That sequence is more important than the exact code style.
Here’s the trade-off. If you do everything in Update(), it may appear fine on your machine during recording. But once the project is opened elsewhere, the movement can feel inconsistent. If you move force application into FixedUpdate(), the behavior is more stable and easier to reason about.
What works: Read buttons in
Update(), move rigidbodies inFixedUpdate().
What doesn’t: Mixing direct transform movement with Rigidbody2D physics on the same object.
Keep the first mechanic simple but not sloppy
For a first tutorial Unity project, I’d avoid wall jump systems, coyote time, or state machines unless the entire tutorial is about controller design. A basic run-and-jump loop is enough if the implementation is sound.
Use a grounded check. Expose speed and jump force in the Inspector. Name variables clearly. If there’s a value that the viewer might tune, make it visible.
A practical script review checklist:
- Does the player reference the Rigidbody2D once? Cache it in
Awake()orStart(). - Is input stored before physics is applied? If not, fix that.
- Are public fields understandable in the Inspector?
moveSpeedis clearer thanspeedValueA. - Does jumping rely on a grounded condition? If not, viewers will immediately hit a bug.
Record your coding decisions, not just your code
When you teach this section, narrate the reason for the separation. Don’t assume viewers infer it from method names.
Good tutorial narration sounds like this: “I’m reading the key press in Update() because that’s where I want to catch the player input, but I’m applying the jump in FixedUpdate() because the Rigidbody2D belongs to the physics step.”
That one sentence saves beginners from copying a pattern blindly.
Polishing Your Game with UI Prefabs and Collectibles
A Unity scene starts to feel like a game when the player’s actions produce visible state changes. Collect an object, remove it from the scene, update a score label, maybe play a small visual effect. That’s the moment where coding, UI, and object reuse start working together.
Unity tutorials often teach data-driven systems with concrete numeric examples. A beginner score system can use an integer counter, and another common pattern is a level modifier set to 1.1, where each level costs 10% more experience than the previous one. These small numeric patterns make state and progression easy to verify in-engine, as shown in this beginner Unity course.
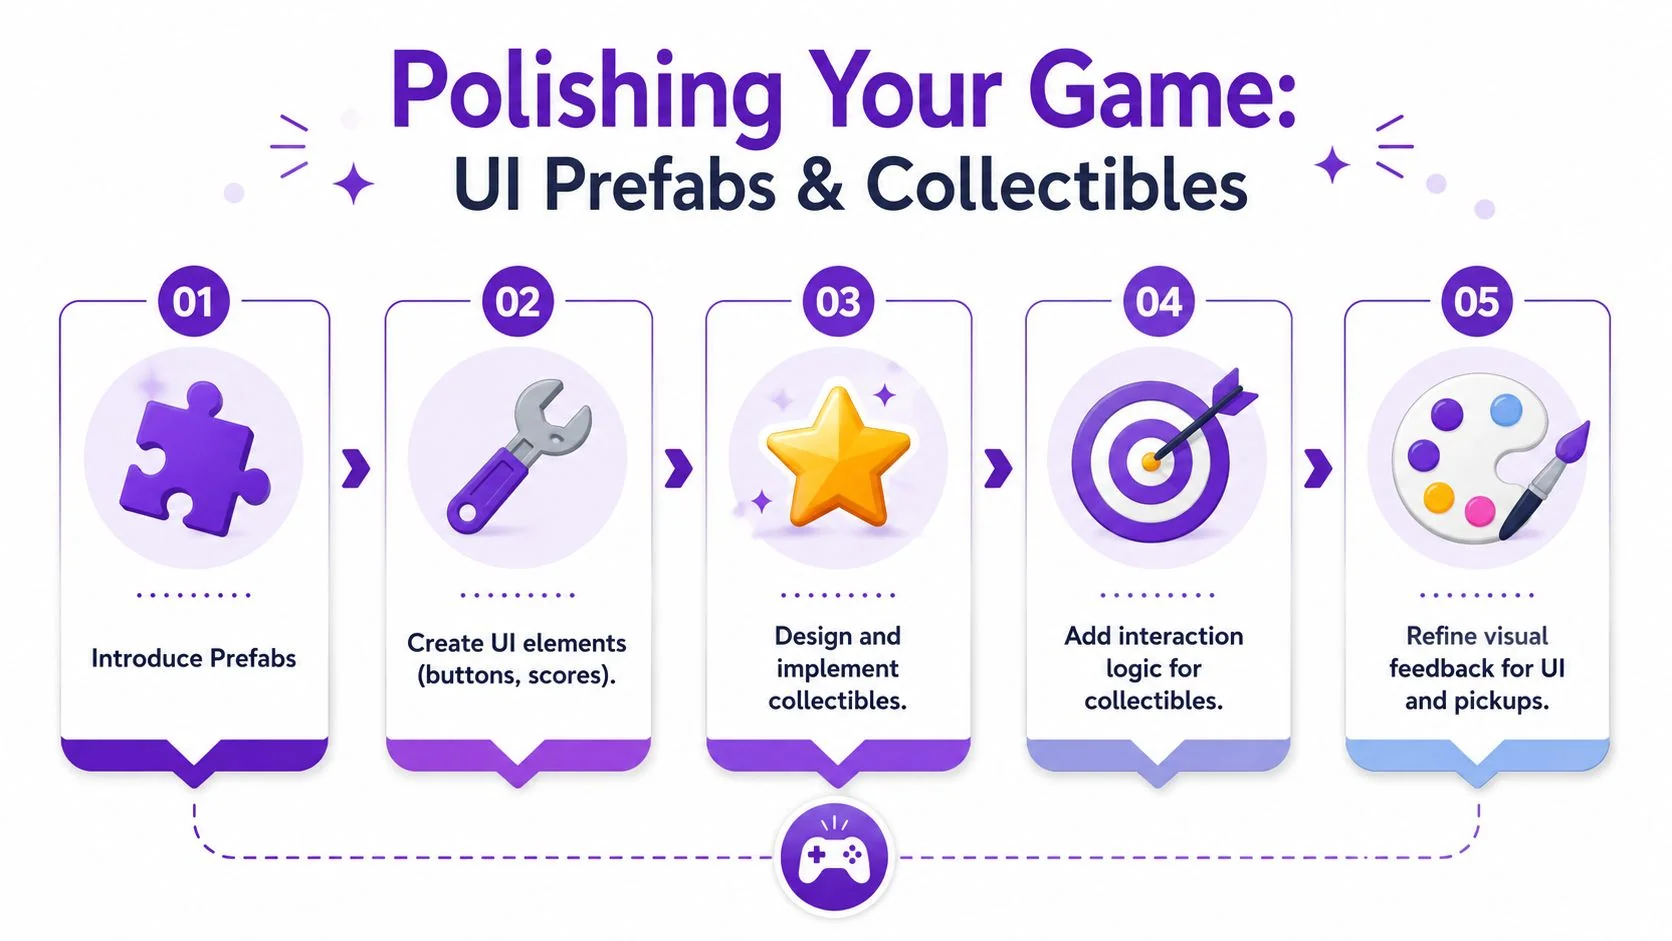
Turn one collectible into a prefab
Build a single pickup object first. Give it a Sprite Renderer, a Collider2D set as a trigger, and a script responsible for what happens when the player touches it. Once that works, drag it into the Project window to create a Prefab.
That shift matters because it teaches reuse early. Instead of duplicating scene-only objects and editing each one by hand, you create one source object that can be spawned or placed repeatedly.
A basic collectible usually needs to do three things:
- Detect the player through
OnTriggerEnter2D - Notify a score system that the pickup happened
- Destroy itself after the interaction
The mistake I see most often is stuffing score logic directly into the collectible. That works for one scene, but it teaches poor boundaries. A cleaner pattern is for the collectible to tell another system, “I was collected,” and let that system own the score state.
Add UI that proves the mechanic works
TextMeshPro proves its value. Add a Canvas, create a text label, and place it somewhere obvious in the Game view. Name it ScoreText, not Text (TMP) forever. Small naming discipline pays off when you’re recording because viewers can follow object references without guessing.
Use the UI to make the game state visible. If the score starts at zero and increments by 1 when an object is picked up, the learner immediately sees whether the script is doing the right thing.
A practical implementation looks like this:
| System | Responsibility |
|---|---|
| Collectible prefab | Detect collision and trigger collection event |
| Game manager or score script | Store the integer score |
| TextMeshPro UI element | Display the current score |
| Spawner or scene placement | Control where collectibles appear |
If the viewer can’t verify the result in the Game view, the mechanic isn’t finished teaching yet.
Don’t overuse scene lookups
Beginner projects often rely on tags plus GetComponent<>, and that can be acceptable when the scene contains one expected object. But it becomes fragile fast if multiple objects share similar roles or if scene structure changes.
For a small tutorial, I’d still show one safe version of object wiring:
- Assign references in the Inspector when possible.
- Use tags sparingly and only when the object is unique.
- Keep the number of runtime lookups low.
That habit makes your code easier to explain and less likely to break during a live recording.
Add light feedback before adding complexity
You don’t need a full VFX pipeline. Small touches are enough. Slight pickup animation, a sound, a brighter UI label, or a quick particle burst can make the tutorial feel finished without creating editing overhead.
Polish is most useful when it clarifies player feedback, not when it distracts from the mechanic.
How to Record and Produce a Professional Unity Tutorial
A strong Unity tutorial is built twice. First in the editor. Then again in the recording workflow.
Most subject-matter experts underestimate the second half. They know the mechanic well enough to build it live, but live building isn’t the same as clear instruction. The raw recording usually includes hesitation, wrong clicks, package waits, retakes, and side comments that don’t help the viewer. Casual screen recorders preserve all of that. Traditional editors like Adobe Premiere Pro, Camtasia, and Final Cut can clean it up, but they also ask the developer to become a video editor.
Record like a developer, not like a streamer
The best Unity tutorial recordings are usually deliberate and slightly over-structured. You’re not trying to entertain with spontaneity. You’re trying to reduce viewer friction.
Before recording, I’d prep five things:
- A clean project state with folders named, unnecessary tabs closed, and sample assets already imported if they aren’t part of the lesson.
- A short script outline with exact beats: project setup, player object, movement code, collectible prefab, score UI, final test.
- Readable editor zoom so Inspector values and code remain legible.
- Silenced notifications because nothing breaks trust faster than a desktop pop-up over important code.
- A defined ending so the tutorial stops cleanly after a successful playtest.
That prep changes the recording dramatically. You stop wandering. You start teaching.
A useful companion resource on planning training footage is ClipCreator’s video strategy advice, especially if you’re trying to tighten the relationship between lesson order and what appears on screen.
Script for clarity, then speak naturally
I don’t recommend memorizing full narration. It usually sounds stiff. I do recommend scripting your intent line by line.
For Unity, the spoken track should answer three questions repeatedly:
- What are we editing right now?
- Why does this object or script exist?
- How will we verify that it works?
That pattern is what makes technical tutorials feel professional. The viewer never has to guess why you opened the Inspector, why you changed a Rigidbody2D setting, or why you created a prefab instead of duplicating a scene object.
Recording rule: Every click should either set up the next step or validate the previous one.
Edit the tutorial at the script level
Teams frequently lose time when refining captured walkthroughs. They capture a usable walkthrough, then spend hours trimming pauses, removing mistakes, and trying to make screen pacing match the narration.
One workable option is screen recording for tutorials with Tutorial AI. In practical terms, it takes a screen recording and spoken narration, tightens pacing with AutoRetime, lets you edit by changing transcribed text instead of working on a timeline, and can generate a matching written article from the same recording. For Unity walkthroughs, that’s useful because the lesson often depends more on sequence and clarity than on custom motion graphics.
The important trade-off is this:
| Workflow | What you gain | What you give up |
|---|---|---|
| Loom or casual recorder | Fast capture | Long pauses, rough pacing, minimal polish |
| Adobe Premiere Pro or Camtasia | Full control | More editing skill and more time |
| Script-based screen tutorial workflow | Faster cleanup and clearer revisions | Less handcrafted timeline control |
That middle path is often the right fit for a Unity educator who knows the product but doesn’t want to become a full-time editor.
Use visual emphasis sparingly
Unity tutorials benefit from visual focus tools, but too much motion makes them harder to follow. If you zoom every few seconds, the viewer starts tracking the effect instead of the lesson.
Use emphasis when you need to direct attention to:
- A single Inspector field such as gravity scale or a serialized reference
- One method in a script like
Update()versusFixedUpdate() - A specific Hierarchy object when scene structure matters
- A before-and-after playtest result where the mechanic visibly changes
That’s enough. Unity’s interface already contains a lot of visual information. Your job is to reduce noise, not add a second layer of it.
Fix pacing at the sentence level
When reviewing a draft tutorial, look for spoken lines that don’t earn their place. These are usually phrases like “Let’s just do that real quick” or “I think this should work.” They’re common in raw recordings and weak in finished tutorials.
A polished technical tutorial usually cuts:
- Repeated explanation of obvious clicks
- Verbal filler while waiting for compilation
- Troubleshooting detours that don’t teach a reusable lesson
- Self-corrections that make sense only to the speaker
What stays is the logic of the build. Open object. Add component. Change value. Test result.
That’s how you make a Unity tutorial feel edited even when the source material started as a straightforward walkthrough.
Beyond the Video Publishing and Repurposing Your Tutorial
A finished Unity tutorial shouldn’t live as a single export. If you’ve already captured the lesson clearly, the recording can do more than one job.
Experienced teams separate themselves from hobby publishing. They don’t just upload the video and move on. They package the same teaching asset for search, onboarding, internal training, and documentation.
Publish in the same order you built
Unity’s official quickstart guidance recommends a staged build order for cross-platform work. Choose the render pipeline first, then move through placeholders, meshes, lighting, and related layers so you avoid rework later, as described in Unity’s 3D quickstart documentation. That same principle applies to tutorial publishing.
Don’t improvise your rollout after the video is done. Keep it structured:
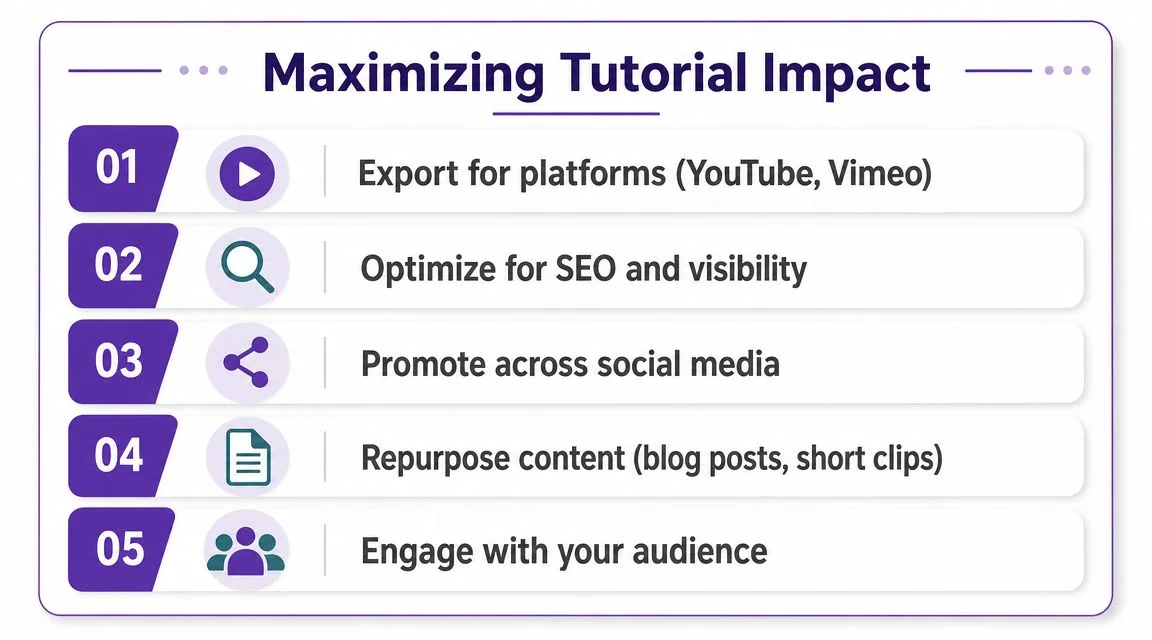
- Export the full walkthrough for YouTube, Vimeo, an LMS, or a help center.
- Publish the written version with screenshots and code context for readers who don’t want to scrub through video.
- Clip short segments for release notes, onboarding snippets, or support replies.
- Embed the tutorial where the audience needs it, not only on a video platform.
That last point matters more than people think. A Unity tutorial for learners belongs on YouTube. A Unity tutorial for customer onboarding or internal SOPs may belong inside docs, LMS modules, or product help centers.
Turn one recording into a documentation set
The most impactful workflow is the one where the video and the article come from the same source recording. That keeps terminology consistent and reduces duplicate effort.
For teams publishing educational software content, this can look like:
| Output | Best use case |
|---|---|
| Full video tutorial | Public education, onboarding, release walkthroughs |
| Written article | Search visibility, skimmable troubleshooting, knowledge bases |
| Short clips | Social posts, support replies, internal announcements |
| Localized versions | Global training and customer education |
If you’re publishing to YouTube, it helps to think about titles, descriptions, and chapter breaks while you still have the draft in hand. A practical checklist for that step is this guide on how to post a YouTube video.
One recording is expensive if it creates one asset. It’s efficient if it creates a whole teaching package.
Extend the shelf life of the tutorial
Once the core video exists, there are adjacent formats worth considering. If a team wants to create short promotional cuts around a tutorial launch, product update, or educational campaign, a tool like ShortGenius AI video ad maker can be useful for converting the core material into shorter distribution assets without rebuilding the message from scratch.
For broader teams, repurposing also solves a real access problem. Some viewers want narration. Some want text. Some need multilingual delivery. Some need the content embedded inside systems their company already uses. That’s why a unified workflow is more practical than a one-off upload. You’re not just publishing a Unity lesson. You’re creating reusable instructional material that can support customer onboarding, help-center content, feature release communication, and internal training.
That is the core value of a well-made Tutorial Unity workflow. You build once, explain once, and publish the result in the formats people use.
If you already know how to build in Unity but keep postponing the teaching part, Tutorial AI is worth a look. It records actual screen content and spoken voice, tightens pacing, supports multilingual delivery, and can generate a matching written article from the same walkthrough, which makes it practical for shipping both a tutorial video and documentation without running a separate production process.