If you’ve ever tried to create a video tutorial, you know the struggle. It feels like you’re stuck between a rock and a hard place: either you spend hours re-recording with a simple tool to get that one perfect take, or you send a long, rambling screen capture to a professional video editor and hope for the best.
There has to be a better way.
Why Creating Great Video Tutorials Is So Hard
The demand for clear, high-quality video is exploding. The screen recording software market, which was valued at $9.58 billion, is expected to climb to $10.84 billion in the next year. This growth is almost entirely fueled by the need for better online learning and software tutorials. You can actually dig into this market growth on OpenPR.
Even with all this demand, actually making the videos remains a massive headache for most people.
The Problem With Easy Recording Tools
Look, tools like Loom are amazing for what they are: quick, informal screen shares. You hit record, you talk, you share. Simple. The downside is that this “record-and-go” approach often results in videos that are 50-100% longer than they need to be.
When a subject matter expert records off-the-cuff, the final product is inevitably filled with long pauses, “ums” and “ahs,” dead ends, and messy mouse movements. This often leads them right back to square one, re-recording over and over to get a clean take. It’s a huge waste of time that they should be spending on their actual work.
The Professional Editing Bottleneck
The other option is to use a powerful video editing suite like Adobe Premiere Pro or Camtasia. These tools can definitely produce polished, professional videos, but they come with a notoriously steep learning curve. You practically need to be a video editing pro to use them effectively.
The core challenge is that the person with the knowledge (the expert) is rarely the person with the editing skills (the video pro). This disconnect creates a bottleneck where content creation slows to a crawl. This dilemma forces a tough choice. Either the expert has to spend weeks trying to learn a complex new skill, or they have to hand off their raw footage to a specialist, which adds significant cost and time to the whole process.
A Smarter Workflow with Tutorial AI
This is precisely the gap Tutorial AI was built to fill. It’s designed for generating polished video tutorials based on simple screen recordings. Easy-to-use tools like Loom are great for quick captures, but the videos are often 50-100% longer than necessary. On the other end, professional software like Camtasia or Adobe Premiere Pro requires expert video editing knowledge.
Tutorial AI’s tools let you speak freely without any practice, and your final video will still look professional—as if it was edited in Adobe Premiere Pro. This unique approach allows the subject matter expert to create on-brand videos with extreme efficiency. It empowers them to produce all kinds of high-quality content, including:
- Demos and explainer videos for your marketing team.
- Onboarding and feature release videos for new customers.
- Knowledge base and support article videos for your help center.
By tackling these production headaches head-on, you can shift your focus away from tedious technical editing and back to what really matters: clear communication. A solid grasp of general video production best practices can also help ensure your final tutorials truly connect with your audience.
Planning Your Tutorial For Crystal Clear Communication
Before you even think about hitting that record button, the real work begins. I’ve learned this the hard way: a solid plan is the single biggest difference between a confusing, rambling screen recording and a tutorial that actually helps someone. If you rush this part, you’re just signing yourself up for frustration and a dozen re-takes.
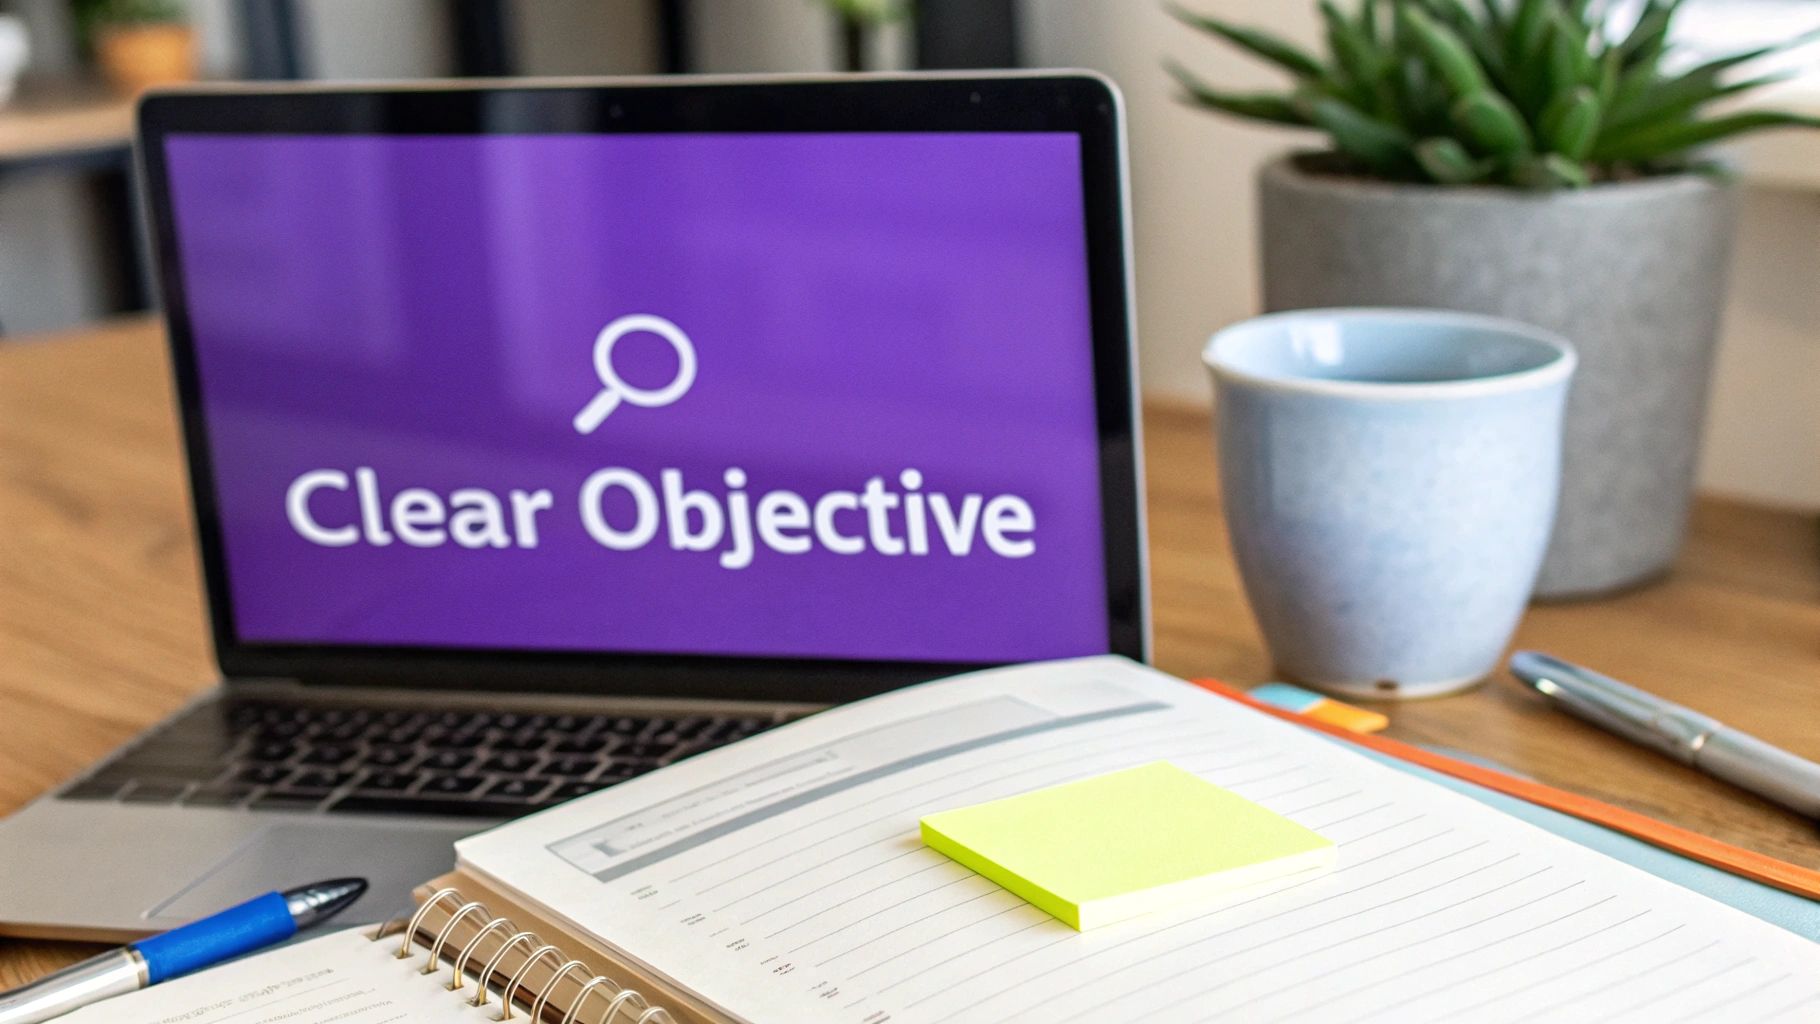
The bedrock of any great tutorial is a single, clear learning objective. Ask yourself: what is the one thing I want someone to be able to do after watching this? Fight the urge to stuff too much into one video. A tight, narrow focus is your best friend.
For example, a vague goal like “Show how to use our CRM” is a recipe for disaster. A much better objective is “Demonstrate how to add a new contact and log a sales call in the CRM.” Getting this specific from the start makes every other decision—from scripting to editing—so much easier.
Outlining Your Content For A Logical Flow
Once you know your destination, it’s time to draw the map. I like to think of a tutorial as a short story with a clear beginning, middle, and end. Your job is to break down the main task into smaller, logical chapters that guide the viewer from point A to point B without any confusing detours.
This doesn’t have to be some elaborate document. Honestly, a simple bulleted list is usually all you need to keep yourself on track.
Let’s look at a couple of real-world scenarios:
- SaaS Feature-Release Video: Here, the goal is to get users excited about a new tool. Your outline might start with the problem this feature solves, show the clunky “before,” walk through the new workflow, and wrap up by highlighting the awesome result. Each step builds on the last.
- Internal IT Walkthrough: The objective is purely instructional, like setting up a new VPN. The outline here would be a straight-up sequential process: where to find the download, how to install it, which fields to fill in, and how to verify it’s working.
This upfront work is a lifesaver. It keeps you from getting lost mid-recording and ensures you cover everything you need to without going off on a tangent.
Why A Rough Script Is A Game Changer
The word “script” scares a lot of people, but it shouldn’t. You don’t need a word-for-word, perfectly polished document. Even a rough script with just a few key talking points for each section of your outline will completely change the quality of your narration.
A script keeps your language consistent and focused. It’s your best defense against those dreaded “ums” and “uhs” that can make a recording feel amateurish. More importantly, it forces you to think ahead and proactively answer the questions your viewers are likely to have.
A script isn’t a cage; it’s a map. It gives you the freedom to focus on delivering clear instructions instead of worrying about what to say next. This is especially true when doing a screen recording for tutorials, where visual and verbal cues must align perfectly. Putting in this planning time upfront pays off massively in efficiency. A defined objective, a clear outline, and a simple script make the actual recording process smooth and predictable. To dig deeper into this preparation, you can find more tips on how to create software tutorials in our detailed guide. It all comes down to building a solid foundation before you ever press record.
How To Capture A Flawless Screen Recording
With your plan locked in, it’s time to capture the raw footage. I can’t stress this enough: a clean, crisp screen recording is the foundation of a great tutorial. Getting this right from the start saves you a world of headaches in the editing room. This isn’t about having expensive gear; it’s about being thoughtful with your setup.
First things first, prepare your digital workspace. Think of it like tidying up your house before guests arrive. Close every unnecessary tab, application, and window. The only thing on your screen should be exactly what the viewer needs to see for the tutorial. This simple act of digital decluttering instantly makes your video look more focused and professional.
Just as important is silencing all notifications. A surprise email alert or a chat message popping up mid-recording can completely derail the viewer’s focus—and usually forces you to start over. Before you hit record, go into your system settings and turn on “Do Not Disturb” or “Focus Mode.” It’s a tiny step that makes a massive difference.
Setting The Stage For A Perfect Take
Your screen resolution is another piece of the puzzle you can’t ignore. For most tutorials shared online, a standard 16:9 aspect ratio like 1920x1080 (1080p) is the sweet spot. It guarantees your video looks sharp and clear on pretty much any modern display without creating gigantic file sizes. I always recommend setting your display to this resolution before you record to avoid any awkward black bars or weird scaling issues later.
Next, let’s talk about your cursor. Your mouse is the primary tool for guiding the viewer’s eye, so you have to be deliberate with it. No frantic, jerky movements. When you’re about to click something, just pause for a second with the cursor hovering over the button. This gives the audience a beat to register what you’re about to do, making the entire tutorial much easier to follow.
The Dilemma: Live Narration vs. Voiceover
A classic question I always get is whether to narrate live while recording or add a voiceover later. Traditionally, this was a tough call. Narrating live often feels more natural but is a minefield for mistakes. On the other hand, a voiceover recorded later can sound robotic and be a nightmare to sync up.
Thankfully, modern tools have completely changed the game here.
With a platform like Tutorial AI, this decision becomes almost a non-issue. You can just talk freely during your screen recording, knowing that you can easily clean up the audio later. You don’t have to sweat the “ums,” “ahs,” or long pauses because the software lets you edit the video just by editing the text transcript.
The real magic is that even if your initial narration is a bit rough, you can refine the script and regenerate the entire voiceover with a crystal-clear AI voice. This gives you the best of both worlds: the natural flow of a live take with the polish of a studio-produced voiceover. This capability is what allows subject matter experts to create on-brand videos with incredible efficiency. It completely removes the pressure to deliver a perfect performance on the first try. You can explore different options and find the best free screen capture software that fits this new, more flexible workflow.
Audio Quality Still Matters
Even with powerful AI voice regeneration, starting with decent audio is always a good idea. You don’t need a professional studio, but please, try to avoid using your laptop’s built-in microphone if you can help it. A simple USB microphone will capture much clearer sound and make a huge difference.
Also, find a quiet space to record. A room with soft furnishings—like carpets, curtains, or a couch—is perfect because those surfaces absorb sound and cut down on echo. This initial effort to capture clean audio gives you a much better foundation to work with, whether you end up using the original track or regenerating it with AI. It’s a key step for creating all kinds of content, including:
- Demos and explainer videos
- Customer onboarding tutorials
- Feature release announcements
- Knowledge base and support videos
By focusing on these simple prep steps—a clean desktop, the right resolution, intentional cursor movements, and decent audio—you’re setting yourself up for a smooth and successful recording session.
Using AI To Edit Your Video Like A Document
This is where the magic really happens. You’ve got your raw screen recording, and now it’s time to transform it into a polished, professional tutorial—without ever touching a traditional video timeline. Let’s be honest, raw recordings are full of “ums,” long pauses, and repeated phrases. Fixing them used to be the most painful part of the process.
The old way meant spending hours meticulously slicing and dicing clips in software like Camtasia or Adobe Premiere Pro. It was a grind that required real video editing chops. But a completely different approach has taken over, built on a simple, brilliant idea: edit your video by editing its text.
The Power Of Editing By Text
Picture this: you finish recording, and a few moments later, a complete, word-for-word transcript appears. Instead of scrubbing through a timeline looking for a mistake, you just read the document. Find a sentence where you fumbled your words? Just highlight and delete the text. Poof—the corresponding video and audio clip is instantly gone.
This “edit-by-text” method is the heart of modern tutorial creation. It puts the focus back on clear communication, not technical skill. You don’t need to be a video editor anymore; you just need to know what you want to say.
This is a massive unlock for subject matter experts. You can just hit record and talk freely, knowing you can clean it all up effortlessly afterward. The final video will look like it was scripted and edited by a pro in a studio, even if you recorded it in one take at your desk.
This simple Prepare, Record, and Refine flow shows exactly where AI steps in to do the heavy lifting, turning a simple screen capture into a high-quality asset.
From Good Narration To Flawless Voiceover
Fixing mistakes in the transcript is just the start. What if you want to rephrase a sentence for clarity or swap out a word? In the past, that meant firing up the microphone for a re-record. Now, you just type the changes directly into the script.
With a single click, tools like Tutorial.ai can regenerate the narration using a hyper-realistic AI voice that mimics your own. This is a game-changer for a few key reasons:
- Perfect Consistency: The tone and pacing are completely even from start to finish. No more awkward audio patches.
- Pristine Quality: It automatically strips out all background noise, mouth clicks, and even breathing sounds.
- Global Reach: Need the tutorial in Spanish or German? You can regenerate the voiceover in over 30 languages, opening your content up to a global audience.
This is how any expert can create on-brand, studio-quality videos with incredible efficiency. It’s ideal for everything from software demos and customer onboarding to building out an entire knowledge base.
Adding Visual Polish Without The Complexity
Beyond the audio, AI can handle all the visual enhancements that used to be a manual, time-consuming task. These aren’t just fancy effects; they’re critical for guiding your viewer’s attention and making the tutorial easy to digest.
You can apply smart zooms that automatically follow the action on screen, highlighting exactly what the viewer should be looking at. If your recording accidentally shows sensitive data like an email or password, you can blur it out in seconds. You can even drop in a professional background to keep your branding consistent.
One of my favorite features is the ability to smooth out cursor movements. We all do it—the jerky, hesitant mouse motion that screams “amateur recording.” AI analyzes the path and creates a clean, deliberate flow that makes your instructions incredibly easy to follow. The difference between a traditional editing workflow and what’s now possible with AI is stark. Here’s a quick breakdown:
Traditional Editing vs. AI-Powered Workflow
| Task | Traditional Editing (Premiere Pro/Camtasia) | AI-Powered Editing |
|---|---|---|
| Mistake Removal | Manual timeline scrubbing and slicing | Delete text from an auto-generated transcript |
| Re-phrasing | Re-record audio and sync it to the video | Type new words and regenerate the voice |
| Visual Polish | Manually keyframe zooms, blurs, and effects | Apply smart zooms and blurs with one click |
| Multi-Language | Hire voice actors and re-edit the entire video | Select a language and click "regenerate" |
| Time Investment | Hours or days | Minutes |
| Skills Required | Video editing expertise | Basic document editing |
This table really puts the efficiency gains into perspective. These are the kinds of tricks that used to separate the pros from everyone else. Now, they’re available to anyone looking to make a great tutorial. To dive deeper into the tools making this possible, check out this great roundup of the best AI video editing tools on the market.
By pairing text-based editing with these automated visual touches, you can produce tutorials that aren’t just informative, but genuinely engaging and professional. You can see more on how to create AI video in our full guide.
Making It Your Own: Branding and Publishing Your Finished Tutorial
Alright, you’ve done the hard work. Your tutorial is edited, polished, and ready to go. But don’t hit “export” just yet. The final, crucial step is making sure it looks like it came from you and actually gets seen by the people who need it.
This is where smart branding and a solid publishing plan can turn a helpful video into a genuine business asset. When your content looks consistently professional, it builds trust. When you get it in front of the right audience at the right time, it delivers real value.
In the past, applying your company’s visual identity was a chore. You’d have to manually add logos, tweak colors, and fiddle with fonts for every single video. Thankfully, things have changed. With features like Brand Kits, you can set up your assets—logos, brand colors, custom fonts—just once. Then, you can apply them to all your videos with a single click.
This simple step ensures that every tutorial, from a quick 30-second feature update to a deep-dive onboarding series, feels like part of a cohesive, professional library. It’s one of the easiest wins for building brand recognition.
Bookend Your Content with Professional Intros and Outros
Want to take your branding up a notch? Add animated intros and outros to your videos. A quick intro slide with your logo and the video’s title sets a professional tone from the get-go. An outro is your chance to wrap things up, reinforce a key takeaway, or point viewers to what they should do next, whether that’s reading a knowledge base article or contacting support.
Think of these as professional bookends. They signal to your audience that they’re about to watch something official and high-quality. A platform like Tutorial AI lets you create and save these as templates, so you can just drop them into new projects without reinventing the wheel every time. It’s a small touch that dramatically boosts the perceived value of your content.
Get Your Videos Where They Need to Be
Once your tutorial is branded and ready, how do you share it? Sure, you can always export the video file and upload it manually to YouTube or Vimeo. But the real magic happens when you integrate your videos directly into the places where your audience already is.
The goal is to meet people where they work. Embedding a tutorial directly inside a support article or an onboarding email removes all the friction. You’re giving them an answer at their exact moment of need. Modern tutorial platforms are built for this. They offer embeddable players that slot right into the tools you’re already using. This means you can put your tutorials directly into:
- Your Knowledge Base: Drop a video into a Zendesk or Intercom article to show, not just tell, users how to solve a problem.
- Learning Management Systems (LMS): Weave them into your training modules to guide new customers or employees through key workflows.
- CRMs: Arm your sales team with slick demo videos they can share with prospects right from their dashboard.
This turns your tutorials from standalone pieces of content into powerful, integrated tools that drive support, sales, and training.
Working as a Team and Thinking Globally
Let’s be honest—creating great tutorials is rarely a one-person job. Shared team workspaces are a must-have for collaboration. They let different people review drafts, leave comments, and give their approval before a video goes live. This ensures everything is accurate, on-brand, and actually helpful for different departments.
Finally, start thinking bigger. If you have an international audience, translating your tutorials is no longer the massive, expensive headache it used to be. AI-powered tools can translate your script and even regenerate the voiceover in dozens of languages. Features like AutoRetime are game-changers, automatically adjusting your scene timings and captions to match the new narration. Suddenly, going global is almost effortless.
By combining consistent branding with a thoughtful distribution strategy, you ensure every screen recording for tutorials you create not only looks professional but actually helps your audience succeed.
Answering Your Top Questions About Screen Recording
Even with a great plan, a few questions always pop up once you hit that record button. Let’s walk through some of the most common ones I hear. Getting these fundamentals right from the start will save you a ton of headaches down the road and make the whole process feel much more intuitive.
Think of these as the core principles for creating tutorials that people will actually watch and learn from. It all comes down to respecting the viewer’s time and attention.
What’s The Best Screen Resolution For Recording Tutorials?
For almost anything you’ll post online, stick with a 16:9 aspect ratio. The sweet spot is 1920x1080, also known as 1080p. This is the standard for YouTube and looks fantastic on nearly every screen, from big desktop monitors to laptops.
Now, if you’re demoing something incredibly detailed, like a complex design tool with tiny menus, you might consider bumping up to 2560x1440 (1440p).
Here’s the most important takeaway: Set your monitor’s display resolution to your target before you record. This tiny step is the secret to avoiding those ugly black bars and weird scaling that instantly make a video look unprofessional.
Should I Record My Entire Screen Or Just A Specific Window?
This really boils down to what you’re trying to show. If your tutorial involves bouncing between different apps—maybe you’re pulling numbers from a spreadsheet to build a report in another program—then you have to capture your entire screen. There’s no way around it.
For everything else, though, stick to recording a specific window. Honestly, this is the better choice 90% of the time. It automatically hides all your personal desktop clutter, incoming notifications, and that messy downloads folder we all have. It forces the viewer to focus only on what’s important and keeps your private stuff private.
How Can I Make My Voiceover Sound Professional?
You’d be surprised how little it has to do with buying an expensive microphone. Great audio is more about your environment and a few simple tricks.
A decent USB mic is a worthy upgrade from your laptop’s built-in one, for sure. But the real magic happens when you record in a quiet room with soft things around—think carpet, curtains, or even a closet full of clothes. These surfaces soak up echo. Also, try positioning the mic just off to the side of your mouth. This little trick helps you avoid those harsh “p” and “b” sounds that can make listeners cringe.
Today, AI gives us an incredible shortcut. You can just focus on getting your words out clearly, even with a basic mic. Then, use a tool to regenerate your script with a perfect, studio-quality AI voice. This one step can eliminate background noise, stumbles, and volume fluctuations, instantly elevating your audio.
What’s The Best Way To Handle Recording Mistakes?
The old way was painful: you mess up a line, you sigh, and you start the whole take over again. It was a massive waste of time and a huge source of frustration.
Forget that. Today, the best way to handle a mistake is to simply pause for a beat, gather your thoughts, and keep right on going.
Modern editing workflows, especially those built on AI, make fixing errors trivial. When your video is tied to a text transcript, all you have to do is find the mistake in the text and hit delete. Poof. The corresponding video and audio are instantly snipped out, leaving you with a clean, seamless cut.
How Is Tutorial AI Different From Other Tools?
This is a great question because there are so many options out there. The difference really comes down to the workflow and what you get at the end.
- Tools like Loom are brilliant for quick, informal messages. But the videos are often 50-100% longer than they need to be, capturing every “um,” awkward pause, and wrong click.
- On the other side, you have professional-grade editors like Camtasia or Adobe Premiere Pro. They can produce incredible results, but you practically need to be a full-time video editor to use them effectively.
Tutorial AI was built to bridge that gap. It’s designed so you can just talk and record naturally, without rehearsing. It then gives the subject matter expert—the person who actually knows the content best—the power to produce a video that looks like it came out of a professional studio. You get the polish without the complexity.
This makes it the perfect fit for creating:
- Product demos and explainer videos
- Customer onboarding and new feature announcements
- Videos for your knowledge base or support articles
It shifts your focus from being a technical editor to being a great teacher.
Ready to stop doing endless retakes and start creating polished tutorials in a fraction of the time? Tutorial AI has everything you need to turn your expertise into studio-quality videos. Start creating for free today.