Mac has two built-in ways to record the screen: QuickTime Player for more control, or Shift-Command-5 for quick captures. Both are free and pre-installed on macOS.
You’re probably looking for “mac record screen” because a written procedure isn’t enough. A support specialist needs to show the exact menu, a trainer needs to demonstrate the workflow in order, or a product expert needs to explain a new feature without spending hours learning video editing. The recording itself is only the first step. A useful result also needs clear audio, clean permissions, sensible framing, and a practical way to turn the raw capture into a tutorial or help article.
Why You Need to Mac Record Screen
A knowledge base team often starts with a simple request: document how to complete a workflow in a software product. Someone opens a document, lists the steps from memory, adds screenshots, and sends the draft for review. By the time the article is published, the interface may have changed, or a reader may still struggle to understand what happens between two written steps.
A screen recording closes that gap. Viewers can see the actual interface, the order of actions, and the result of each choice. That makes recording useful for product demos, customer onboarding, help-center videos, internal training, SOPs, software training, and process documentation.
macOS already gives you the basic capture tools. Apple documents two native workflows, starting a recording in QuickTime Player through File > New Screen Recording, or opening the Screenshot controls with Shift-Command-5. Both methods can record the full screen or a selected portion, as described in Apple’s Mac screen recording guide.
The real production problem
A raw recording rarely makes a finished tutorial. It may include a long pause while an application loads, a search through the wrong menu, an interruption, or narration that explains too much. Casual screen recorders such as Loom can be useful for sending a quick explanation, but raw footage still needs review when the audience needs a concise, repeatable lesson.
Practical rule: Record the workflow as it should be performed, not as you discover it.
For a one-off explanation, the built-in tools may be enough. For recurring training or support content, you need a repeatable process. Prepare the application, select the right capture area, verify audio and permissions, record the shortest complete demonstration, and then decide whether the raw file needs manual editing or automated post-production.
Recording with QuickTime Player
QuickTime Player remains the flexible native option when you want to control the recording setup before you begin. Open QuickTime Player, choose File > New Screen Recording, and use the recording controls that appear. Apple lists this menu path alongside the Screenshot shortcut in its support documentation.
QuickTime is a good choice when the recording needs careful framing or narration. Before clicking Record, open the available options and configure the inputs that matter for the tutorial.
- Choose the capture area. Record the entire display when the workflow moves between applications or system controls. Select a portion when the audience only needs to see one application and you want to exclude unrelated windows or notifications.
- Select the microphone. Choose the microphone you intend to use rather than assuming macOS has selected the right input. A short test recording can reveal low volume, room noise, or an input that isn’t receiving any signal.
- Show clicks when needed. Cursor visibility and click indicators help viewers follow a product demonstration. They’re especially useful when a button is small, a menu opens briefly, or the narration refers to an action that isn’t obvious from the screen alone.
- Stage the application first. Close unrelated windows, dismiss notifications, and place the application at the starting point. The built-in recorder captures everything inside the chosen region until you stop it, so every unused transition becomes part of the file.
Trim before you save
QuickTime’s main advantage is setup control, but you shouldn’t treat the first capture as a finished asset. After recording, use the controller’s Trim function to remove unwanted footage at the beginning or end. The University of South Florida QuickTime guide specifically recommends trimming those extra frames before saving.
That simple step removes the hesitation before the first click and the awkward movement after the final action. It won’t fix a confusing explanation or a mistake in the middle, so stop and restart when the workflow goes off track. A shorter clean take is usually easier to work with than a long recording full of corrections.
Using the Screenshot Toolbar Shortcut
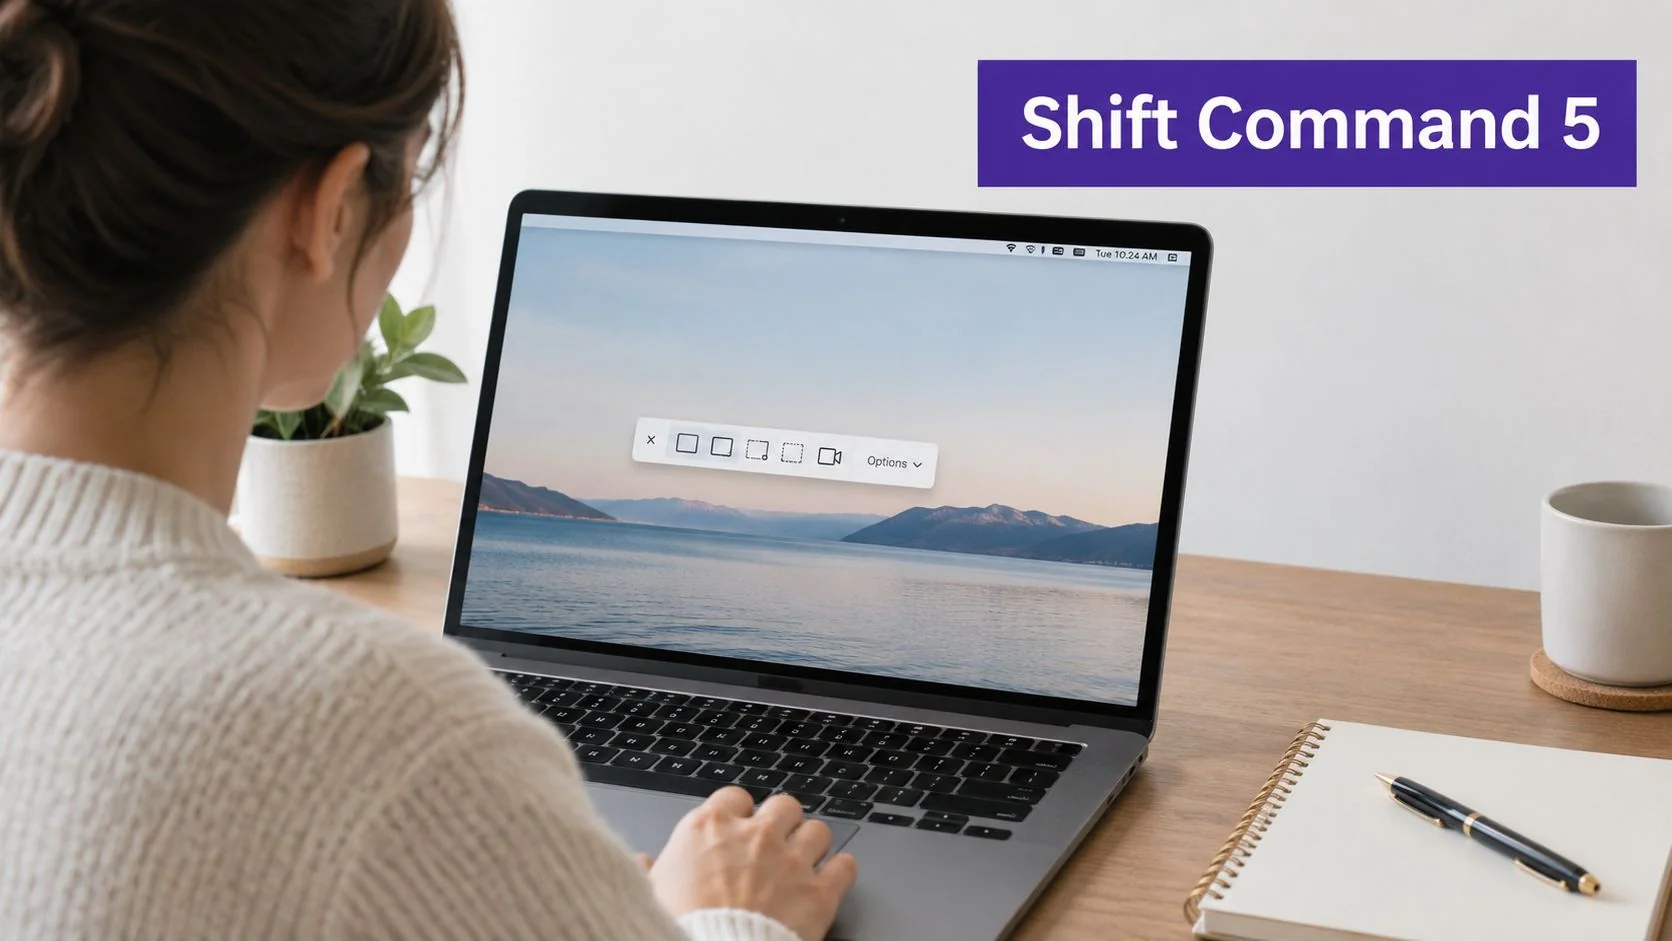
Press Shift-Command-5 to open macOS’s Screenshot toolbar. Apple introduced this modern toolbar with macOS Mojave in 2018, making screen recording a system-level feature rather than an action available only through an application. QuickTime Player remains available as the older workflow.
The toolbar is faster when you already know what you want to capture. Select the control for recording the entire screen or a selected portion, define the region, and click Record. When you finish, use the stop control in the menu bar.
Configure the capture before recording
Open Options before you start. Depending on the workflow, you can choose a microphone, set a timer, select a save location, and enable cursor or click indicators. A timer gives you a moment to move your pointer into position and prepare your narration instead of cutting into the opening sentence.
Use a selected portion for a focused walkthrough inside one application. Use the full display when the procedure includes system settings, a second application, or a dialog that falls outside the main window. The decision affects what viewers can follow and what confidential information might appear, so check the region carefully.
Trim the result immediately
The Screenshot workflow is well suited to quick support videos because it keeps capture simple and provides a way to trim unwanted footage after recording. Remove the dead space before the first action and after the final result before you share the file.
It isn’t the right choice for every production. If you need a carefully staged recording with multiple inputs, complex application switching, or more deliberate setup, QuickTime gives you a better starting point. For a single-app explanation that needs to go out quickly, the toolbar usually creates less friction.
Choosing the Right Recording Method
QuickTime Player and the Screenshot toolbar record the same basic material, but they fit different working styles. Choose based on the amount of control you need before capture and the amount of cleanup you expect afterward.
Mac Screen Recording Methods Compared
| Feature | QuickTime Player | Screenshot Toolbar |
|---|---|---|
| Control level | Better for deliberate setup and input selection | Faster, with fewer decisions before capture |
| Recording area | Full screen or selected portion | Full screen or selected portion |
| Audio setup | Microphone selection is available from the recording controls | Microphone and other options are available from the Options menu |
| Cursor guidance | Useful when you need click visibility for a tutorial | Useful for quick demonstrations with visible pointer actions |
| Editing | Trim unwanted leading or trailing footage in QuickTime | Trim the captured result before sharing |
| Best use case | Product demos, detailed workflows, and narrated training | Short support videos and rapid single-app explanations |
| Learning curve | Slightly more setup, but familiar to Mac users | Minimal setup for a quick capture |
For a detailed walkthrough that moves through several interface states, use QuickTime. Prepare the product window, select the microphone, enable click visibility, and record a complete take. This approach works well when a subject-matter expert needs to explain why each action matters.
The Screenshot toolbar works better when speed matters more than customization. A support agent can select a region, record a short answer, trim the edges, and attach the result to a ticket or help-center draft.
If your team needs a repeatable workflow that extends beyond capture, review video recording software for Mac before choosing a production process. The right question isn’t only “Which recorder should I use?” It’s also “What happens to the recording after I stop?”
Choose the recorder around the final asset. A quick explanation and a reusable training module have different production needs.
Mastering Audio Settings for Clear Recordings
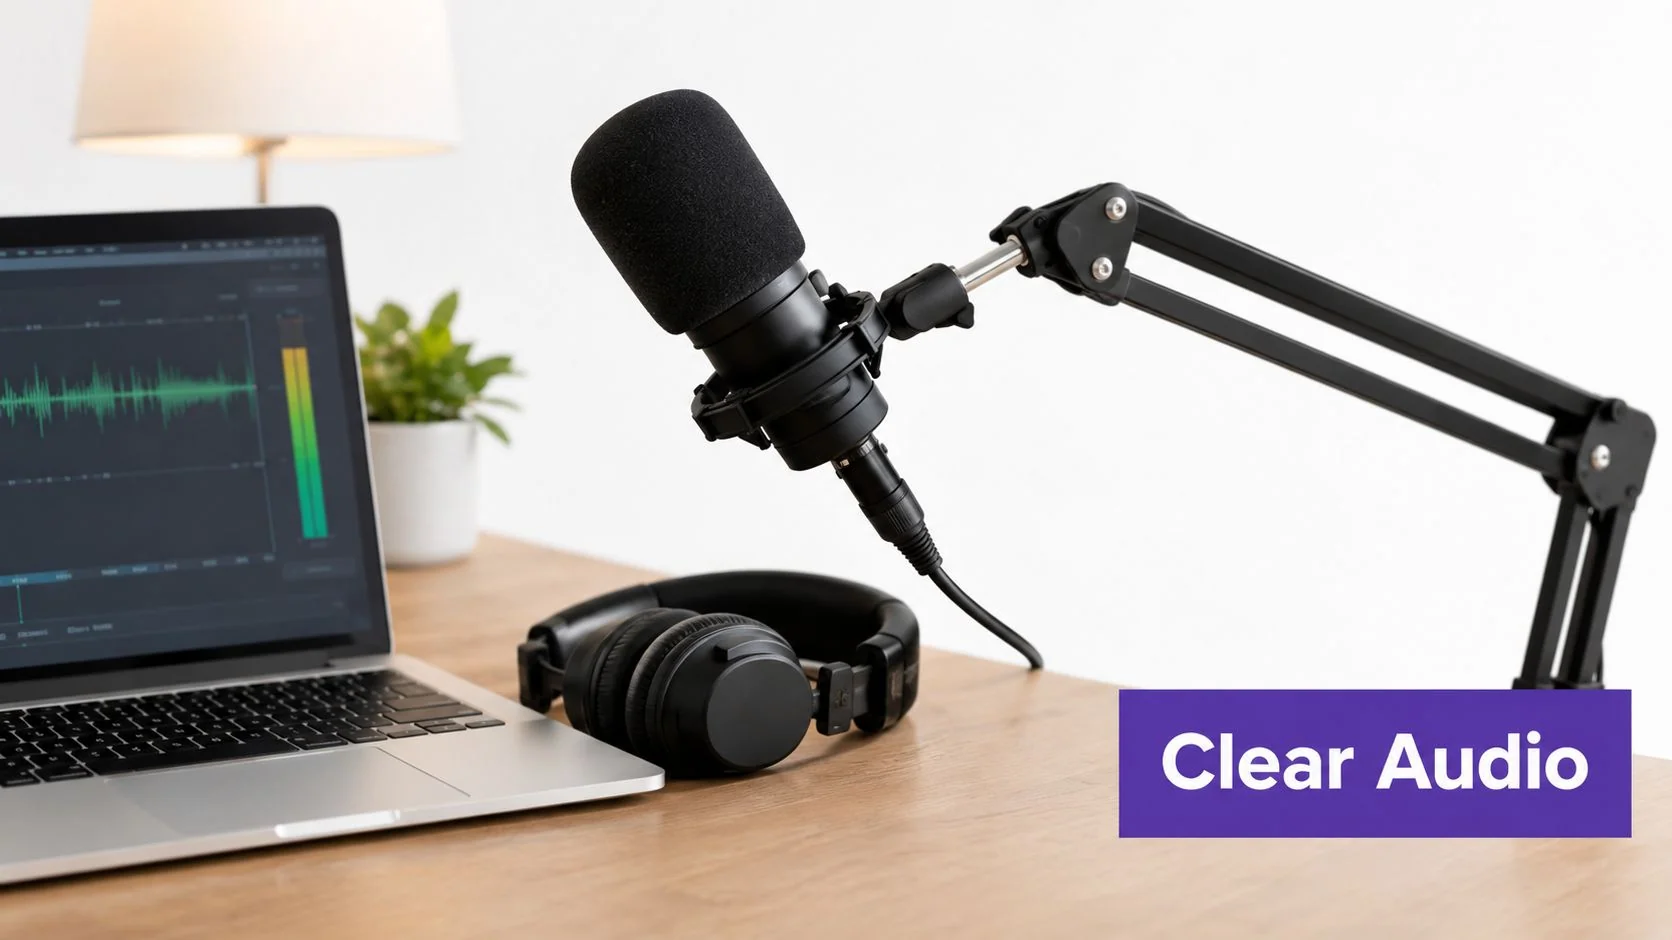
Viewers will tolerate a plain interface more readily than unclear narration. Before you record, select the intended microphone in QuickTime or the Screenshot toolbar’s Options menu. Speak at a normal distance, listen for room noise, and make a short test capture before recording the full workflow.
The MacBook internal microphone can work for a quiet room, but it may also pick up keyboard noise, fans, and reflections from hard surfaces. An external microphone can help for an important product demo or training module, although placement and room conditions still matter.
Prevent common audio failures
If the recording has no narration, check the selected input before repeating the entire workflow. If you hear an echo, lower the speaker volume, use headphones, and confirm that the recorder isn’t using an unintended microphone. The Mac audio recording workflow for computer audio is useful when the demonstration depends on sound generated by the application rather than voice alone.
System audio needs separate attention. Apple’s permissions guide explains that apps and websites require explicit authorization under Privacy & Security > Screen & System Audio Recording. You can allow, revoke, or selectively manage access for screen and system audio, so a recorder that opens normally can still fail when the required permission is missing. Check those switches if the video is blank, system sound is absent, or the app behaves differently after a macOS security change.
For recordings that include application sound and narration, verify the scope of each input before you begin. A voice-only tutorial has a simpler setup than a product demo that must reproduce an alert, a video, or an in-app interaction.
Clean the result when the room gets in the way
Noise reduction shouldn’t replace a good recording environment, but it can help salvage a usable explanation. For practical guidance on clear Mac audio with Isolate Audio, focus on removing distracting background sound without making the narration sound processed.
Keep sensitive information out of the capture area. Close private conversations, hide customer data, and review the final recording before sharing it externally. Screen recording is a documentation tool, but it also creates a copy of whatever appears on the display.
Uploading Recordings to Tutorial AI
A Mac recording becomes more useful when the same source can produce both a video and written instructions. Tutorial AI is designed for that workflow. Upload the screen recording, let AutoRetime handle pacing and cuts, review the generated script, and edit the wording where the subject-matter expert wants a different explanation.
The practical sequence looks like this:
- Record the workflow on Mac. Capture the shortest complete demonstration, with narration if the explanation depends on spoken context.
- Upload the file. Follow the Tutorial AI guide to uploading videos and provide the raw capture as the source material.
- Review the script. Edit the transcript like a document. Clarifying a sentence can update the narration and captions without requiring manual work across a timeline.
- Polish the visual path. AutoRetime can tighten pacing and cuts, while cursor effects, smart zooms, backgrounds, and blurs can focus attention or protect sensitive details.
- Generate documentation. Create a matching step-by-step article with screenshots and structured content from the same recording instead of asking a technical writer to recreate the procedure from memory.
Use one capture for multiple audiences
A support team might record a billing workflow once, then produce a customer-facing video and a help-center article from that source. An internal trainer could record an admin procedure, revise the script for clarity, and publish the video alongside an SOP. A sales enablement team could use the same approach for a product walkthrough that needs consistent narration.
Tutorial AI also supports narration in 74 languages, documented in its product information, which can help teams prepare localized versions without recording every language manually. Its Multilingual Player can present language choices in one published experience, while Brand Kits help keep recurring tutorials visually consistent.
These capabilities don’t remove the need for review. The subject-matter expert still needs to verify that each step is correct, that the generated narration matches the intended meaning, and that confidential information has been removed. The benefit is that the expert can focus on product accuracy rather than learning the full workflow of Camtasia, Adobe Premiere Pro, or Final Cut Pro.
Loom remains useful for informal sharing, but raw captures often include pauses, repetition, and retakes. Tutorial AI takes the actual software workflow as its starting point, rather than replacing it with an avatar as tools such as Synthesia, HeyGen, and Vyond typically do. That distinction matters when viewers need to see the actual interface and exact actions.
Building Your Screen Recording Workflow
Start by deciding what the viewer needs to accomplish. A short answer to a support ticket may only need the Screenshot toolbar and a quick trim. A customer onboarding lesson or internal SOP needs a controlled capture, clean narration, permission checks, and a post-production plan.
Use this decision framework before recording:
- Need speed: Choose Shift-Command-5 for a focused capture that can be trimmed and shared quickly.
- Need control: Choose QuickTime when the recording crosses applications, requires deliberate microphone selection, or depends on visible clicks.
- Need reusable content: Capture a complete workflow with narration and plan to produce both video and documentation from the source.
- Need localization: Keep the explanation clear and modular so script review and multilingual narration remain manageable.
- Need security: Check screen and system-audio permissions, remove private information, and review the output before publication.
The strongest recordings are staged, not improvised. Open the starting screen, prepare sample data, silence notifications, check the microphone, and decide whether the full display or a selected portion best supports the lesson. After capture, trim immediately and note any middle sections that need correction.
For a casual explanation, native macOS tools may be all you need. For a repeatable tutorial pipeline, post-production determines the true workload. Camtasia, Adobe Premiere Pro, and Final Cut Pro provide extensive manual control, but they also expect editing knowledge. An automated workflow is more suitable when the subject-matter expert knows the product and needs to turn that knowledge into a polished video and written guide without building a timeline by hand.
macOS screen recording solves capture. A production workflow solves clarity, reuse, and distribution. Treat those as separate decisions, and your team can choose the lightest process that still produces a trustworthy result.
Tutorial AI turns a Mac screen recording and narration into a polished tutorial, then generates matching written documentation from the same workflow. Record a product demo, support procedure, or SOP, review the script and automated edits, and visit Tutorial AI to create the finished tutorial.