So, you’ve just finished a screen recording on your Mac, hit playback, and… silence. It’s a classic Mac problem. Capturing your computer’s internal audio isn’t as simple as you’d think, and it’s not a bug—it’s a deliberate security feature. Apple designed macOS this way to stop rogue apps from secretly listening in on your system sounds.
Why Is It So Hard to Record Your Mac’s Audio?
Ever tried using QuickTime to record a video playing on your screen? You probably noticed it picks up your voice from the microphone just fine, but the audio from the video itself is nowhere to be found. That’s macOS’s built-in privacy protection at work.
The operating system essentially creates a one-way street for sound. Audio flows out to your speakers or headphones, but applications are blocked from easily grabbing that same audio stream and looping it back in as an input for recording.
For anyone creating tutorials, software demos, or online courses, this is a major roadblock. A silent screen recording just doesn’t cut it. You need that crisp, clear system audio to show how an app works or to capture a key sound effect. If you want a broader look at this topic, our guide on how to screen record with sound is a great place to start.
The real challenge is getting your Mac to do something it’s actively designed to prevent. Without the right setup, you’re stuck with two bad options: a completely silent video or muddy audio recorded by your microphone picking up the sound from your speakers, complete with every echo and background noise in the room. The good news is that you can absolutely get around this. It just takes a little know-how. The trick is to create a “virtual audio cable” that reroutes your Mac’s internal sound directly into your recording software.
In the sections ahead, I’ll walk you through exactly how to do this. We’ll cover everything from free tools to professional-grade apps, giving you the power to capture flawless audio for polished, effective videos.
Using a Virtual Audio Driver to Record Your Mac’s Audio
If you’re looking for a powerful, free way to record your Mac’s internal audio, virtual audio drivers are your best bet. These brilliant little tools work like a digital patch cable, creating a new audio pathway inside your Mac to send sound from any app straight into your recording software.
Normally, audio from an app like Chrome or Spotify goes directly to your speakers or headphones. A virtual driver gets in the middle of that flow, letting you split the signal. You can send it to your headphones so you can hear what’s happening, and simultaneously send a clean copy to a recording app like QuickTime Player or Audacity.
Setting Up a Free Virtual Driver like BlackHole
One of the most popular and reliable free options out there is BlackHole, an open-source tool that’s become a staple for many Mac creators. You can download it directly, but installing it through Homebrew (a package manager for macOS) is often the most stable method. It might sound a bit geeky, but it’s just a simple command-line process that gets everything set up correctly.
This approach is all about getting around a core limitation in macOS, which is designed to prevent apps from easily recording other apps’ audio.
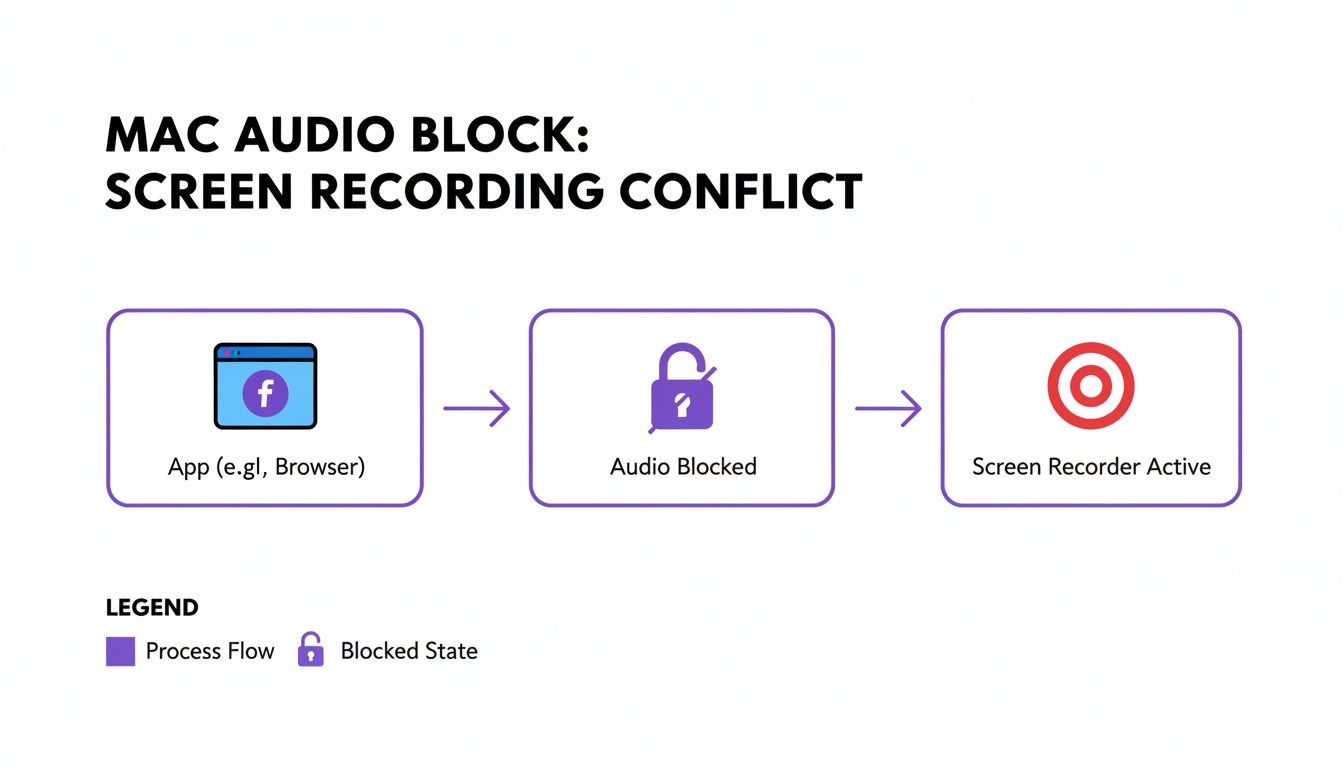
As you can see, the direct path is blocked. A virtual driver creates an approved detour.
Once BlackHole is installed, the real setup happens in a little-known Mac utility: the Audio MIDI Setup app. This is where you’ll create a special “Multi-Output Device.” This new virtual device is key because it combines two destinations for your Mac’s sound:
- Your main output: This will be your Built-in Speakers or your headphones—wherever you want to listen to the audio live.
- BlackHole: This is the virtual “cable” that will pipe the audio over to your recording software.
Creating this combined output is the secret sauce. It lets you monitor the sound in real-time while also capturing a perfect digital copy. It’s a critical step that, if missed, often leads to silent recordings and a lot of frustration.
How to Capture the Rerouted Audio
With your Multi-Output Device ready, it’s time to record. First, you need to tell your Mac to actually use this new audio path. Head over to System Settings > Sound, and under the “Output” section, choose the Multi-Output Device you just made. Now all system audio will be routed through it.
Next, fire up your recording software. We’ll use QuickTime Player for this example since every Mac has it.
- Open QuickTime Player and navigate to File > New Audio Recording.
- You’ll see a small dropdown arrow next to the red record button. Click it.
- From the list of available inputs, select BlackHole.
That’s it! When you press record, QuickTime won’t be listening to your microphone anymore. Instead, it will capture the pristine digital audio being channeled through the BlackHole driver.
This free method is a game-changer for anyone on a budget who needs to create screen recordings with high-quality system sound, like for software tutorials or gameplay videos. The setup takes a few minutes, but the professional-sounding results are well worth it. This same logic works perfectly with more advanced audio software like Audacity, too. Just go into Audacity’s preferences and set your recording input to BlackHole. It’s a reliable workaround that lets you record the very computer audio Mac was designed to protect, unlocking clean sound for all your projects.
Free vs Paid Mac Audio Recording Methods
Choosing the right tool depends on your budget, technical comfort, and how often you’ll be recording. The free route is incredibly powerful but requires some manual setup. Paid tools often trade that setup time for convenience and added features.
Here’s a quick breakdown of how the different approaches stack up.
| Feature | Free Method (e.g., BlackHole + QuickTime) | Paid Method (e.g., Loopback) | All-in-One Tool (e.g., Camtasia, Tutorial AI) |
|---|---|---|---|
| Cost | $0 | $99 (one-time) | $299+ (one-time or subscription) |
| Setup Complexity | High (requires creating Multi-Output Device) | Low (intuitive drag-and-drop interface) | None (audio recording is built-in) |
| Flexibility | Good; can route any system audio | Excellent; can mix multiple sources and apps | Limited to the app's recording features |
| Ease of Use | Moderate; requires switching outputs | Very easy once set up | Very easy; just click record |
| Best For | DIY creators, one-off projects, budget-conscious users | Podcasters, musicians, frequent streamers | Educators, corporate trainers, professional video creators |
Ultimately, there’s no single “best” answer. If you’re just starting out or only need to record system audio occasionally, the free method using BlackHole is a fantastic and capable solution. But if audio routing is a core part of your daily workflow, investing in a tool like Loopback or a comprehensive suite can save you a lot of time and hassle.
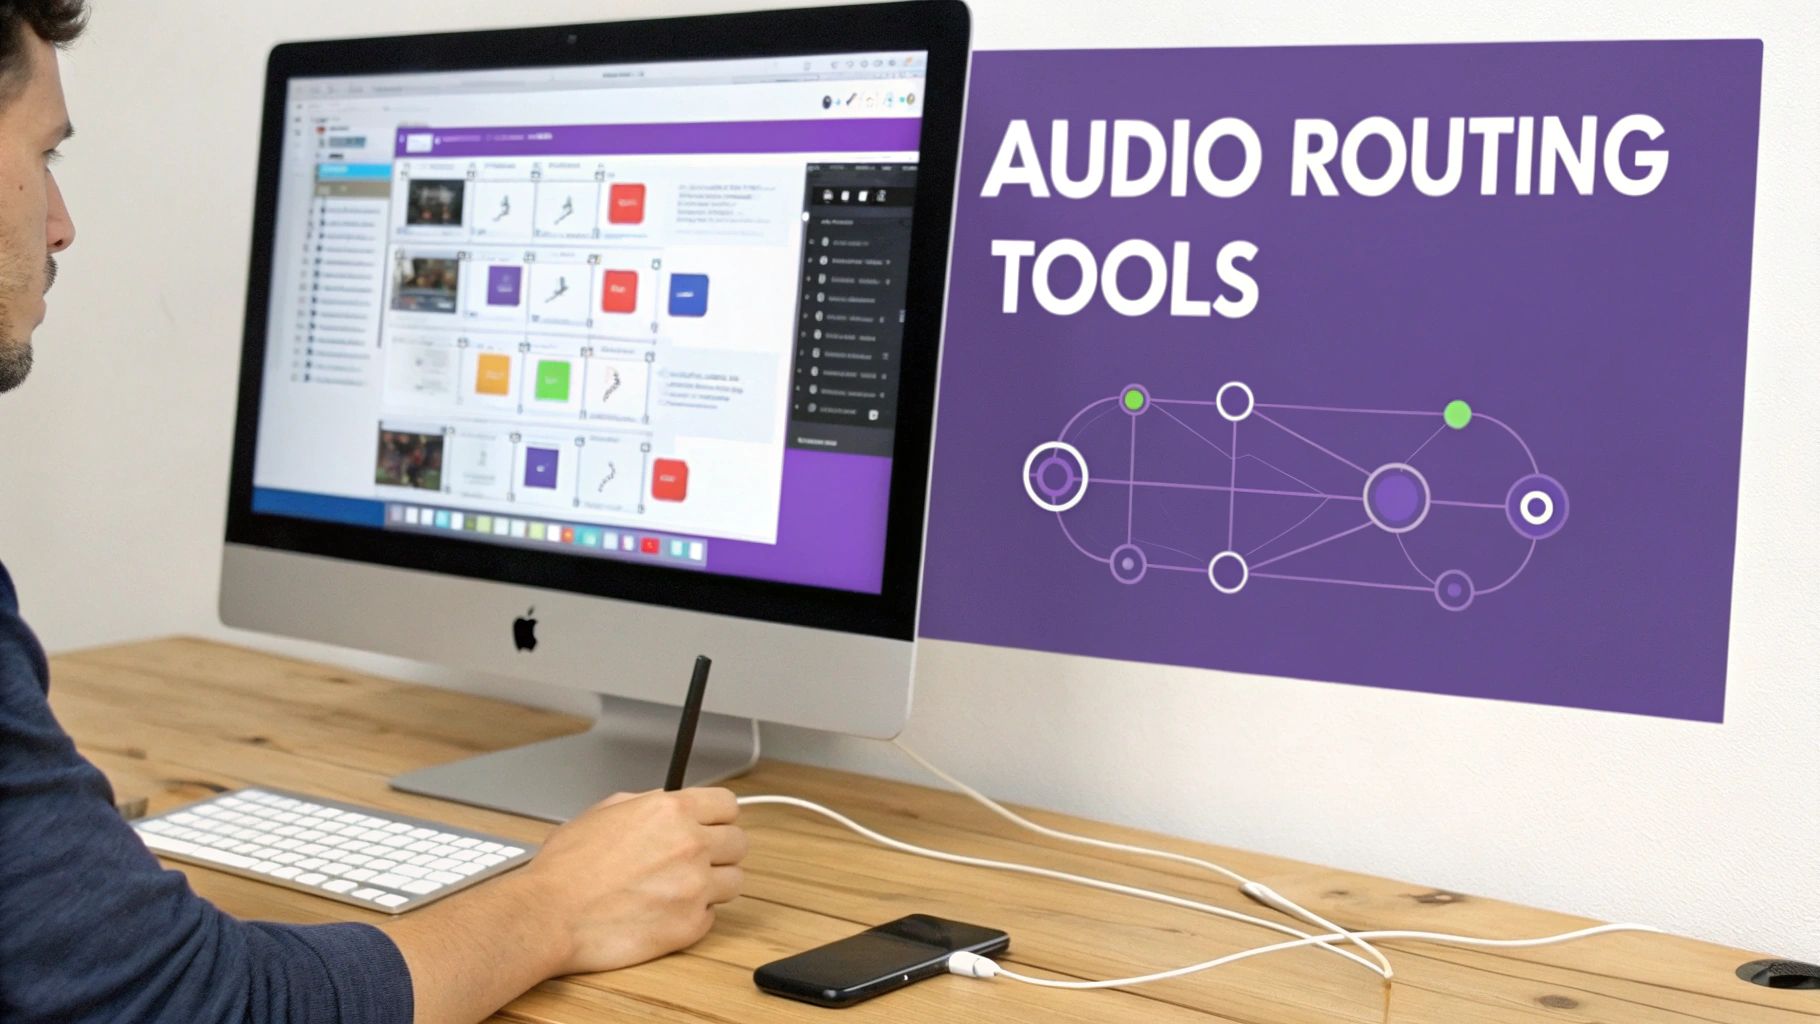
Investing in Pro-Level Audio Routing Tools
While the free virtual drivers are fantastic and get the job done, they can sometimes feel a bit like a science project. For anyone who records Mac audio for a living or just can’t afford any technical hiccups, paid routing tools are the only way to go.
Tools like Rogue Amoeba’s Loopback and Audio Hijack are worth every cent. They transform a confusing, multi-step process into something visual and intuitive. Forget about digging through system settings; with these apps, you get a clean, drag-and-drop canvas to build your audio setup exactly how you want it.
So, Why Pay When Free Options Exist?
Let’s paint a picture. You’re creating a crucial sales training video. You need to record the audio from a product demo in a Chrome tab, pull in some background music from Spotify, and capture your own voiceover from a USB mic—all at the same time.
With something like Loopback, this isn’t a headache; it’s a few clicks. You literally just drag the Chrome and Spotify icons onto the canvas, add your microphone, and wire them all up to a single virtual output. That’s it. You’ve just created a perfect mix that any recording software can grab, without ever touching the Audio MIDI Setup app.
This kind of power and simplicity is a big reason so many audio pros stick with Macs. The underlying Core Audio framework in macOS is built for low-latency, stable performance that minimizes glitches and dropouts. It’s a solid foundation that these paid tools build upon, giving you an almost foolproof system. If you want to dive deeper into the technicals, you can find some great Mac vs Windows audio performance debates on Gearspace.
Where These Tools Really Shine
Paid routing software is indispensable in any scenario where you simply can’t afford to have something go wrong. Their stability is a lifesaver for live events or any project where a do-over isn’t an option.
Here are a few real-world examples I’ve seen:
- Podcasting: Effortlessly record a guest’s audio from Zoom while your own mic is captured on a separate, clean track for easier editing.
- Live Streaming: Mix your in-game audio, a Discord chat with your team, and your own commentary into a single, polished stream for your Twitch or YouTube audience.
- Corporate Training: Grab the audio from a PowerPoint presentation and an embedded video clip, making sure the final recording is crystal clear.
The real value here is peace of mind. Paid tools let you stop worrying about the technical setup and focus entirely on creating great content. They just work, saving you an incredible amount of time and frustration. While our focus here is on Mac, the underlying concept of managing multiple audio sources is universal. A powerful audio mixer for PC offers similar physical control. Think of these Mac apps as a sophisticated virtual mixer, giving you that same granular control over every sound on your computer. Investing in one is an investment in a workflow that’s smoother, faster, and far more professional.
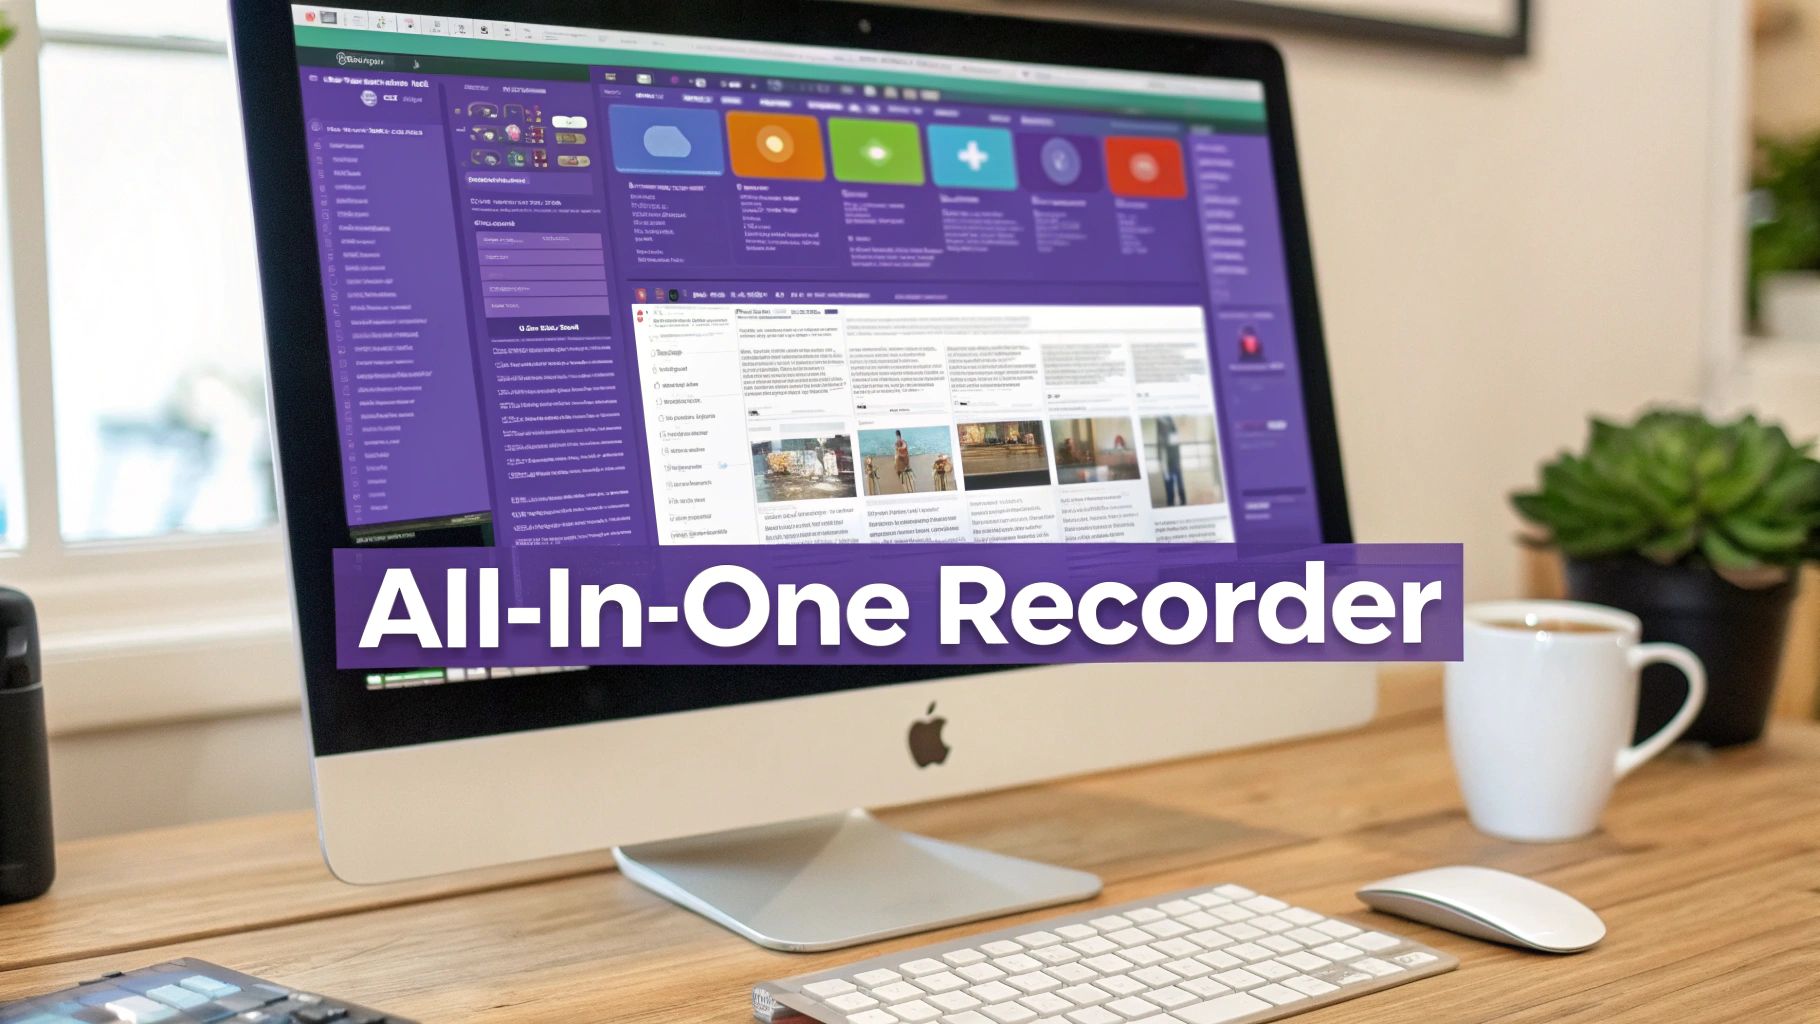
Streamlining Your Workflow with an All-In-One Recorder
Let’s be honest: fiddling with virtual audio drivers, routing software, and a separate screen recorder can be a real headache. If you find yourself needing to record your Mac’s audio on a regular basis, an all-in-one solution is a game-changer. It strips away all the technical friction so you can just focus on creating.
These tools are built from the ground up to handle everything at once—system audio, your microphone, and screen capture—right out of the box. There’s no need to create a Multi-Output Device or get lost in complex audio chains. You just launch the app, choose what you want to record, and hit the big red button.
From Raw Recording to Polished Video with AI
The real magic of modern all-in-one recorders isn’t just the recording; it’s what happens after you’re done. New AI-powered platforms like Tutorial AI are completely flipping the script by generating video tutorials based on your screen recordings. This is ideal for creating demos, onboarding videos, explainer videos, feature release videos, knowledge base videos, and support article videos.
Ever used a simple recorder like Loom? It’s fantastically easy, but the final video is often 50-100% longer than necessary. It’s full of “ums,” long pauses, and rambling sentences because you’re thinking out loud. You either live with the clunky result or resign yourself to hours of tedious editing.
On the flip side, professional video editing software such as Camtasia or Adobe Premiere Pro requires expert video editing knowledge. Most experts simply don’t have the time to become video editors on top of their day jobs.
Tutorial AI’s tools bridge that gap. They let you speak freely without any practice, and your video will still look professional, as if it was edited in Adobe Premiere Pro. It allows the subject matter expert to create on-brand videos extremely efficiently.
How AI Transforms Your Raw Take
Once you stop recording, the platform gets to work, automating tasks that would take a human editor hours. The entire point is to make the subject matter expert incredibly efficient at creating professional, on-brand videos.
Here’s a look at what happens behind the scenes:
- Automated Script Polishing: The AI transcribes your off-the-cuff narration and tightens it into a clear, concise script.
- Studio-Quality Voice Generation: It then re-records your narration using a crisp, professional AI voice, scrubbing any background noise or mic imperfections.
- Intelligent Video Editing: The tool automatically snips out dead air, quickens the pacing, and adds smooth zooms and transitions. The final video looks like it was cut by a pro in a high-end suite.
This all-in-one approach is a huge leap forward. If you’re looking for similar integrated solutions, you might also want to explore the best podcast recording apps, as many offer powerful recording and editing features for different kinds of content.
The result is a workflow where you can go from a rough idea to a finished, on-brand tutorial or feature announcement in a fraction of the time. This kind of efficiency is crucial for teams that need to produce quality instructional content at scale, especially without a dedicated video team. If you want to see more options, you can find a good overview of different software to record your computer screen and audio.
Pro Tips for Polishing Your Audio
Getting the audio captured is one thing, but making it sound genuinely professional is what separates great content from the rest. The little decisions you make before you even press the record button can make a world of difference in your final project.
One of the biggest factors is your recording format. If you want maximum flexibility for editing later, you should always record your Mac’s system audio in an uncompressed format like WAV or AIFF. Think of these files as the digital equivalent of a photo negative—they capture every single detail without any quality loss from compression.
Dialing in the Right Audio Settings
For projects like tutorials or software demos, the sweet spot is generally a 24-bit depth and a 48kHz sample rate. This combination gives you plenty of dynamic range and captures enough detail to keep the audio sounding crisp and clear, even after you’ve tweaked it in post-production.
For a long time, macOS has leaned into high-quality, uncompressed formats like AIFF and WAV for serious audio work. Yes, the files are bigger—a high-end 24-bit/96kHz stereo recording can easily hit 2 GB per hour—but for creators who need polished results, that trade-off is a no-brainer. In fact, over 60% of professional creators now use 24-bit audio for their projects to avoid the quality issues that come with compressed formats. You can find more details on digital audio recording standards on this page.
This is especially true if you’re making a tutorial where every sound and click needs to be perfectly clear. And if you plan to add narration over your recording, we have a complete guide on how to do a professional voice-over that can help.
Key Takeaway: Always record in the highest quality you can. You can easily compress a file for delivery later, but you can never magically add back quality that wasn’t captured in the first place.
Your Recording Space Matters
Your physical environment is just as important as your digital settings. Even a top-of-the-line microphone will capture the annoying hum of a fan, the clatter of your keyboard, or traffic noise from outside.
- Find a quiet spot: Your first step should be to find a room that’s as far away from background noise as possible.
- Use a decent microphone: An external USB mic will almost always sound better than the one built into your Mac. A good trick is to position it slightly off to the side of your mouth to soften those harsh “p” and “s” sounds (plosives).
- Silence your Mac: Don’t forget to flip on “Do Not Disturb” mode. This will kill all notifications and prevent an unexpected calendar alert from ruining an otherwise perfect take.
A Quick Tip on Privacy
Here’s a final piece of advice, especially for anyone recording in a corporate or business setting: be mindful of your Mac’s privacy settings. It’s surprisingly easy for Siri or Dictation to activate by accident and capture sensitive information you didn’t mean to share.
To be safe, just head over to System Settings > Siri & Spotlight and make sure “Listen for ‘Hey Siri’” is toggled off. It’s a simple click that adds an extra layer of protection, ensuring your screen recordings capture only what you intend.
Got Questions About Recording Audio on Your Mac?
Diving into audio recording on a Mac for the first time can feel a little confusing, especially since macOS has some peculiar rules about what you can and can’t do out of the box. Let’s tackle some of the most common questions that pop up.
Can I record my Mac’s internal audio without extra software?
This is probably the number one question I get. The short answer is, unfortunately, no. Apple designed macOS with security in mind, which means built-in apps like QuickTime Player are intentionally blocked from capturing your computer’s internal sound. They’re great for recording your voice from a microphone, but for system audio, you’ll need a little help from a third-party tool like the free BlackHole driver or a dedicated app.
Will running an audio driver slow my Mac down?
It’s a valid concern—nobody wants a laggy computer in the middle of a recording session. The good news is that lightweight virtual drivers like BlackHole or Soundflower are incredibly efficient. You honestly won’t even notice they’re running.
Even more powerful tools like Loopback are well-optimized. While they might use a tiny bit more CPU for complex setups, any modern Mac can handle it without breaking a sweat. All-in-one recording apps are also built to be as light on resources as possible.
Pro Tip: Before you hit record, always turn on ‘Do Not Disturb’ mode. It’s a simple click, but it’s the difference between a clean, professional take and one that gets ruined by an unexpected notification chime.
Is it safe and private to record my screen and audio?
Privacy is a big deal, and it’s smart to be cautious. We’ve seen a lot of discussion around how services like Siri and Dictation handle user audio, with snippets sometimes being sent to Apple’s servers for analysis.
It’s worth noting that since macOS Catalina, over 40% of users and 52% of enterprise IT teams have opted out of this kind of data sharing. You have full control over these settings in System Preferences, and you can find a great walkthrough in this overview of Mac privacy settings to lock things down.
And while we’re on the topic of getting things right, always aim to record in an uncompressed format like WAV or AIFF. Capturing at 24-bit/48kHz gives you the highest possible quality, which makes a world of difference when you get to the editing stage.
Creating great tutorials shouldn’t mean becoming an audio engineer overnight. With Tutorial AI, you can just record your screen and talk. Our AI steps in to clean up the audio, creating a polished, professional video with a studio-quality voiceover from your raw take.
Start creating studio-quality tutorials in minutes with Tutorial AI