You need to record a Mac workflow for a product demo, onboarding video, or internal training guide. The recording itself is easy. The problem starts when you stop recording and find pauses, retakes, cursor movement, background noise, and explanations that make sense to you but slow down the viewer.
The right video recording software for Mac depends on what happens after capture. QuickTime Player and the Screenshot toolbar handle a fast, raw clip. Screen Studio, ScreenFlow, and Camtasia add polish through editing. AI tutorial-generation tools focus on turning one recording into a reusable video and written guide. Your decision should come down to recording modes, editing effort, export quality, Mac compatibility, ease of use, integrations, privacy, and pricing.
| Use case | Best-fit category | Why |
|---|---|---|
| Quick bug report or short explanation | Built-in capture or casual recorder | Fast to start and easy to share |
| Product demo or feature video | Polished editor | Better control over pacing, zooms, captions, and branding |
| Customer onboarding or help-center video | AI tutorial-generation tool | The recording can become both a video and documentation |
| Internal training or SOP | Local recorder, polished editor, or AI workflow | The right choice depends on privacy, review, and reuse |
| Complex multi-track production | Professional editor | Maximum control, with more manual work |
Introduction
A support lead might record a three-minute walkthrough of a billing setting, then spend much longer cleaning it up and rewriting the help article. A product marketer might capture a new feature, only to discover that the video needs a different narration for customers in another market. A trainer may need the same Mac recording in a video library, an SOP, and a knowledge base.
Those jobs need more than screen capture. They need a workflow that produces something viewers can follow and teammates can reuse.
For a one-off clip, QuickTime Player or Shift-Command-5 is usually enough. For a carefully edited demo, Screen Studio, ScreenFlow, or Camtasia gives you more control. For a subject-matter expert who wants to record the workflow and produce a polished tutorial plus written documentation, an AI tutorial generator is a different category of tool.
The comparison below focuses on the practical trade-off. Recording is only step one. Cost appears in editing, review, publishing, versioning, and adapting the same explanation for different audiences.
What Mac Users Get Out of the Box and Where It Falls Short
macOS gives you two practical ways to start. QuickTime Player is free and pre-installed on every Mac, and it can record the screen and webcam, according to an industry roundup of Mac recording tools (Mac screen recording software comparison). The Screenshot toolbar, opened with Shift-Command-5, captures stills, selected windows, portions of the display, and screen recordings without another installation.
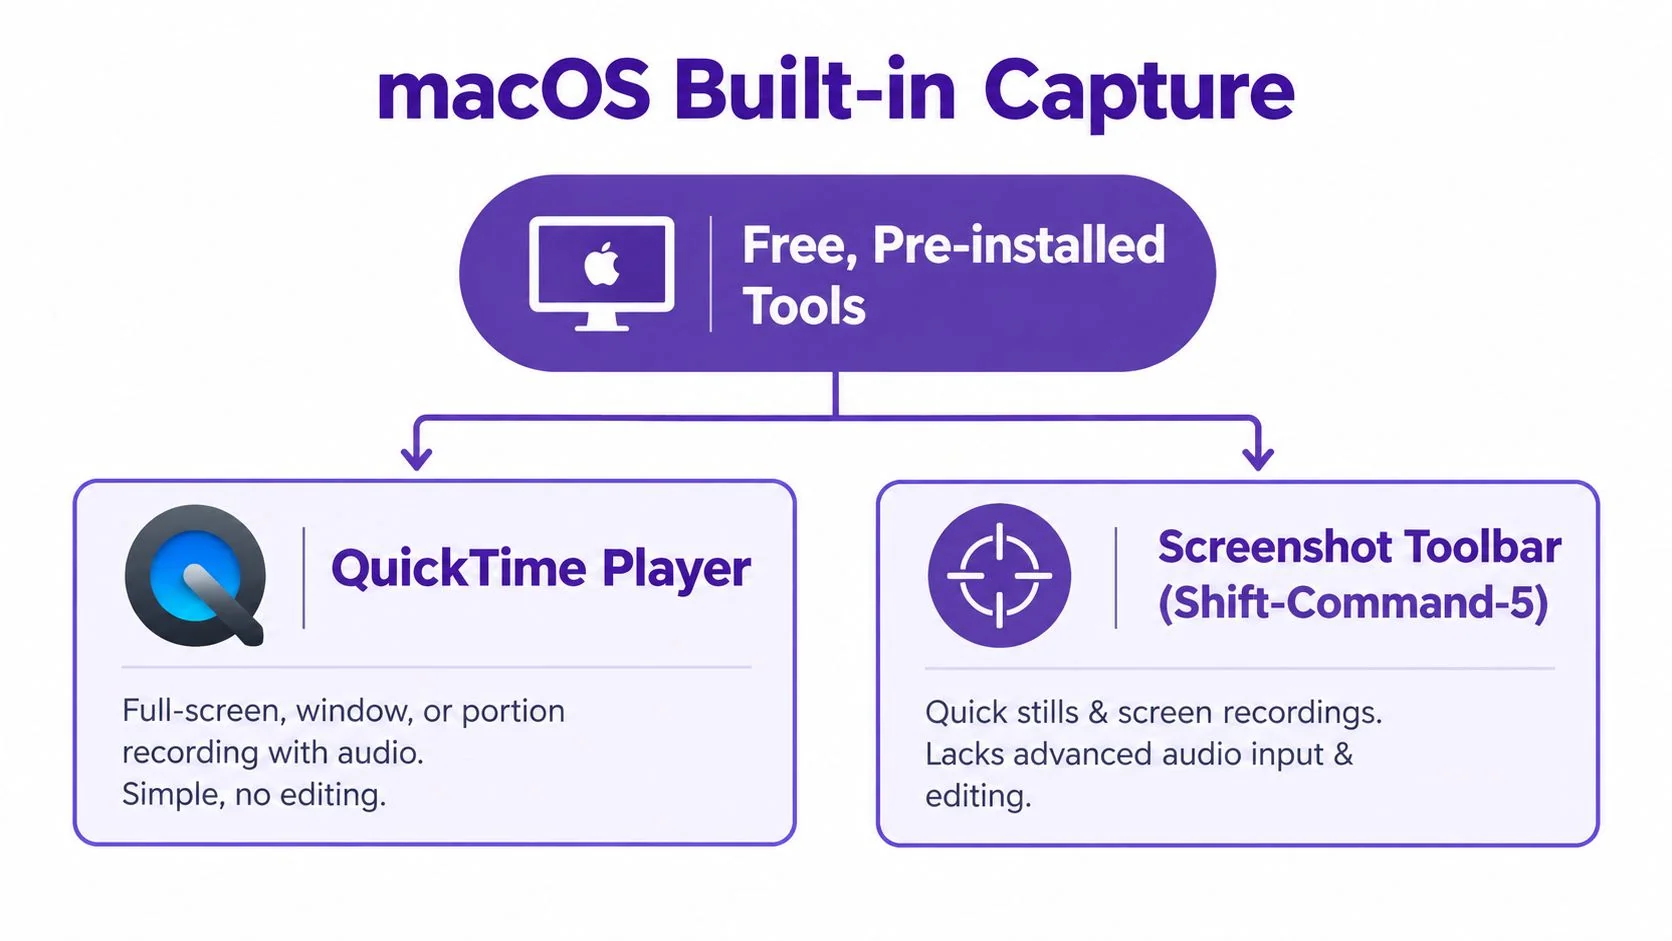
These tools are the right starting point for a short bug report, a private explanation to a colleague, or a raw clip that someone else will edit. They also keep the first step fast. Start recording, demonstrate the issue, stop, and send the file.
The limitation appears after you hit stop. A raw take preserves every pause while you search for a menu, every restarted sentence, every side explanation, and every mistaken click. QuickTime Player and the Screenshot toolbar do not provide a script-based cleanup workflow for turning that material into a consistent tutorial.
That matters when the recording must become a help-center video, reusable documentation, or an approved product demo. Viewers need a clear sequence, visible cursor movement, understandable narration, and a useful ending. They should not have to watch the author search for the right tab.
Practical rule: Use built-in capture when speed matters. Choose an editor or an AI-assisted workflow when the same recording needs cleanup, approval, branding, or documentation.
The Mac market includes free capture tools, paid editors, and subscription products. One comparison lists QuickTime as free with export up to 4K, Aiseesoft Screen Recorder with 4K/HDR export and support for macOS 10.12 or later, CleanShot X with 4K support and macOS 10.14 or later, ScreenFlow with 5K+ export and macOS 13.0 or later, and Camtasia with 4K export and macOS 14.0 or later (Mac screen recorder comparison).
The price spread is wide. Free options include OBS Studio and QuickTime, while one comparison lists professional Mac apps at about $169 for ScreenFlow and about $299.99 or $179.99 per year for Camtasia. Resolution alone should not decide the purchase. OS compatibility, editing depth, audio handling, and the work required after recording usually matter more.
For the first capture step, follow this guide on how to capture a video on Mac.
How to Compare Video Recording Software for Mac Without Guesswork
A recording that looks fine at capture can become a poor tutorial after you press stop. Compare Mac recorders by the work that follows: trimming hesitation, correcting narration, adding captions, reviewing changes, and publishing a file people can reuse.
Start with recording modes. Full-screen capture suits broad demonstrations, while window or app capture keeps attention on the product and limits unrelated content. Webcam input supports introductions and customer-facing demos. System audio and microphone controls matter when the workflow includes spoken instructions, application sounds, or both.
Then examine the editing model. A traditional timeline provides precise control over tracks, transitions, overlays, and cuts, but someone must find and edit each moment manually. Transcript-based editing treats narration as text, so script changes can update voiceover, captions, and timing together. That approach fits subject-matter experts who know the process but do not edit video every day. Transcript-based screen recording deserves a place in your evaluation when script revisions are part of the review cycle.
Weight the criteria against the job
Export quality matters only when it matches the destination. Mac recording tools span free capture with up to 4K export and paid software offering 5K+ export, so compare the quality ceiling with your help center, LMS, product demo, or direct-share requirements (Mac screen recorder comparison). A high-resolution option adds little value if the finished tutorial still needs manual cleanup, captions, or approval.
Setup friction matters just as much. Can a trainer start without configuring several inputs? Can a support specialist capture one application instead of exposing unrelated tabs? Can reviewers open the result without downloading a large file? These questions determine whether the workflow survives repeated use.
| Criterion | Quick Clip | Polished Tutorial | Team Documentation |
|---|---|---|---|
| Recording modes | Full screen, window, or selected area | Screen, app, webcam, microphone, and system audio as needed | Repeatable capture setup with clear privacy controls |
| Editing model | Trim or leave raw | Timeline editing, zooms, captions, and visual cleanup | Script or transcript editing plus reviewable versions |
| Export quality | Good enough for a direct share | Consistent resolution and presentation | Video plus formats that work in a help center or LMS |
| Ease of use | Fastest start | Requires editing knowledge | Subject-matter expert should manage the workflow without becoming an editor |
| Collaboration | Manual sharing | File export or hosted review | Review, approval, versioning, and publishing |
| Pricing | Free options available | Paid purchase or subscription | Evaluate total workflow cost, not capture alone |
Choose a fast recorder for a clip that will be watched once. Choose a polished editor for a launch video that needs visual cleanup and approval. Choose a documentation-focused workflow when one recording must support both watching and following written steps. The right tool is the one that turns the raw capture into a usable asset without assigning every cleanup task to a video specialist.
Local Privacy Versus Cloud Convenience on Mac
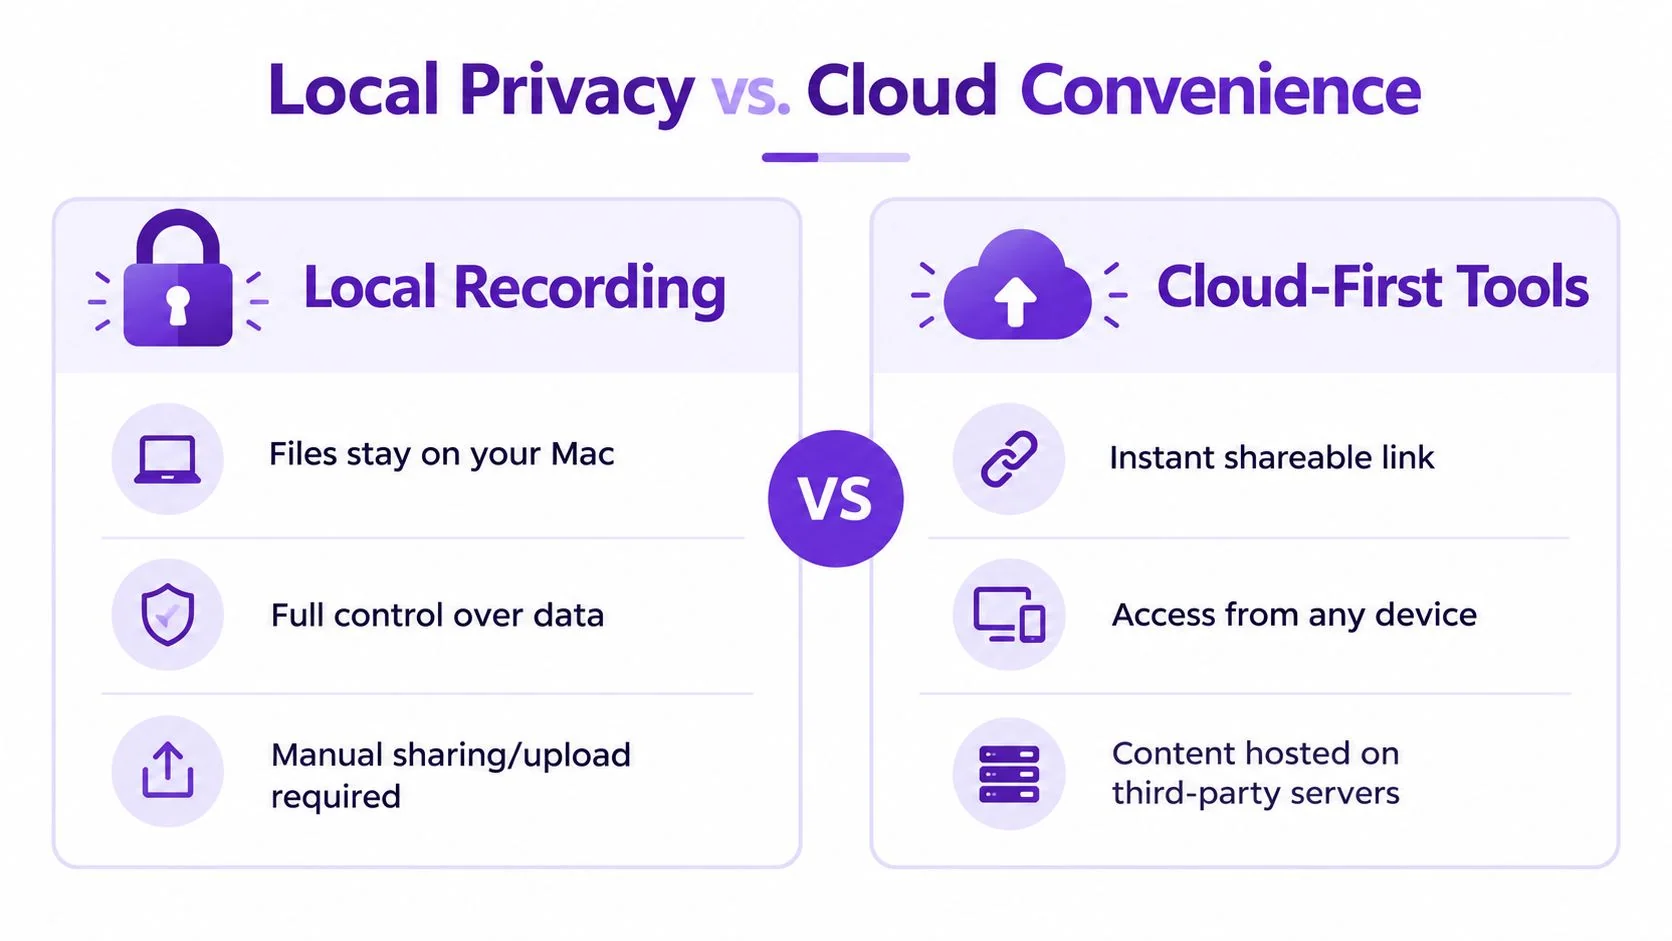
The local-versus-cloud decision is more practical than a simple preference. If you’re recording a customer account, an internal dashboard, or a support process containing sensitive tabs, the capture location affects how you control the footage after pressing stop.
A local recorder such as QuickTime or OBS keeps the initial file on your Mac. You control the folder, the upload decision, and the people who receive the file. That approach suits a support agent preparing footage for a private review or an IT trainer working with internal systems.
Cloud-first tools trade some direct control for faster collaboration. A hosted recording can be easier to share, review, version, and access from another device. It can also create governance questions that the capture screen doesn’t answer, including where the content is hosted, who can view it, how approval is documented, and whether a notification or unrelated tab entered the recording.
A safer workflow for sensitive footage
Privacy isn’t solved by choosing local capture once. Teams also need a recording checklist.
- Prepare the workspace: Close customer tabs, hide notifications, and use a test account when possible.
- Choose the capture boundary: Record the application or window instead of the entire desktop when the tutorial doesn’t require the rest.
- Review before sharing: Watch the file for visible identifiers, accidental messages, and spoken confidential details.
- Define approval: Decide who can approve the video and the written instructions before publishing.
- Control the destination: Store local files and hosted links according to the team’s data-handling rules.
A local file can still be uploaded carelessly. A cloud workflow can still be appropriate when the organization has reviewed its hosting and access requirements. The right answer depends on the sensitivity of the workflow and the speed your team needs for review.
For audio-specific capture decisions, use this guide to record computer audio on Mac. It belongs early in the process because missing system audio is harder to fix after the recording is complete.
Detailed Comparison of Popular Mac Recording Tools by Category
Choose the tool based on what must happen after you press stop. A quick capture can share an idea immediately, while a polished editor prepares reusable product videos. An AI tutorial workflow can turn one product walkthrough into both a finished video and supporting documentation.
Simple screen recorders
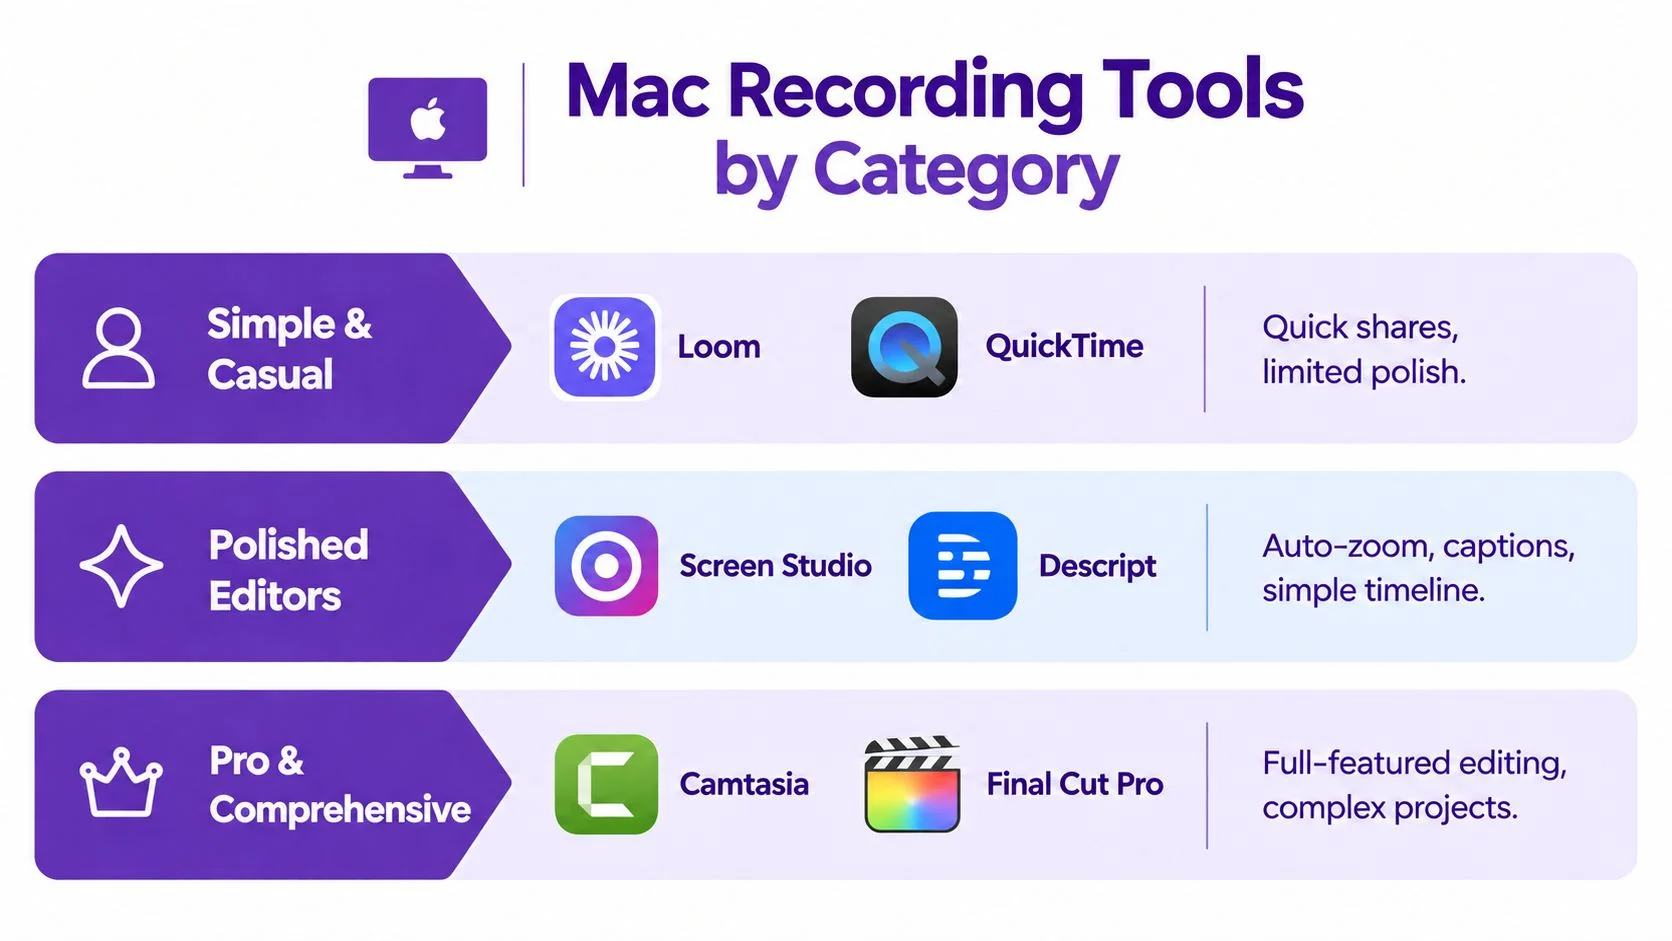
Loom and similar casual recorders suit fast explanations and shareable messages. QuickTime is the local option for anyone who wants a straightforward file without adopting a larger production workflow. OBS Studio offers more control over scenes and recording inputs at no software cost, but its setup takes more preparation. A subject-matter expert who needs to teach a process immediately may prefer a simpler recorder.
The trade-off appears after capture. Pauses, repeated explanations, retakes, and irrelevant steps remain in the raw file unless someone edits them. That is acceptable for an internal message. It creates rework when the recording represents a product, trains a customer, or becomes part of a public knowledge base.
Best fit: Choose a casual recorder when speed and direct sharing matter more than a finished tutorial.
Polished Mac editors
Screen Studio makes software recordings more presentable with effects such as zooms and cursor emphasis. ScreenFlow and Camtasia combine capture with a conventional editing environment. Final Cut Pro and Adobe Premiere Pro provide deeper manual control for complex projects, but they rely on timeline editing and require more production experience.
Use Camtasia when you need track control, callouts, and detailed adjustments in a familiar editor. Choose ScreenFlow when capture and editing should stay in one Mac-focused application. Screen Studio fits polished software demonstrations where automated visual treatment matters more than a complex multi-track project.
Pricing varies sharply across the category. The market comparison cited earlier places ScreenFlow at about $169 and Camtasia at about $299.99 or $179.99 per year, while free tools remain available (Mac screen recording software comparison). Check current licensing terms before purchasing.
Teams comparing recording workflows beyond screen tutorials can compare podcast studio software to understand how audio-focused production differs from software walkthroughs.
AI tutorial-generation tools
This category begins with the product workflow and reduces the manual work required to turn it into teaching material. Tutorial AI can turn a screen recording and narration into a polished tutorial video without manual timeline editing, then generate matching written documentation from the same recording (Tutorial AI).
The workflow is practical:
- Record the software process and explain each action.
- Let the platform tighten pacing and cuts with AutoRetime.
- Review or edit the script when a product expert or reviewer requests a change.
- Generate a new voice track when needed, including narration in 74 languages.
- Produce matching step-by-step documentation.
- Publish the video and article through the destinations your team uses.
Review remains necessary. Confirm the clicks, terminology, screenshots, and instructions before publication. The workflow reduces the need for a subject-matter expert to learn manual timeline editing, while preserving a review point for accuracy.
Avatar tools such as Synthesia, HeyGen, and Vyond address a different need. They focus on generated presenters or avatars. Screen-based tutorials start with the actual software interface, which suits viewers who need to follow exact product steps rather than watch a generated presenter.
Best Use Cases for Tutorials Demos Onboarding and Documentation
After you press stop, the recording still has work to do. A sales walkthrough needs a clear story and controlled pacing. An SOP needs repeatable steps. A help-center video needs the narration, interface, screenshots, and written instructions to agree. Choose the workflow based on the final assets, not only on how quickly the Mac captures the screen.
Product demos and feature releases
Record the actual product workflow. Open the feature, show the important controls, and explain the decision a user needs to make. A conventional editor suits marketing teams that own the cut and need precise control. An AI tutorial workflow suits a product expert who can explain the process but does not want to build a timeline manually.
Apply Brand Kits when a series needs consistent colors, fonts, and presentation. Smart zooms and cursor effects can direct attention to the relevant interface area. Backgrounds and blurs can cover information that should not appear in the published recording. Review every effect at the final playback size so it supports the explanation instead of distracting from it.
Onboarding and help-center videos
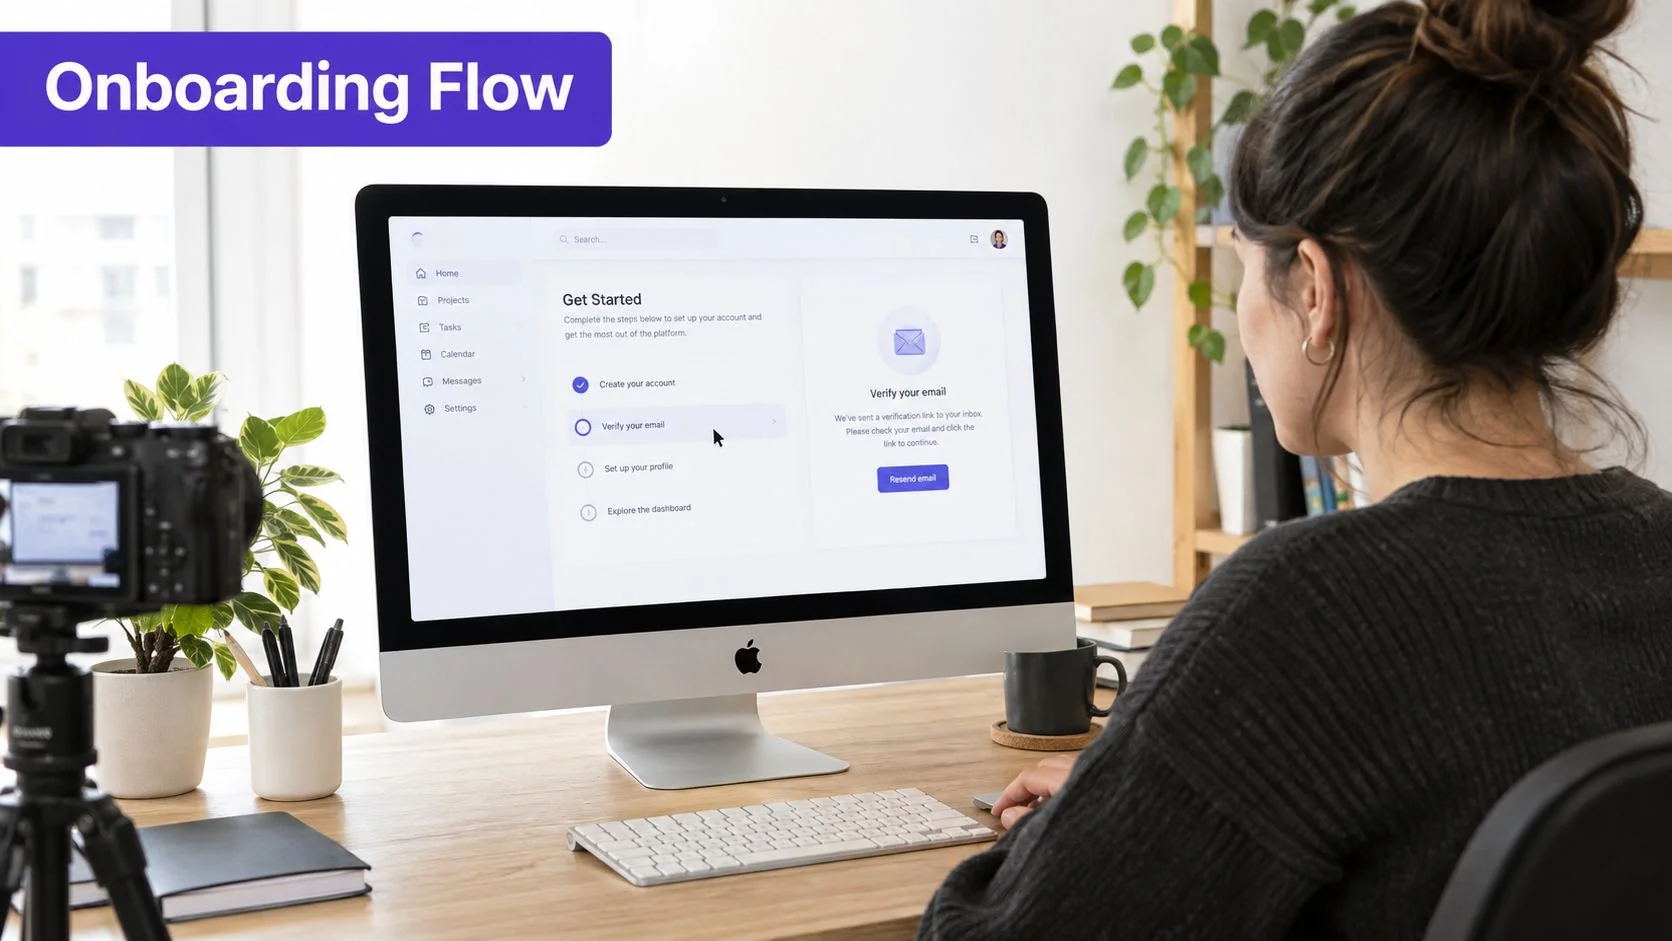
Customer onboarding usually needs two related outputs. The video demonstrates the sequence, while the article gives customers a reference they can scan later. Record the setup once, then create both formats from that source. This keeps the written steps tied to the interface and reduces the chance that a writer reconstructs clicks from memory.
Training, SOPs, and sales enablement
For internal training, use the labels employees see in the application. For an SOP, state each action clearly and pair it with a screenshot or written step. For sales enablement, focus on the buyer’s workflow rather than exposing every available feature.
A practical production sequence is:
- Record the process: The subject-matter expert demonstrates the task on Mac and explains the reason for each important action.
- Tighten the draft: AutoRetime can improve pacing and cuts, while the expert checks the result against the product.
- Update the explanation: Transcript-based editing can update narration, captions, and timing together (screen recorder with transcription).
- Reuse the work: Video-to-document generation creates matching written documentation from the recording.
- Localize when needed: The Multilingual Player and narration in 74 languages support audiences that need another language.
- Publish deliberately: Send the approved version to the help center, LMS, documentation system, or sales workspace.
The payoff is reuse after recording, not a shorter editing session. One accurate walkthrough can support a demo, onboarding asset, SOP, and knowledge-base article, provided each version is reviewed for its audience.
Choosing the Right Video Recording Software for Your Mac Workflow
Start with the finished asset, not the capture button. If you need a fast, raw clip for a bug report, private explanation, or temporary recording, use QuickTime Player or the Screenshot toolbar. Both are free, pre-installed, and quick to operate.
Choose Screen Studio for polished screen demos with minimal production work. Choose ScreenFlow or Camtasia when you need direct control over a conventional timeline. Use Final Cut Pro or Adobe Premiere Pro for complex projects where detailed manual editing matters more than speed.
Choose an AI tutorial-generation workflow when the recorder knows the process but does not edit professionally, and the deliverable must include a video and written documentation. Transcript-based editing helps when reviewers revise the wording, because one text change can update the voiceover, captions, and timing together.
Costs range from free tools to professional Mac apps listed at about $169 to $299.99, depending on the product and license model. Pay for editing depth only when the workflow requires it. A raw recorder creates extra work when your team needs repeatable tutorials, onboarding assets, or documentation.
Record one real Mac workflow, then assess the result after you stop. Check the finished video, review process, and written guide it can produce.
Record your Mac workflow in Tutorial AI, review the polished tutorial, and generate matching documentation from the same recording. It supports product demos, onboarding, training, SOPs, and help-center content that needs more than raw screen capture.