Most advice about VS Code gets the priority backwards. It tells people to memorize shortcuts, pick a theme, and install a handful of extensions. That helps on day one. It doesn’t help much on a real team where one developer uses Windows, another uses macOS, a third works in Linux, and everyone needs the editor to behave predictably inside the same repository.
That gap matters because VS Code became a standard partly by being a lightweight code editor that runs on Windows, macOS, and Linux, with a low-friction path into debugging, Git, and broad language support, as summarized in Coursera’s Visual Studio Code overview. In practice, a good Tutorial VSCode setup isn’t about learning where the sidebar lives. It’s about creating a workspace people can join without wasting their first hour fixing formatting, terminals, or broken launch configs.
Why Most VS Code Tutorials Are Incomplete
A lot of popular VS Code guides are basically productivity snack content. You get ten shortcuts, five extensions, one debugger screenshot, and a theme recommendation. Useful, yes. Complete, no.
The bigger problem is that most Tutorial VSCode content still centers on installation and basic UI, while skipping the harder question of how to make VS Code work well for a real project across languages, keybindings, and workspace settings. That gap is called out directly in Udacity’s beginner-oriented VS Code tutorial, which reflects how much search content still over-indexes on basics instead of repeatable team setup.
What typical guides get wrong
They usually assume the editor is a personal tool. In a team, it isn’t. It’s shared infrastructure.
When a repo has no agreed formatting, no recommended extensions, no workspace settings, and no documented debug path, every developer invents a local system. That works until onboarding starts, code reviews get noisy, and the “works on my machine” pattern shows up inside the editor itself.
Practical rule: If a VS Code tip can’t be committed to the repository or taught in five minutes, it usually isn’t the first thing a team should optimize.
What matters more than another shortcut list
A professional setup needs a few things to be true:
- The workspace should be reproducible. Team members should open the same folder and inherit the same baseline behavior.
- Project settings should beat personal preferences when consistency matters. Formatting, file exclusions, and language-specific defaults belong close to the code.
- The editor should support documentation, not just coding. Teams often need to show someone else how the workflow works, whether for onboarding, support, internal SOPs, or customer education.
That’s where most tutorials stop short. They teach the editor as a collection of features. They don’t teach it as part of a delivery system.
For teams that need to capture those workflows clearly, a stronger pattern is to record the process once and turn it into reusable training. That’s the same principle behind creating software tutorials that double as documentation. The point isn’t more content. It’s fewer one-off explanations.
Building Your Foundational VS Code Setup
A useful VS Code setup starts in the repository, not in your personal preferences.
VS Code runs well across Windows, macOS, and Linux, which makes it a practical editor for mixed teams. That benefit disappears fast if every developer tunes the editor by hand and nothing gets documented in the project itself.
Start with the project, not your profile
Open the repository root first. Do not start from a nested src folder or a random file from your recent history. The root folder is where VS Code picks up Git state, workspace settings, tasks, extension recommendations, and debug configuration.
If the repo does not already include a .vscode directory, create one. The first file to add is usually settings.json. In this file, teams define the editor behavior that should stay consistent across machines.
A practical starter file often includes things like:
{"editor.formatOnSave": true,"files.exclude": {"**/.DS_Store": true},"search.exclude": {"**/node_modules": true,"**/dist": true}}These settings are boring on purpose. That is a good sign. Shared settings should remove friction, not turn the repo into a debate about fonts, themes, or tab animations.
Use workspace settings for behavior tied to the codebase. Keep personal comfort settings in your user profile.
A setup checklist that works on real teams
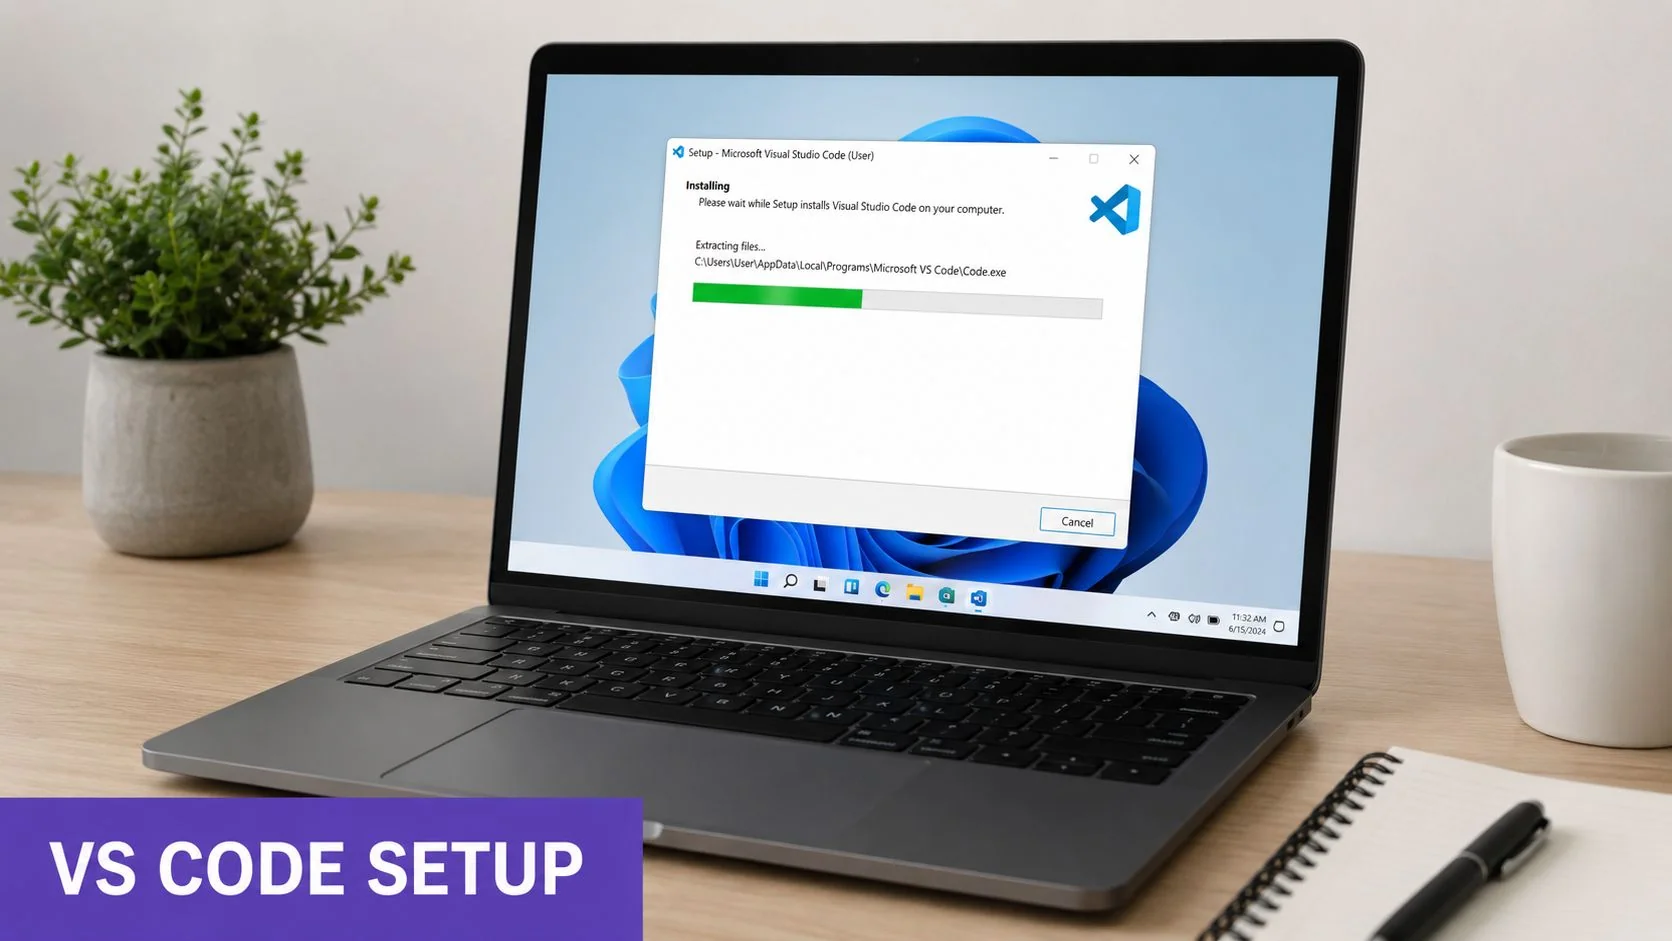
I prefer a short onboarding path that a new hire can finish without asking for a rescue call halfway through.
- Install VS Code and sign in only if your team uses Settings Sync. Sync is helpful when you switch machines, but it should never be the source of project defaults.
- Open the repository root folder. Confirm that VS Code detects the Git repo and the expected project files.
- Read
.vscode/settings.jsonbefore changing anything. It tells you what the team expects from formatting, search, and file visibility. - Check for
.vscode/extensions.json. Recommended extensions save time, especially on polyglot projects where the wrong language server creates false errors. - Run the app or test suite once before customizing your editor. If the baseline is broken, personal tweaks only hide the underlying problem.
That sequence works well for cross-platform projects because it separates repo-owned behavior from machine-owned behavior. It also makes setup easier to document. If your team records onboarding videos for Windows users, this guide to the best screen recorder for Windows is a practical reference for capture quality and workflow.
A quick walkthrough is often faster than text when someone is seeing the editor for the first time:
What belongs in version control
Teams get the best results when they commit the files that describe shared workflow and leave personal preferences out of the repo.
| File | Commit it | Why |
|---|---|---|
.vscode/settings.json | Yes | Shared editor behavior |
.vscode/extensions.json | Yes | Recommended toolchain |
.vscode/launch.json | Usually | Debug workflows people need to reuse |
| personal user settings | No | Machine-specific preference |
launch.json is the file teams skip too often. Then every developer invents a slightly different run configuration, and bug reports get harder to reproduce. If your app has more than one startup path, such as API, worker, and frontend, document the common ones in the repo.
Keep the workspace opinionated enough to reduce setup time, but not so rigid that developers have to fight it. That balance matters even more if you plan to turn your setup process into internal training later, because documented editor workflows are much easier to teach, record, and maintain than personal habits.
Mastering the Core Editor Workflow
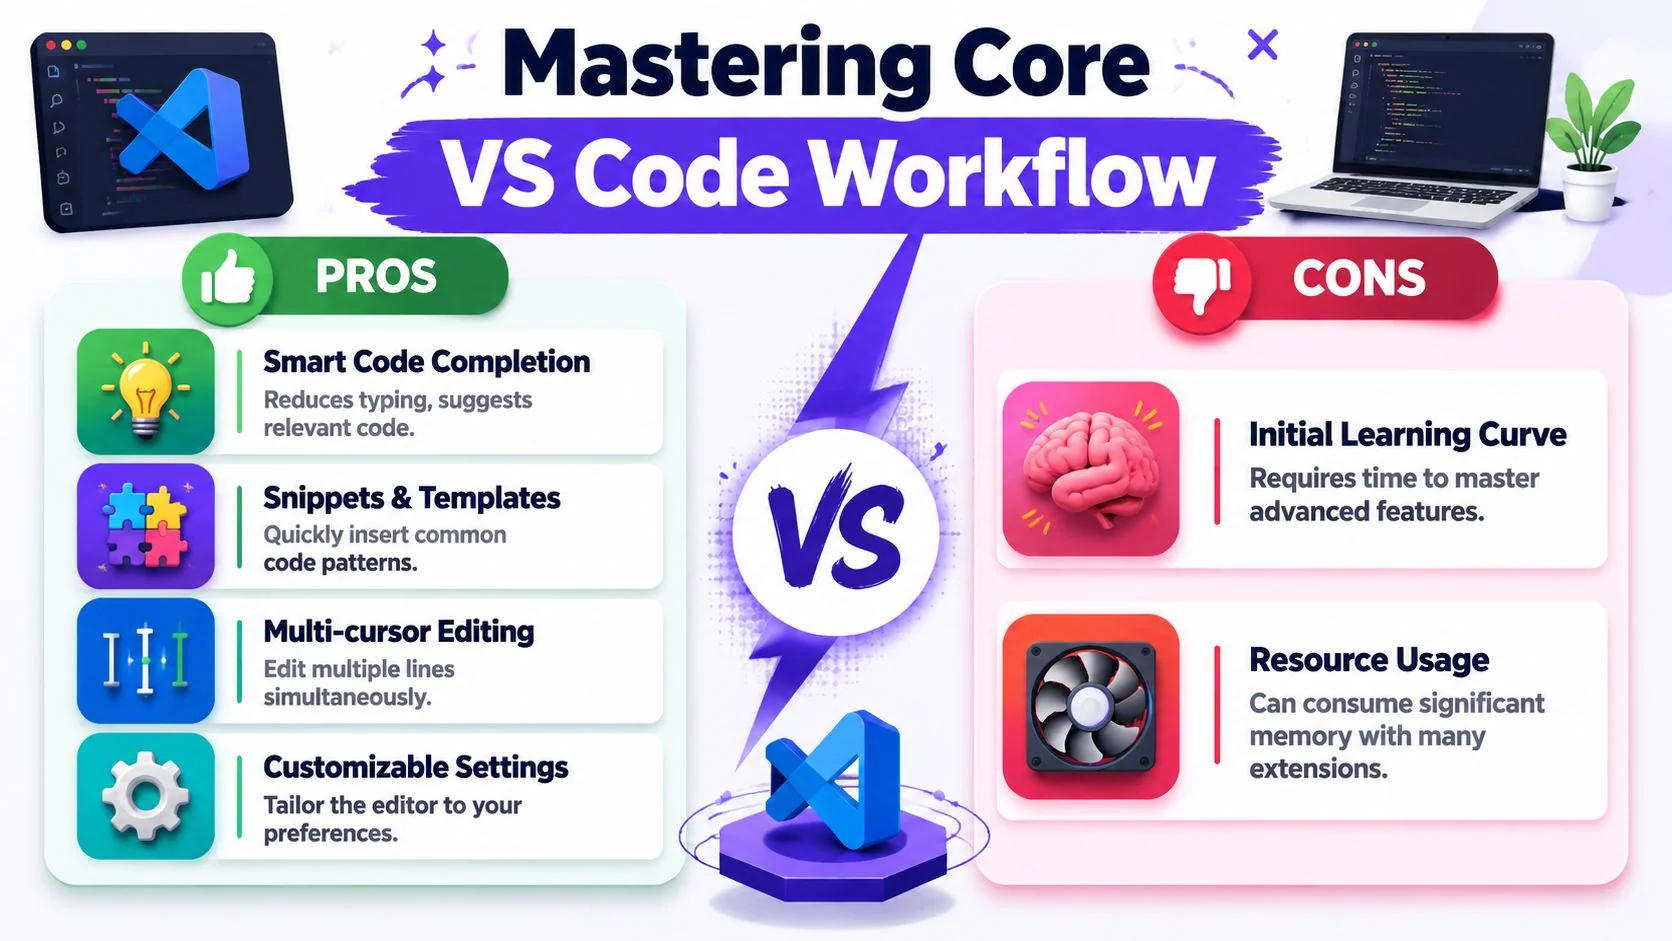
Good VS Code users don’t just type faster. They remove avoidable decisions from the edit-run-fix loop.
The biggest jump usually comes from using IntelliSense, Code Actions, and multi-cursor editing as one system instead of three disconnected features. Microsoft’s documentation reports that using IntelliSense and Code Actions can resolve 72% of syntax errors before execution, IntelliSense users reach 90% code completion accuracy compared with 55% for generic autocomplete tools, and multi-cursor editing can reduce repetitive editing time by 60% in the editor workflow described in VS Code IntelliSense documentation.
IntelliSense is context, not decoration
A lot of beginners treat completion suggestions as optional convenience. In real projects, contextual suggestions are part of error prevention.
If your workspace has the right language support installed, IntelliSense reads more than the current line. It works from imports, project structure, known symbols, and file context. That changes how you should code. Instead of free-typing every method or property, pause and let the editor confirm what exists.
A simple discipline helps:
- Type just enough to trigger intent. Don’t write the entire symbol if completion already knows it.
- Watch the detail panel. It often tells you whether you’re calling the right overload or member.
- Use completion to validate assumptions. If a symbol doesn’t appear, that often signals the import or type context is wrong.
Code Actions are where cleanup becomes teachable
The lightbulb menu is one of the most underused features in any Tutorial VSCode guide. Teams mention it. They rarely build habits around it.
Code Actions work best when you use them immediately after writing rough code. For example, if you start with string concatenation and the editor offers a cleaner template-string conversion, take it while you’re still in the block. Small refactors compound.
When the lightbulb appears, don’t ignore it. That’s often the fastest path from “works” to “team-ready.”
That matters in training too. When you’re showing a junior developer how to fix code, narrating the Code Action is more useful than saying “just refactor this manually.” It exposes the editor’s model, not only your own.
Multi-cursor editing changes how you think about repetition
A surprising amount of code churn comes from tiny repeated edits. Renaming similar values across lines. Adding the same prefix in a list. Wrapping several items with the same function call.
That is where multi-cursor editing pays off. If you’re still editing one occurrence at a time, you’re using VS Code like a plain text box.
Try these cases:
- Batch edit a column of similar text. Select the occurrences and type once.
- Fix repetitive syntax in generated code. Multi-cursor is often faster than a regex replace for small scoped changes.
- Normalize copied data. Lists, config blocks, and repetitive object literals respond especially well.
What works and what doesn’t
Here’s the trade-off I see repeatedly:
| Approach | What works | What fails |
|---|---|---|
| Plain typing plus generic autocomplete | Fine for tiny files | More manual correction and drift |
| IntelliSense plus Code Actions | Faster feedback and cleaner edits | Requires pausing to use suggestions |
| Multi-cursor for repetition | Excellent for local transformations | Easy to overuse on changes that need semantic refactoring |
The pattern is simple. Use editor intelligence for local correctness, not just speed. That’s what separates a polished workflow from a collection of tricks.
Demystifying Debugging and Git Integration
Debugging in VS Code usually breaks down long before you hit a hard bug. The editor is often fine. The launch configuration, selected runtime, working directory, or breakpoint placement is wrong.
That matters even more on team projects. A debug setup that works only on one laptop is not a setup. It is a personal workaround.
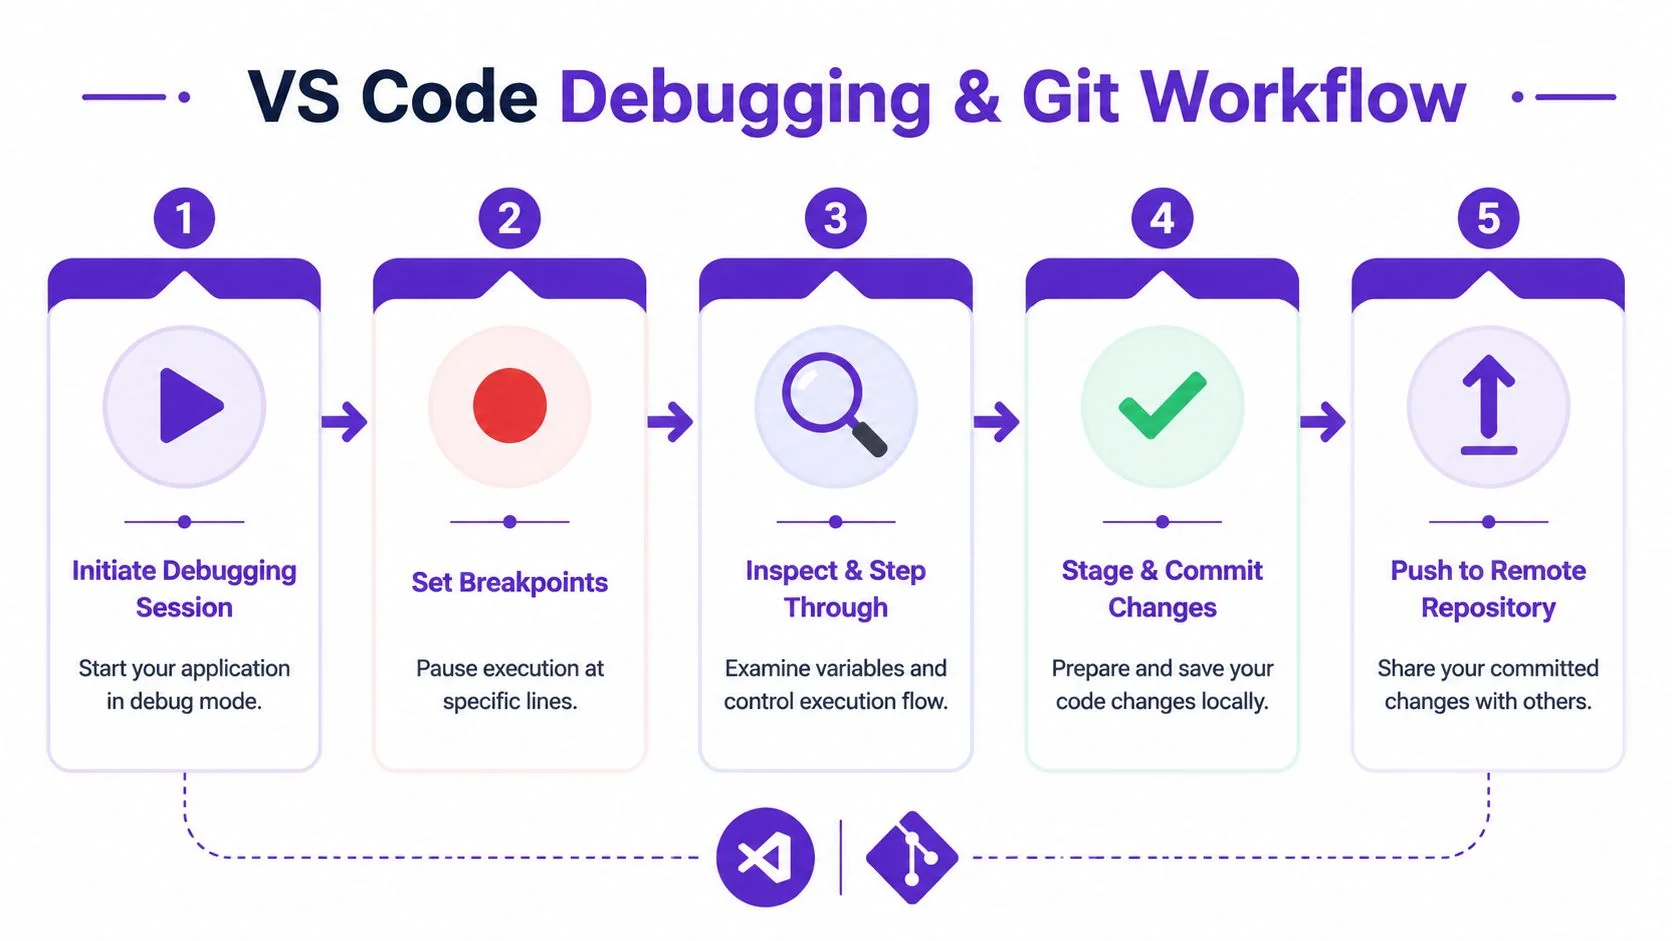
I teach debugging in this order: confirm the environment, confirm the launch target, then set breakpoints. Stepping commands come after that.
Start with a reproducible debug configuration
Before you press F5, check what VS Code is starting. Open launch.json and verify the runtime, script, args, and current working directory match the project you are trying to run. In cross-platform repos, hardcoded paths and shell-specific commands are common failure points, especially when one developer is on Windows and another is on macOS or Linux.
A good team baseline looks like this:
- Keep
launch.jsonin version control if the project shares a stable entry point. - Use workspace-relative paths instead of machine-specific paths.
- Name configurations clearly, such as “API server”, “Jest current file”, or “Python worker”.
- Add a short README note for any configuration that depends on environment variables or local services.
Set breakpoints deliberately
I still prefer F9 over casual gutter clicks when I am teaching or verifying a flaky setup. Keyboard toggling removes some ambiguity and makes the workflow easier to narrate in pair sessions or recorded walkthroughs.
Use a simple sequence:
- Put the cursor on the line you want to inspect.
- Press F9 to toggle the breakpoint.
- Confirm the breakpoint is active.
- Start the session with F5.
- Use step controls only after execution stops where you expected.
That habit pays off when you need to explain the process to a teammate or record a clean walkthrough for internal docs. If you plan to turn your workflow into training, this guide to video tutorial creation software helps you package the setup clearly instead of improvising every screen recording.
Step through code with intent
Once execution pauses in the right place, the debugger becomes useful fast.
- F10 steps over the current line.
- F11 steps into the called function.
- Shift+F11 steps out of the current function.
The trade-off is simple. Stepping is great for local control flow, variable state, and branch inspection. It is slow for bugs caused by bad input data, race conditions, or environment drift. In those cases, conditional breakpoints, logpoints, and watch expressions are usually faster than stepping line by line through half the application.
Keep Git in the same loop as the fix
A good debug session ends with a reviewable commit. VS Code’s Source Control view handles that daily path well. Inspect the diff, stage only what belongs together, write the commit message, and push.
For team work, I recommend three rules:
- Stage by hunk when cleanup and behavior changes are mixed.
- Read the diff before every commit, even for small fixes.
- Write commit messages for the next reviewer, not for your current mood.
That keeps debugging tied to traceable changes instead of “fixed something” commits that nobody can audit later.
Know when VS Code Git is enough
The built-in Git tools are strong for everyday work. Review a file, split hunks, resolve small conflicts, commit, and move on. That covers a lot of real development.
For history surgery, rebasing a messy branch, or resolving a large merge, the command line is still faster and clearer. I tell new team members to learn both. VS Code reduces friction for the common path. Git in the terminal still gives you the full surface area when the repo gets complicated.
Shortcut discipline helps here too. If you already rely on browser muscle memory such as these Chrome keyboard shortcuts, build the same habit in your editor and Git flow. Consistent keyboard use makes debugging, staging, and reviewing easier to teach and easier to repeat across the team.
Essential Extensions and Productivity Hacks
A clean VS Code install is intentionally general. Real work isn’t. The right extensions and shortcuts make the editor feel less like a blank platform and more like a project console.
The productivity culture around VS Code has long emphasized a few features that scale well in teaching and team use, especially the Command Palette with Ctrl+Shift+P or ⌘Shift+P, multi-cursor editing, and document formatting shortcuts, as described in SitePoint’s roundup of Visual Studio Code keyboard shortcuts. That’s a useful clue. The best productivity habits are the ones you can explain quickly and use every hour.
Build around categories, not extension hoarding
A common mistake is installing dozens of extensions because a blog listed them. That usually slows the editor and muddies ownership when something behaves strangely.
I prefer a small stack by job:
- Code quality tools. ESLint and Prettier are obvious examples for JavaScript and TypeScript projects because they turn style debates into automation.
- Language workflow support. The Python extension matters when the project uses notebooks, environments, or Python-specific tooling.
- Collaboration tools. Live Share is useful when a bug is easier to fix together than to describe asynchronously.
If an extension doesn’t support a real team workflow, it probably doesn’t belong in your baseline recommendation list.
Learn the command-first path
The Command Palette is the best habit to build early because it removes menu hunting. You stop asking where a feature lives and start asking what it’s called.
A strong keyboard routine often looks like this:
- Open a command instantly.
Ctrl+Shift+Por⌘Shift+P. - Jump to a file by name. Quick Open with
Ctrl+Por⌘P. - Format without debate. Use the format command consistently instead of hand-tweaking whitespace.
- Search across the workspace. Use global search when a symbol spans files or services.
For people who spend a lot of time moving between browser docs and editor tabs, it also helps to tighten your browser habits. This reference on Chrome keyboard shortcuts is useful because it complements the same keyboard-first workflow instead of treating the browser as separate from the dev environment.
A practical baseline for teams
I like to document extensions in two tiers:
| Tier | Examples | Purpose |
|---|---|---|
| Required for the project | ESLint, Prettier, Python | Makes the codebase behave correctly |
| Recommended for productivity | Live Share, Git helpers, notebook tooling | Improves workflow without blocking onboarding |
That distinction matters. Required extensions support the repository. Recommended ones support the human.
For teams documenting their own setup and workflows, it’s worth using dedicated tutorial creation software for technical walkthroughs so the same explanation can become repeatable training instead of living in Slack threads.
The fastest team isn’t the team with the most shortcuts. It’s the team with the fewest editor surprises.
Create Polished VS Code Tutorial Videos
Once your VS Code workflow is clean, the next challenge is transfer. Someone new joins. A customer needs a setup walkthrough. Support needs a reproducible answer. Internal training needs a step-by-step demo with the actual UI on screen.
Most subject-matter experts find themselves struggling at this point. They know the workflow, but they don’t want to become video editors. Recording is easy. Trimming pauses, retakes, uneven pacing, captions, screenshots, and matching written documentation is the part that usually gets deferred.
What a useful editor tutorial actually needs
For software instruction, the viewer usually needs to see the actual screen and hear a real explanation. That makes pure avatar-style video less useful for product demos, onboarding, SOPs, and help-center walkthroughs where details in the interface matter.
A solid tutorial recording usually includes:
- A real task. Show the workspace setup, debug flow, or Git routine in the same order someone would perform it.
- Spoken reasoning. Explain why a setting lives in workspace config instead of user settings, or why F9 is safer than a gutter click.
- A written companion. People rarely want to replay a whole video just to copy one command or one JSON block.
Why the production workflow matters
Traditional editors such as Adobe Premiere Pro, Camtasia, and Final Cut can absolutely produce polished training videos. The trade-off is skill and time. Most engineers, support leads, and product specialists don’t want timeline editing to become a second job.
A better documentation workflow is one where the subject-matter expert records the screen once, narrates the process naturally, and then gets a usable video and article from the same source. That matters for:
- Product demos
- Feature release videos
- Customer onboarding
- Help-center and support article videos
- Internal training
- Sales enablement walkthroughs
The value isn’t that recording disappears. It doesn’t. The value is that cleanup, pacing, and article generation don’t require a separate specialist every time.
What teams should look for
When evaluating tools for VS Code tutorials, I look for practical criteria instead of flashy claims:
| Need | Why it matters |
|---|---|
| Real screen capture | Software training depends on the actual UI |
| Editable narration and script | SMEs revise wording after recording |
| Automatic pacing cleanup | Raw recordings often run long because of pauses and retakes |
| Article generation from the same recording | Support and documentation teams need both formats |
| Team controls and localization | Useful for internal training and customer-facing help content |
If your company documents workflows across regions, language support matters too. So do security and admin controls when tutorials move from personal files into shared operations.
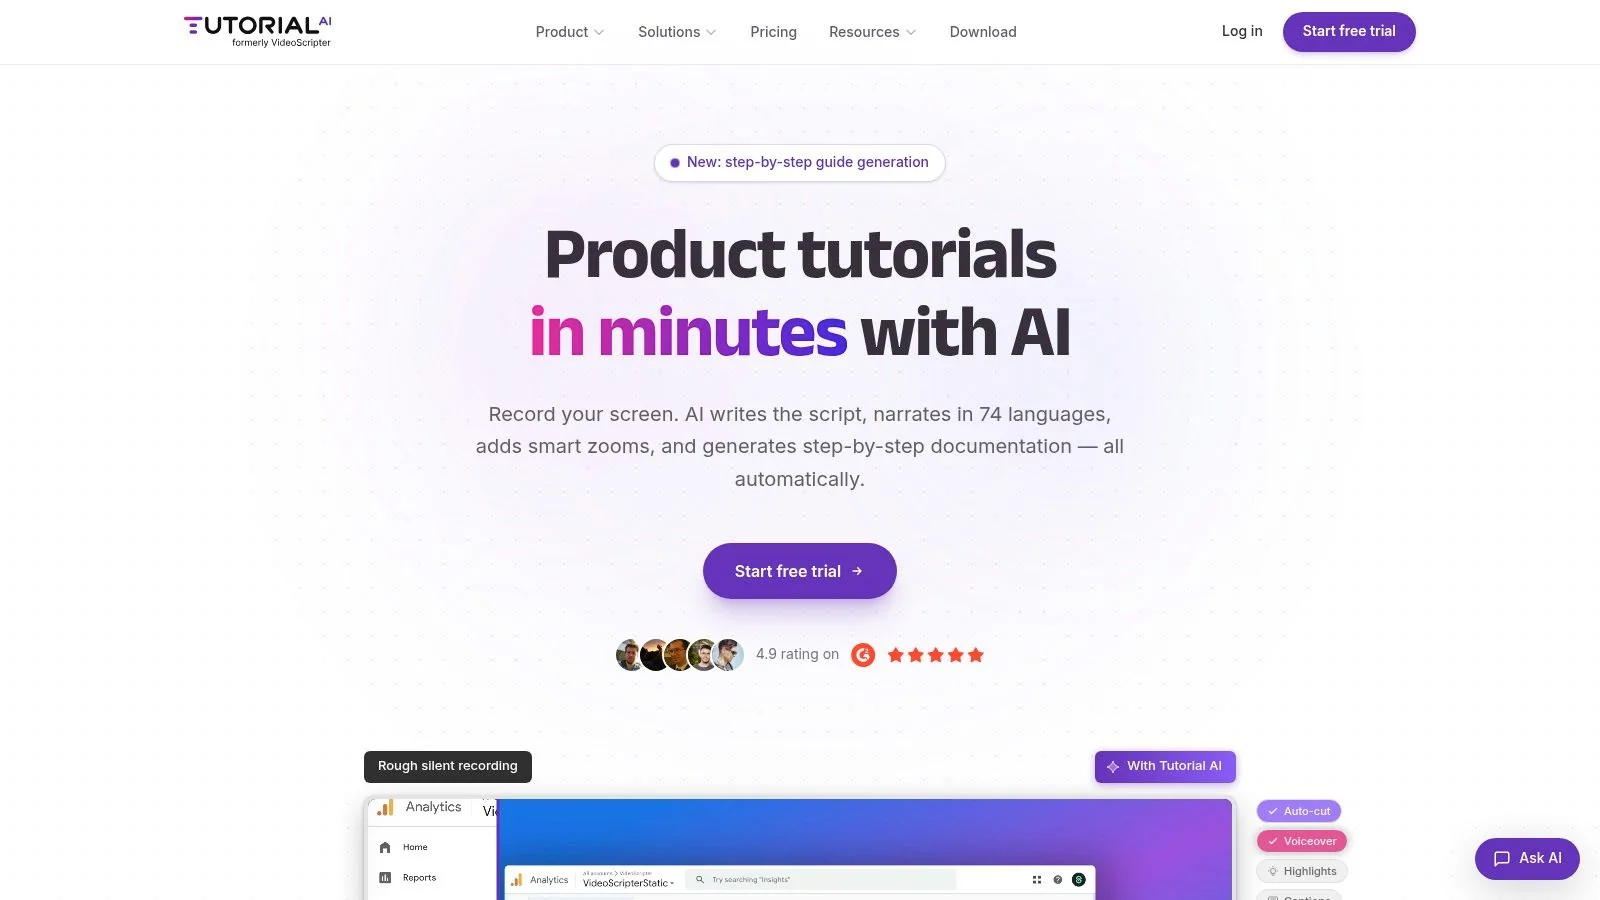
If you need to turn a VS Code walkthrough into a polished training asset without learning timeline editing, Tutorial AI is built for that workflow. It lets teams record the actual screen and actual voice, tighten pacing with AutoRetime, apply Brand Kits, publish with a Multilingual Player across 74 languages, and generate a matching written article from the same recording. For larger organizations, it also supports SSO/SAML, SOC 2 + GDPR requirements, and team collaboration patterns used by companies including Bosch, Deutsche Bahn, Intesa Sanpaolo, Microsoft, and UNICEF.