You’re halfway through documenting a software process when the important dialog disappears, the screenshot lands somewhere unexpected, or your recording stops as soon as you switch from the browser to Settings. Windows 10 has built-in tools for all of these jobs, but they don’t work the same way.
The right choice depends on whether you need a still image, a precise region, or a short recording. Use Win + PrtScn for a full-screen file, Win + Shift + S for a selected area or window, and Win + G, followed by Win + Alt + R, for a short app recording. The important limitation is that Game Bar generally records the active app, not a desktop-wide workflow.
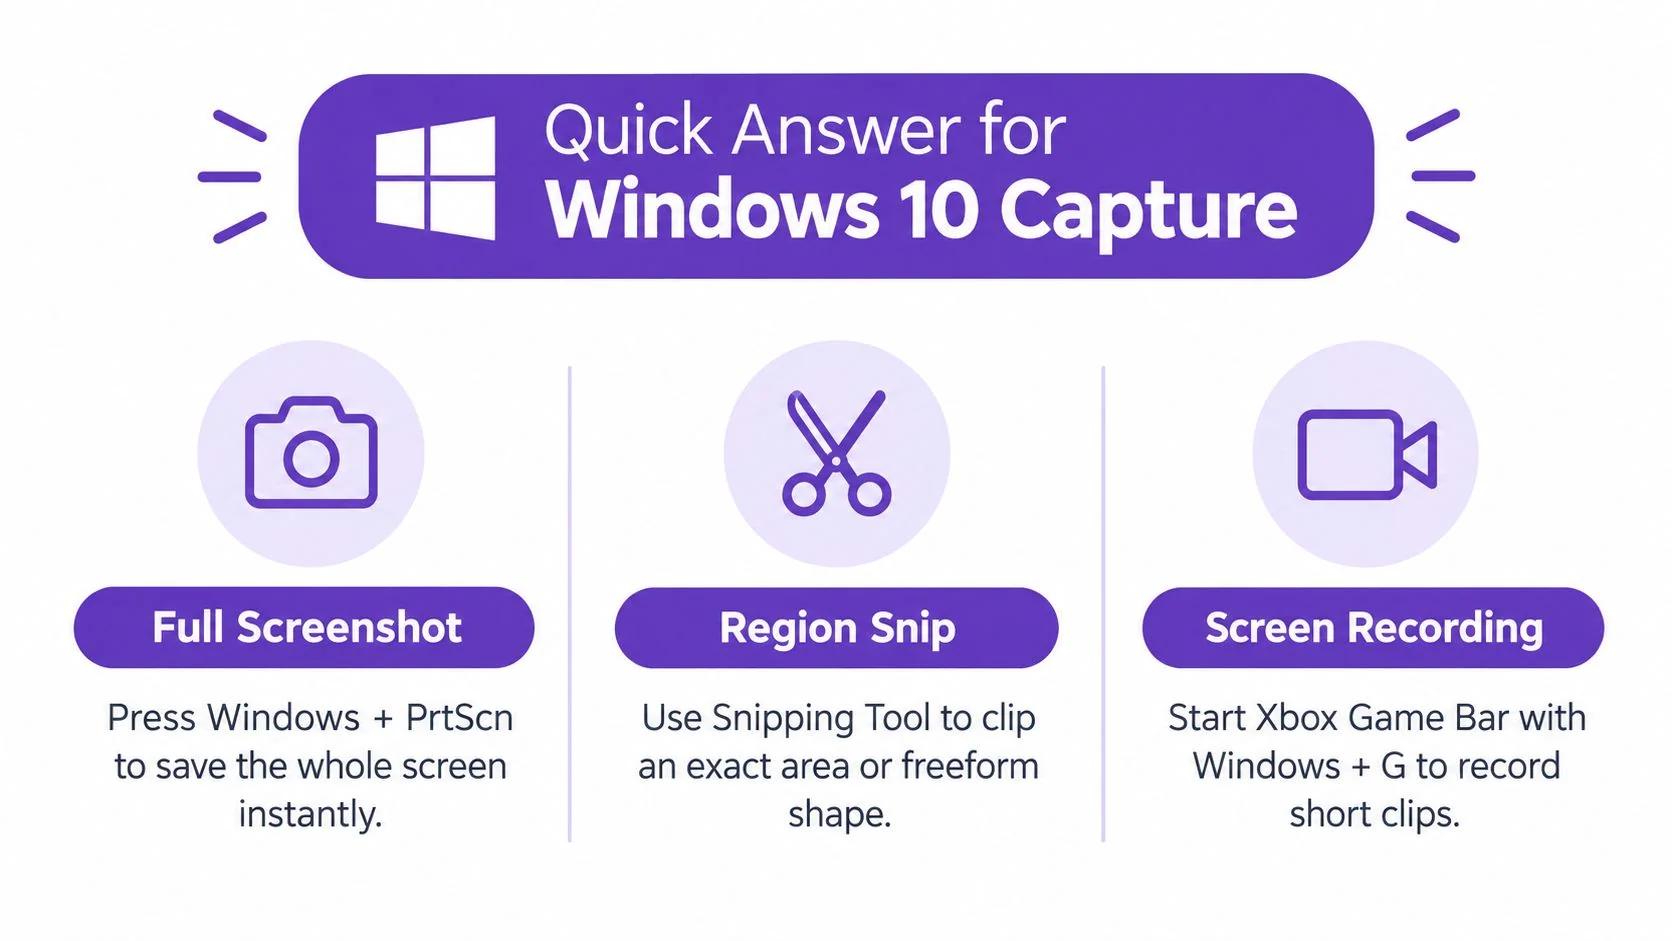
Quick Answer for Windows 10 Capture
Windows 10 users usually need one of three things: a still screenshot, a precise region snip, or a short screen recording.
- Full-screen still: Press Win + PrtScn. Windows captures the entire screen and saves the image in Pictures > Screenshots. Use PrtScn alone instead if you want to paste the capture into Paint, Word, or an email.
- Region or window: Press Win + Shift + S. The snipping overlay lets you select a rectangle, a window, a freeform shape, or the full screen. The result goes to the clipboard, where you can paste or open it for editing.
- Short recording: Open the app you want to capture, press Win + G, then press Win + Alt + R to start and stop. Windows saves the recording in the user’s Videos\Captures folder or a similar recordings directory, depending on the capture route. Microsoft’s Game Bar shortcut documentation also lists shortcuts for the timer and Game Bar screenshots.
The fastest route isn’t always the most suitable one. Win + PrtScn is efficient when you need a file immediately, but it includes everything on the screen. Alt + PrtScn is cleaner for a single active window. Win + Shift + S is usually better for support articles because you can remove unrelated panels before saving or annotating the image.
Game Bar has a more important restriction. It’s designed around recording an app, so a demonstration that moves from a browser to File Explorer, Settings, or another application can break the capture. For a workflow that crosses windows or monitors, use a recorder that captures the desktop or a selected area instead. The Windows 10 screen capture workflow is easiest to plan when you decide the required output before pressing a shortcut.
Keyboard Shortcuts for Still Screenshots
Keyboard capture is the most dependable way to get a still image quickly. Each shortcut makes a different trade-off between speed, control, and where the image goes.
Start with the shortcut that matches the output
PrtScn captures the full screen and copies it to the clipboard. Nothing may appear to happen, which is the first common mistake. Open Paint, Word, an email, or another image-capable application and press Ctrl + V to paste it. If another application overwrites the clipboard before you paste, the original capture is gone.
Win + PrtScn captures the full screen and saves it automatically to Pictures > Screenshots. This is the best option when you need a file immediately or expect to take several captures in succession. The drawback is easy to miss: Windows may save the image without opening anything, so check the folder instead of waiting for an editor to open.
Alt + PrtScn captures only the active window. It’s useful for a support ticket or product guide where the desktop, a second monitor, or unrelated windows would create noise. Click the intended window first. If the wrong application has focus, the shortcut faithfully captures the wrong window. Microsoft’s keyboard shortcut reference confirms that Alt + PrtScn targets the active window, while Win + PrtScn saves the full-screen image.
| Shortcut | What it captures | Where it goes |
|---|---|---|
| PrtScn | The full screen | Clipboard |
| Win + PrtScn | The full screen | Pictures > Screenshots |
| Alt + PrtScn | The active window | Clipboard |
| Win + Shift + S | A region, window, freeform area, or full screen | Clipboard and snipping notification |
| Print Screen key | Depends on the hardware and configured behavior | Usually follows the PrtScn action |
Deal with laptop and Surface keyboards
On some laptops, PrtScn shares a key with another function. You may need to hold Fn while pressing the key, depending on the keyboard layout. Surface-type hardware can include a dedicated Print Screen key, but the useful question remains the same: do you want a clipboard image, a saved file, or a selected area?
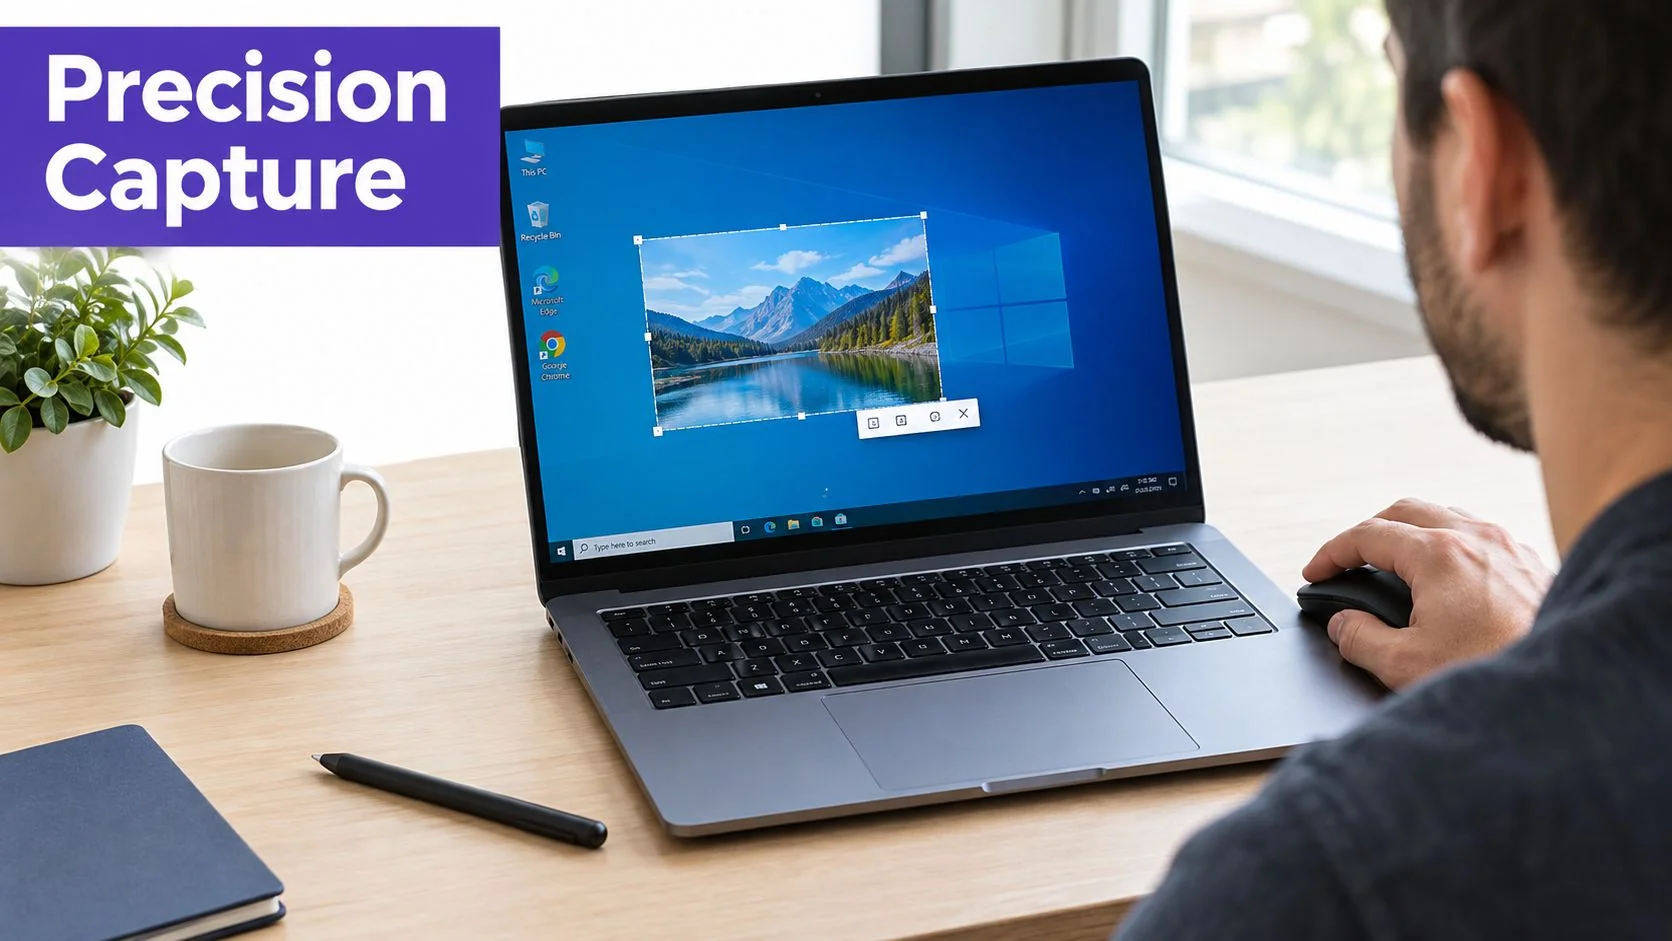
For a precise capture, Win + Shift + S opens the modern overlay. Choose the mode before dragging, and select the window directly when possible. Window capture reduces the chance of including a taskbar, another monitor, or private information that you’ll later need to redact.
Practical rule: If the screenshot is going into a knowledge base, capture less and explain more. A clean dialog or focused application window is easier for a reader to understand than a full desktop.
Snipping Tool and Snip and Sketch for Precision Capture
A full-screen screenshot is often too noisy for documentation. Snipping Tool and Snip & Sketch are the better route when you need to isolate a control, dialog, menu, or portion of a software interface.
Search for Snipping Tool from the Start menu, or press Win + Shift + S to open the snipping overlay directly. The available modes include:
- Free-form Snip, useful when a rectangular crop would include unrelated content.
- Rectangular Snip, the default choice for most help-center images.
- Window Snip, useful when the application window is already framed correctly.
- Full-screen Snip, useful when you want the same capture without using the saved-file shortcut.
The overlay places the result on the clipboard and shows a notification. Select that notification to open the capture in the editor. From there, you can crop the image, draw attention to a control, add handwritten or pen-based marks, and save the result for your article or ticket.
Capture interface states that disappear
Menus, tooltips, and right-click context menus often vanish as soon as you press a key. Use the delay option in Snipping Tool when the interface needs time to appear. Windows 10 capture guidance documented modes with delays of 3 or 10 seconds, while the older Snipping Tool also supported a delay setting from 1 to 5 seconds. The Windows 10 Snip & Sketch workflow describes this progression from the older utility toward a more unified capture experience.
Set the delay, open the menu, and wait for the snipping overlay to activate. This is more reliable than trying to trigger a menu and press a shortcut at the same time.
Snip & Sketch can also accept an image pasted from PrtScn, which is useful when a legacy shortcut already produced the capture. The important historical change came with the October 2018 Update, version 1809. Microsoft introduced Snip & Sketch as a dedicated capture-and-annotation app, with rectangular, freeform, window, and full-screen modes available through Win + Shift + S. The history of Snipping Tool and Snip & Sketch documents that transition and the later move toward Microsoft Store updates.
Recording Video with Xbox Game Bar
Game Bar is the standard built-in route for a short Windows 10 recording. It works best when the target is one foreground application and the demonstration doesn’t require moving through the rest of the desktop.
Set up the target before recording
Open Settings > Gaming > Xbox Game Bar and make sure Game Bar is enabled. Then open the application you want to record and leave it in the foreground.
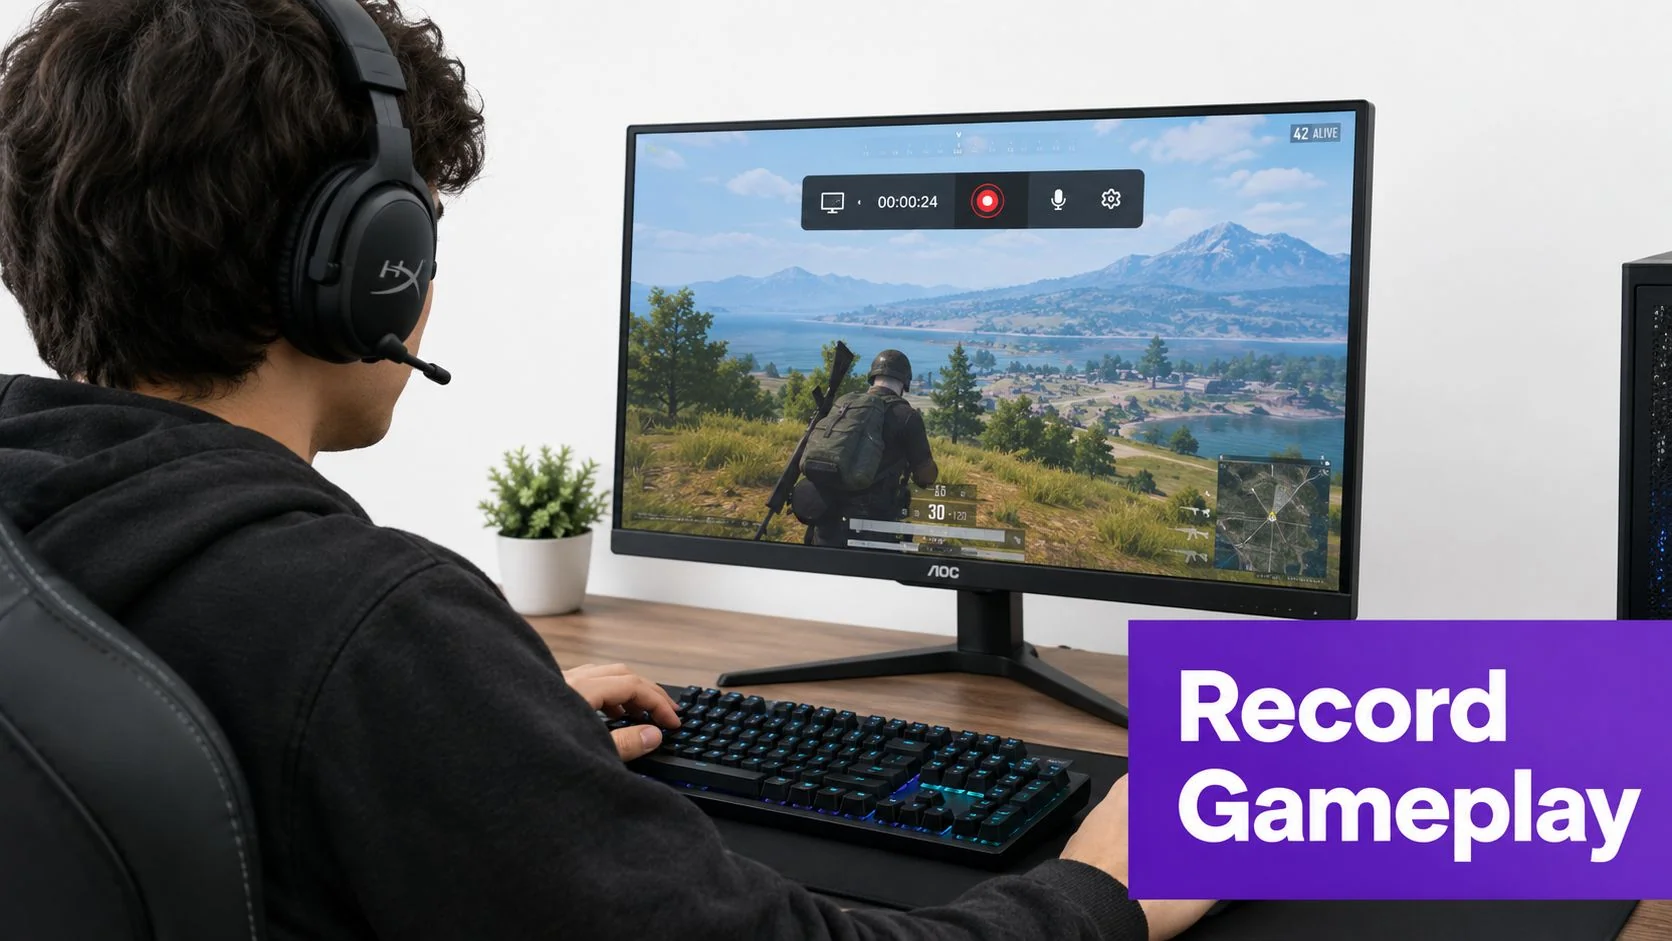
Press Win + G to display the Game Bar overlay. Look for the Capture widget, then press Win + Alt + R to start recording. Press the same shortcut again to stop. Microsoft also documents Win + Alt + T for toggling the timer display and Win + Alt + Print Screen for taking a screenshot through Game Bar.
The resulting video is saved automatically in Videos\Captures or a related recordings directory. Check the capture settings if you need to change the storage location or confirm which microphone controls are available. If you’re narrating, distinguish between microphone audio, which records your voice, and system audio, which records sounds produced by the computer. They’re separate capture sources and may not behave identically in every setup.
Know when Game Bar is the wrong tool
Game Bar’s central limitation matters more for tutorials than for simple app demonstrations. Practical Windows 10 recording guidance notes that the target should be opened first and that some configurations require the recording option to be enabled or the app to be confirmed as a game. It also warns that Game Bar doesn’t cover every desktop scenario. This guide to recording screen and sound on Windows 10 explains the basic capture flow and its boundaries.
A browser-only walkthrough can work well. A tutorial that moves from a browser to Settings, File Explorer, and a second monitor won’t. Switching away from the active application can stop the recording or leave out the step you needed to show.
For a recording that includes narration, this guide to screen recording with sound can help you separate the screen-capture decision from the audio decision. If the recording is for a customer-facing tutorial, test the entire route before performing the process live.
When Built-In Capture Is Not Enough
The built-in tools are practical, but their limits become obvious when you produce support documentation or training content regularly. The largest gap is desktop-wide recording. Game Bar is app-focused, so it doesn’t reliably show a workflow that crosses from a browser into a settings panel or another application.
The second issue is source control. A useful training video may need the screen, microphone narration, system audio, cursor movement, and sometimes a webcam. Game Bar can cover a straightforward app recording, but it doesn’t provide the same level of control over multiple sources and presentation effects as a dedicated recorder.
| Capability | Built-In Capture, Game Bar and Snipping Tool | Third-Party Recorder |
|---|---|---|
| Multi-window workflow | Limited by Game Bar’s app-focused behavior | Usually designed for full-screen, window, or selected-area capture |
| Screen plus webcam and microphone | Basic and configuration-dependent | Often provides separate source controls |
| Cursor highlighting | Limited built-in presentation control | Commonly includes cursor emphasis and click effects |
| Annotation | Stronger for still images through Snipping Tool and Snip & Sketch | May support live or post-recording annotation |
| Export workflow | Suitable for quick captures | Usually offers broader export and publishing controls |
Match the tool to the audience
Use built-in capture for a quick internal note, a bug report, or a single-app explanation. The low setup cost is its main advantage. You can press a shortcut, complete the task, and share the result without designing a recording workflow.
Choose a dedicated recorder when the material will be reused, reviewed by customers, or embedded in a help center. You’ll have more control over the frame, narration, cursor behavior, and final output. Microsoft’s documentation also separates static screenshots from screen-capture workflows, which reflects the practical difference between explaining one interface state and teaching a moving process. Microsoft’s screen-capture documentation is useful background, but it doesn’t remove the desktop-wide limitation.
Raw screenshots can also become difficult to read after cropping or resizing. For professional documentation where an image needs recovery before publication, an AI screenshot enhancer for pros may be worth evaluating. It won’t fix a missing application state or exposed private data, so capture discipline still matters.
For a broader comparison of recording approaches, see this guide to the best screen recorder for Windows. The selection should follow the workflow, not the shortcut list.
Editing Annotating and Exporting Your Captures
A raw capture is evidence, not finished documentation. Before sharing it, remove unrelated content, highlight the control the reader needs, and check that no private information remains visible.
For still images, open the file in Paint or another installed image editor and crop it to the relevant application area. You can also use Snip & Sketch for quick marks, highlights, and simple callouts. Save a clean original before editing, then create a publication copy so you can return to the unmarked version later.
Redact before you publish
Blur and black rectangles aren’t interchangeable. A solid shape placed over an email address, customer name, token, or internal URL is safer than relying on a translucent highlight. After exporting, reopen the file and confirm that the information underneath can’t be selected or read.
Use a naming pattern that tells another team member what the file contains. A practical structure is:
- Product or area: identify the application or feature.
- Task: describe the action shown.
- State: note whether the image shows an error, dialog, or completed step.
- Revision: add a simple revision marker when the asset will be updated.
For example, a file named billing-invoice-export-error.png is easier to find than Screenshot_123.png. Keep screenshots in a shared documentation folder with the related article or procedure rather than scattering them across personal Downloads folders.
Trim recordings without losing the original
Open the captured video from Videos\Captures in the Photos app’s video-editing tools or another editor available to your team. Set the start and end points around the useful action, then save a copy instead of overwriting the original recording.
Review the result with the sound enabled. Make sure the narration matches what appears on screen, and remove pauses that make the procedure seem more complicated than it is. If the recording includes a notification, private window, or unrelated application, trimming may not be enough. Re-recording the affected step is often safer than trying to hide it after export.
Choosing the Right Capture Path for Your Workflow
The best screen capture for Windows 10 depends on what the reader must learn, not on which shortcut is easiest to remember.
| Workflow Goal | Best Capture Path | Output Format | When to Escalate |
|---|---|---|---|
| Support documentation | Win + PrtScn, or Win + Shift + S followed by crop and annotation | PNG or another still-image format | Escalate when the issue spans several windows or needs narration |
| Training video | A desktop recorder that captures the required screen area and audio sources | Video file suitable for your knowledge base | Escalate when Game Bar can’t show the complete workflow |
| Quick tutorial screenshot | Snipping Tool or Snip & Sketch with focused selection and callouts | PNG, JPG, or another supported image format | Escalate when you need advanced redaction, cursor effects, or repeated production |
| Short single-app demonstration | Xbox Game Bar with Win + G and Win + Alt + R | Video file saved to the Captures folder | Escalate when the process leaves the active app |
For a support article showing an error message, capture the relevant window instead of the whole desktop. Alt + PrtScn is useful when the target dialog is already focused, while Win + Shift + S gives you more control over the exact crop. Add one or two callouts, redact personal data, and keep the image close to the step it supports.
Training videos need a different standard. If the process moves between applications, use a desktop recorder that can capture the full screen or a selected area, record microphone narration separately from system audio, and produce a shareable video for your documentation platform. Game Bar remains suitable for a short, single-app clip, but it isn’t a dependable foundation for a cross-application walkthrough.
A repeatable production pipeline looks like this: record, review, trim, annotate, redact, export, and embed. That sequence turns a one-off screen capture into a maintainable support asset. When a product interface changes, you can identify which image or recording needs replacement instead of rebuilding an entire help center from memory.
Tutorial AI turns a screen recording into a polished tutorial video and a written guide with screenshots, while letting you review and edit the generated script, narration, steps, and visuals before sharing. If you’re documenting a new software feature or turning an employee walkthrough into training material, try the recording-to-tutorial workflow through Tutorial AI.