You’ve finished a screen recording, opened the editor, and immediately found ten minutes of silence, a wrong click, a retake, and a notification containing information that shouldn’t be public. The recording itself may be useful, but the editing process can easily take longer than the demonstration.
The practical answer to how to edit screen recording depends on what you captured and how often you need to publish. A short bug report may only need a trim in QuickTime Player. A product tutorial, SOP, onboarding video, or help-center asset needs a more deliberate workflow. If you’re producing these regularly, a script-based tool can handle much of the work without forcing a subject-matter expert to learn a professional timeline editor.
The Essential Workflow for Editing Screen Recordings
The software changes from Mac to Windows to iPhone, but the editing logic stays consistent. You bring in the recording, remove material that weakens the explanation, improve the sound, guide attention with visual cues, and export a version suited to its destination.
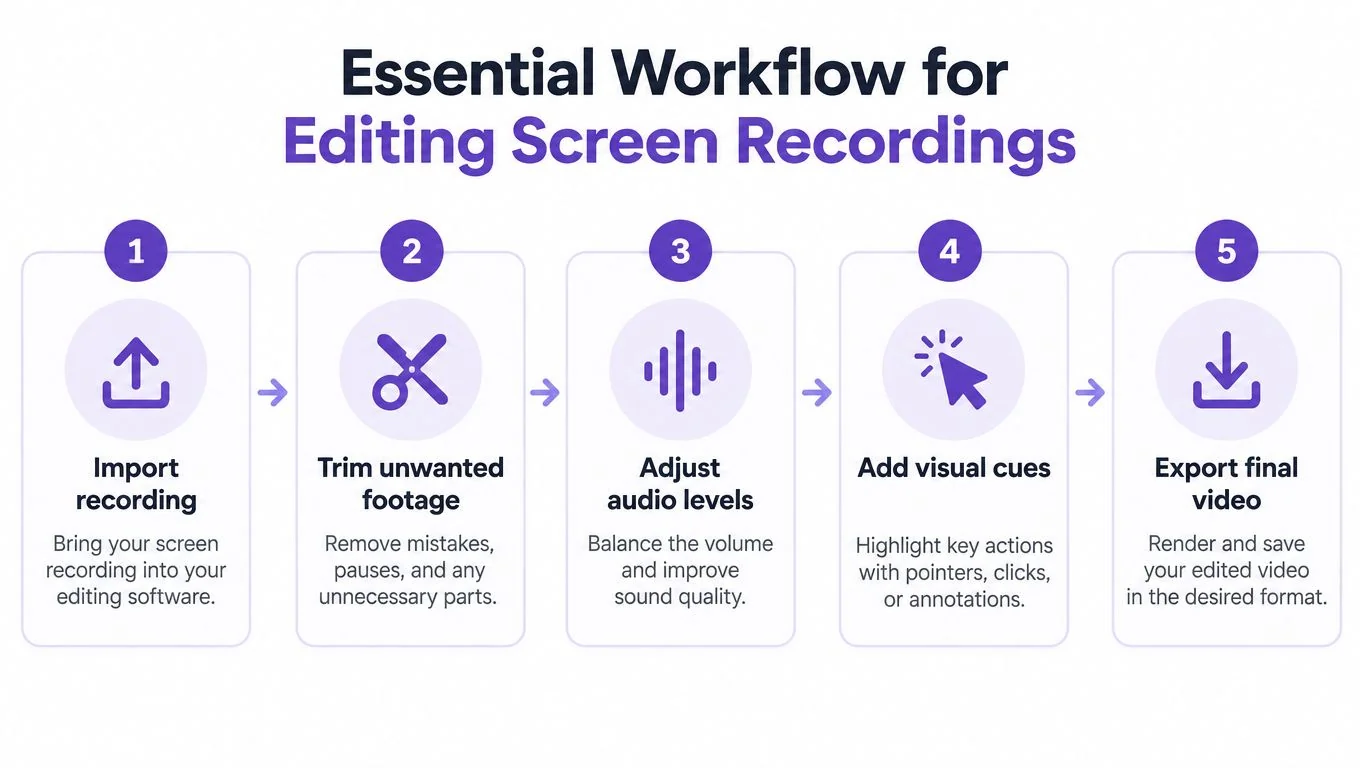
A five-pass approach
- Import and review. Watch the complete recording once before making changes. You’re looking for the actual narrative, not isolated imperfections. Mark the opening, the main task, mistakes, waiting periods, and conclusion.
- Trim the story. Remove false starts, repeated explanations, dead air, and actions that don’t help the viewer complete the task. Keep context that explains why a step matters.
- Clean the audio. Fix obvious volume differences, background noise, and narration mistakes. Clear speech matters more than decorative effects.
- Add visual guidance. Use cursor highlights, deliberate zooms, captions, or short callouts when they clarify a button, field, or menu. Don’t animate every movement.
- Export and check. Choose settings for the knowledge base, training platform, support system, or social channel where the video will live. Review the exported file, not only the editor preview.
Practical rule: Edit the explanation before polishing the appearance.
Traditional editors such as Camtasia, Adobe Premiere Pro, and Final Cut Pro give you detailed control, but they normally require manual timeline work and more editing experience. That makes them appropriate when you need frame-level control, layered audio, or a highly produced course. For broader guidance on adapting footage for different formats, master social video editing is a useful related resource.
A lighter workflow can work well for a single clip. For a repeatable tutorial process, see this guide to screen recording for tutorials. The important decision comes before you choose buttons: are you fixing a finished video, or are you turning a rough explanation into a reusable video and documentation asset?
Preparing and Trimming Your Footage
The best time to reduce editing is before you open the editor. Stage the application, close unrelated tabs, hide bookmarks and extensions, clean the desktop, disable notifications, and decide which exact workflow you’ll demonstrate. A test capture can reveal missing audio, a black recording, or an unexpected pop-up before you commit to the actual take.
A useful working principle is record once, edit light. Capture the complete narrative in one session when possible, then remove only the mistakes and pauses that interfere with understanding. Recording in many tiny pieces can appear safer, but it often creates continuity problems and leaves you reconstructing context later.
Start with the edges
Import the file and watch the first and last minute before touching the middle. Most recordings have an awkward opening while the presenter starts speaking, selects the application, or confirms that capture has begun. The ending often includes a search for the stop control or a final sentence that trails off.
Trim those sections first. Preserve a small amount of natural space around the first instruction and the final action so the video doesn’t feel abruptly clipped.
Remove mistakes without damaging meaning
For a wrong click, place the playhead just before the mistake and split the clip. Split again after the recovery, delete the failed attempt, and let the remaining footage close the gap. The same method works for repeated sentences, accidental tab switches, and long stretches where the presenter waits for a page to load.
Silence removal is especially useful in instructional content. TechSmith’s guidance on editing screen recordings recommends removing pauses, hesitations, and dead air, while accepting a jump cut when the instruction remains clear. A jump cut is less distracting than making viewers watch a failed action in real time.
Narration errors need a consistent recording habit. Stop speaking, pause for about 2–3 seconds, and then reread the sentence from the beginning, following Recorded’s narration guidance. The clean pause creates a visible waveform gap, which makes the bad take easier to find.
Keep the first edit conservative
Don’t crop every moment, speed up every wait, or remove every breath. A tutorial can feel unnatural when the presenter jumps between cursor positions without enough context. Make one pass for clarity, watch the result, and only then decide whether another cut is necessary.
If you recorded in several takes, use the waveform to locate silent gaps and marker spikes. This editing workflow for recording in takes describes trimming the flubbed section, applying automatic silence removal, and using speed regions to tighten waiting time. That approach is more reliable than dragging randomly along a dense timeline.
Polishing Audio and Visuals
A technically sharp screen recording can still fail if viewers struggle to hear the explanation or find the important control. Work on audio before adding visual decoration, because sound problems affect every second of the tutorial.
Start by listening through headphones. Check for keyboard noise, room echo, inconsistent narration, and sudden volume changes. Apply noise reduction carefully. Aggressive cleanup can make a voice sound metallic, so compare the processed track with the original and keep the version that sounds more natural.
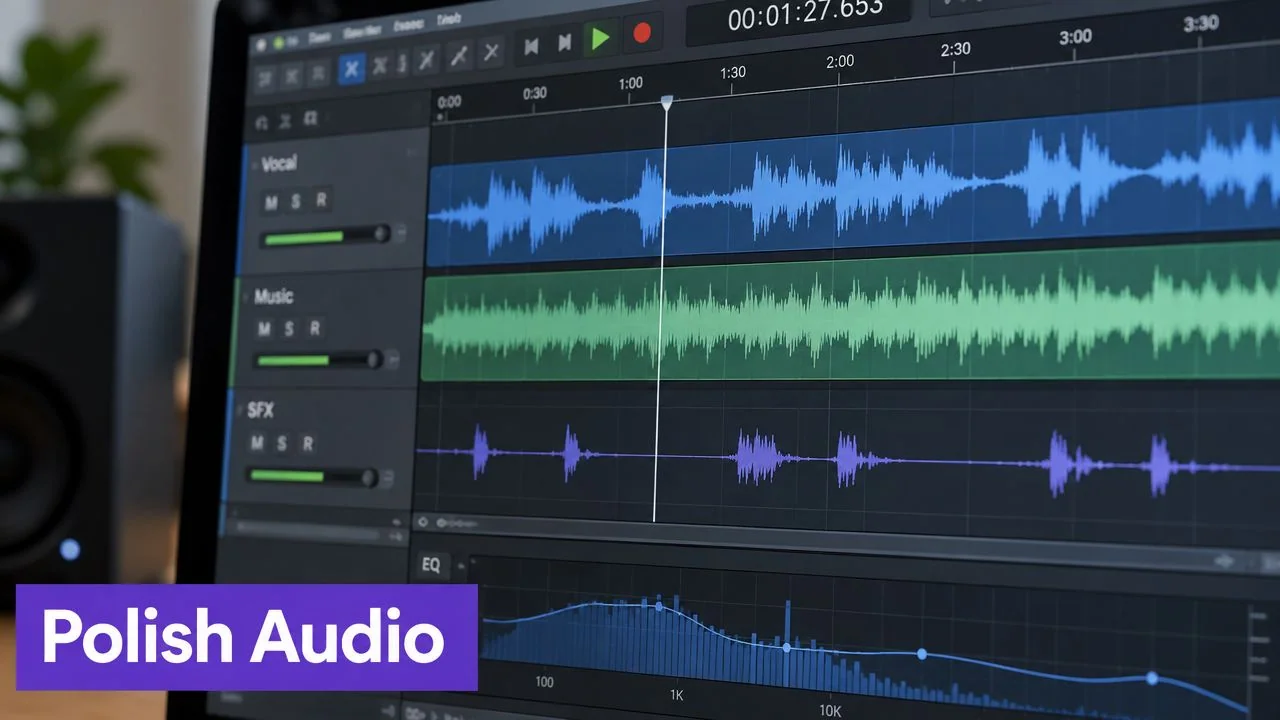
Make narration easier to follow
If one sentence is unclear, replace that sentence instead of rerecording the whole tutorial. You can also record narration separately when the screen action is already correct. Keep the spoken instruction aligned with the visible step, and leave enough silence for the viewer to understand what changed.
Captions provide a second path through the content. They help viewers who can’t use sound, support non-native speakers, and make software tutorials easier to scan. Check names, menu labels, product terms, and commands manually because transcription tools can misread them. For a focused explanation of matching speech and footage, use this guide to sync audio with video.
Guide attention without creating noise
Cursor effects work best when they explain the interaction. A subtle highlight around a click can confirm where the viewer should look. A smart zoom can make a small button readable, but it should return to the broader interface before the next task begins.
A practical benchmark is to set application or system zoom to 110–125% and leave about 6% padding around the recording, as recommended in this screen-capture production guide. The extra space helps prevent interface elements from being cropped by players, previews, and responsive layouts.
Use a short checklist before exporting:
- Cursor movement: Remove frantic movement and unnecessary circling.
- Visual focus: Zoom only when the interface is difficult to read.
- Captions: Correct product names and interface labels.
- Privacy: Blur passwords, personal details, customer records, and confidential email addresses.
- Desktop hygiene: Hide notifications, unrelated windows, and identifying information.
The right visual treatment should make the instruction easier to execute. If viewers notice the effect before they notice the button, the edit is doing too much.
Using AI Tools to Automate the Process
Manual timeline editing makes sense when you need detailed control over every cut. It becomes inefficient when a subject-matter expert needs to publish many product demos, support videos, SOPs, or onboarding tutorials. The recurring work is predictable: remove idle sections, correct narration, synchronize captions, adjust pacing, and prepare the same explanation for different audiences.
The shift from timeline-first editing to script-first editing follows that pattern. One industry summary reports that a traditional workflow for a 5-minute tutorial can take about 2 to 3 hours, covering recording, importing, trimming, titles, voiceover, synchronization, export, and upload. The same summary reports that AI screen-recording software can reduce video creation time by 89% and increase viewer engagement by 47%. Those figures come from ZipDo’s 2026 video-editing industry summary, so they should be treated as reported industry figures rather than a promise for every project.
What script-based editing changes
With a timeline, you search for the sentence by scanning waveforms and video frames. With a script-based editor, you can revise the words directly. Removing a sentence can update the narration, captions, timing, and corresponding cuts without manually moving every track.
Tutorial AI follows this type of workflow. You record the product or process, upload or capture the screen recording, and let the platform create an editable transcript. You can adjust the script, use AutoRetime to adapt pacing and cuts, generate narration in 74 languages, and produce written documentation from the same recording. The result still needs review, but the subject-matter expert doesn’t need to build the video by hand on a timeline.
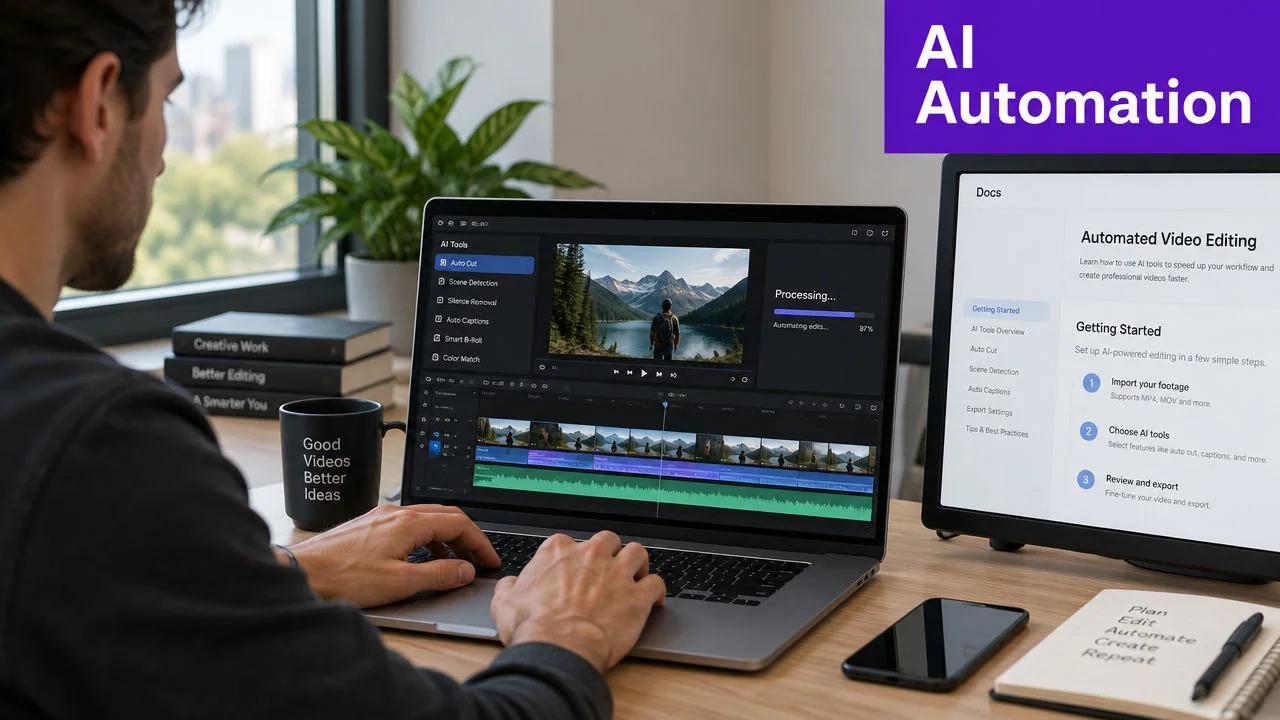
A practical Tutorial AI workflow
Record the workflow while explaining what the viewer needs to accomplish. Tutorial AI can tighten pauses and mistakes, then present the narration as editable text. Revise the wording where the explanation is unclear, regenerate the voiceover, and review the updated timing and captions.
The same recording can become a tutorial video and a structured help article with screenshots. That matters for support and documentation teams because the video and article begin with the same source rather than two separate recording sessions. A similar video-to-document workflow describes removing mistakes and pauses, generating a voiceover script from on-screen context, producing narration, and creating the article at the same time in this documentation workflow.
Where automation fits, and where it doesn’t
AI editing is a strong fit for repeatable software instruction, especially when the expert knows the process but isn’t a professional editor. It’s less suitable when every visual transition must follow a precise creative brief or when the footage contains ambiguous actions that need human interpretation.
Teams also need to consider localization. Recent coverage describes AI-assisted transcription, captioning, smart editing, and automatic retiming as increasingly common in screen-recording software, while a market forecast projects that more than 58% of newly launched screen-recording solutions will include AI-assisted editing, automatic caption generation, and smart background-noise reduction. That forecast appears in Mordor Intelligence’s screen-recording software market report, and it describes a projection, not a universal current state.
For distributed teams, collaboration is another decision point. Recent market coverage describes cloud sharing, version control, comments, and cross-device access as important parts of modern screen-recording workflows, and reports that AI-assisted editing can cut post-production time by 60–80% for many teams in this Vizard market overview. If several stakeholders need to review one tutorial, a shared, script-based workflow can avoid repeated downloads and re-exports.
Exporting and Optimizing for Different Platforms
Export settings should follow the place where viewers will watch the tutorial. A knowledge base may favor a responsive player and captions. An internal training portal may need an embed or share link. A sales enablement team may want a downloadable file as well as a browser version.
For a general web tutorial, MP4 with H.264 encoding is a practical default because it balances compatibility, quality, and file size. Keep the recording’s original aspect ratio unless the destination requires a different layout. Cropping a wide software interface into a narrow format can remove the very controls the viewer needs to see.
Match the output to the audience
Use a higher-resolution export when small interface text must remain readable. Use a smaller file when the video is mainly a quick support explanation and viewers will stream it through a web player. Don’t upscale a blurry source and expect it to recover lost detail.
Before publishing, check:
- Playback: Confirm that the file opens and the audio remains synchronized.
- Readability: Watch on a different screen and inspect small labels.
- Captions: Review the entire caption track, including technical terms.
- Privacy: Confirm that every sensitive field remains hidden throughout the video.
- Access: Test the share link, embed, or learning-platform upload while signed in as a viewer.
Captions and transcripts also make the content easier to consume without sound and more useful to people who search documentation before watching. For multilingual audiences, a Multilingual Player can keep language selection close to the video experience, while AutoRetime can adapt scene timing and captions to a different narration length.
The final review catches problems that an editor preview can hide. Watch the exported file at normal speed, not only while scrubbing. If the video teaches a process, follow the steps yourself and confirm that every click still matches the current interface.
Common Mistakes and How to Avoid Them
Over-editing is the most common quality problem. Too many transitions, zooms, speed changes, and decorative callouts make a software demonstration feel disconnected. Keep cuts when they remove confusion, not just because the timeline contains a pause.
Poor audio creates a similar failure. Viewers may accept a plain interface, but uneven narration, echo, or background noise makes the instructions harder to follow. Clean the voice first, then add captions and visual cues that reinforce the explanation.
Privacy mistakes can be more serious than aesthetic ones. Review every frame for passwords, personal information, customer data, private messages, and browser notifications. If you can’t guarantee that a blur follows the sensitive element, remove the section or record it again with safer data.
Choose manual editing when you have a short recording, need a specific visual treatment, or want complete frame-level control. Choose an automated, script-based workflow when subject-matter experts need to produce repeatable tutorials, support videos, training assets, and documentation without becoming full-time editors. In both cases, the reliable process is the same: protect the narrative, make the audio clear, guide attention, check privacy, and review the final export.
Tutorial AI lets you record a software workflow, tighten the result through an editable script, generate narration and captions, and create matching documentation from the same recording. Visit Tutorial AI to turn your next workflow into a publishable tutorial and help article.