A pop filter is a screen placed in front of a microphone to stop the harsh popping sounds from P and B consonants, and modern pop filters typically reduce plosive air pressure by 85% to 95%. If you record tutorials, product demos, or onboarding videos, that small screen often makes the difference between audio that sounds clean on the first pass and audio that sends you back into cleanup and retakes.
That’s the frustrating part for people making screen recordings. The screen capture looks fine, your explanation is solid, and the workflow itself is clear. Then you listen back and hear a dull thump every time you say “publish,” “product,” or “billing.”
For training videos and help-center content, those thumps matter more than people expect. Viewers will forgive a basic webcam setup. They won’t forgive distracting audio. If you’re trying to explain a feature release, record a support article video, or walk a sales team through a new workflow, a pop filter is one of the simplest ways to protect the recording before problems reach the edit.
The Problem with Perfect Takes Gone Wrong
A lot of ruined takes sound ruined for a very boring reason. Not bad ideas. Not a bad microphone. Just moving air.
You finish a clean narration for a product demo, customer onboarding video, or internal SOP. On playback, every “project,” “publish,” and “payment” hits the mic with a heavy burst of air. The result is the familiar plosive, that low, blunt pop that makes an otherwise usable take sound amateur.
A pop filter, also called a pop shield or pop screen, is the barrier placed between your mouth and the microphone to reduce that impact. Its job isn’t to improve your voice. Its job is to stop fast-moving air from slamming into the microphone capsule and creating distortion.
Bad tutorial audio usually isn’t ruined by the whole sentence. It’s ruined by a few milliseconds of air hitting the mic too hard.
That matters in practical work. If you’re recording help-center videos, support walkthroughs, feature release videos, or sales enablement explainers, plosives create a chain of problems:
- They distract the listener: the viewer stops following the workflow and starts noticing the sound.
- They force retakes: one strong pop can make a great explanation unusable.
- They slow post-production: even if you can patch it in Adobe Premiere Pro or Audacity, cleanup is tedious.
- They undermine trust: polished screen motion with rough audio feels inconsistent.
For non-technical creators, the useful framing is simple. If you’re asking, what’s a pop filter, you’re really asking how to stop air blasts from sabotaging otherwise good tutorial recordings. That’s why this tool shows up in podcast setups, voiceover booths, and increasingly in home office recording rigs used for software demos and training videos.
What a Pop Filter Does for Your Microphone
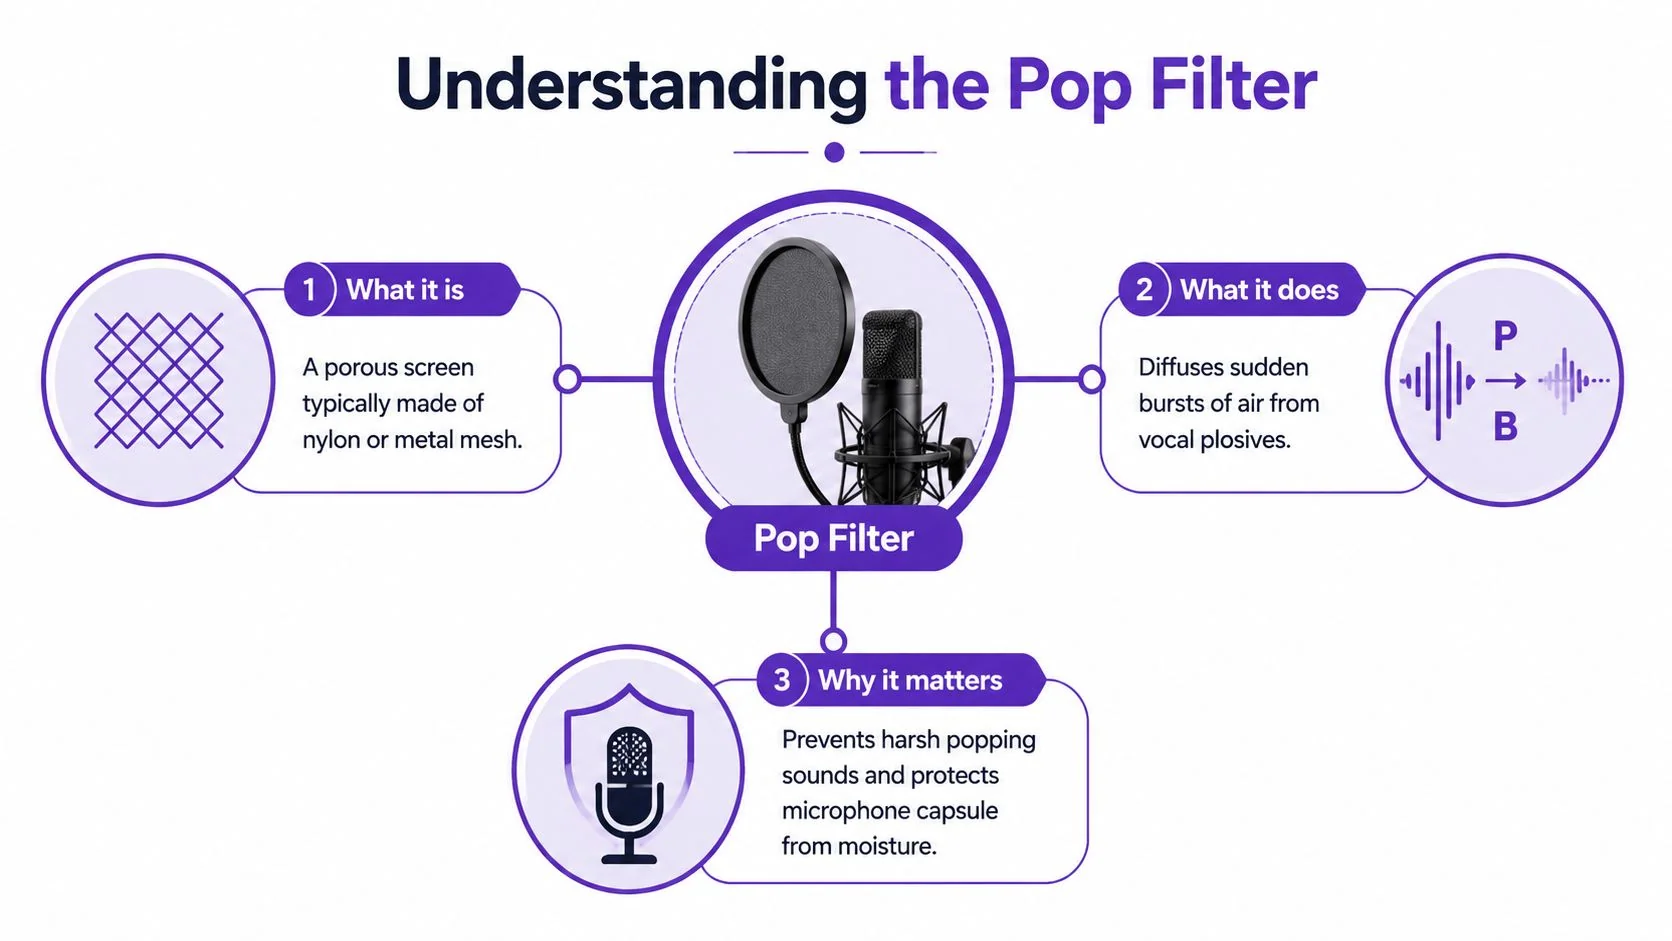
A pop filter is a protective screen that sits between the speaker and the microphone. It’s designed specifically to reduce or eliminate popping sounds caused by fast-moving air from speech and singing, especially plosives, which can overload a microphone and cause clipping or distortion. Wikipedia gives a straightforward definition in its overview of the pop filter device.
Why studios started treating it as standard gear
Pop filters became standard in the 1970s when high-sensitivity condenser microphones such as the Neumann U47 became common. Those microphones had an input capacity of 120 to 130 dB, while a single unfiltered plosive could generate over 150 dB of air pressure, which was enough to cause immediate distortion. That shift is why nylon mesh screens moved from accessory to necessity in studio practice.
If you use a condenser mic for tutorials today, you’re working with the same basic problem. Condensers capture detail well, which is why they’re popular for narration, but they also react to those air bursts more aggressively than many people expect. If you’re still deciding on hardware, this guide to the best mic for recording is a useful starting point.
What it protects against in day-to-day recording
The microphone capsule is sensitive. A pop filter acts like a buffer in front of it. Instead of one concentrated burst of air striking the diaphragm, the filter breaks that burst up before it reaches the mic.
Pop filters are usually made from woven nylon fabric or metallic mesh held in a plastic or metal frame, mounted between the speaker and the microphone. That material choice matters because it has to reduce plosives without adding an obvious sound of its own, as described in this practical overview of pop filter materials and structure.
Here’s the practical takeaway for tutorial creators:
- For product demos: they keep command names and feature terminology from popping.
- For onboarding videos: they help longer spoken explanations stay consistent.
- For support article videos: they reduce distracting low-end hits that make simple instructions feel rough.
- For sales walkthroughs: they preserve credibility when the message needs to sound composed and direct.
Practical rule: If your microphone sits close enough to capture a full, clear voice, it sits close enough to capture plosives too.
The Simple Science of Stopping Plosives
The easiest way to understand a pop filter is to stop thinking about sound and start thinking about wind. Your voice is fine. The problem is the short blast of air that comes with certain consonants.
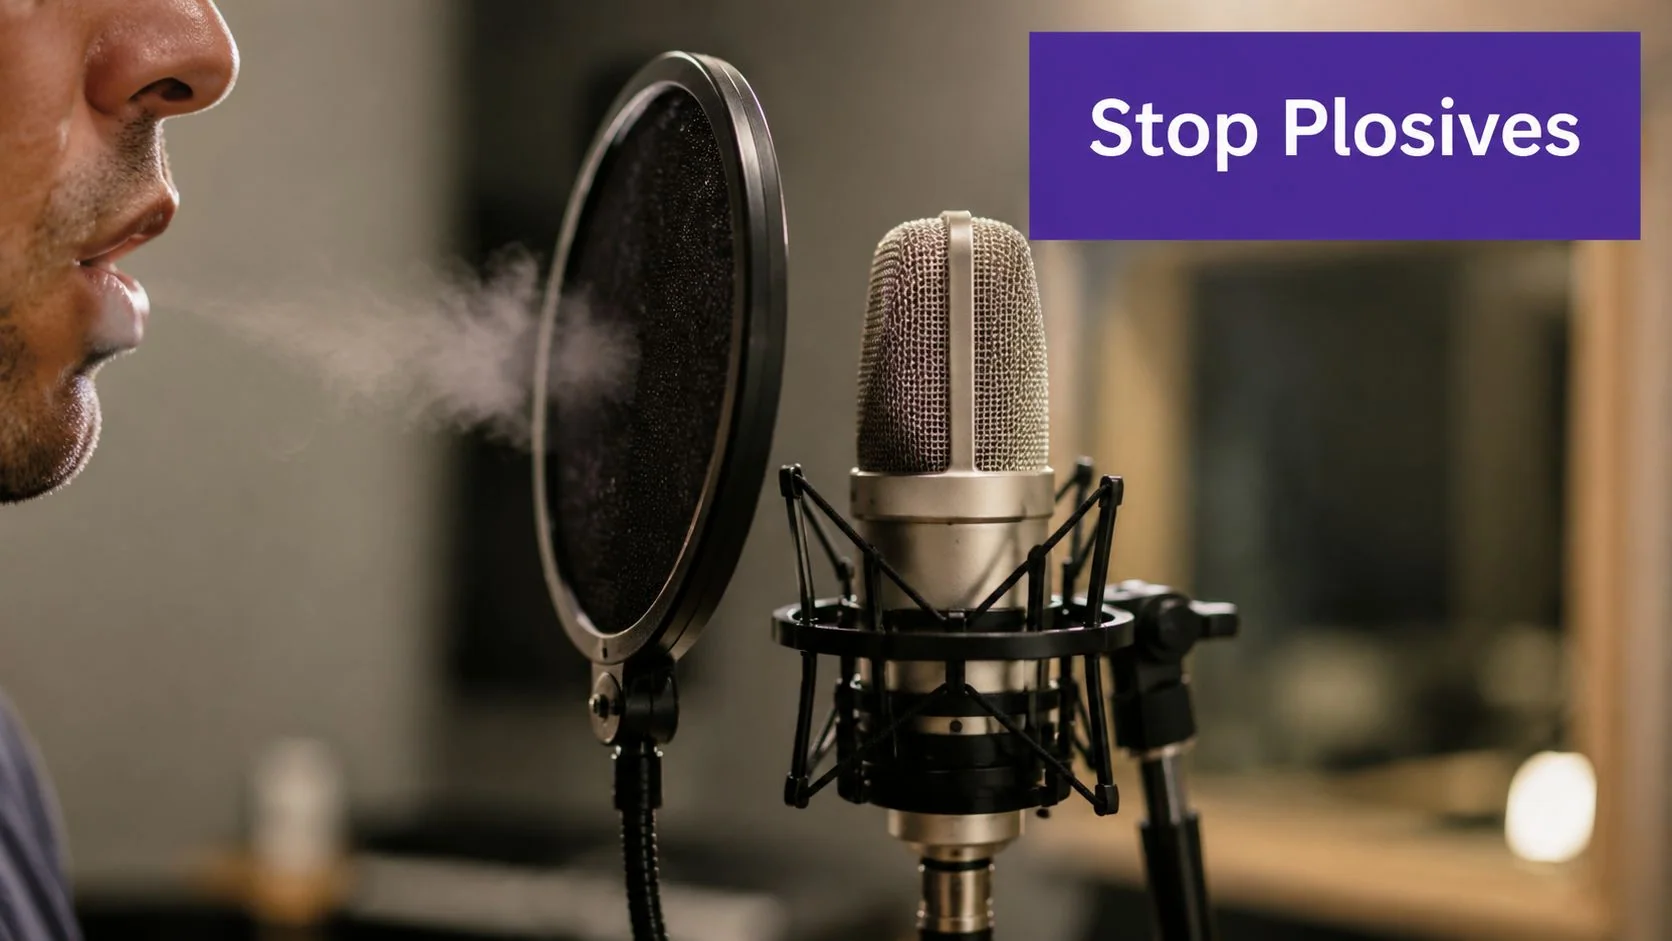
Say “Peter,” “billing,” or “button” with your hand in front of your mouth. You’ll feel the puff. That puff is what the microphone hates. The filter sits in its path and breaks it up before it reaches the capsule.
What the mesh is actually doing
A pop filter diffuses the rapid air bursts from P and B consonants, reducing peak pressure amplitude by 10 to 15 dB. The mesh breaks the coherent airflow into turbulent micro-streams, which cuts plosive distortion by over 90% while staying transparent to the vocal frequency range, as explained in Cymatics’ breakdown of how a pop filter reduces plosives.
That’s why lowering your mic gain doesn’t solve the problem. Gain affects the electrical level of what the microphone captures. A plosive is a physical burst of air hitting the capsule. If the capsule is getting smacked by air, lower gain just gives you a quieter pop.
For screen-recorded tutorials, that’s a useful distinction. You don’t fix plosives in settings first. You fix them by controlling airflow first, then setting levels.
Why placement matters as much as the filter
The filter works best when it has room to do its job. If it’s jammed awkwardly against the mic or sitting in the wrong position, airflow can still hit the capsule too directly. Good recording setup matters just as much as the accessory itself. These recording best practices cover the basics that improve tutorial narration before you ever touch the edit.
A short visual demo helps if you want to hear the difference in practice:
The non-technical version is simple. A pop filter doesn’t block your voice. It breaks up the blast of air attached to certain consonants so your microphone captures the word instead of the impact.
How to Choose and Use a Pop Filter Correctly
Pop filters primarily come in two types that users typically consider: woven nylon and metal mesh. Both can work. The better choice depends less on branding and more on how you record.
Nylon vs metal mesh
| Feature | Woven Nylon | Metal Mesh |
|---|---|---|
| Typical feel | Softer, classic studio style | Rigid, more durable feel |
| Sound character | Common choice for natural plosive control | Often a bit more direct, depending on design |
| Cleaning | Harder to clean thoroughly | Usually easier to wipe down |
| Durability | Can sag over time | Usually holds shape better |
| Budget fit | Often the lower-cost option | Sometimes costs more |
Nylon is the safe default for most training-video creators. It’s common, forgiving, and widely available. Metal mesh can be great if you want durability and easy cleaning, especially in shared setups.
There is one real trade-off worth knowing. Some engineers avoid relying on pop filters in controlled rooms because poor placement can slightly alter vocal tone and lead to a more hollow or distant result. That doesn’t mean filters are bad. It means placement matters, and technique still matters.
The setup that works in practice
A good starting point is to place the filter a few inches in front of the microphone, then speak from the other side of the filter rather than crowding the mic directly. The commonly cited working range is 2 to 6 inches (5 to 15 cm) from the capsule, and a slight 30 to 45 degree angle helps deflect airflow instead of sending it straight in.
Use this as a practical checklist:
- Start with distance: put the filter in front of the mic, then keep your mouth far enough back that you’re not breathing directly onto it.
- Angle the airflow: don’t always speak dead-center into the capsule. A slight off-axis position often sounds cleaner.
- Test plosive words: say “publish beta build” and “product billing page” before you record the full take.
- Watch for over-filtering: if the narration starts sounding boxed-in or far away, the filter may be too close or the mic may be too far.
The best pop filter setup is the one that disappears. You shouldn’t hear it working. You should just stop hearing pops.
Mounting and fit
Most filters attach with a clamp and flexible gooseneck. That’s useful because you can move the screen into place without changing the whole microphone stand. In a desk setup for help-center videos or internal training, that flexibility matters more than fancy materials.
If you’re recording lots of software walkthroughs, consistency beats perfection. Set the filter once, test with the same few plosive-heavy phrases, and leave the rig alone. You’ll get more reliable narration from session to session.
DIY Alternatives and Software Fixes That Cost You Time
Homemade pop filters are tempting because they look easy. A wire hanger and pantyhose can resemble a commercial one closely enough that people assume the result is basically the same.
It usually isn’t.
Where DIY setups fall short
A 2024 MIT Media Lab study found that 87% of DIY pop filters introduced significant low-frequency resonance and high-frequency scattering, reducing vocal clarity by up to 25% compared to professional nylon filters. That’s the core problem with DIY hacks. They may soften some plosives, but they often add new audio problems.
The issue isn’t only the material. It’s also tension, shape stability, and repeatability. A commercial filter is built to keep airflow diffusion consistent. A sock stretched over a hanger may work differently every time you touch it.
Common DIY trade-offs look like this:
- Pantyhose on a hanger: can reduce some air burst, but often sounds inconsistent.
- Sock-based filters: easy to make, more likely to muffle speech.
- Pencil tricks: can help with a narrow airflow path, but they’re awkward and limited.
- No filter, just distance: better than nothing, but risky if you need close, clear narration.
Why software repair should be the fallback
You can repair some plosives after recording. Adobe Premiere Pro, Audacity, and other editors can tame low-end bursts with EQ, clip gain, or spectral cleanup. If the recording also has room noise, a dedicated vocal noise reduction tool can help clean the track further.
But that’s repair work. It’s slower than prevention, and it rarely sounds as natural as getting the take right at the mic.
If you’re recording voiceover regularly, this guide on how to do a voice-over is worth reviewing because the same fundamentals apply to tutorials, demos, and support content.
Cheap recording shortcuts often move the cost from your wallet to your calendar.
For anyone making repeatable business content, that trade is usually bad. A dedicated pop filter is boring gear. Boring gear is often the smartest buy.
From Clean Audio to Automated Content Production
The operational value of a pop filter isn’t just cleaner sound. It’s less friction through the whole workflow.
A global study of voice-over professionals found that 88% of respondents said using a pop filter reduced required retakes by at least 50%, while audio engineers spend an average of 30% more time in post-production cleaning up unfiltered audio. That’s why clean capture matters for teams producing product demos, support videos, and training assets at scale.
Why this matters in tutorial workflows
If you’re making software tutorials, the best workflow usually starts with one good recording of the actual UI and real narration. That’s especially important when the goal is product education, because viewers need to see the authentic interface, not a synthetic talking head.
The teams that benefit most are the ones creating:
- Product demos for launches and feature releases
- Customer onboarding walkthroughs
- Help-center and knowledge-base videos
- Support article videos
- Internal training and SOP content
- Sales enablement walkthroughs
Good audio upfront also makes automation more reliable later. When the voice track is clear, platforms can tighten pacing, align captions, and generate companion documentation with fewer manual fixes. If you’re comparing approaches, that’s a different category from Adobe Premiere Pro or Camtasia, which are powerful but expect editing skill, and also different from avatar tools like Synthesia or HeyGen, which generate presenters rather than showing your actual screen workflow. If synthetic voice strategy is part of your broader content mix, this piece on AI character voices for marketing is a helpful companion read.
Microsoft and UNICEF are among the organizations using Tutorial AI for polished tutorial and documentation workflows. The appeal is practical: record once, tighten pacing with AutoRetime, generate a matching written article from the same recording, publish with Brand Kits, and support narration in 74 languages through a Multilingual Player. For larger teams, SSO/SAML and SOC 2 + GDPR support matter just as much as the editing workflow.
A pop filter won’t make a weak explanation strong. It will protect a strong explanation from being damaged by avoidable audio problems. That’s exactly the kind of small production habit that saves time later.
If you’re turning screen recordings into product demos, onboarding videos, or help-center content, Tutorial AI is worth a look. It takes one screen recording plus spoken narration and turns it into a polished tutorial video that looks edited in Adobe Premiere Pro, then generates a matching written article from the same recording so your team can ship video and documentation together.