Let’s be honest: creating great tutorial videos has always been a massive headache. If you’re a subject matter expert, you’ve probably felt stuck between two equally frustrating options. You either hit record with a tool like Loom and end up with a long, rambling demo, or you face the daunting task of learning a professional-grade editor like Adobe Premiere Pro.
Go from Tedious Editing to Effortless AI Creation
For most teams, this is a real bottleneck. Easy-to-use recording tools are great for capturing your screen, but the raw footage is often 50-100% longer than necessary. It’s full of “ums” and “ahs,” wrong turns, and meandering explanations. The video gets the job done, but it’s far from the polished, professional content you want to put in front of customers.
Then you have the other extreme: powerful editing software. Tools like Camtasia or Adobe Premiere Pro can do anything, but they come with a steep learning curve and require expert video editing knowledge. This forces a tough decision—ship long, unedited demos or pour time and money into a dedicated video editor, slowing everything down.
Closing the Gap with AI-Powered Video
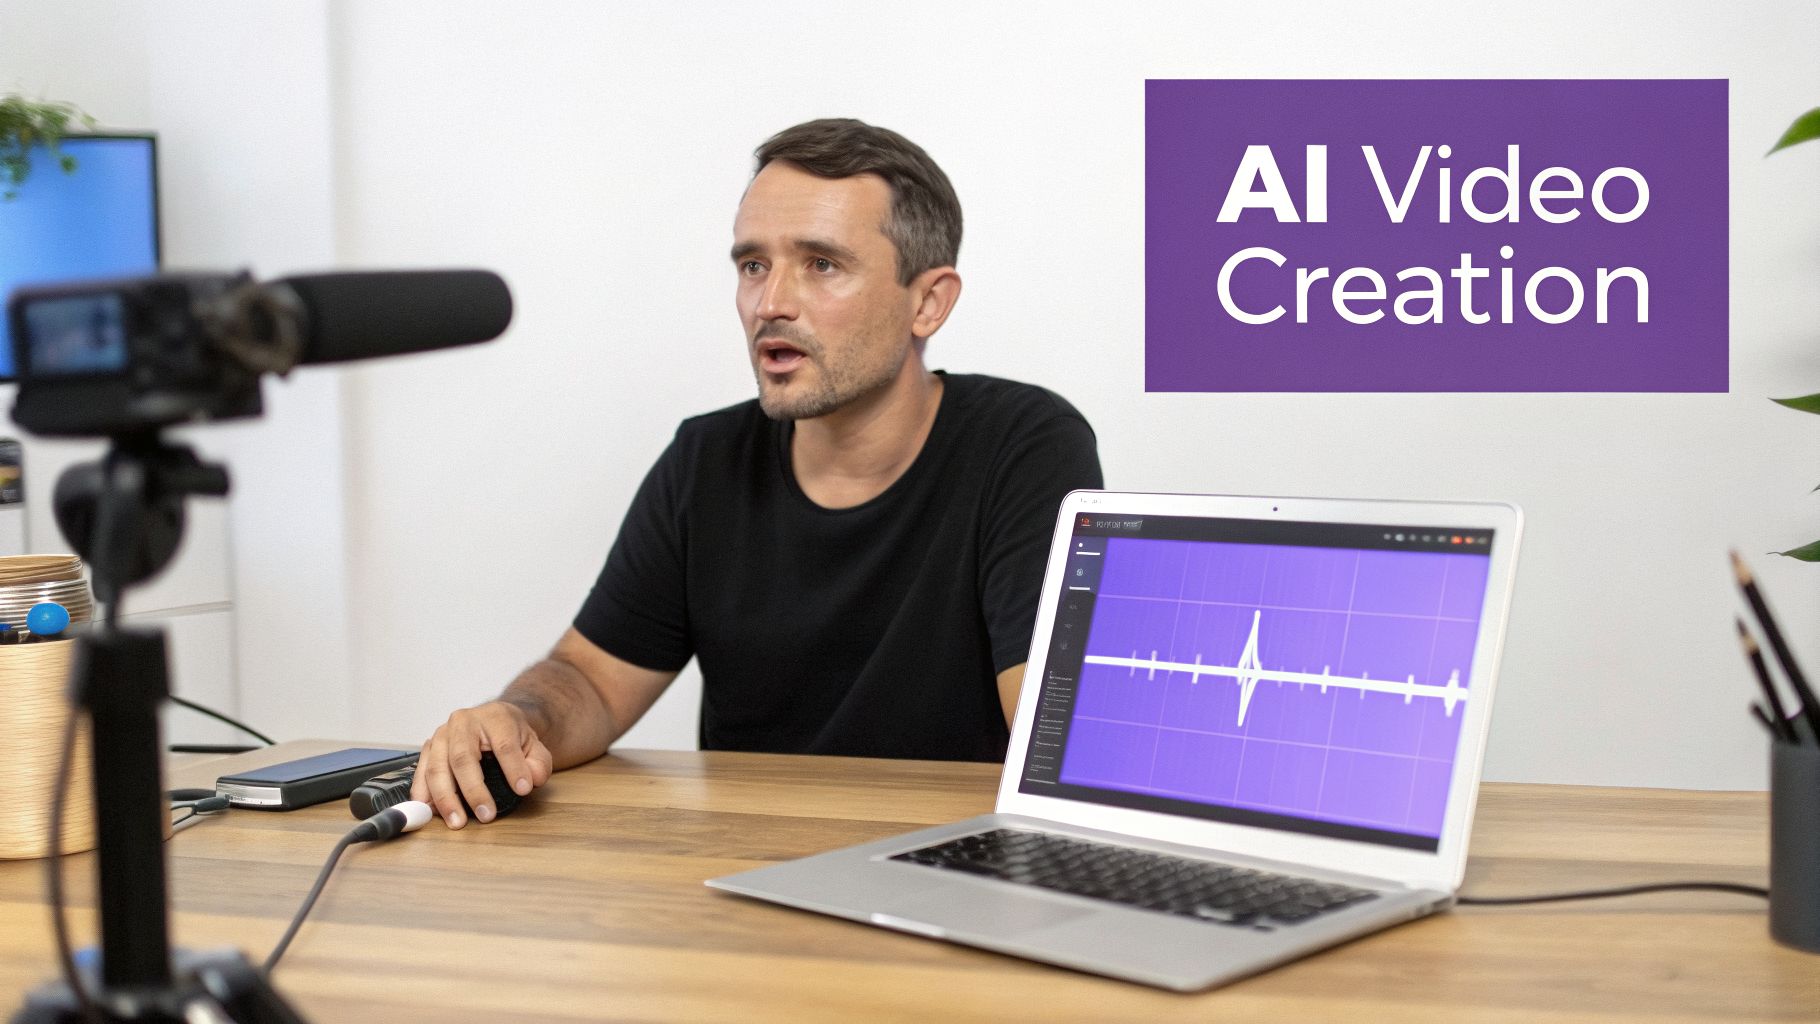
This is exactly the problem Tutorial AI was built to solve. It is designed for generating video tutorials from screen recordings, allowing the subject matter expert to create on-brand videos extremely efficiently. Tutorial AI’s tools let you speak freely without any practice, and your video will still look professional, as if it was edited in Adobe Premiere Pro. The idea is refreshingly simple: just record your screen and talk through your process naturally. No script, no practice runs.
Don’t even think about trying to be a perfect presenter. Tutorial AI is designed to clean up the realities of a live recording.
First, it automatically transcribes everything you said. From there, you edit the video just like you would a Google Doc. If you delete a sentence from the transcript, it disappears from the video. If you rephrase something, the tool generates a flawless, lifelike AI voiceover to match. The final video looks like it was meticulously produced in a pro editing suite, even if the original take was completely off-the-cuff.
This completely changes the game for producing video content at scale. It removes the technical editing barrier, so experts can do what they do best: share their knowledge. This workflow is perfect for creating all kinds of essential screen-recorded content, like:
- Product Demos: Create clear, compelling walkthroughs of your software in a fraction of the time.
- Onboarding and Explainer Videos: Guide new users with instructions that are concise and easy to follow.
- Feature Release Videos: Announce new functionality with polished videos that get people excited.
- Knowledge Base Videos and Support Article Videos: Transform static help docs into dynamic visual guides.
By automating the most time-consuming parts of video production, you can finally create more content, faster than ever. And if you’re looking for more ways to get the most out of your video efforts, check out The Definitive Guide to Repurposing Webinar Content for great ideas on turning existing footage into new assets.
Now, let’s walk through how you can start creating these videos from scratch.
Planning and Capturing Your Raw Footage
A great tutorial video starts with a clean recording, but that definitely doesn’t mean you need a perfect, word-for-word script. We’ve all seen videos where the presenter is either reading stiffly from a teleprompter or rambling so much the recording is twice as long as it needs to be. This is exactly the headache an AI-first workflow is built to solve.
The goal here is to capture your genuine expertise on screen, without the pressure of a flawless performance. Instead of a rigid script, all you really need is a simple outline of your main talking points. This gives you just enough structure to stay on track while letting you speak naturally and authentically.
Prepping Your Screen for a Clean Capture
Before you even think about hitting that record button, take 30 seconds to prep your screen. This is one of those small habits that pays off big time, ensuring the AI has a clean canvas to work with and saving you from a world of editing headaches later.
- Close stray tabs and apps: A cluttered desktop is a distracted viewer. Shut down everything that isn’t absolutely essential for the tutorial.
- Silence all notifications: There’s nothing worse than a perfectly good take being ruined by a surprise Slack message or email popup. Turn them off.
- Set a standard resolution: For the best results, record your screen in a common aspect ratio like 1920x1080 (1080p). This makes sure your final video looks sharp and professional on any device.
Taking a moment for this quick setup lets you focus entirely on what you’re demonstrating, not on wrangling a messy digital workspace. For a deeper dive, our guide on how to screen record with sound has even more pro tips.
Choosing Your Recording Method: Live Narration vs. Silent Capture
A common question I get is whether it’s better to narrate while recording or just capture the screen silently and add a voiceover later. Honestly, both methods have their place. It really just depends on your comfort level and the complexity of the tutorial.
This table breaks down the pros and cons to help you decide which approach is right for you.
| Feature | Live Narration | Silent Recording | Best For |
|---|---|---|---|
| Pacing | Feels more natural and conversational. | Can be more precise and deliberate. | Live is great for walkthroughs; Silent is better for dense, technical topics. |
| Efficiency | Faster initial recording session. | Requires a separate voiceover step. | Live narration wins for speed if you're a confident speaker. |
| Flexibility | Harder to fix verbal mistakes later. | Easy to re-record single sentences or change the script. | Silent offers maximum post-production flexibility. |
| Confidence | Requires confidence in speaking on the fly. | Removes the pressure of a live performance. | Silent is perfect for anyone who gets nervous recording their voice. |
For most people, I recommend trying a live narration first. Since Tutorial AI can easily clean up mistakes, it’s often the fastest path from recording to a finished video. But if you’re explaining something highly complex or just prefer to focus on one thing at a time, the silent method is a fantastic, stress-free alternative.
Recording with Confidence
Once your screen is prepped, it’s time to record using Tutorial AI’s Mac, Windows, or Chrome extension. Here’s the key: speak freely and don’t worry about making mistakes. Seriously. If you say “um,” pause to collect your thoughts, or even need to restart a sentence, just keep going.
The AI is designed to handle these imperfections. It lets you, the subject matter expert, create on-brand videos with extreme efficiency, knowing your raw take will be transformed into something that looks like it was edited in Adobe Premiere Pro. This approach completely removes the performance anxiety that trips so many people up. You can finally just focus on sharing what you know, confident that the technology will handle all the tedious cleanup later. This is what makes creating a polished step-by-step video accessible to everyone—not just people who have mastered professional video editing software.
Refining Your Video with Doc-Style Editing
Once you’ve captured your raw screen recording, Tutorial AI gets to work, automatically transcribing everything you said. This is where the whole post-production process flips on its head. Instead of wrestling with a complicated timeline, your entire video becomes an editable text document.
This simple workflow—a quick outline, a straightforward recording, and a prepped screen—is all it takes to get to this stage.
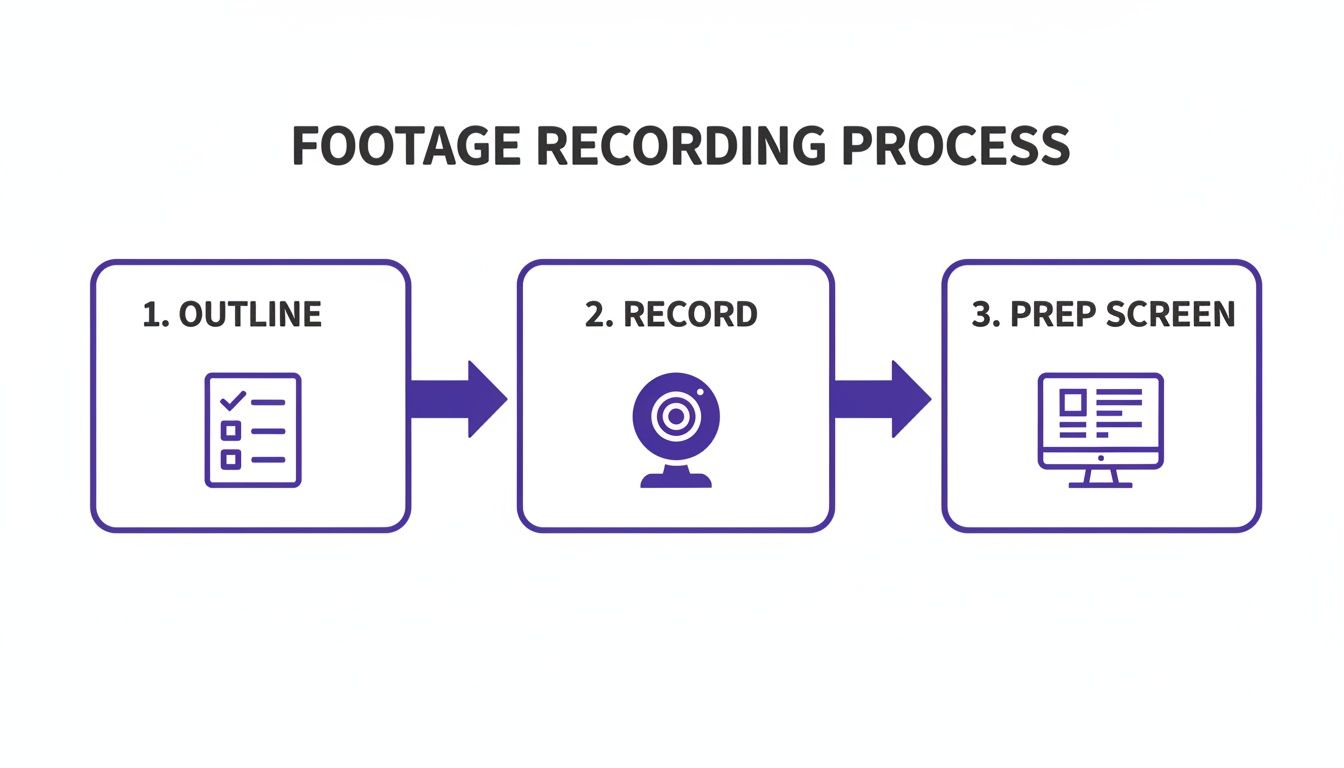
As you can see, a little bit of prep makes the recording itself much smoother and sets you up for incredibly efficient editing.
Polish Your Narrative Without Re-recording
Think about how you edit a blog post or a Google Doc. You hunt down typos, delete awkward phrases, and cut out filler words like “um” and “uh.” That’s exactly how you edit your video in Tutorial AI. You just find the word or phrase in the transcript, hit delete, and it’s instantly snipped from the video.
It’s a surprisingly intuitive way to work. For instance, if you said, “Next, you’ll want to click on the… uh… settings button in the top right,” you can simply edit the text to say, “Click the settings button.” The platform automatically closes the gap, removing the mistake and the pause from your final video.
The most powerful part? Every single text edit immediately syncs with your video, and the platform generates a new, hyper-realistic AI voiceover to match. This means you can fix a small error without having to re-record an entire section. This doc-first approach is what really sets a tool like Tutorial AI apart. With simple recorders like Loom, you’re pretty much stuck with your original narration, mistakes and all. On the other end, professional software like Adobe Premiere Pro or Camtasia can fix these issues, but it requires serious editing skills and a lot of time. You can learn more about how to edit your video like a document on Tutorial AI’s blog.
Regenerate Your Voice for a Perfect Delivery
This system goes beyond just fixing mistakes. It’s a huge confidence booster for subject matter experts who might not be natural presenters. You can record your screen and just talk through the process freely, knowing any stumbles or rambling can be cleaned up in seconds.
The platform even lets you regenerate your voiceover to get the perfect pacing and tone. If a sentence comes across as flat or rushed, a single click can generate a new version with better delivery.
This also opens the door to creating content for a global audience. You can regenerate your entire script and voiceover in over 30 languages, making it incredibly simple to localize your videos.
- Explainer Videos: Quickly create versions for different international markets.
- Knowledge Base Videos: Offer support articles in a user’s native language.
- Feature Release Videos: Announce product updates to your entire global customer base.
This part of our step-by-step guide is all about getting from a rough, unscripted recording to a polished, professional video without ever touching a traditional timeline. The focus is on sharing your knowledge, not perfecting your on-camera performance.
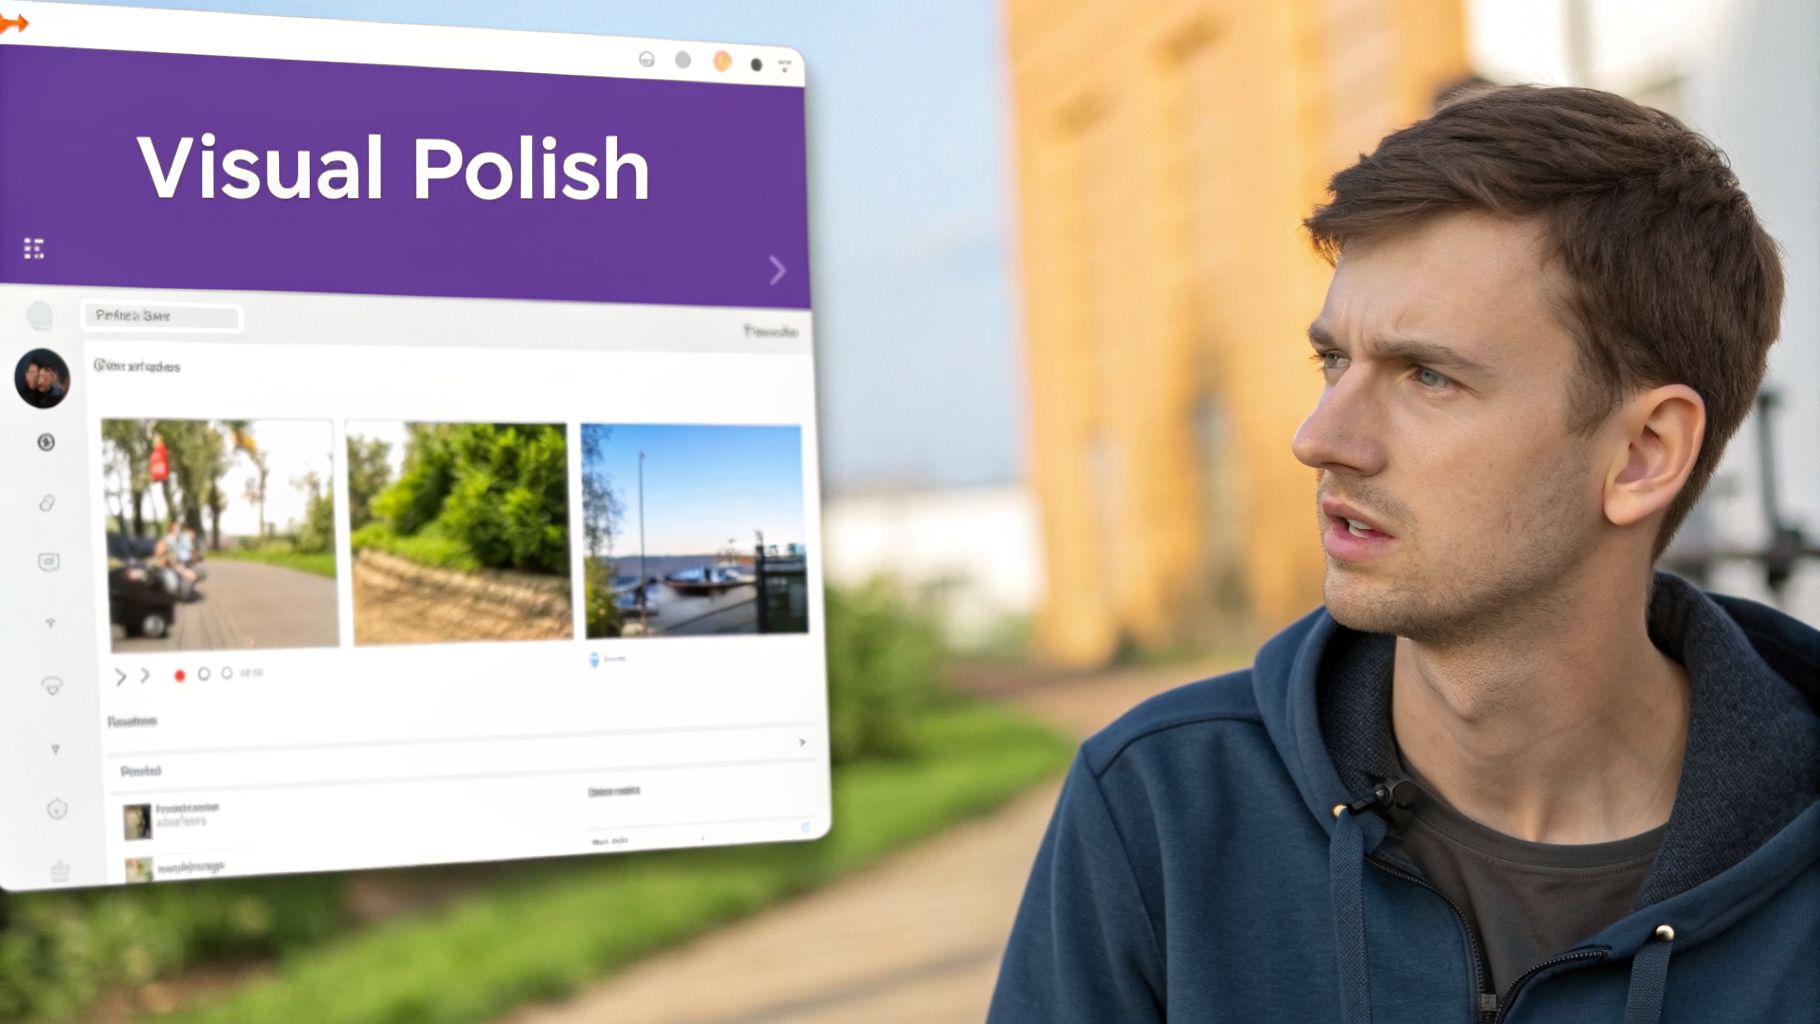
Adding Visual Polish and Professional Effects
You’ve nailed the script, and the AI voiceover sounds perfectly human. Your video is tight and to the point. Now for the fun part: adding the visual polish that makes a tutorial truly great. A solid step by step guide isn’t just a recording; it’s a guided tour, and how you direct your viewer’s attention is everything.
This is where we go from a simple screen capture to a dynamic, professional-looking lesson. The aim is to make every click and movement on screen feel deliberate, so your audience never wonders, “Wait, where did they just click?”
Direct Attention with Cursor Effects and Smart Zooms
In any screen recording, your cursor is the main character. It shows people exactly where to go and what to do. The great thing about Tutorial AI is that you can tweak all of this after the recording is done, so you don’t have to worry about performing perfectly the first time.
- Cursor Smoothing: We all have those moments of hesitation or a shaky hand. Cursor smoothing erases those wobbly mouse movements, creating a clean, confident path across the screen.
- Highlighting and Effects: Make your cursor pop. Adding a simple colored highlight or a click animation makes it impossible to miss, which is a lifesaver on a busy user interface.
- Sizing: Ever tried to watch a tutorial on your phone and couldn’t see the tiny cursor? Bumping up its size ensures it’s always visible, no matter the device.
Beyond the cursor, smart zooms are what really separate the amateurs from the pros. Instead of keeping the entire screen in view, you can have the camera automatically pan and zoom to the exact button or form field you’re talking about. It creates this focused, almost cinematic feel that guides the viewer’s eye exactly where you want it.
Add Backgrounds, Blurs, and Shadows
Sometimes the most important thing is what you don’t show. If your screen recording has distracting browser tabs open or, worse, sensitive customer information, you need a quick way to hide it.
This is where blurs come in. With Tutorial AI, you can easily apply a blur effect to any section of the screen to protect private data. It’s essential if you’re creating a public demo from a live production environment. You can also drop in a custom background to hide a messy desktop or add a subtle shadow to make your application window stand out.
These visual tools are what truly elevate your video. They take a simple screen capture and give it the structure and polish of a professionally edited production, ensuring every second is clear, engaging, and on-brand. These effects all work in concert to create a clear visual hierarchy. The blur removes noise, the zoom creates focus, and the highlighted cursor confirms the action. This thoughtful combination is what makes a tutorial not just helpful, but genuinely effortless to follow.
Branding and Scaling Your Videos for a Global Audience
So, you’ve put in the work to create a sharp, helpful video. Now comes the challenge: how do you make it unmistakably yours and get it in front of a worldwide audience without creating a mountain of extra work? This is where you go from making a single video to building a scalable content machine.
Tutorial AI has a fantastic feature called Brand Kits that tackles the consistency problem head-on. Forget about manually adding your logo or hunting for the right hex codes for every project. You set up your branding elements—like your logo, specific fonts, and color palette—just once.
From then on, applying your full brand identity is literally a one-click job. This makes sure every sales demo, support video, and tutorial is instantly recognizable. Consistent branding is a huge part of building trust, and knowing how to create a personal brand effectively can really boost your content’s connection with viewers.
Instantly Localize Content for Global Teams
Making your content global used to be a painful, manual process. Translating scripts, re-recording audio, and then painstakingly re-editing the video to match the new timing was a massive resource drain.
This is where Tutorial AI’s translation and AutoRetime features completely change the game. You can get a script translation and a new AI voiceover in another language almost instantly. But that’s only half the story.
The real magic is AutoRetime. This feature automatically analyzes the pacing of the new voiceover and intelligently adjusts your video’s scenes, cuts, and captions to sync up perfectly. If a scene was five seconds in English but the German narration takes seven seconds, AutoRetime handles that adjustment for you. No more awkward pauses or visuals that cut away too soon. It’s an absolute lifesaver for any team that needs to support an international user base, saving countless hours of tedious manual editing.
Scale Your Video Production Without Scaling the Workload
This combination of automated branding and localization is what makes scaling your video strategy actually feasible. It lets your team produce a higher volume of polished, on-brand content for different markets without needing to hire more editors.
Imagine being able to efficiently create localized versions of your most important videos:
- Feature Release Videos: Announce product updates to all your users across the globe at the same time.
- Knowledge Base Videos: Offer support content in your customers’ native languages, which can dramatically lower support tickets.
- Onboarding Videos: Give new customers from different regions a personalized, welcoming experience from day one.
If you’re dealing with a large library of content, you might also find our breakdown of the best AI video dubbing solutions helpful for your global strategy. These tools are the final step in this guide, turning your polished tutorial into a resource that can serve any audience, anywhere.
Alright, you’ve done the hard work. Your tutorial looks sharp, the voiceover is spot-on, and your branding is dialed in. So, what’s next? Let’s get it in front of the people who need to see it.
This is where you’ll handle final reviews with your team and get your video published, and thankfully, Tutorial AI makes this last mile incredibly smooth.
We’ve all been trapped in the nightmare of endless email threads with time-stamped feedback. It’s messy and inefficient. Instead, you can bring your team directly into a shared workspace. Reviewers can drop comments right onto the video timeline, so you know exactly which frame they’re talking about.
This completely changes the feedback process. No more guesswork or juggling different versions. You can even use guest sharing to pull in feedback from external stakeholders without having to add them as a full team member.
From Creation to Distribution
Once everyone has given the green light and your tutorial is officially done, getting it out there is straightforward. You have a few great options depending on where your audience is.
For a quick share, you can just grab a direct link—perfect for dropping into a Slack message or an email. But for broader reach, you’ll want to use the more integrated publishing tools.
- Export Your File: Need a high-quality video file? You can download your tutorial in resolutions all the way up to 4K. This gives you a pristine file you can use anywhere, from a sales presentation to a social media ad.
- Publish Directly: If you connect your accounts, you can push the finished video straight to your company’s YouTube or Vimeo channel with just a couple of clicks.
By far, the most powerful way to share your tutorial is with the embeddable player. This lets you drop the video directly into your knowledge base, Learning Management System (LMS), or company website. Placing the video right where your users are—like in a support article or a product tour—is a game-changer. It delivers help at the exact moment of need, creating a much better user experience.
This closes the loop, taking you all the way from a simple screen recording to a polished, professional tutorial that’s actively helping your customers and teammates. It’s the final piece of a workflow built from the ground up for both quality and speed.
Ready to see for yourself how easy it is to turn raw screen recordings into studio-quality tutorials? Start creating with Tutorial AI and find out how quickly you can produce professional, on-brand videos at scale. Get started today at tutorial.ai.