If you’re holding an iPad and need to make a product demo, onboarding walkthrough, or internal SOP today, you’re already closer than many might realize. The hard part usually isn’t capturing the screen. It’s knowing how to turn that capture into something another person can use without confusion, dead air, or follow-up questions.
That gap matters in SaaS. A rough clip might be fine for a quick Slack reply, but customer onboarding, help-center videos, support article videos, and sales enablement walkthroughs need more structure. They also need a workflow that doesn’t trap the subject-matter expert inside Adobe Premiere Pro just to explain one feature.
Your iPad Is a Powerful Recording Studio
A lot of teams still treat the iPad like a viewing device. In practice, it’s a strong recording tool for software education. If a product manager needs to show a new mobile flow, or a support lead needs to document a recurring issue, the iPad can handle the first and most important step well: recording the actual UI where the task happens.
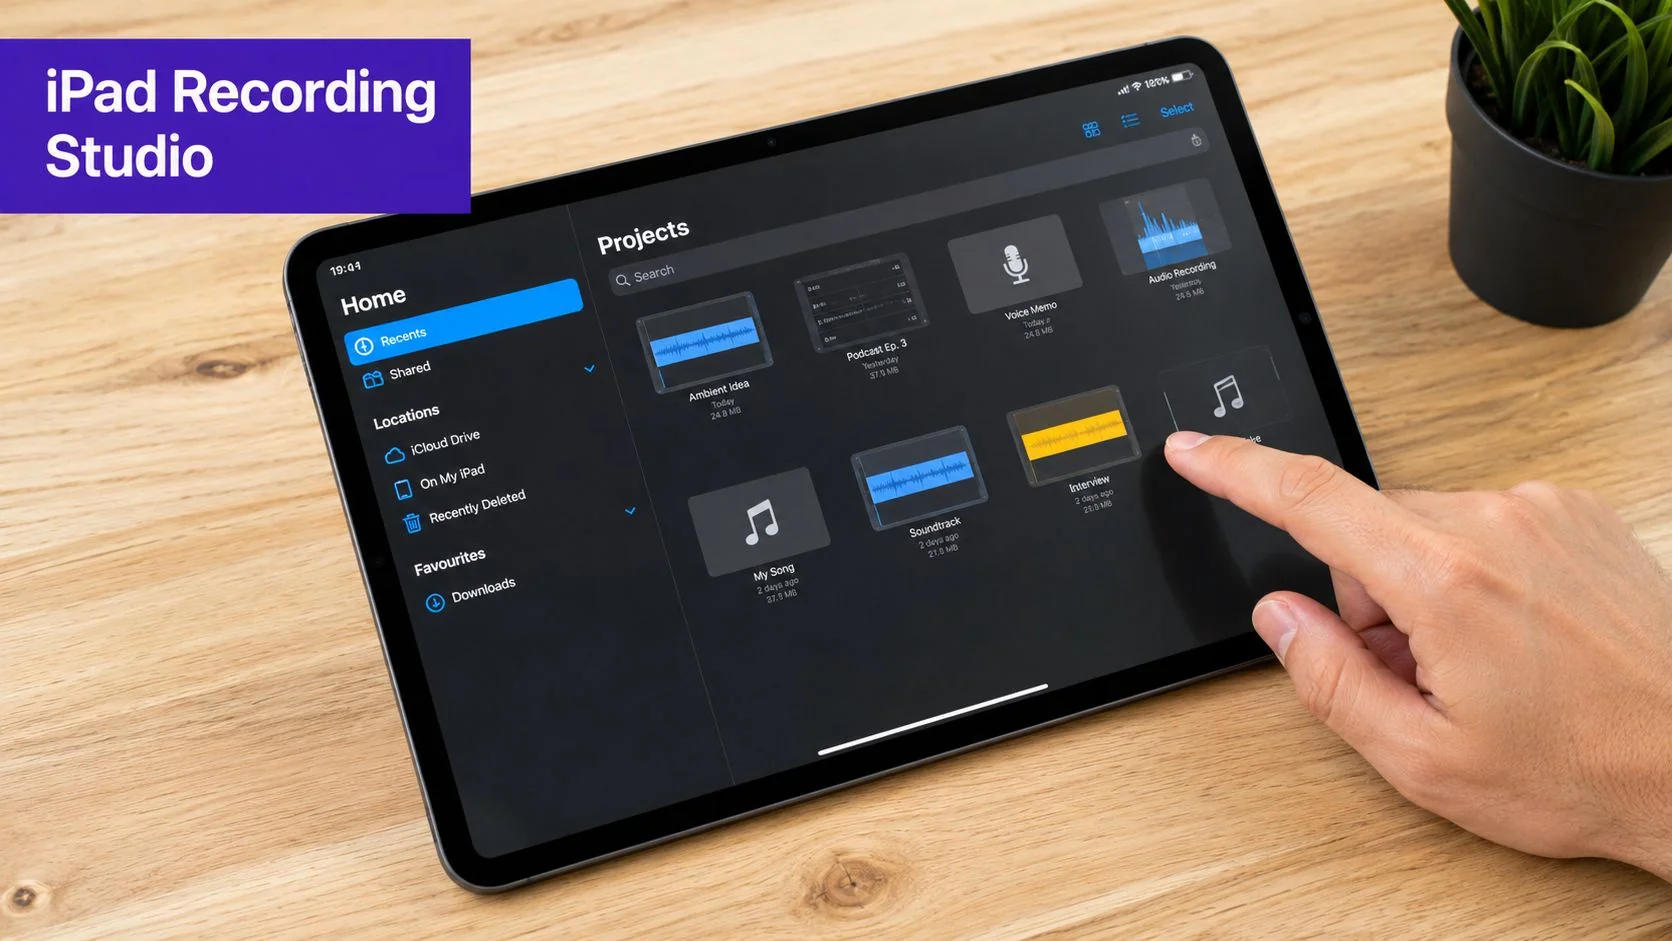
Apple made that shift official when it introduced the native screen recording feature in iOS 11, released on September 19, 2017, which turned iPads into viable standalone tutorial creation devices and removed the need for setups like QuickTime plus cables for many users, as noted in this iOS 11 screen recording overview.
Where the iPad works best
The iPad is especially useful when the recording needs to be close to the actual customer experience. That includes:
- Product demos that show the live interface instead of slides
- Feature release videos for mobile-specific changes
- Customer onboarding for first-run setup flows
- Help-center and knowledge-base videos tied to support articles
- Internal training for support reps, success teams, and ops
- SOPs that need repeatable, visual instructions
Practical rule: Record where the work actually happens. If the feature lives on iPad, capture it on iPad.
What the iPad does well, and where it stops
Native recording is fast, reliable, and built in. That matters when the person creating the tutorial is a product expert, not a video editor.
But the built-in workflow has limits. It captures the screen. It can capture your voice. It can trim the ends. It doesn’t give you much control once the recording becomes business content that needs polish, multilingual distribution, or matching documentation.
That’s why learning how to record on iPad is only the first layer. The second layer is building a workflow that turns one capture into something ready for customers, teammates, or a help center.
Activating the Built-in iPad Screen Recorder
A common failure happens before the recording even starts. Someone opens the iPad, launches the app they want to demo, swipes for Control Center, and realizes the record button is not there.
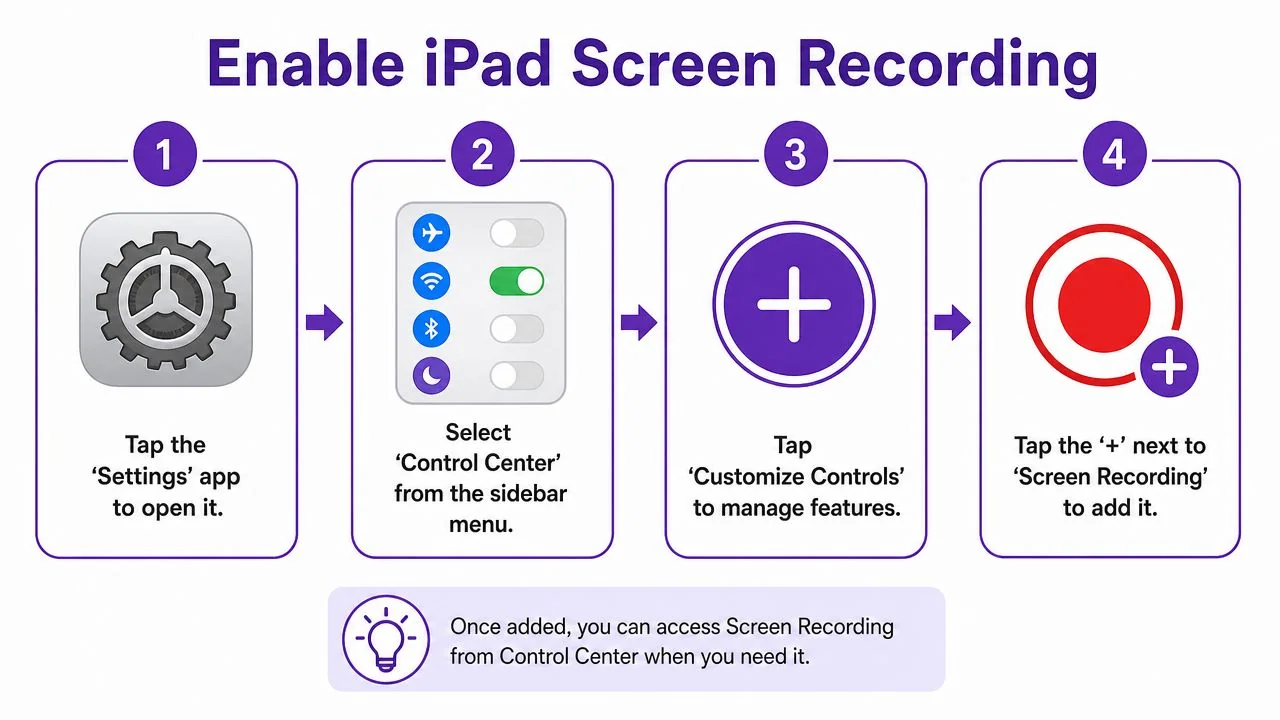
Set this up once, and the built-in recorder is ready whenever you need a quick product walkthrough, onboarding clip, or support example.
Add Screen Recording to Control Center
Open Settings, go to Control Center, and add Screen Recording if it is not already included. After that, you can start a capture directly from Control Center without digging through settings again.
Use this sequence:
- Open Settings
- Tap Control Center
- Find Screen Recording
- Tap the green plus button
If you want a visual walkthrough before doing it on your own device, this short demo helps:
For teams building repeatable tutorial processes, this mobile recording workflow for tutorial creation is a useful reference.
Start and stop the recording cleanly
Once the control is in place, the recording flow is simple. Swipe down from the top-right corner to open Control Center, then press and hold the record button if you want access to recording options before you begin. Tap Start Recording and use the short countdown to close Control Center and land on the first screen you want viewers to see.
That pause matters. In business tutorials, the opening seconds often decide whether the video feels intentional or rushed.
A clean start usually means opening the target screen first, waiting a beat, and then beginning the action. That gives you a stronger first frame and makes the clip easier to trim, caption, translate, and turn into written documentation later.
To stop, tap the red status indicator at the top of the screen and confirm, or reopen Control Center and tap the record button again. The file saves automatically to Photos.
Know what the built-in recorder can and can’t capture
The native tool is good at fast screen capture. It is less flexible once the recording needs to serve as customer education, internal training, and localized documentation across multiple channels.
Audio is the first place people run into trouble. If you need to capture system and microphone audio, decide that before you start recording, not after the clip is already saved.
That distinction matters in practice. A simple silent capture may be enough for a bug report or internal handoff. A customer-facing tutorial usually needs more planning, because the raw iPad recording is only the source file. The core work is turning that capture into a polished tutorial your team can publish, adapt for other languages, and pair with step-by-step docs.
Capturing High-Quality Audio for Your Tutorial
A screen recording without narration is fine for a bug report. It’s usually weak for onboarding, feature education, or support content. Viewers need to know what they’re looking at, why it matters, and what to do next.
The most common recording failure on iPad isn’t visual. It’s finishing a good walkthrough and discovering your voice never got recorded.
Turn the microphone on before you start
To capture narration, you must touch and hold the Screen Record button in Control Center, then switch the Microphone icon to On. If you skip that gesture, the video may record without your narration. A forum-based reference on iPad recording notes this is a common mistake affecting an estimated 40% of novice creators who assume audio is captured by default, as described in this iPad screen recording audio discussion.
The reliable process is short:
- Open Control Center
- Long-press the Screen Record button
- Tap the Microphone so it shows On
- Start recording
If the microphone icon isn’t enabled before the countdown starts, assume the recording won’t contain your spoken narration.
Microphone audio and system audio aren’t the same thing
This is the part many guides gloss over. On iPad, your spoken voice and app audio don’t behave like one simple audio track.
Here’s the practical difference:
| Audio type | What it means in practice | What to expect |
|---|---|---|
| Microphone audio | Your voice, room sound, nearby ambient noise | Good for narration if your mic is set correctly |
| System audio | Sounds generated by the app or device | May not behave the way beginners expect |
| Mixed tutorial audio | Voice plus app sounds together | Needs testing before recording anything important |
If your tutorial depends on clicks, sound cues, or media playback, do a short test recording first. Don’t assume a clean mix until you’ve listened back.
A ten-second test saves a ten-minute re-record.
Better audio usually comes from a better mic, not a louder voice
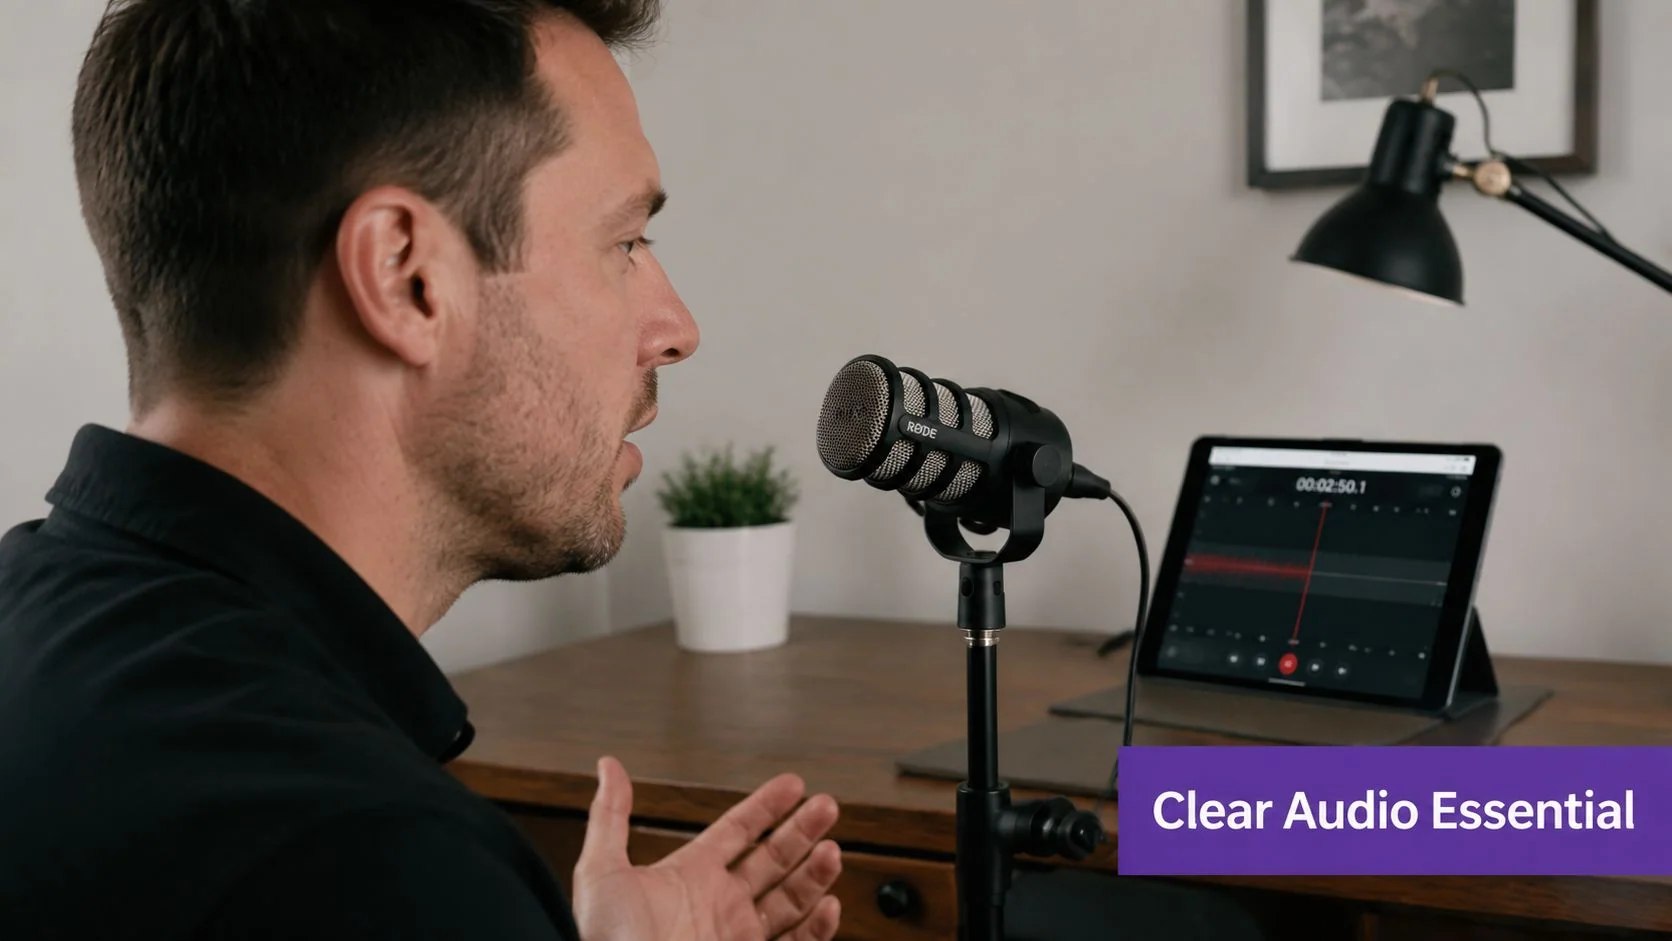
The built-in mic works for quick recordings, but it also hears room echo, desk taps, and HVAC noise. If you’re recording customer-facing tutorials regularly, an external microphone makes the biggest quality jump.
If you’re comparing microphone styles and want to understand why broadcast-style options are popular, this professional SM7B microphone guide is a useful reference point. For software tutorials specifically, this roundup of the best mic for recording is also practical.
A few habits help more than people expect:
- Record in a soft room: Curtains, carpet, and upholstered furniture reduce harsh reflections.
- Keep the mic close: Distance creates echo faster than most creators realize.
- Monitor your first clip: Listen for hiss, room tone, and plosives before doing the full take.
Basic Trimming and Sharing Your Raw Video
The first edit on iPad should be fast and boring. The goal is not to finish the tutorial in Photos. The goal is to clean the clip enough that the next person, or the next tool in your workflow, starts with a usable file.
Your screen recording saves to Photos, and that is the right place for the first pass. Open the video, tap Edit, then drag the handles at the start and end of the timeline. I usually trim three things right away: the swipe into Control Center, the second or two before the actual task begins, and the awkward pause after I stop talking.
That quick pass improves the raw file in a few concrete ways:
- Removes setup footage that viewers never need to see
- Cuts the stop sequence at the end
- Makes the opening frame intentional so the tutorial starts on the task, not on your recording process
If you want a step-by-step reference for the edit itself, this guide on how to trim video covers the basic Photos workflow.
Best ways to move the file off the iPad
After trimming, get the file into the system where the rest of the work happens. For a personal tutorial, that might be enough. For a business tutorial, the video usually needs to land in shared storage, an editing queue, or a documentation workflow.
The practical options are:
- AirDrop to a Mac: Fastest if your editing or publishing work already happens on Apple devices
- Save to Files: Better for cloud folders, shared drives, and handoff to a team
- Direct share from Photos: Fine for quick review, but weak for version control and repeatable production
File naming matters here more than many teams expect. A title like ipad-demo-final.mov creates confusion fast. Use a name that includes the product area, task, language, and date so the raw clip can feed later steps such as script cleanup, localization, and written documentation.
What native trimming does not solve
Photos handles edge trimming well. It does not handle tutorial production.
You still cannot remove a mistake in the middle of the recording, tighten long pauses throughout the clip, swap in a cleaner voiceover, add callouts, or turn the same recording into a written how-to article. Those gaps matter if the audience is customers, partners, or internal teams who need a tutorial they can reuse and translate.
That is the primary handoff point. The iPad gives you a clean capture and a quick first edit. Publishing-ready training content usually needs a second workflow that can refine the video, support multiple languages, and generate matching documentation from the same source.
Creating Polished Tutorials for Business
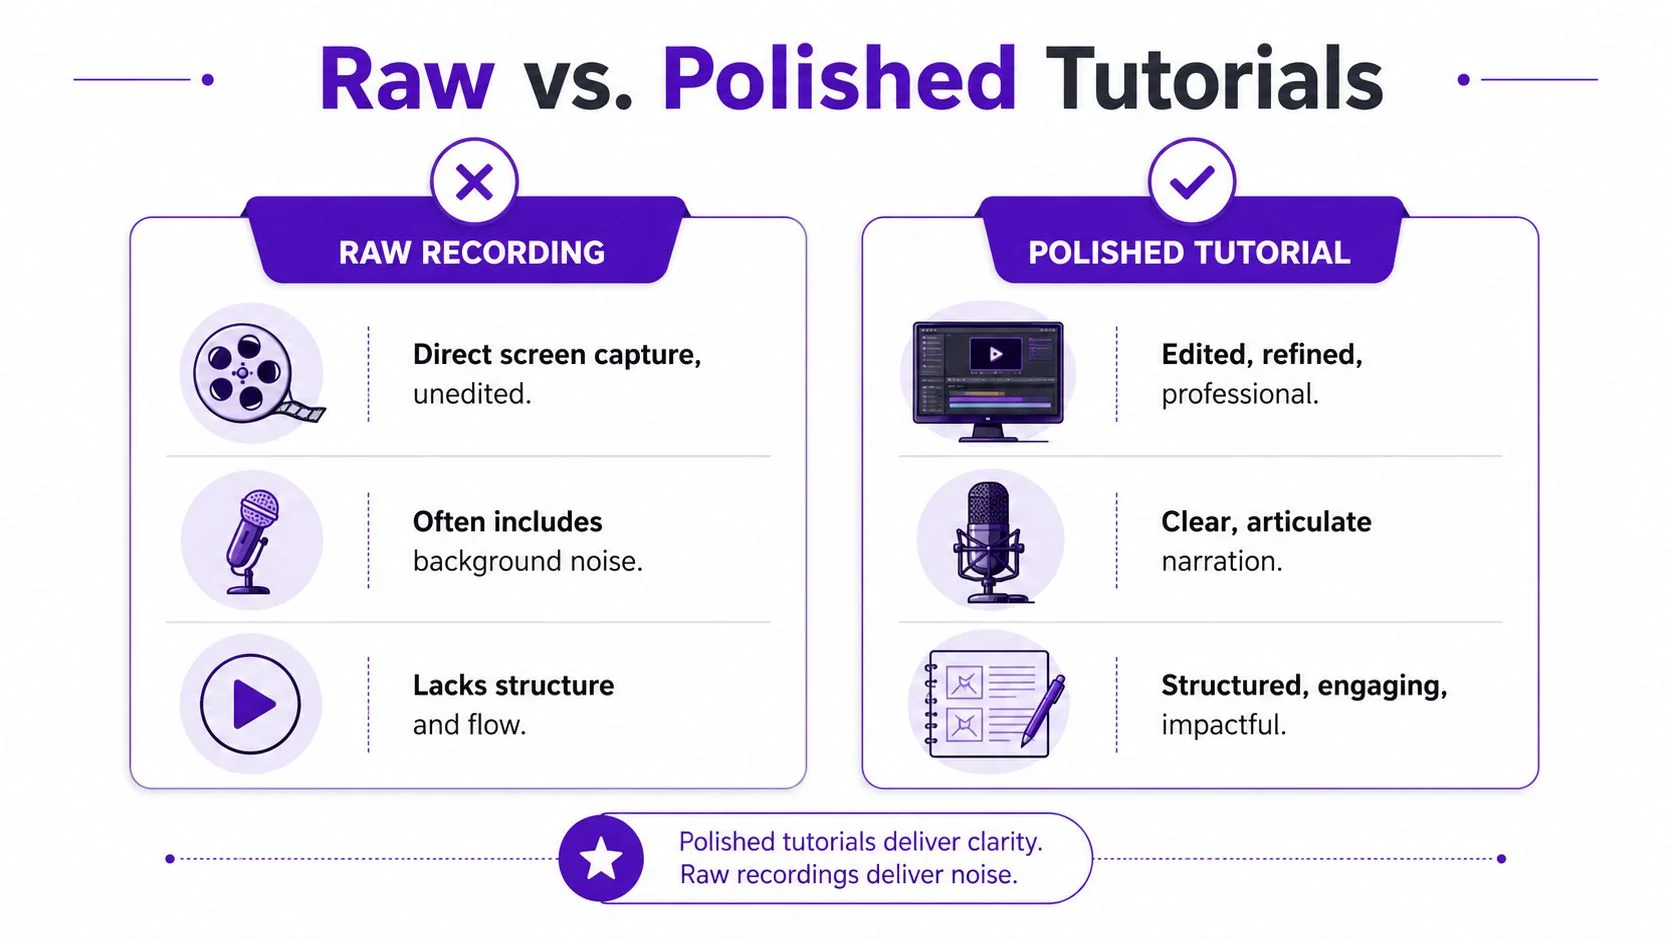
A raw screen recording is rarely ready for external use. It often includes hesitation, repeated clicks, false starts, and narration that made sense to the speaker but not to the viewer. That’s normal. Subject-matter experts know the product. They don’t usually speak in finished training language on the first pass.
The problem is what happens next. If the answer is “send it to someone who knows Camtasia, Final Cut, or Adobe Premiere Pro,” the workflow slows down immediately.
The gap between recording and publishing
Business tutorials need more than capture quality. They need structure.
That usually means:
| Raw recording problem | Why it hurts | What polished content needs |
|---|---|---|
| Rambling narration | Viewers lose the thread | A script that stays on task |
| Pauses and retakes | The video feels longer than necessary | Tighter pacing |
| Missed annotations | Important UI details get overlooked | Callouts, highlights, and emphasis |
| One-language output | Global teams can’t reuse the asset easily | Narration and captions for multilingual delivery |
| Video-only workflow | Documentation teams still have to write the article later | Video plus article from one source |
For fast internal sharing, Loom-style recorders are convenient. But casual recordings often run 50–100% longer than needed because they preserve every pause, restart, and off-script explanation. For a support article video or onboarding tutorial, that extra runtime makes the content feel unfinished.
Why post-recording annotation matters so much
One of the biggest native iPad limitations shows up after the screen capture is done. If you want to add text, highlights, or guidance after the fact, the workflow usually jumps into a full editor.
A documented gap in the native iPad workflow is post-recording annotation. Users who want to add text or highlights after capture often end up in complex editors like Premiere Pro, which is one reason educators and support teams stop using the native iPad workflow for polished tutorials, as discussed in this post-recording annotation example.
The recording is usually the easy part. The costly part is everything that comes after it.
What works better for teams that ship tutorials regularly
For product demos, feature release videos, customer onboarding, internal training, and support article videos, a stronger workflow is one where the expert records once and refines later without timeline work.
That’s where Tutorial AI fits. It turns a single screen recording plus spoken narration into a polished tutorial video that looks edited in Adobe Premiere Pro. It also generates a matching written article from the same recording, so teams can publish a video and a help article in one workflow.
That matters because business teams rarely need just a video. They need the related documentation too.
A few capabilities are especially useful in the iPad-to-business-content workflow:
- Editable script and AutoRetime: Casual recordings often run long. Tutorial AI can auto-tighten pacing and let you edit the script directly instead of trimming frame by frame.
- Real screen plus real voice: That’s different from tools like Synthesia, HeyGen, or Vyond, which focus on synthetic presenters. For software instruction, viewers usually need the actual UI on screen.
- Article generation from the same recording: One capture can become both the tutorial and the written support doc.
- Narration in 74 languages and Multilingual Player: Helpful when training or onboarding spans multiple regions.
- Brand Kits: Keeps customer education and release content visually consistent.
- SSO/SAML and SOC 2 + GDPR: Important when tutorial creation becomes an operational workflow inside larger teams.
- Named customers: Bosch, Deutsche Bahn, Intesa Sanpaolo, Microsoft, and UNICEF are all organizations Tutorial AI can name publicly.
The important trade-off is this: native iPad recording is excellent for capture. It isn’t enough for most customer-facing or company-wide tutorial programs. Once the video needs to be polished, reusable, multilingual, or paired with documentation, a dedicated workflow stops being a nice-to-have.
Pro Tips for a Flawless Recording Workflow
Small changes improve tutorial quality fast. Most of them happen before you ever hit record.
Use screen settings that help the viewer
For clearer tutorials, set the UI zoom to 125% in Accessibility settings. That recommendation comes from professional guidance on screen capture clarity, which notes that 125% keeps interface text legible without awkward narration or heavy zooming later, as explained in this screen capture clarity guide.
If viewers have to squint, the tutorial feels amateur no matter how accurate the content is.
Record in short segments, not one marathon take
Professionals often capture 5–10 minute segments instead of trying to do the full tutorial in one pass, and they stop recording when they make a mistake instead of pausing, according to this screen recording workflow article.
That approach works well because shorter clips are easier to review, replace, and combine. It also reduces the pressure on the person explaining the product.
Keep export practical
If you’re sending your iPad recording into a tutorial platform, keep the file under 400–500 MB and record at 1080p minimum so the upload stays manageable while preserving enough detail for zooms and tracking, based on this tutorial export guidance.
A final checklist helps:
- Close noisy apps: Notifications ruin otherwise clean demos.
- Use a stable route through the UI: Random exploration creates weak teaching.
- Name the file well: Future you will thank you when the asset enters a shared content library.
If you need to go beyond a basic iPad screen capture, Tutorial AI is built for that next step. It turns a single screen recording and narration into a polished tutorial video, auto-tightens pacing with AutoRetime, supports narration in 74 languages, and generates a matching written article from the same recording. For teams producing product demos, onboarding, help-center content, internal training, or sales enablement walkthroughs, it’s a practical way to turn raw recordings into distributable documentation without needing expert video editing skills.