You’re probably dealing with one of two situations right now. Either you need a product demo video for a launch, onboarding flow, help center, or sales cycle, and the current option is a rambling screen share. Or you already have demos, but they take too long to make, go stale quickly, and don’t match the quality your product deserves.
That gap usually isn’t a product problem. It’s a workflow problem.
Teams that know how to make product demo videos well don’t start by recording whatever’s on screen and hoping editing fixes it later. They decide who the demo is for, write the message first, record in controlled segments, and then use automation to polish, localize, and repurpose the same asset into documentation. That’s how subject-matter experts create demos that look professionally edited without needing to become video editors.
Plan Your Demo for Maximum Impact
A product demo video earns its place when it helps the buyer understand value faster. That matters because landing pages with explanatory product demo videos convert 86% more effectively than those without, according to this product demo video best-practices guide.
If you skip planning, you usually get the same predictable result. Too much feature coverage, no clear audience, and a call to action that doesn’t match what the viewer is ready to do.
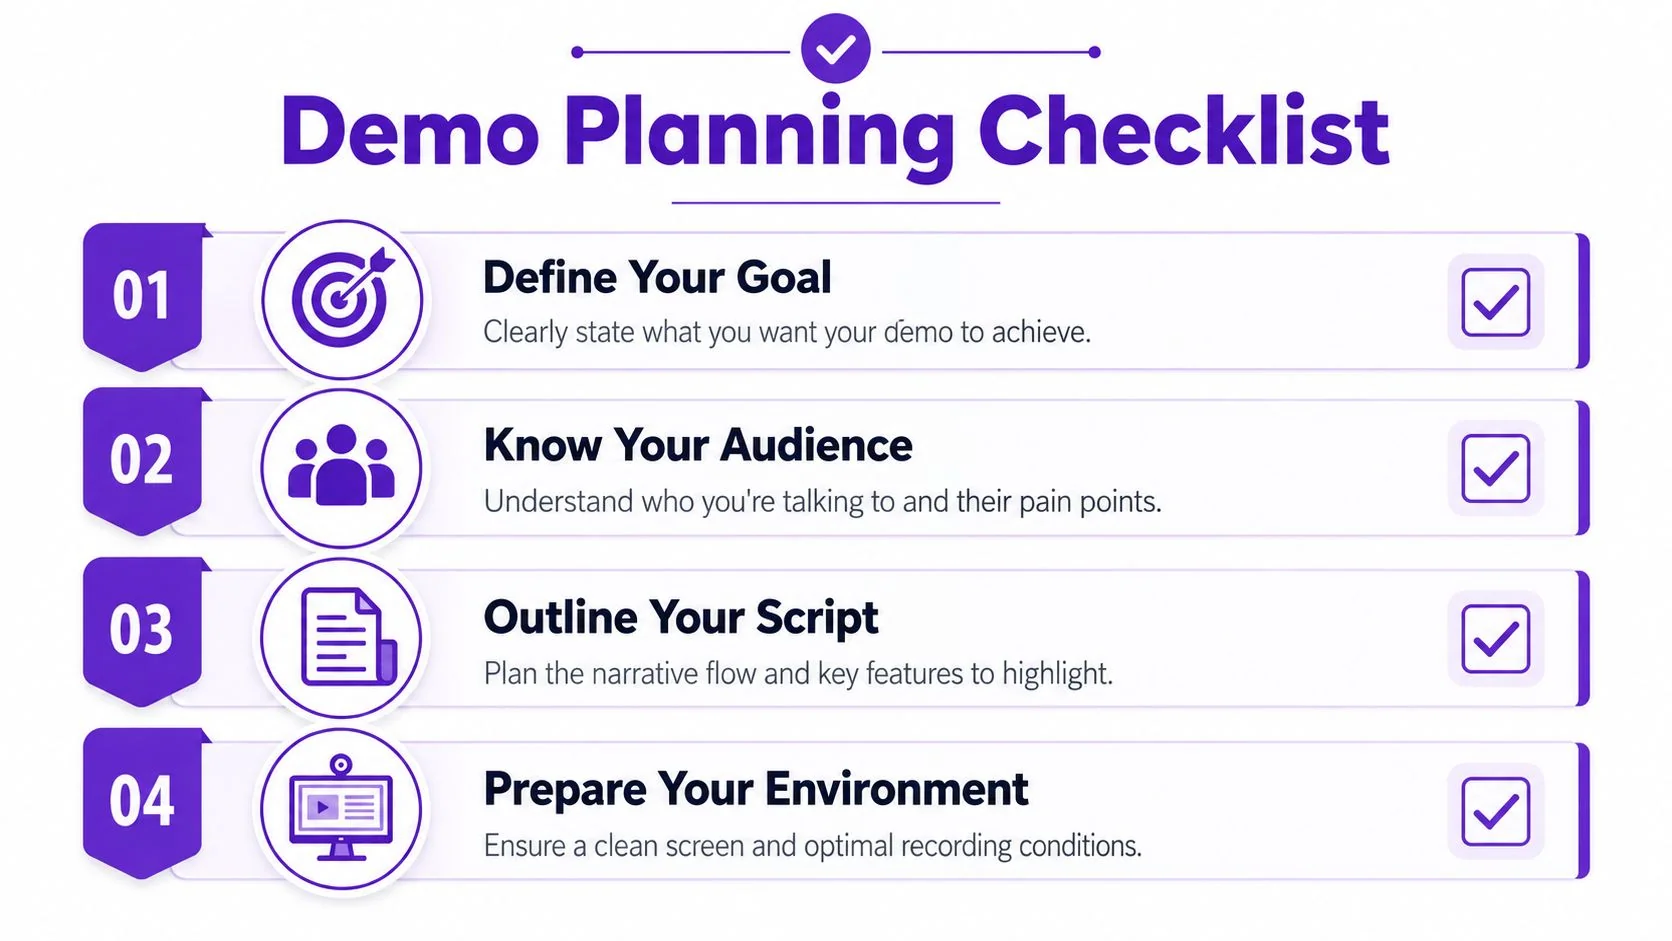
Start with the stakeholder, not the product
Often, teams default to one “overview” demo and send it to everyone. That’s convenient for the team and usually wrong for the audience.
Most guides recommend a single 2-minute video, but that one-size-fits-all approach can lead to a 34% drop-off in engagement with technical evaluators, who need 5+ minute deep-dives, as noted in Vidyard’s demo video guidance. The practical takeaway is simple. Build demos around stakeholder goals, not around your internal feature list.
A quick planning grid helps:
| Viewer | What they need | Best demo style |
|---|---|---|
| C-level buyer | Business outcome, speed to value, low friction | Short, prize-focused overview |
| Manager or team lead | Workflow fit, team impact, adoption path | Mid-length scenario demo |
| Technical evaluator | Real UI depth, logic, setup details | Longer deep-dive walkthrough |
| Existing customer | How to complete a task | Task-based tutorial |
Practical rule: If the viewer’s main question is “Why should we care?”, lead with the problem and result. If the question is “How does this actually work?”, spend more time inside the product.
Set one goal for each video
A demo can support many use cases, but one video shouldn’t try to do all of them at once. Product demos, feature release videos, customer onboarding, help-center videos, support article videos, internal training, SOPs, and sales enablement walkthroughs all have different jobs.
Use a single sentence to define the job before you script it:
- For top-of-funnel awareness: Show the problem, the transformation, and the next click.
- For onboarding: Help a user complete one task correctly.
- For sales enablement: Give reps a reusable walkthrough they can send after a call.
- For internal training: Standardize how the team performs a workflow.
If you need a second opinion on structure, this guide to creating product demos is a useful outside reference because it reinforces the same core point: demos work better when they’re built for a specific use case instead of a generic tour.
Script before you record
The fastest way to make a weak demo is to “just talk through the UI.” Casual screen recorders like Loom make that easy, but they also encourage long takes, side comments, and retakes that bloat the raw footage. In practice, recordings often run far longer than needed because the speaker is thinking while speaking.
Script-first is the fix. Not a word-for-word performance script if that makes you stiff, but at least a structured outline with the problem, workflow, proof point, and CTA.
A simple outline looks like this:
- Problem
Name the friction the viewer recognizes immediately. - Before state
Show what’s slow, messy, or error-prone today. - Workflow
Walk through only the actions that create the transformation. - Next step
Tell the viewer exactly what to do after watching.
For a practical starting point, keep a reusable sample script outline for tutorials and demos on hand and adapt it per audience.
Don’t script every capability. Script the shortest believable path from pain point to payoff.
Master the Art of Clean Screen Recording
A polished demo starts with disciplined raw footage, not a perfect live performance. That’s where many teams overcomplicate things. They try to nail the entire recording in one take, stumble midway, restart, and end up with a longer, messier session than they needed.
Professional editors typically avoid that. They record in 5 to 10 minute segments with pauses and resets, which gives editing tools cleaner footage to process for automatic trimming and smart zooms, as explained in this screen recording to demo video workflow guide.
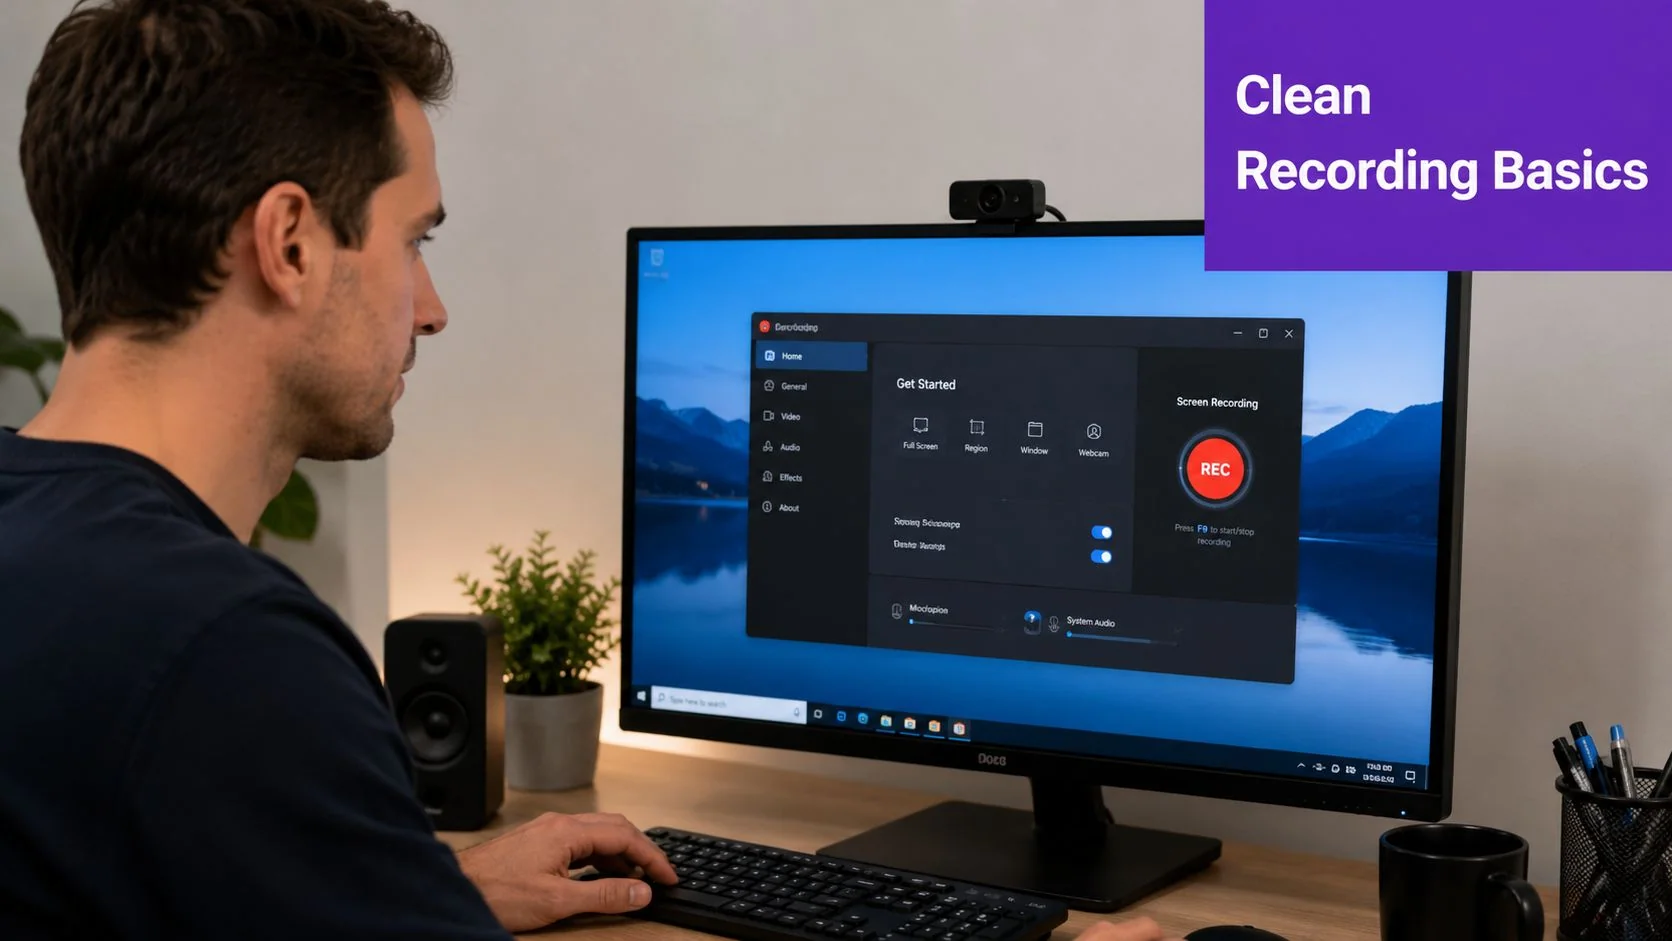
Record in scenes, not in one marathon
Think of your demo as a sequence of small scenes. Login. Setup. Key action. Result. CTA. Record each scene cleanly, then stop. If you miss a click or say something awkward, reset only that segment.
That approach has three practical advantages:
- Cleaner retakes: You only re-record the scene that broke.
- Better pacing later: Natural cut points make tightening easier.
- Less pressure on the speaker: Subject-matter experts sound better when they don’t need to perform perfectly for ten straight minutes.
Prepare the screen before you hit record
Good screen hygiene saves more time than any post-production trick.
Use this checklist before each session:
- Clear the interface: Close unrelated tabs, notifications, chat popups, and anything confidential.
- Stabilize the environment: Use a seeded account, sample data, and predictable workflows.
- Increase readability: Zoom the browser or app so text is easy to read in the final export.
- Reduce visual noise: Remove bookmarks, desktop clutter, and unnecessary browser extensions.
If your team records tutorials often, it helps to standardize this with a repeatable screen recording workflow for tutorials.
Your recording doesn’t need to be flawless. It needs to be clean enough that trimming, captions, and focus effects work predictably.
Decide whether to narrate live or separate voice from capture
Both approaches work. The right choice depends on the material.
If the workflow is straightforward and you know the message, narrating live is efficient because your spoken words become the basis for editing later. If the product is still changing, or the sequence requires concentration, record without narration initially and add polished narration after.
A few recording habits make a noticeable difference:
- Use a decent microphone: Clear audio matters more than a fancy camera setup.
- Pause after mistakes: Leave a beat, then restart the sentence. That creates an obvious edit point.
- Move the cursor intentionally: Fast, nervous cursor movement makes the demo harder to follow.
- Slow down on key actions: Give the viewer time to see where the click happened and why it matters.
Long, casual screen shares tend to run longer than needed because they capture the presenter thinking, not just demonstrating. Deliberate segmented recording fixes that before editing even begins.
From Raw Recording to Polished Demo in Minutes
A typical SaaS team sees the bottleneck right after recording. The product marketer or solutions engineer has the product knowledge, but the file still needs trimming, captions, zooms, and cleanup before anyone wants to share it. If that work depends on a video editor, demos pile up. If it depends on the subject-matter expert learning Premiere, quality usually drops or publishing slows down.
The faster path is script-first. Record the workflow once, generate a transcript, then edit the demo by editing the words. That keeps the person who understands the product in control of the final message, which is usually the right trade-off for feature demos, onboarding clips, release walkthroughs, and support explainers.
Why doc-style editing wins for demo teams
Transcript-based editing changes who can ship polished demos. Instead of trimming clips on a timeline, the creator deletes filler, false starts, and off-topic lines in the transcript, and the video updates with those edits.
That saves time, but the bigger benefit is accuracy. Subject-matter experts can revise the explanation while the visual proof stays tied to the original screen capture. They do not have to hand off context to an editor who may not know which clicks matter, which terms need to stay exact, or where a short pause helps the viewer follow the product.
Analysts at TechSmith found that AI-assisted screen recording tools can cut editing time sharply in their review of AI screen recording tools. In practice, the gain is less about speed alone and more about removing specialist work from a demo that should be owned by product, sales engineering, or customer education.
What to tighten and what to leave alone
A strong demo feels deliberate, not over-processed. Viewers need enough pacing to register what changed on screen and why it matters.
Use this rule of thumb:
| Keep | Remove |
|---|---|
| Intentional pauses before important clicks | Filler words that don’t add meaning |
| Short beats that help the viewer orient | False starts and repeated phrases |
| Natural phrasing that sounds like a person | Long dead air while searching the UI |
| Relevant context around a key decision | Detours into unrelated features |
I usually tighten spoken lines hard and leave a little room around the action itself. The transcript should read cleanly, but the screen still needs a beat before and after a meaningful click, menu change, or result state. That is the difference between a demo that feels clear and one that feels rushed.
Add polish that supports understanding
After the script is clean, add only the visual treatment that helps comprehension. Many viewers watch product demos muted, skim them in a help center, or stop halfway through and return later. The video has to carry meaning through the screen activity, captions, and on-screen text, not narration alone.
That usually means:
- Smart zooms on small UI regions that would otherwise get missed
- Cursor emphasis so the eye tracks the active step
- Short text overlays for feature names, setup choices, or expected outcomes
- Brand styling that keeps demos consistent across launches and documentation
If the demo still makes sense with the sound off, the edit is doing its job.
A script-first workflow also gives you a stronger starting point for repurposing. The same cleaned transcript can become voiceover, captions, release notes, a help article, or part of a broader developer’s content strategy playbook without rewriting everything from scratch.
Where this fits against Loom, Camtasia, and avatar tools
Different tools fit different jobs.
- Loom and similar recorders are fast for capture and internal sharing. They are less efficient when the same recording needs to become polished customer-facing content.
- Camtasia, Adobe Premiere Pro, and Final Cut give editors more control over timing, layers, audio, and motion. They also ask for more production skill than many product teams can spare for routine demos.
- Avatar tools such as Synthesia, HeyGen, and Vyond work for presenter-led explainers, but they are weaker when the product UI itself needs to carry trust and detail.
For software demos, real screen plus real product context usually wins. It shows the actual workflow, preserves credibility, and gives teams one source recording they can later adapt into other formats.
If you are comparing options, review examples from tools built for automatic video editing from screen recordings and check what the subject-matter expert can finish alone after capture. That is the practical test. Not whether a tool can edit video, but whether your product team can ship clear demos every week without waiting on a specialist.
Scale Your Content Across Languages and Formats
The most effective demo isn’t the one polished for a single launch. It’s the one recording you can reuse across regions, teams, and formats without rebuilding everything by hand.
That’s where a script-first workflow compounds. The transcript becomes the source asset for localization. The screen recording becomes the source asset for visual reuse. And the same recording can become both a video and a written help article, which keeps customer education and documentation aligned.
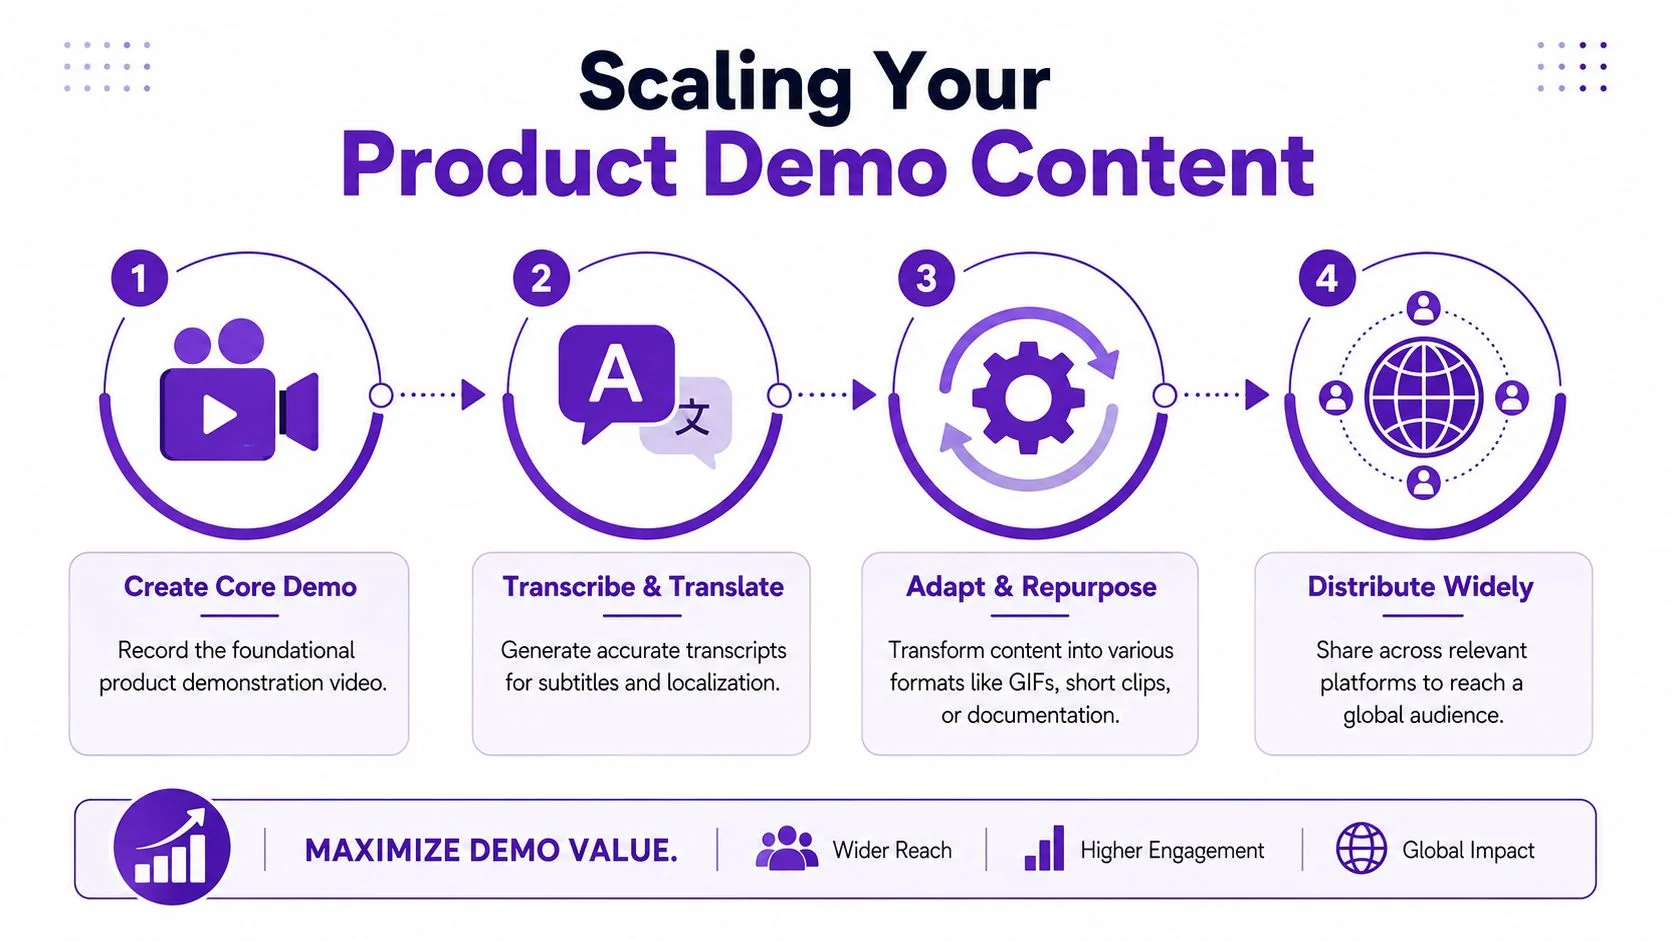
Localize from one source recording
Advanced platforms can now generate narration in 74 languages from a single recording, and features like AutoRetime automatically adjust video timing and captions to match the new voiceover, according to this overview of multilingual tutorial generation.
That solves a real production problem. A translated script rarely matches the timing of the original English narration. Without automatic retiming, someone has to manually shift cuts, rework captions, and rebalance pacing for every language version.
For global teams, this changes what’s practical. One source demo can support regional onboarding, localized help-center content, or multilingual sales follow-up without creating a new project from scratch each time. That’s the kind of workflow that fits large organizations such as Bosch, Deutsche Bahn, Intesa Sanpaolo, Microsoft, and UNICEF, where content often needs to travel across markets and internal teams.
Publish video and documentation from the same recording
Video alone is rarely enough. Support teams need written steps. Knowledge-base owners need screenshots. Internal enablement teams need SOP-style documentation that matches what the video shows.
Modern tools can generate a written step-by-step article with screenshots directly from the same recording, as shown in this walkthrough of video-to-document generation. That means one recording session can produce a polished tutorial video and a matching article instead of splitting the work between a video editor and a technical writer.
That single-source approach helps in several common cases:
- Help-center videos and support articles: The article and the video stay in sync because they came from the same source.
- Customer onboarding: New users can watch first, then follow the written version at their own pace.
- Internal training and SOPs: Teams get both a visual walkthrough and a reference document.
- Feature release communication: Marketing can ship a short demo while support and success teams get documentation from the same asset.
Record once, publish twice is usually the difference between “we should document this” and “it’s already done.”
Think in content systems, not one-off videos
The teams that scale demo production well don’t stop at the first publish. They turn a master demo into derivative assets for each channel and audience: shorter clips for announcements, deeper cuts for technical evaluation, article embeds for the help center, and internal versions for sales or training.
A strong repurposing cadence doesn’t require reinventing the content. It requires a system for slicing and routing the same core material. If you’re building that operating model, PostPulse’s developer’s content strategy playbook is a useful framework for thinking about how one asset can feed multiple formats and distribution paths.
Distribute and Measure Your Demo Video’s Impact
A strong demo only matters if it shows up at the point of decision. I’ve seen teams spend days polishing a product video, then post it once on a generic video page and wonder why pipeline, activation, or support deflection never move. Placement usually matters more than polish.
Match the video to the moment.
A short overview belongs on a landing page or in a launch email, where the viewer is deciding whether the product is worth another click. A task-based walkthrough belongs in the help center, where the viewer is trying to complete one job. A deeper version works better in sales follow-up, where the prospect already has context and wants proof. Internal training videos belong in the LMS or enablement hub, where reps and customer-facing teams already go for process guidance.
A practical distribution map looks like this:
- Landing pages: Use a concise overview that explains the product fast and supports conversion.
- Knowledge bases: Embed task-specific demos next to the written steps so users can watch and act in the same place.
- CRM and sales follow-up: Send versions tied to the prospect’s use case, industry, or objection after the call.
- LMS and internal training hubs: Store standardized onboarding, SOP, and feature training content where teams already learn.
If you’re refining the broader channel plan, SleekPost’s mastering content distribution is a useful framework for choosing the right format for each destination instead of posting the same asset everywhere.
The script-first workflow changes distribution economics. One clean screen recording can produce a short homepage cut, a longer sales version, localized variants, and a written doc from the same source. That matters because subject-matter experts can ship channel-specific assets without waiting on a separate editor for every version.
Measure behavior that helps you improve the next cut, not just reach.
Views tell you whether the video got loaded. They do not tell you whether it helped someone understand the product, complete a task, or take the next step. The metrics that help are the ones tied to editing and placement decisions:
- Drop-off points: Where viewers leave, and whether the opening is too slow or too feature-heavy
- Rewatch segments: Which moments are important, confusing, or worth turning into standalone clips
- Completion rate: Whether viewers are making it to the CTA or key instructional step
- Performance by channel: How the same core demo performs on a landing page, in sales follow-up, or inside the help center
Review those metrics with the script in front of you. If viewers leave in the first 15 seconds, tighten the setup and get to the payoff sooner. If one feature gets replayed repeatedly, add clearer callouts or publish a separate support video for that task. If technical buyers abandon the overview, the issue may be depth, not quality. Give them a longer evaluator version instead of forcing one demo to do every job.
For global distribution, keep the viewing experience simple. A multilingual player and matching localized documentation reduce handoff friction, and they keep regional teams from maintaining separate recordings, separate links, and separate update cycles.
Your Workflow Checklist for Great Demo Videos
Strong demo production is repeatable. The teams that do this well don’t rely on a naturally charismatic presenter or a heroic editor. They follow a simple system and improve it over time.
Use this checklist before every project:
Before recording
- Define the audience: Decide whether this is for a buyer, evaluator, customer, rep, or internal team.
- Choose one job: Pick a single purpose such as launch, onboarding, support, or enablement.
- Write the script first: Build the shortest path from problem to payoff and CTA.
During recording
- Record in segments: Capture clean scenes instead of one long take.
- Control the environment: Use sample data, a clean desktop, and a stable workflow.
- Narrate deliberately: Speak clearly, pause after mistakes, and leave room around key actions.
After recording
- Edit the transcript: Tighten wording, remove filler, and shorten dead air.
- Add visual guidance: Use zooms, cursor emphasis, and text callouts where viewers need help.
- Apply branding carefully: Keep slides, fonts, and colors consistent without cluttering the screen.
Before publishing
- Repurpose the asset: Create the written article, support doc, or internal SOP from the same source.
- Localize where needed: Produce language versions if the audience is global.
- Distribute with intent: Place the video in the product page, knowledge base, CRM, LMS, or help center where it will find use.
- Review engagement: Watch for drop-off, rewatches, and completion patterns, then revise the next version.
The practical answer to how to make product demo videos is less about camera presence and more about discipline. Plan for one audience. Script the message. Record cleanly. Tighten the words. Add only the polish that improves understanding. Then reuse the same source across documentation, languages, and channels.
If you want a faster way to do that, Tutorial AI is built for this exact workflow. It turns a single screen recording and spoken narration into a polished tutorial video that looks professionally edited, then generates a matching written article from the same recording. For teams making product demos, feature release videos, onboarding walkthroughs, support content, internal training, and sales enablement assets, that means you can ship video and documentation together instead of running two separate production processes.