You’ve finished a software tutorial, exported the screen recording, and then noticed a customer’s name in the dashboard, a webcam face in the corner, or a license plate visible through the window. The edit may be complete, but the video isn’t ready to share. You still need to hide every sensitive detail without covering the interface or making the demonstration difficult to follow.
The reliable process is straightforward: identify every sensitive frame, choose a blur or stronger redaction method, track the target through motion and cuts, export at the intended delivery resolution, and inspect the final file frame by frame. A static blur box works only for simple shots. For software tutorials, customer education, and training videos, tracking and verification matter more than applying the effect itself.
Why You Need to Blur Video and When It Actually Matters
A face in a webcam bubble is an obvious reason to blur video. So is a customer dashboard showing an email address, account identifier, or payment detail. Street interviews, product demonstrations, support recordings, and screen captures can also reveal license plates, browser tabs, notifications, or files that weren’t meant for publication.
Blur is best treated as the first privacy control in a layered workflow, not as a universal guarantee. It’s useful when you’re publishing user-generated recordings, protecting bystanders in documentary or testimonial footage, or meeting an internal review standard before sending a screen capture outside your organization. The right treatment depends on what you’re hiding and how sensitive it is.
A lightly pixelated face may preserve enough context for casual creator content. A financial document on a second monitor needs a larger, stronger mask, and probably a separate review of the original recording, audio, subtitles, and metadata.
Choose the workflow before you edit
You’ll usually choose among three paths:
- Native editor effects: DaVinci Resolve, Adobe Premiere Pro, and Final Cut Pro provide masks, blur effects, and tracking inside an existing edit.
- Dedicated redaction tools: These are designed to find and conceal faces, bodies, plates, screens, or other objects across a sequence.
- Automated video services: These can speed up large batches by detecting targets and applying tracked masks, but they still need human inspection.
The practical workflow commonly looks like upload, select what to hide, adjust intensity, preview, and export, as described in video anonymization guidance from Sightengine. Automatic detection is a useful starting point, especially when a clip contains many faces or plates, but it doesn’t remove the need for quality control.
Practical rule: Choose the tool that matches your delivery pipeline before you start masking. Round-tripping between editors can introduce extra compression and create another opportunity for a mask to fail.
Blur also has limits. A 2017 CHI study found that blurring reduced overall identification success compared with unmodified images, but it still left substantial recognition possible, particularly when the target person was present. The study reported overall identification success of 68% with blur, 81% with no obfuscation, and 19% with blocking in its tested conditions (CHI study on privacy-preserving visual obfuscation). If a disclosure could create legal, contractual, or safety consequences, visual blur alone may not be enough.
Preparing Your Footage and Identifying What Must Be Hidden
Don’t open the effects panel first. Start with an inventory.
Watch the recording once at normal speed, then scrub again at faster playback to flag every sensitive frame. Record timestamps for faces, plates, names, account details, notification popups, and anything that appears only briefly. A simple spreadsheet with columns for timestamp, target type, location, and required treatment is enough to prevent missed items.
For screen recordings, inspect more than the application window. Common leaks include:
- Browser chrome: Bookmarks, open tabs, saved profile names, and address-bar suggestions.
- Desktop surfaces: Sticky notes, wallpaper text, file names, and dock or taskbar previews.
- Peripheral areas: A second monitor, webcam bubble, reflected screen, or notification banner.
- Interface content: Customer names, email inboxes, support tickets, account numbers, and internal URLs.
A useful checklist is available in this guide to blurring sensitive data in software tutorials. It’s especially relevant when the recording will become both a video and written documentation, because screenshots extracted from the same footage can preserve information you removed from the moving image.
Build the inventory before the final cut
You can mask during the original edit, but a dedicated privacy pass after the editorial cut is locked is usually safer. If you mask too early, later trims, inserted shots, or reframed screen captures can move the target while the effect remains attached to an old timeline position.
Resolution matters as well. If the source was recorded in 4K but the final tutorial will be delivered in 1080p, inspect the mask at the final resolution. Downscaling and compression can soften boundaries or make a light blur less effective.
Finish the preparation pass with sound off. Visual and audio leaks often occur at different moments. A notification may appear while someone says an account holder’s name, or a subtitle may expose information that the video frame successfully hides.
Blurring Across Desktop, Web, and Mobile Tools
Desktop editors offer the most control because the blur effect, mask, tracker, and export settings remain in one project. In DaVinci Resolve, Premiere Pro, or Final Cut Pro, place a Gaussian blur or mosaic effect on an adjustment layer or duplicate clip, draw a mask around the target, and start motion tracking. Give the tracker a search region that’s large enough to follow movement, but not so large that it captures nearby faces or interface elements.
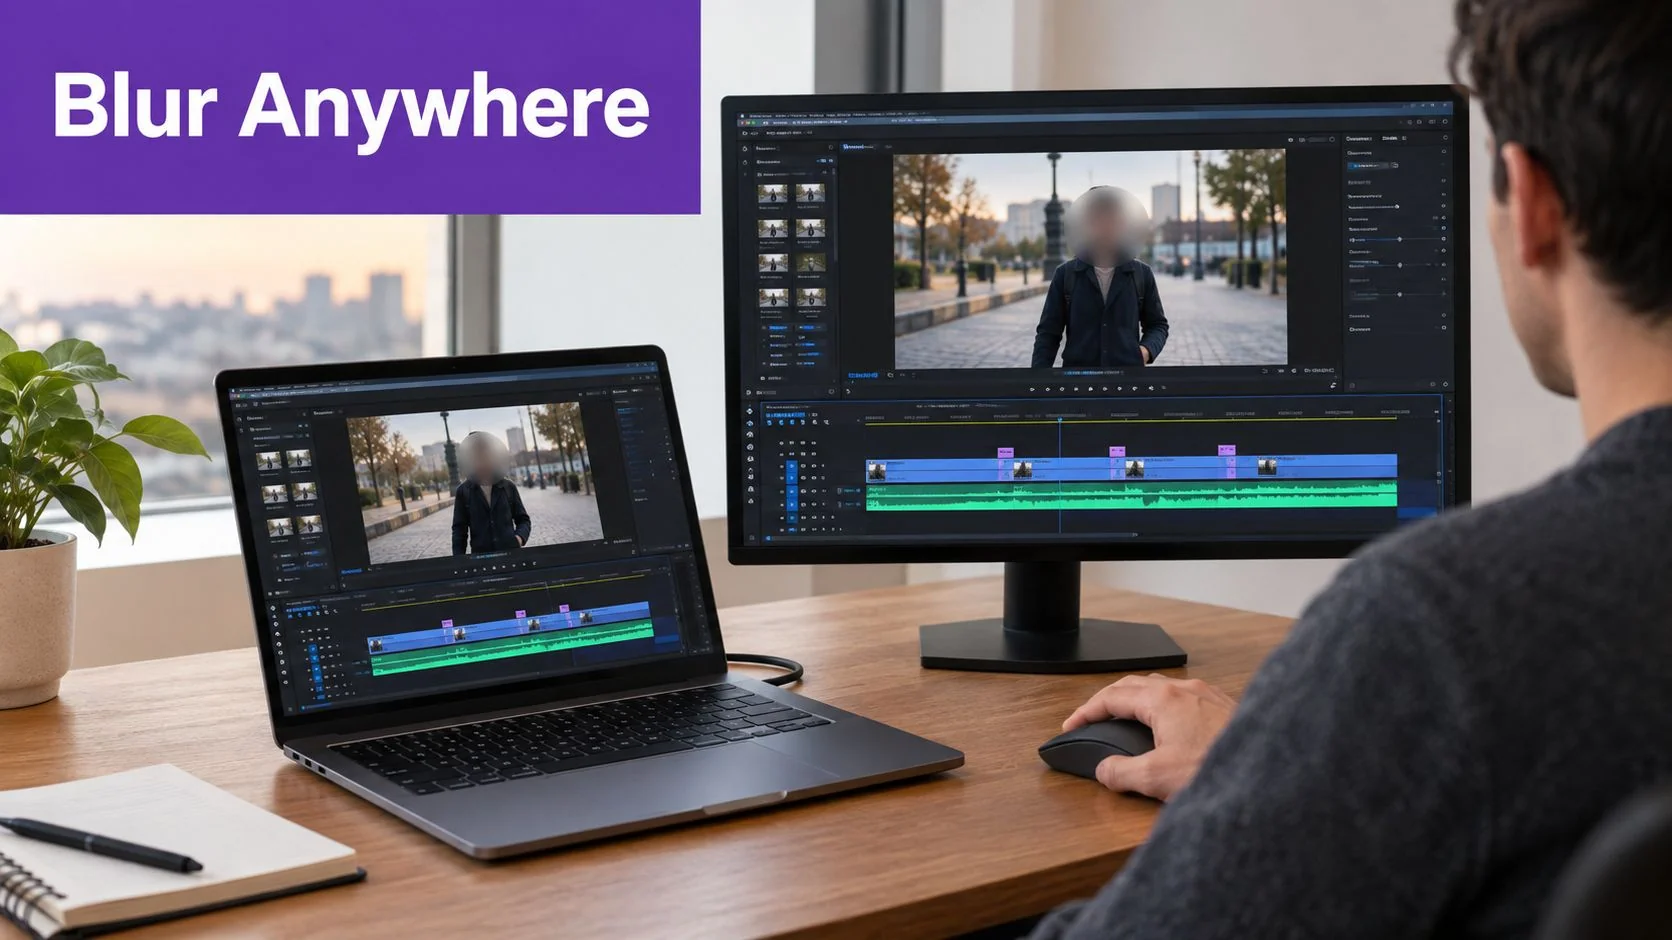
Resolve’s tracker is useful for planar movement, but heavy motion blur can cause it to lose its lock. Premiere’s face-tracking preset depends on a clear facial detection. Final Cut Pro is efficient for masks and keyframes, but difficult shots still require manual corrections. In all three, split the effect at scene cuts instead of stretching one track through unrelated footage.
Browser tools trade control for convenience
Clipchamp, Kapwing, and Canva’s video editor generally follow a simple pattern. Upload the clip, place it on the timeline, add a blur or mosaic region, resize it over the sensitive area, preview, and export. This works well for a stationary screen region or a short clip, but tracking may require manual keyframes across movement and scene changes.
Web-based tools can also downsample footage during editing or export, particularly with demanding source files. Check the rendered file rather than relying only on the browser preview. If you’re comparing lightweight tools for a creative workflow, Capcut video editor for artists is another reference point, but privacy-critical footage still needs a complete review after export.
Mobile editing is convenient for quick clips, but touch-based mask placement is fiddly. On iOS or Android, apps such as CapCut and InShot can handle simple face or plate coverage, yet small timeline controls make precise keyframing slower. When the source is a software tutorial, record a clean desktop take whenever possible.
For batch work, dedicated redaction software is a better fit than a general editor. Aegisub can help when subtitle content needs scrubbing, while ffmpeg scripts can apply the same region mask across many clips. Those approaches are powerful only when the footage has consistent framing. If targets move or shots change, automatic detection and tracked masks are safer starting points.
Here’s a short visual reference for the effect-and-mask workflow:
Keep the project in the editor you already use for the final cut. Exporting to another application solely to blur a region can create unnecessary re-encoding, color shifts, and edge artifacts.
Choosing the Right Blur Settings for Quality and Performance
Blur strength should follow the target’s size, movement, and sensitivity. Gaussian blur softens detail while preserving the general shape of the image. Mosaic or pixelation destroys more local structure and makes it harder to reconstruct small features. Box blur sits between those choices, but its blocky or uniform appearance can become distracting over large areas.
A light blur preserves context, which helps viewers understand a software interface or documentary scene. It can also fail after compression, sharpening, or downscaling. A heavy mosaic is more visibly artificial and can cover nearby interface elements, but it offers a stronger privacy margin.
Research on streaming-video privacy described blur severity as a calibrated trade-off. In the cited scale, blur level 3 left almost no personally identifying features visible, blur beyond level 6 became difficult to detect as blur, and level 10 represented no blur (streaming-video privacy research). Treat those values as a reference from that research, not a universal setting shared by every editor.
Match the effect to the target
| Target | Blur Type | Setting at 1080p | Export Codec |
|---|---|---|---|
| Webcam face | Gaussian blur or mosaic | Start with a pixel sample of 15 to 20, then inspect at delivery size | ProRes or DNxHR for an intermediate |
| Brief license plate | Mosaic or opaque mask | Use larger blocks than for a face and cover the full plate | ProRes or DNxHR for an intermediate |
| Customer dashboard field | Opaque mask or strong pixelation | Cover the complete field, including surrounding characters | ProRes or DNxHR for an intermediate |
| Small notification | Strong blur or mask | Size the mask beyond the text boundary | Final delivery codec after verification |
The starting values above are editorial starting points, not guarantees. A face occupying a small part of the frame needs a different treatment from a close-up. Subject size should determine blur radius rather than a global project setting.
Protect the render as well as the mask
Hardware acceleration can shorten tracking and rendering, while proxy media can make long edits easier to inspect. But proxies aren’t proof of final privacy. Recheck the full-resolution export, especially if the final file uses a lossy MP4 codec that may soften mask edges.
A high-quality intermediate such as ProRes or DNxHR preserves cleaner boundaries before the final delivery encode. If you’re building a repeatable effect workflow, Tutorial AI’s video editing effects guide can sit alongside your editor documentation, but the privacy decision still belongs in your review process.
Inspect frames around keyframes and cuts, not just the live preview. A preview can appear correct while a tracking or export process uses lower-resolution analysis without visible indication. Check the rendered video at normal speed, then step through suspicious sections frame by frame.
Keeping Blur Accurate Across Motion and Scene Changes
A mask can look perfect on the first frame and fail seconds later. The tracker may drift toward a cheek, a background highlight, a neighboring face, or a similarly colored interface element. Fast pans, zooms, motion blur, and temporary occlusions make the problem worse.
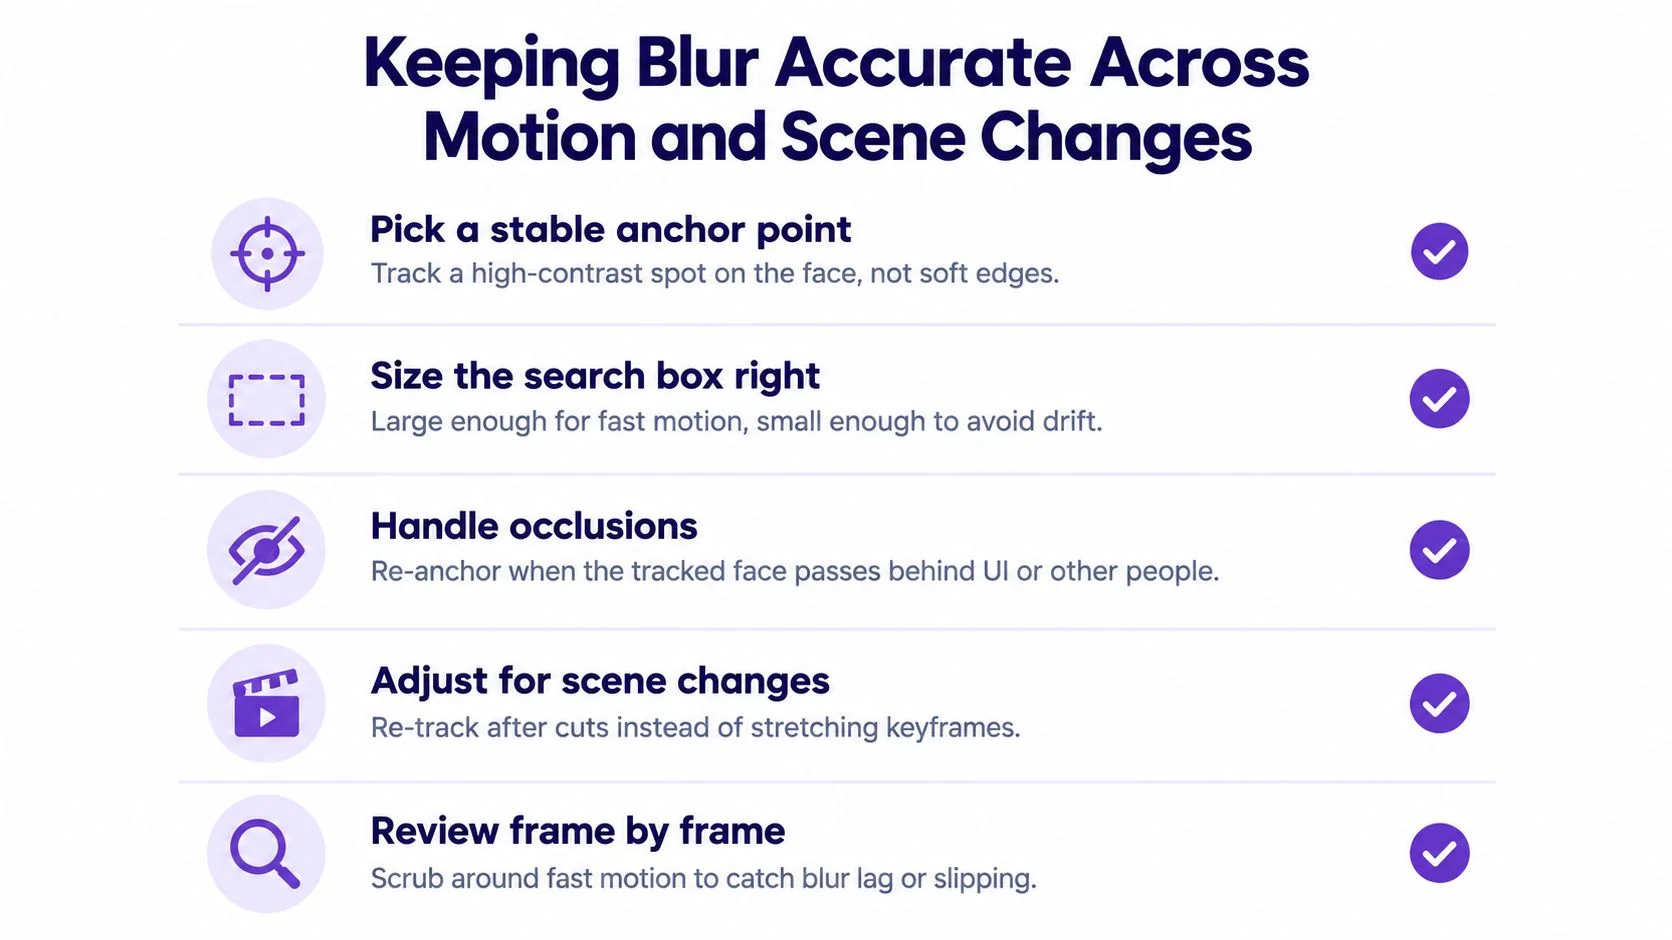
Start tracking on a stable, high-contrast feature rather than a soft edge. Size the search region according to movement. A narrow region may lose a fast-moving subject, while an oversized region can drift into nearby content.
Treat cuts as new tracking problems
When a face passes behind another person, a menu, or a foreground object, pause the automatic track and re-anchor it after the occlusion. Don’t stretch keyframes across a cut. A new shot may have different scale, lighting, lens distortion, or screen layout, even if it looks visually continuous.
Check every edit point, including J-cuts and L-cuts. Audio can lead or trail the image, but the mask must follow the video in and out points. A static mask that extends into the next scene can obscure unrelated content, while a mask that starts late can expose the target at the cut.
Use a deliberate quality-control loop
Export a low-resolution proxy with visible overlays, then scrub it in a frame-by-frame viewer. Log every timestamp where the mask lags, slips, disappears, or expands into an unnecessary area. Pay attention to depth-of-field changes, zoom crops, and lens distortion, which can make a detected face appear to vanish and return.
Automatic tracking is a starting point, not a final decision. Switch to manual keyframes when the subject changes direction sharply, remains on screen for a long shot, or becomes partially hidden. As a practical rule, any shot longer than 10 seconds, or any shot containing a cut, deserves a manual review pass.
When Blur Is Not Enough and Redaction Goes Deeper
Visual blur changes how pixels appear. It doesn’t automatically prove that the underlying information has been removed or that every version of the file is safe to distribute. Courts, public-records teams, and GDPR or CCPA reviewers may require a process that demonstrates complete coverage and controlled output, not just a convincing-looking effect.
For high-risk material, use a redaction method that covers the complete target and is rendered into a flattened output. The important distinction is operational: viewers shouldn’t be able to recover the original detail through sharpening, enhancement, frame averaging, alternate exports, or access to an unredacted layer.
Faces and plates need different checks. The mask should remain smaller than the minimum expected head size at delivery resolution only if it still covers every identifying feature. For a plate, cover the full plate in every frame, including frames where motion blur has already softened the characters. A narrow mask that hides the center can leave the edges readable.
Review more than the picture
Audio needs its own redaction pass. A speaker can say a name, address, account number, or location while the visual target is hidden. Subtitles, captions, OCR text, thumbnails, and extracted screenshots can also preserve personally identifiable information that never appears in the final moving frame.
A compliance-oriented handoff may include:
- Redaction certificate: A record of what was removed and from which output.
- Source hash: A way to identify the reviewed source file.
- Verification log: Timestamps, target types, reviewer, and final-export checks.
- Controlled deliverable: A flattened file with no exposed editable layers or hidden original tracks.
Tools for object removal can help with creative cleanup, but an AI object removal tool isn’t automatically a compliance system. Likewise, video redaction software should be evaluated by its detection, tracking, export, and audit workflow rather than by how natural the result looks.
No automated tool guarantees compliance. A human must review every export, including the audio, subtitles, metadata, reflections in mirrors or windows, and any alternate versions generated for different languages or channels.
Putting It Together in a Real Tutorial Workflow
Take a four-minute screen recording that demonstrates a new SaaS feature. The presenter opens a customer-like workspace, a webcam bubble remains visible, a notification appears during navigation, and a browser tab briefly exposes an internal project name. The privacy pass should begin before visual polish.
Create a capture log and inventory every target. During the first scrub, mark stationary items such as a persistent account name or webcam region. During the second pass, apply tracked masks to moving faces, plates, or changing interface panels. Then lock the delivery settings at 1080p and judge the effect at that resolution, not only against the original recording.
The workflow can be organized as follows:
- Inventory first: Mark sensitive objects, timestamps, scene boundaries, subtitles, and audio disclosures.
- Redact the stable areas: Hide persistent names, account fields, browser elements, and desktop spillover.
- Track moving targets: Use automatic detection where available, then correct drift with manual keyframes.
- Review every cut: Rebuild or re-anchor masks after scene changes and occlusions.
- Export and verify: Watch the final file with sound off, listen with the screen hidden, and inspect suspicious frames individually.
Tutorial AI can fit earlier in the content workflow when a software demonstration needs to become both a tutorial video and a written guide. A team member can record the process, generate the tutorial and documentation from that recording, review the generated script and visuals, and apply a blur to sensitive screen regions before sharing. The same workflow is useful when documenting a newly released feature or turning an employee’s walkthrough into internal training material.
The safest production habit is simple: redact first, polish second, and verify once more after export. Keep the inventory and verification log with the project so a later update doesn’t require guessing which regions were previously protected.
Tutorial AI turns a software screen recording into an editable tutorial video and written guide, with reviewable scripts, narration, screenshots, and visual effects such as blur for sensitive regions. Visit Tutorial AI to see how your next product walkthrough or training recording can move from demonstration to publishable documentation.