You’ve finished recording a software demo, but the review feedback is predictable: “Where did the cursor go?” In a project management walkthrough, a viewer may see the pointer over a dashboard, then find it suddenly inside a settings menu after a pause. The clicks are correct, but the movement between them feels disconnected.
Cursor trail effects can close that gap. A short sequence of fading echoes follows the pointer, giving viewers a visual breadcrumb that shows where the cursor came from, where it landed, and how it crossed the interface. Used carefully, a trail helps people understand a workflow. Used carelessly, it competes with the very controls you’re trying to explain.
Why Cursor Trail Effects Matter in Software Tutorials
A cursor can jump between actions and leave viewers reconstructing what happened. During a pause, cut, or narration change, they may be reading labels, watching a panel open, and listening to the explanation at the same time. Without a visible movement cue, the connection between the previous control and the next one becomes harder to follow.
A short trail preserves recent direction and distance without drawing a permanent line across the interface. On a project board, it can connect a task card with a filter menu. In a design tool, it can clarify a long drag across a canvas. In a multi-window support workflow, it can show which window the presenter left and where the pointer went next.
The effect earns its place when it improves comprehension, not when it merely adds motion.
Practical rule: Start with the least noticeable trail that keeps the workflow easy to follow. If viewers already track the cursor, reduce it or remove it.
Cursor trails have a long usability history. Microsoft Windows has included them since Windows 3.1x, and the feature was likely introduced to keep pointers visible on early low-cost laptop LCDs with slow response times. Rapid movement could otherwise make the cursor appear to disappear. Microsoft’s current accessibility guidance still presents pointer trails as a way to make the mouse easier to see.
For tutorial producers, that history gives the effect a useful standard: solve a visibility problem or leave it out. A trail should support the viewer’s understanding of a workflow, especially across cuts or large interface movements. It should not pull attention away from the field being edited, the menu being opened, or the result being demonstrated.
Reviewing recordings for moments where viewers lose track of an interface can also reveal where cursor emphasis is useful. These use cases for UX issue detection offer context for identifying friction points before publication. The same review can expose sections where a trail adds clutter, giving you a reason to shorten, soften, or remove it.
What Cursor Trail Effects Actually Are
A cursor trail is a sequence of fading echoes that follows the pointer. Each echo marks a recent pointer position, and older echoes become more transparent until they disappear. The actual cursor remains visible when movement stops.
Windows offers this as a built-in pointer setting under Settings > Accessibility > Mouse pointer and touch, or through Additional mouse settings in the Pointer Options tab. For tutorial production, the setting provides a quick way to test whether extra motion helps viewers follow a screen demonstration.
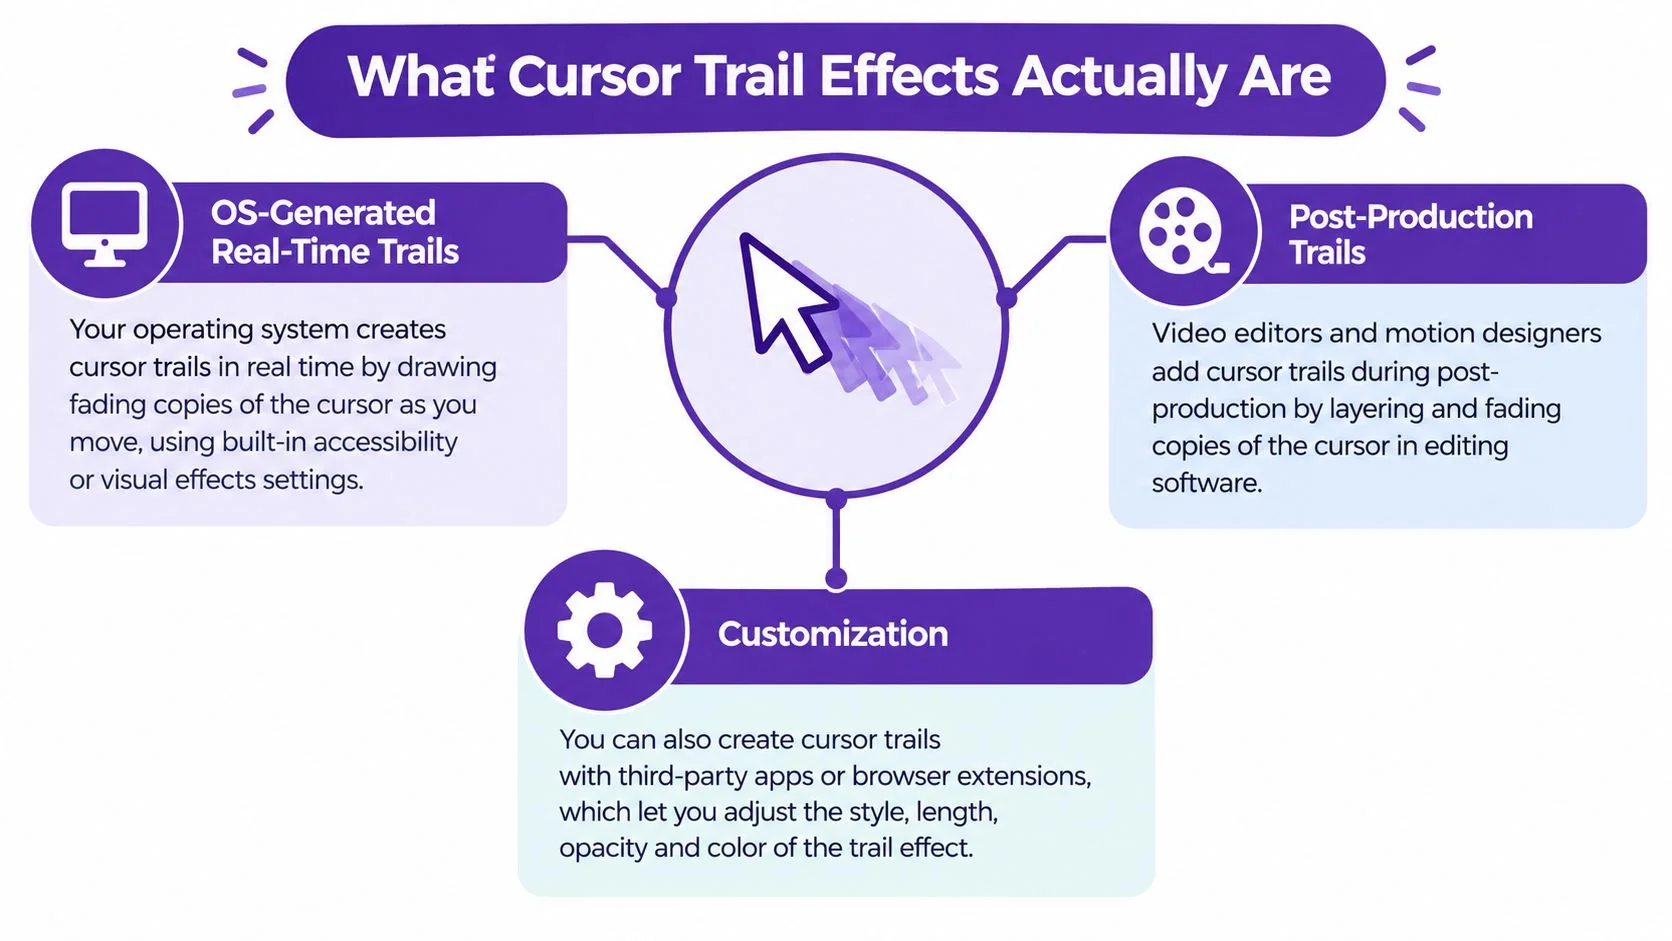
Cursor effects generally come from three technical families:
- OS-level trails: The operating system displays delayed copies of live pointer movement. Windows lets users switch Mouse pointer trails on or off and adjust their length, as shown in this Windows 11 pointer-trails walkthrough.
- Plugin or overlay effects: A browser extension, capture tool, or live overlay adds shapes around the pointer during recording or playback. It can provide color, particles, or other styling, but every added element competes with the interface for attention.
- Post-production trails: An editor applies the effect to the cursor layer after capture. This option works well when the original pointer was recorded cleanly and you want to revise the trail without recording the workflow again.
All three methods produce the same basic behavior, a short trail that fades behind a moving pointer. Design examples such as 90’s Cursor Effects adapt that behavior into ants, rainbow variants, and elastic trails. Those treatments can suit a stylized opener, but software tutorials need a path viewers can read while tracking menus, controls, and results. A restrained trail usually supports comprehension better than a decorative one.
Recording With Trails in Mind From the Start
The trail decision starts before you press record. First choose where the effect will come from, because the capture method determines what you can adjust later. Native operating-system trails are quick to test but may offer limited styling. Browser extensions can add expressive overlays, while a dedicated recorder with cursor customization may let you refine size, smoothing, highlights, and effects after the workflow is captured.
Prepare the workspace for the final viewer, not just the person recording. Increase cursor scale if the pointer disappears against dense controls, use a high-contrast theme when appropriate, and match pointer speed to the pace of the narration. A fast pointer paired with slow explanation feels nervous. A slow pointer paired with rapid instructions makes the video feel delayed.
Recording best practices for software tutorials can help structure that preparation around the workflow rather than the recording button.
Plan the pointer choreography
Before capture, trace the route the cursor will take. Note the windows it crosses, the menus it opens, and the areas where it will pause. Add a short pause before a major transition so viewers can register the current state before the pointer begins moving.
Watch for places where a trail could collide with a tooltip, menu, text selection, or drag handle. A path that looks clear over a blank dashboard may become confusing when it crosses a popover. If you’re choosing between recording platforms, this comparison of screen recording tools for educators is useful for evaluating how each tool handles cursor visibility and capture control.
Finish with a short test clip. Export it at the resolution your audience will receive, then check whether the trail’s opacity, color, and length remain visible without overpowering the cursor. A setting that looks refined in the editor can become muddy after compression or too small to read inside an embedded player.
Tuning Length, Color, Smoothing, and Timing
These settings should be tuned together. Changing trail length without checking fade timing can leave old pointer positions visible during the next action. Increasing smoothing without considering pointer speed can make a quick click feel like a slow animated gesture.
Start with length. Keep enough of the recent path to reveal direction, but don’t let the trail linger over the next control. In playback, the ideal result feels like a brief memory of movement. The viewer sees the path, then attention returns to the cursor itself.
Choose color against the interface, not in isolation. A saturated tint can read cleanly over a neutral application window, while a brand color may disappear against a branded dashboard. Test the trail over light panels, dark panels, and any full-screen modal that appears in the tutorial.
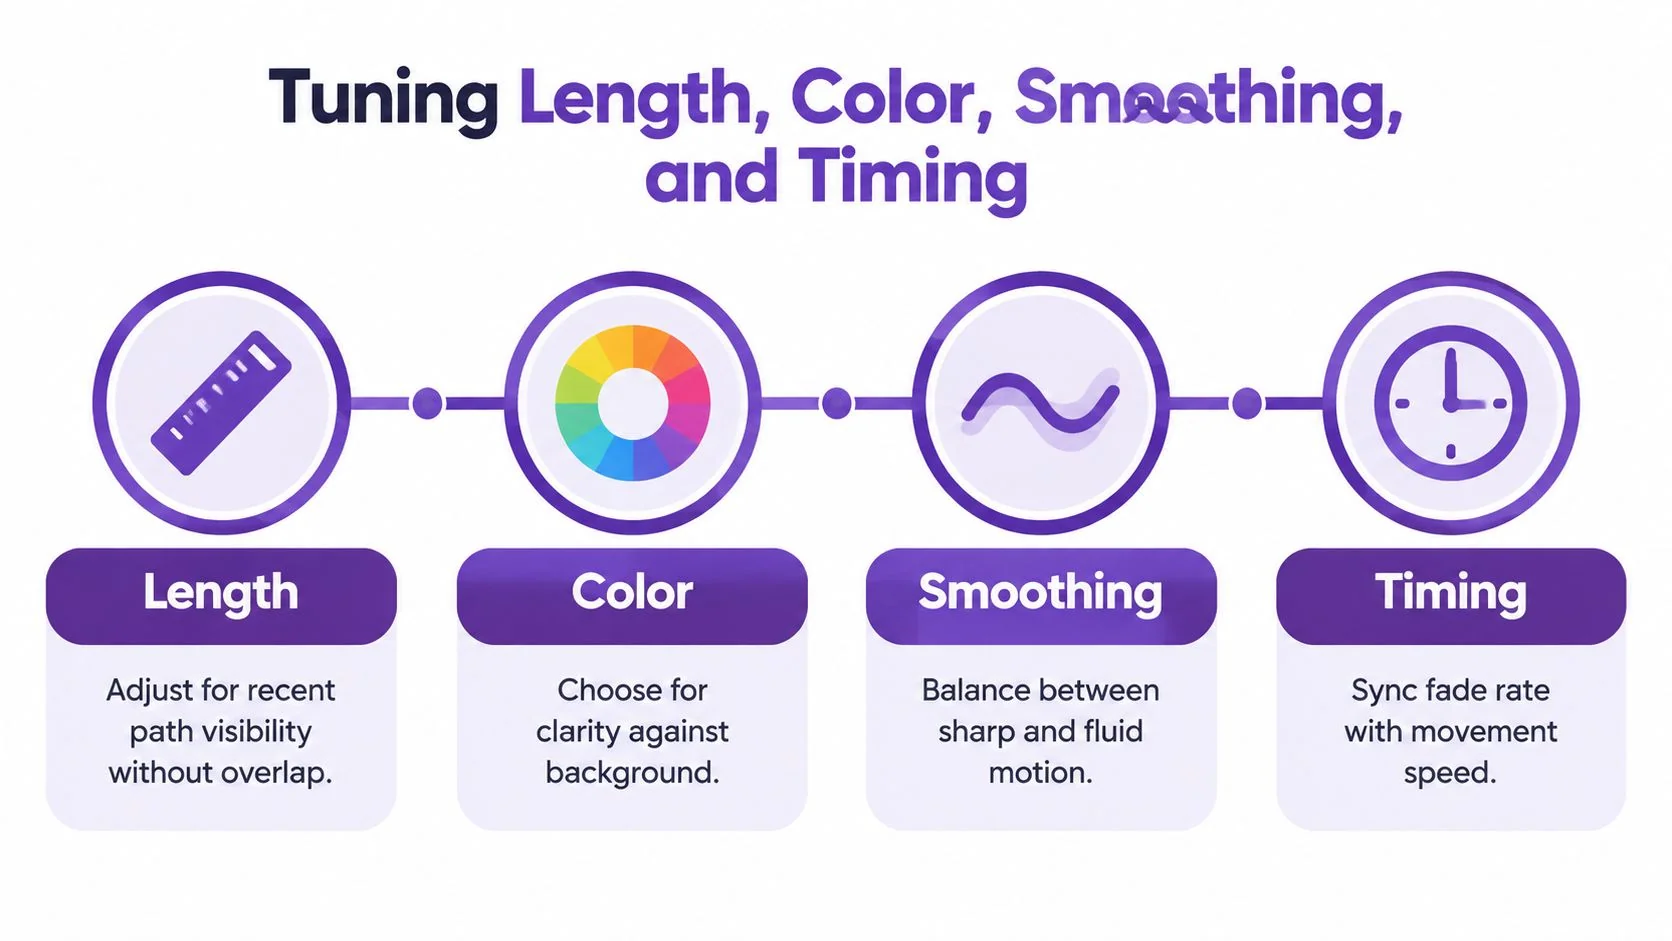
Opacity controls hierarchy. The actual cursor should remain the focal point, so the echoes need to be visible during fast drags without becoming a second pointer. If the viewer follows the trail instead of the cursor, reduce opacity or shorten the fade. If the trail vanishes during a cross-screen movement, increase its visibility only enough to recover the path.
Match smoothing to the action
Smoothing works well for deliberate demonstrations. When you guide a viewer through a settings panel or drag an object across a canvas, fluid movement makes the gesture easier to interpret. Rapid workflows need less smoothing, because excessive interpolation can make the cursor appear to travel through controls it never touched.
Timing matters just as much. A trail that fades too quickly won’t connect separated points. One that fades too slowly leaves visual residue around menus and tooltips. Preview a representative clip that includes a click, a drag, a scroll, and a pause before locking the values.
For a practical implementation reference, Tutorial AI’s cursor effects documentation covers the kinds of cursor size, smoothing, and effect controls that can be applied to tutorial recordings.
When Trails Help and When They Hurt
A trail helps when the viewer needs to understand movement across space. Long drags across a canvas are a strong example. The pointer may begin near a toolbar, cross a large working area, and finish beside a small control. Without a path, the action can look abrupt. With a restrained trail, the viewer can see the gesture as one continuous operation.
Scrolling through dense menus can benefit too. The trail reinforces the direction of movement while the interface changes beneath it. Drawing, selecting, and rearranging objects in a wide workspace are similar cases, especially when the pointer passes through empty space before reaching the next target.
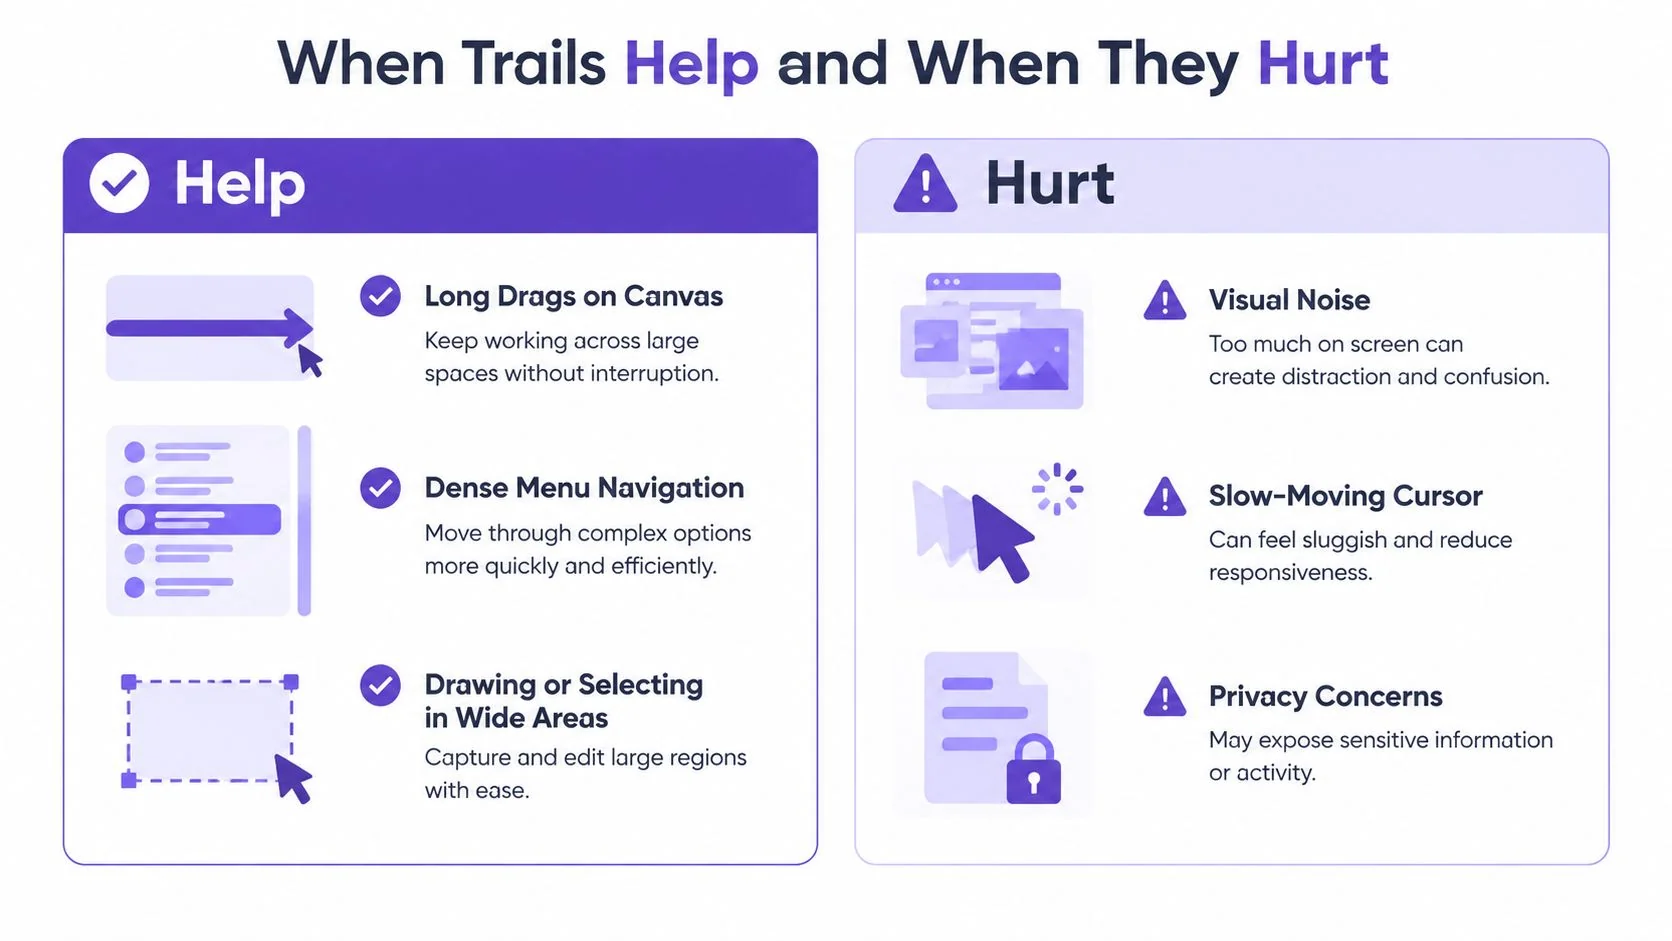
The effect hurts when it adds motion without explaining an action. A single click on a small button doesn’t need a long visual tail. A dense tutorial with zooms, arrows, callouts, animated highlights, and changing panels may already give the viewer more signals than they can process.
Use this decision test before applying a trail:
- Clarify a long gesture: Keep a brief trail for canvas drags, wide selections, and movement between distant regions.
- Support a transition: Use it when the pointer crosses between windows or panels and the cut would otherwise feel abrupt.
- Avoid pointer competition: Remove or soften it when arrows, zooms, tooltips, and highlighted controls already dominate the frame.
- Protect small targets: Shorten the trail when the viewer must inspect a compact icon, text field, or menu item.
The question is simple: does the trail clarify motion, or does it decorate motion? If it only decorates, shorten the length, lower the opacity, or remove it.
Privacy, Performance, and Export Settings
A cursor passes over more information than the presenter intends to explain. Notifications, customer records, credentials, personal messages, and unrelated tabs can briefly appear beneath it. A trail can make those moments more noticeable by extending the visual trace across the sensitive area.
Review the recording frame by frame before export. Blur credentials and customer data, cut unrelated tabs, and remove notifications rather than assuming the cursor effect will hide them. Tutorial AI’s guidance on blurring sensitive data is a useful reference when the workflow includes private fields or customer-facing information.
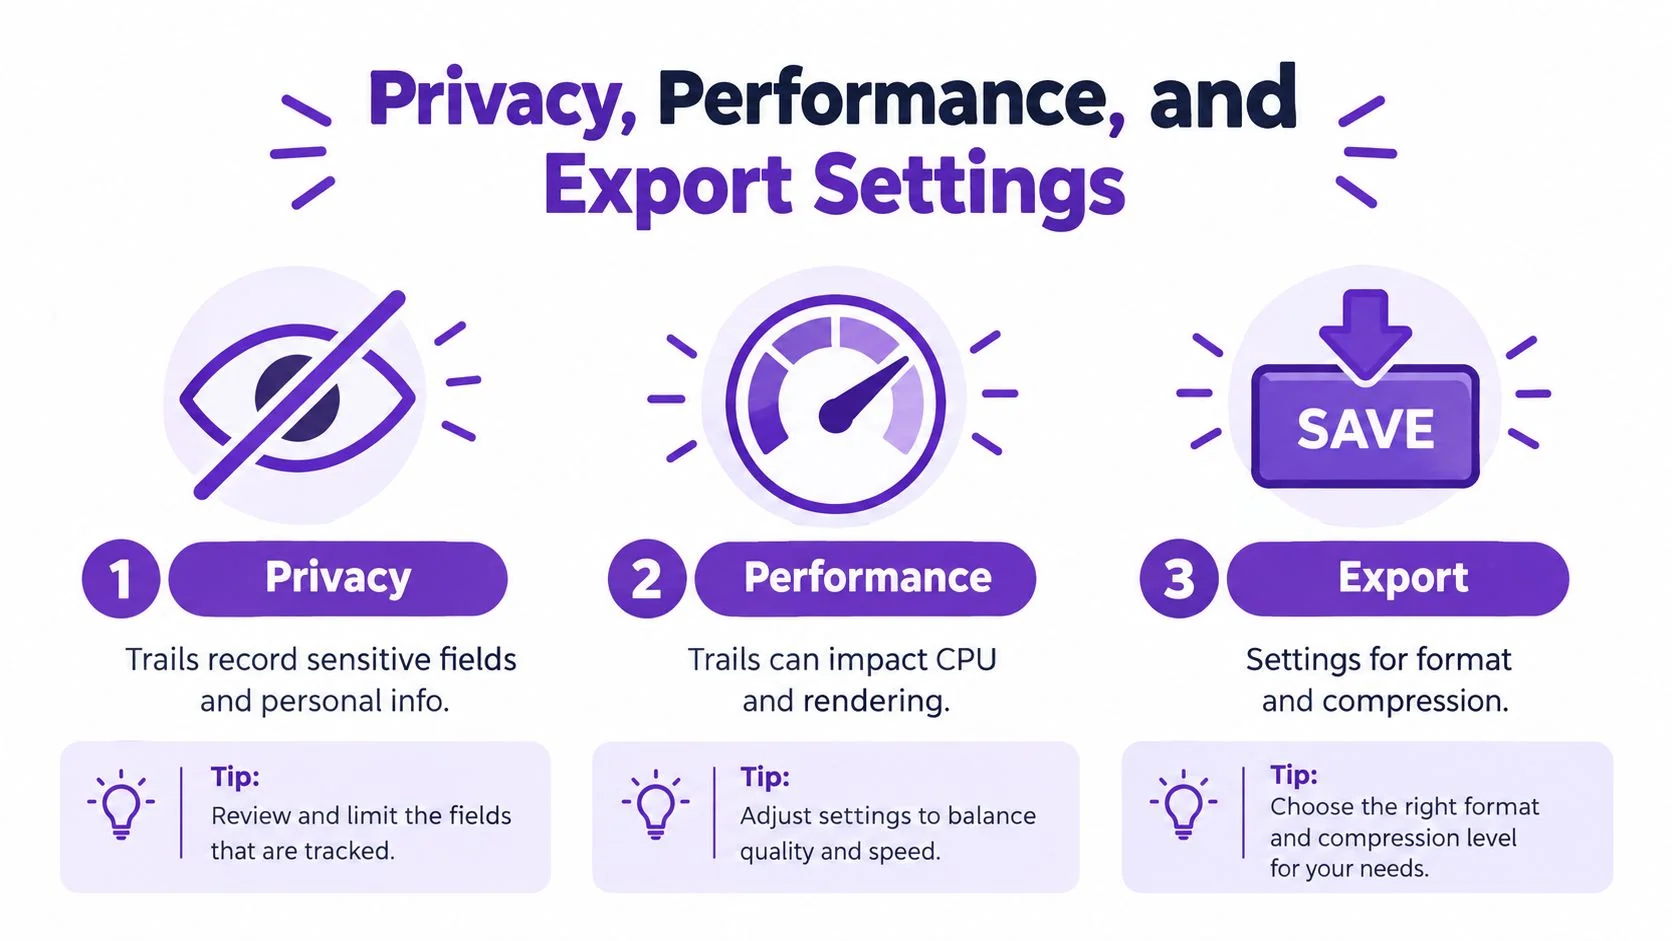
Performance depends on how the effect is rendered. Fading echoes, blur, blend modes, and large particle counts can increase browser paint work or make editing and playback less responsive, especially on lower-end machines. Accessibility guidance for custom cursor effects recommends using pointer-events: none, avoiding replacement of the global cursor for decoration, disabling trails for touch and reduced-motion environments, and testing keyboard navigation, pen input, zoom, and high contrast.
That guidance also applies to tutorial exports. A recorded trail may look fine on the editor’s machine but distract viewers using touch, keyboard, pen, or assistive settings. If the effect is absent in those contexts, the instructional design still needs to work. The cursor highlight, narration, zoom, and on-screen labels should carry the explanation without depending on the trail alone.
Export for the actual audience
Export at the source recording’s resolution and frame rate unless your publishing platform requires another format. Use a constant or moderate variable bitrate, then inspect the trail at the chosen compression level. Thin, low-opacity echoes can turn into mush after re-encoding.
If the hosting platform processes uploaded videos again, run a test export before publishing. Check fast drags, diagonal movement, menu openings, captions, and dark interface areas. A trail that remains crisp in the source file may lose contrast after platform processing, while an effect that looked subtle in the editor may become distracting once compression softens the surrounding interface.
A Quick Pre-Publish Checklist
Keep this checklist beside the editor while reviewing the final cut. The point isn’t to preserve every effect you added. It’s to confirm that the cursor helps the viewer understand the workflow.
Trail settings
- Length: The recent path is visible, but it doesn’t overlap the next action.
- Color: The trail contrasts with the interface and doesn’t compete with brand highlights.
- Opacity: The cursor remains more prominent than its echoes.
- Smoothing: Movement feels natural for the pace of the demonstration.
- Timing: The fade supports the gesture without leaving residue around menus.
Content and clarity
Check that the cursor lands on the control named in the narration. Make sure a trail doesn’t cross a tooltip, arrow, selection, or zoom focus in a way that creates ambiguity. If a click matters, pause long enough for the viewer to see the target before the interface changes.
Audio and export
Listen for alignment between narration and cursor movement. The spoken instruction should arrive before or during the action, not after the pointer has already moved away. Confirm the output resolution, frame rate, captions, and compression, then review the exported file rather than relying only on the timeline preview.
A clean cursor treatment also gives you a repeatable starting point for the next workflow. Save the settings that worked for this type of tutorial, but still test them against the next interface, because a dark analytics dashboard and a bright design canvas won’t need the same contrast or opacity.
Tutorial AI turns a screen recording and narration into an edited tutorial, then can generate matching written documentation from that same recording. Record the workflow, let Tutorial AI tighten the pacing with AutoRetime, review the script, and publish the video and step-by-step guide from one workflow. Visit Tutorial AI to record your next software tutorial with cursor effects that keep the viewer focused on the action.