You’ve probably got the same problem sitting in a dusty folder right now, a stack of .wma files from an old Windows PC, a burned CD library, or a batch of audio that only seems happy inside Windows Media Player. The files still open, but they stop being useful the moment you need them in a car stereo, a phone, a browser, or a shared project folder. Converting them to MP3 isn’t a nostalgia exercise, it’s a practical migration.
That matters because WMA was Microsoft’s late-1990s format, and the built-in Windows path for working with it was tied to CD ripping rather than general file conversion. Microsoft’s own guidance shows the format choice sitting under Tools > Options > Rip Music, where you can pick MP3 before ripping a CD, and Microsoft community support also notes that Windows Media Player “will only convert from CD WMA to MP3” when you stay inside that workflow (Microsoft discussion, Microsoft Answers). That historical constraint is why dedicated converters became the normal route for legacy libraries.
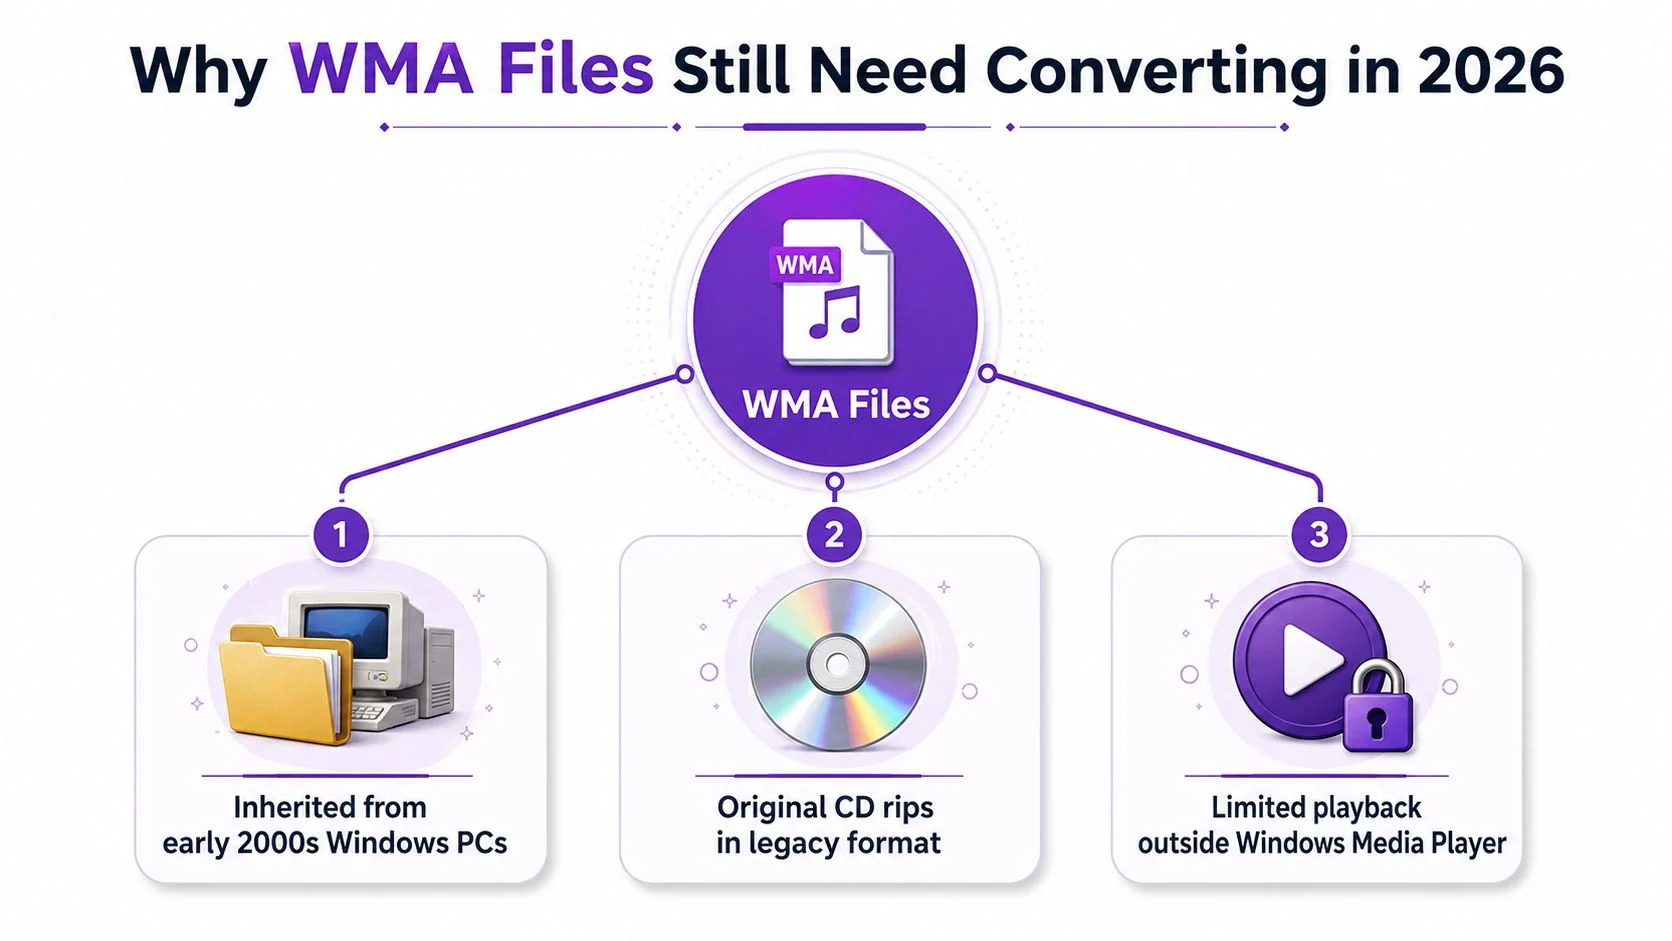
The job is usually bigger than “change one file.” Legacy collections tend to need batch conversion, a quality decision, and at least some attention to tags and album art. MP3 still wins as the interchange format because it plays across consumer devices far more reliably than WMA, while conversion tools keep the old library usable without forcing you to rebuild it from scratch (Zamzar, Convertio).
If you’re deciding how to convert WMA files to MP3, don’t start with the tool. Start with the file count, privacy concerns, and whether you care about metadata surviving. That decision tree saves more time than any single converter ever will, and it keeps you from using a web app for a private archive that should’ve stayed local.
Why WMA Files Still Need Converting in 2026
A lot of people hit this problem after a move, a cleanup, or a hardware change. They open an old music folder and find dozens or thousands of WMA tracks that worked fine in Windows Media Player years ago, but now behave like dead weight everywhere else. The format wasn’t bad in its day, it was just tied to a Windows-centric ecosystem that never became the default everywhere MP3 did.
That’s why the conversion question still shows up. MP3 remains the universal exchange format, while WMA stayed more closed to Microsoft’s own playback stack. Vendors still market WMA to MP3 as a simple workflow because the use case is real, not theoretical. Legacy libraries didn’t disappear when streaming arrived, they just got archived.
Practical rule: If the file lives in a legacy Windows folder, treat it as a migration project, not a one-off conversion.
The upside of converting is straightforward. You get better compatibility across phones, cars, browsers, and most desktop players. You also get more predictable file handling when you need to email, upload, or organize the audio outside an old Windows machine. In many cases, MP3 also gives you a smaller file at an acceptable quality level, but only if you pick the bitrate intentionally instead of accepting whatever the converter defaults to.
If you’re sorting through a mixed archive, think in terms of use case. Finished music tracks, voice notes, lectures, and interviews don’t deserve the same settings. One folder might be fine at a moderate bitrate, while another needs a more careful pass because it includes spoken content or tags that matter later.
For background on codec basics, the quickest reference is this internal primer on what a video codec is, because the same idea, compressed encoding for portable playback, is what you’re dealing with here.
Choosing the Right Conversion Method for Your Situation
A batch of old WMA files is usually where the decision starts. One track is easy. A folder full of family recordings, archived lectures, or ripped CDs calls for a different approach because privacy, metadata, and repeatability matter more than the convenience of a quick upload.
If the files are disposable and you only need a few of them, a browser converter can do the job. If you want the same result every time without touching a terminal, a desktop app is usually the better fit. For larger archives, FFmpeg is the strongest option because it handles batch work well and gives you tighter control over output settings. Windows Media Player only makes sense if you are staying inside the CD-ripping workflow Microsoft still documents for MP3 output. That guidance is covered in Microsoft Answers.
| Method | Best For | Privacy | Batch Support | Skill Level |
|---|---|---|---|---|
| Desktop GUI apps | Regular users, moderate library cleanup | Local, so better for sensitive files | Usually yes | Low to medium |
| Command-line tools | Large archives, repeatable jobs | Local, strongest privacy control | Strongest | Medium to high |
| Browser-based converters | A few non-private files | Upload-based, weakest privacy | Often limited | Low |
| OS-native ripping | CD-based workflows in Windows | Local | Limited to ripping flow | Low |
The trade-off is simple. Upload-based tools are convenient, but they are a poor fit for unpublished interviews, internal training material, or anything else that should stay on your machine. Local tools take a little more setup, yet they avoid the privacy risk and usually give better control over bitrate and file naming. That matters once you start converting more than a handful of files, because the wrong default can leave you with inconsistent quality across the archive.
Rule of thumb: If you have more than a small handful of files, or any privacy concern at all, go local.
Metadata is the other piece people miss. A converter that strips title, artist, album, or track order can create more cleanup work than the conversion saved. For music libraries, that becomes obvious fast. For spoken-word folders, it can be worse because filenames alone are rarely enough to sort the material later. The right tool is the one that keeps the tags you need and lets you process the library without turning each file into a manual fix.
For a broader view of audio workflow trade-offs, best free music generation tools is a useful adjacent read because it shows how different tools solve different audio tasks, even when the end goal is not conversion.
Converting with VLC Step by Step
VLC is the cleanest free option when you want something cross-platform that doesn’t require command-line work. It’s not the fastest tool for massive archives, but it’s dependable for one file or a moderate handful. I use it when someone needs a quick local conversion and doesn’t want to install a more specialized converter.
Open Media, then choose Convert/Save. Click Add and select your WMA file, then hit Convert/Save again. In the Profile dropdown, choose Audio - MP3, then browse to set the destination filename and make sure it ends in .mp3. Start the conversion once the output path is correct.
One thing trips people up here. VLC profiles don’t always land on the settings you expect, and the default preset can be looser than you want for music or tighter than you want for voice. Open the profile settings gear icon, confirm that the output is MP3, and check the bitrate before you run a larger batch.
If newer VLC builds show you a choice that includes AAC alongside MP3, stay focused on the target format you need. For compatibility work, that usually means MP3 unless you have a specific reason to move to something else. The whole point is to get the file out of the WMA island and into the format most devices still understand.
After conversion, play the output file inside VLC itself. That quick verification catches truncated audio, bad destination naming, and obvious encoding mistakes before you delete the original. Local converters and online converters can differ in their bitrate defaults, so test the result instead of assuming the preset did what you expected.
Batch Converting with FFmpeg Commands
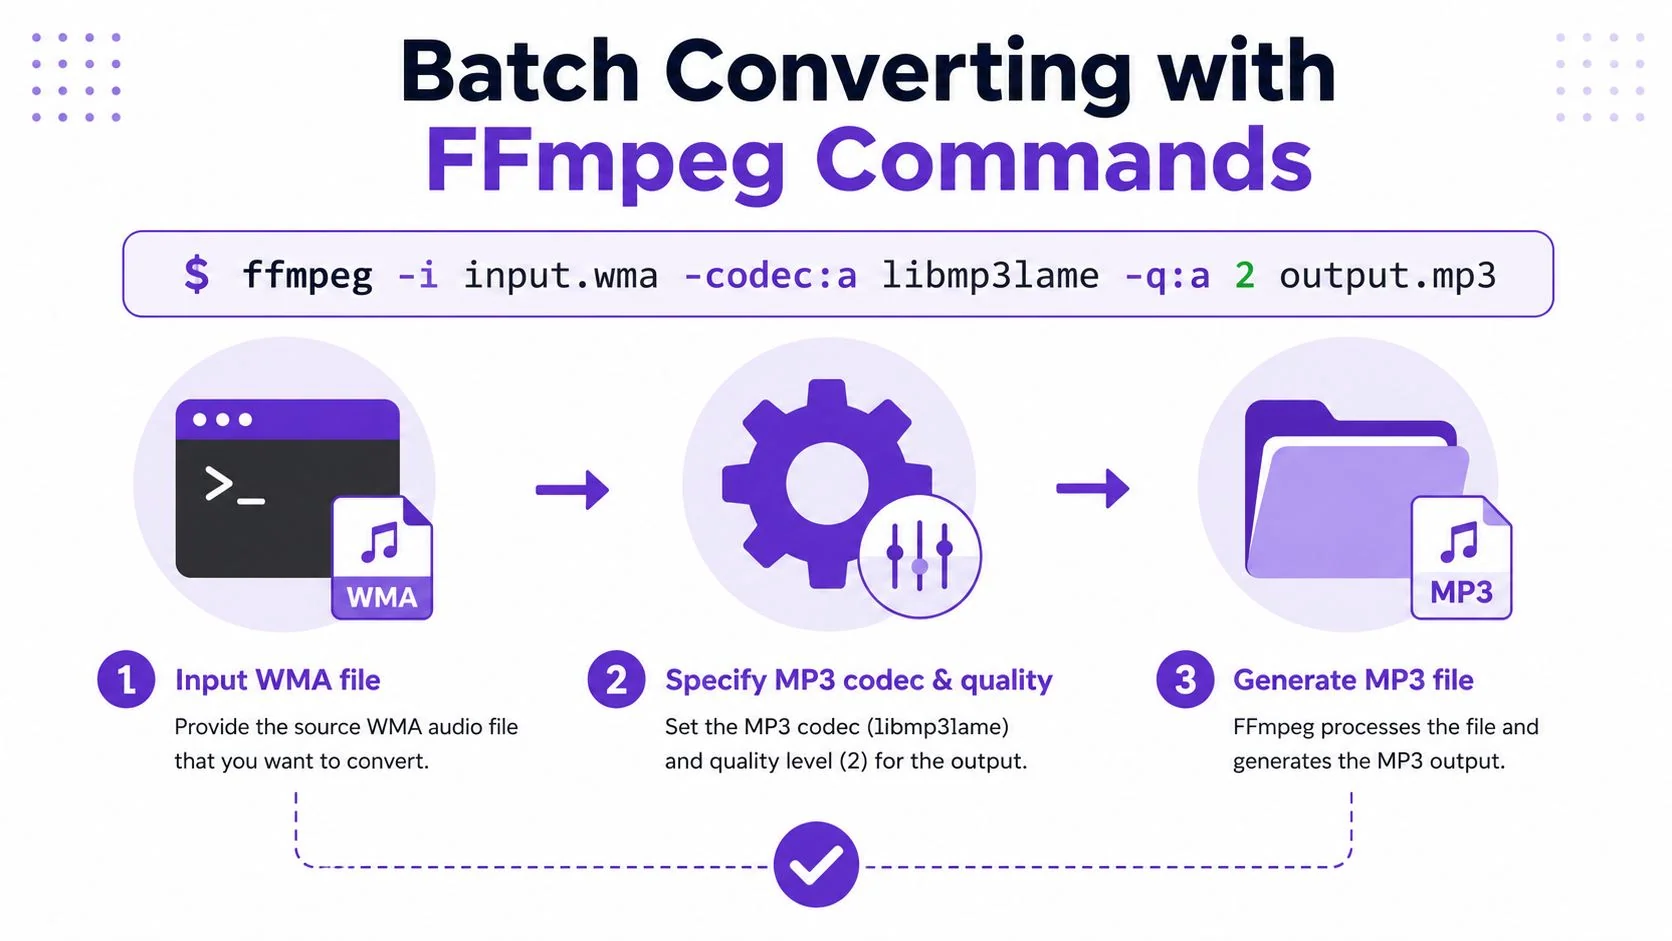
FFmpeg is the tool that earns its keep when the folder is large or the work needs to be repeatable. For a single file, the basic command is:
ffmpeg -i input.wma -codec:a libmp3lame -q:a 2 output.mp3
-i points to the input, libmp3lame selects the MP3 encoder, and -q:a 2 asks for a high-quality variable bitrate output instead of a fixed preset. The result is a practical sweet spot for most music files, especially when you want decent quality without babysitting every track.
For a folder batch on Windows PowerShell, a simple loop is the usual move:
Get-ChildItem *.wma | ForEach-Object { ffmpeg -i $_.FullName -codec:a libmp3lame -q:a 2 ($_.BaseName + '.mp3') }
That pattern keeps the files together and renames each output alongside its source. If you want overwrite behavior, add -y to force replacement or -n to skip existing files. Use one or the other on purpose, because careless overwrites are how people lose a clean export they meant to preserve.
Practical rule: Test one file first, then run the folder. A single bad setting is cheaper to fix before the batch starts.
Metadata deserves attention too. FFmpeg can carry over metadata, but if you want to be explicit, add -map_metadata 0 so the file keeps the source tags more reliably. If tags matter more than speed, verify the output afterward instead of assuming the transfer was perfect. For a related workflow issue in media handling, this guide on how to reduce video file size is a useful reference because the same habit applies, choose the output settings intentionally.
One caution is important. FFmpeg will not magically solve DRM-locked WMA files. If the file is protected, you may get an error or a silent output, and the fix is not a different encoder. It’s a different source file.
Using Audacity When You Need to Edit First
Audacity makes sense when the WMA file needs cleanup before export, not when you just want a plain format swap. I reach for it on voice memos, lecture recordings, and old interview captures where trimming, normalization, or noise reduction matters more than raw speed. If the file is already a finished track, Audacity is usually more work than you need.
First, install the optional FFmpeg import library so Audacity can open WMA files. That step is the most common failure point, and people usually blame the file when the actual issue is import support. Once the file opens, do the edit, trim the edges, normalize if needed, and then export.
Choose File > Export > Export as MP3. Audacity uses the LAME encoder for MP3 output, and the bitrate choices are straightforward enough for practical work. The dropdown typically gives you familiar options like 128, 160, 192, 256, and 320 kbps, so you can match the output to the file’s purpose instead of accepting a generic preset.
This is the right path when the conversion is only one part of the job. A support recording might need silence removed, a training clip might need a clean intro, and a podcast segment might need level correction before it leaves your machine. Audacity handles that sequence naturally, while a converter is better at simple file transformation.
For a separate walkthrough on capturing audio cleanly before editing, see how to record audio on Windows. That helps when the source isn’t a clean file anymore and you need a fresh recording workflow instead of a straight conversion.
Choosing Bitrate, Metadata, and Quality Settings
Bitrate is where a simple conversion starts to show its trade-offs. Leave the default in place and you often get a file that is either larger than it needs to be or too thin for the content. The right setting depends on whether you are handling speech, everyday music, or a track you expect to keep in a long-term archive.
Bitrate choices that actually make sense
- 128 kbps: Good for voice memos, spoken notes, and podcasts where clarity matters more than nuance.
- 192 kbps: A sensible middle ground for most music and a lot of speech.
- 256 kbps: A safer choice when you want a library copy that still keeps file size reasonable.
- 320 kbps: The top end of common MP3 output, useful when you expect more careful listening.
For many batch jobs, VBR gives better results than a fixed bitrate because it spends data where the audio needs it. FFmpeg’s -q:a 2 setting is a practical default for music conversion, since it usually preserves more detail than forcing every second into the same bitrate bucket. On tracks with quiet sections, dense mixes, or sudden changes in volume, that usually produces a cleaner result at a similar overall file size.
Metadata needs the same kind of attention. Title, artist, album, and track number may carry over in a simple conversion, but cover art is more likely to disappear unless the tool maps it explicitly. If you care about library organization, inspect the MP3 before deleting the source file. A file that plays fine but loses its tags still creates work later when you have to sort the archive by hand.
That matters even more when you are converting a large legacy folder and want the new MP3s to drop back into the same structure without cleanup. For files that are not clean recordings anymore and need a fresh capture first, the workflow starts earlier, and a guide like how to record audio on Windows is the better starting point.
Windows users who stay inside Microsoft’s own rip settings can choose MP3 under Tools > Options > Rip Music before ripping a CD. Microsoft documents that path for CD-based conversion, which makes it useful only for that narrower case, not for arbitrary WMA files already sitting on disk. For general file conversion, the discussion is different, especially if you are trying to preserve tags and process more than one file at a time.
Putting It Together and Handling Common Problems
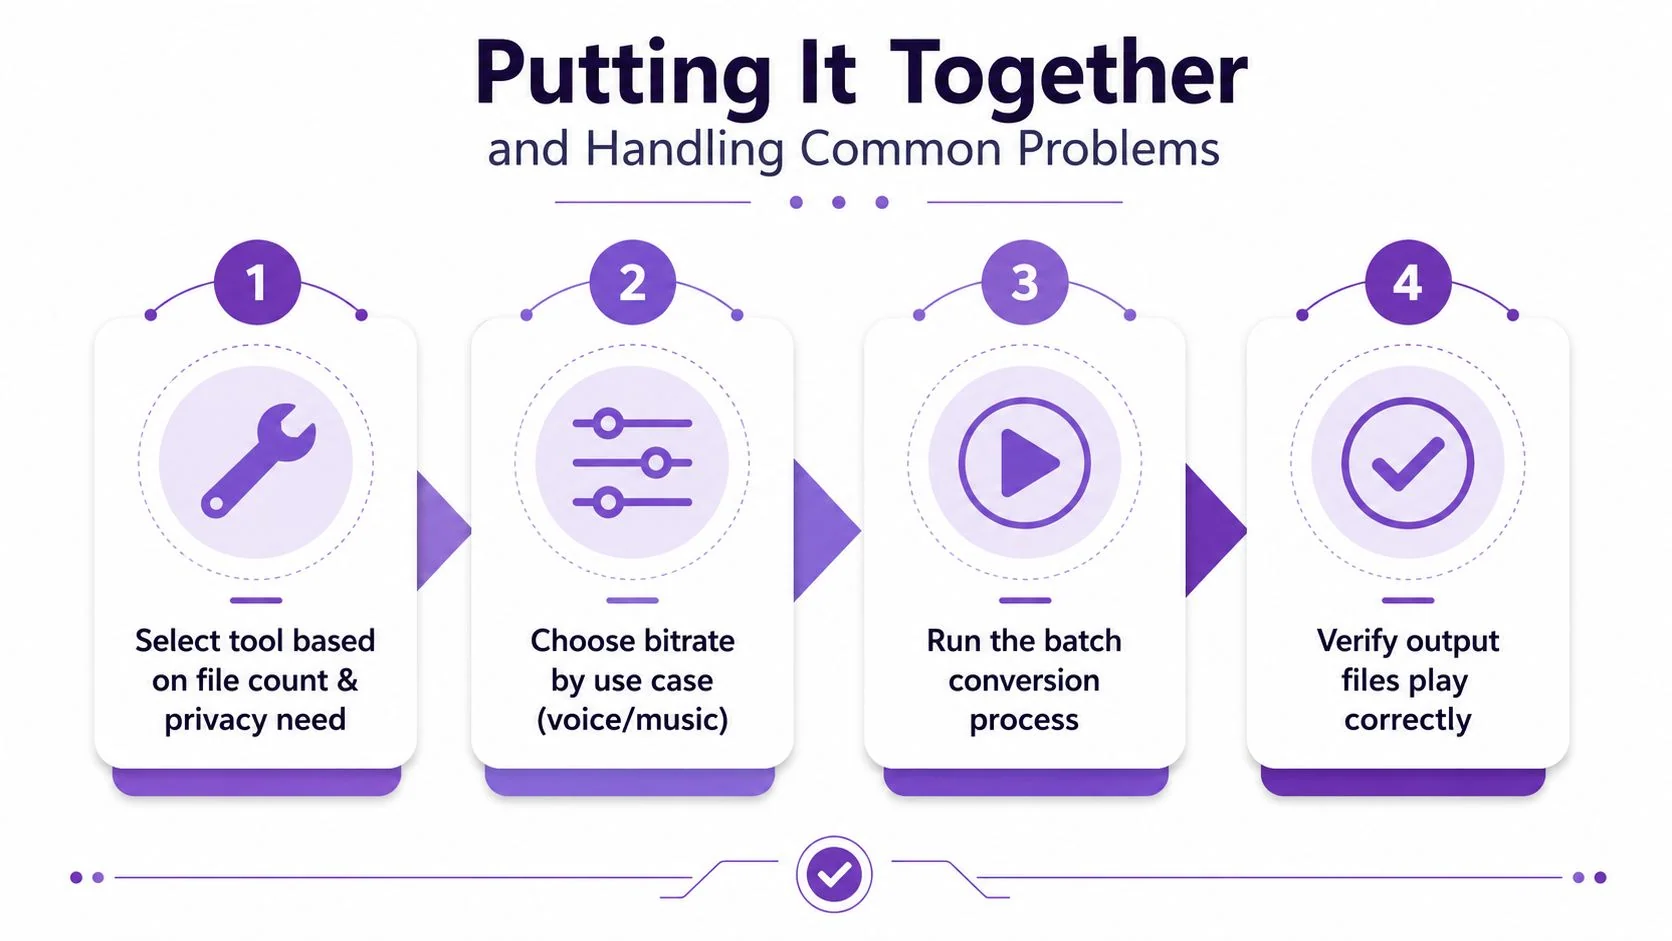
A solid workflow is simple. Pick the tool based on file count and privacy, set the bitrate based on the content, run one test file, then batch the rest and verify the outputs before deleting the originals. That order keeps you from discovering a mistake after the old archive is already gone.
The most common failure mode is DRM-protected WMA. Those files may still play in old Windows setups, but mainstream converters often refuse them or output silence. The honest answer is that the protection isn’t something VLC, FFmpeg, or a browser converter can fix. You need the unprotected original.
Another common problem is output files that are much smaller than expected. That usually means the converter fell back to a low bitrate default. If that happens, check the profile or command again before assuming the source file was bad. Corruption mid-batch is a different issue, and the fastest way to isolate it is to test a single file before you let the loop run.
Metadata can fail too. If tags didn’t survive the conversion, rerun the job with explicit metadata mapping in FFmpeg or re-tag the MP3 afterward with a tool like MusicBrainz Picard. That’s tedious, but it’s still better than discovering a whole library with blank artist fields after the originals are gone.
Screenshot this checklist: choose local tools for private or large archives, test one file, confirm the bitrate, verify the MP3 plays, and only then delete the WMA source.
If you’re turning a legacy Windows audio folder into something the rest of your team can use, Tutorial AI can help you document the process as you go, then turn that walkthrough into a polished help article and training asset from the same recording. Record the conversion flow once, share it with your team, and reuse it as a tutorial, support article, or internal SOP without rebuilding the explanation from scratch.