Apple’s built-in iPhone screen recorder has been available since iOS 11 in 2017, and for many users it’s still the best free option for fast captures. If you need more than a clip in Photos, choose your recorder based on the workflow after capture: editing, sharing, annotations, desktop production, or turning the recording into a repeatable tutorial.
That’s usually the problem. You’re not trying to “record a screen” in the abstract. You’re trying to show a support fix in an app, walk a new customer through onboarding, capture a product demo on iPhone, or build training that other people can reuse.
Some tools are best for a one-off answer sent today. Others make more sense when you need face-cam, mobile trimming, livestreaming, wireless mirroring to a desktop, or a stable wired setup for polished production. The practical differences are around microphone audio, export control, annotation options, where the file ends up, and how much cleanup the raw recording needs.
That’s also where many best screen recorder for iPhone lists stop too early. Recording is only the capture step. If your team needs recurring app tutorials, support videos, onboarding, or knowledge-base content, the harder part is tightening the recording, fixing the narration, and turning one walkthrough into both video and written documentation.
Tutorial AI fits at that stage. Record the iPhone workflow first, then use Tutorial AI to turn the raw capture into a structured tutorial video and matching documentation without doing all the cleanup manually. But for the recording itself, the right choice depends on how you work.
1. Tutorial AI
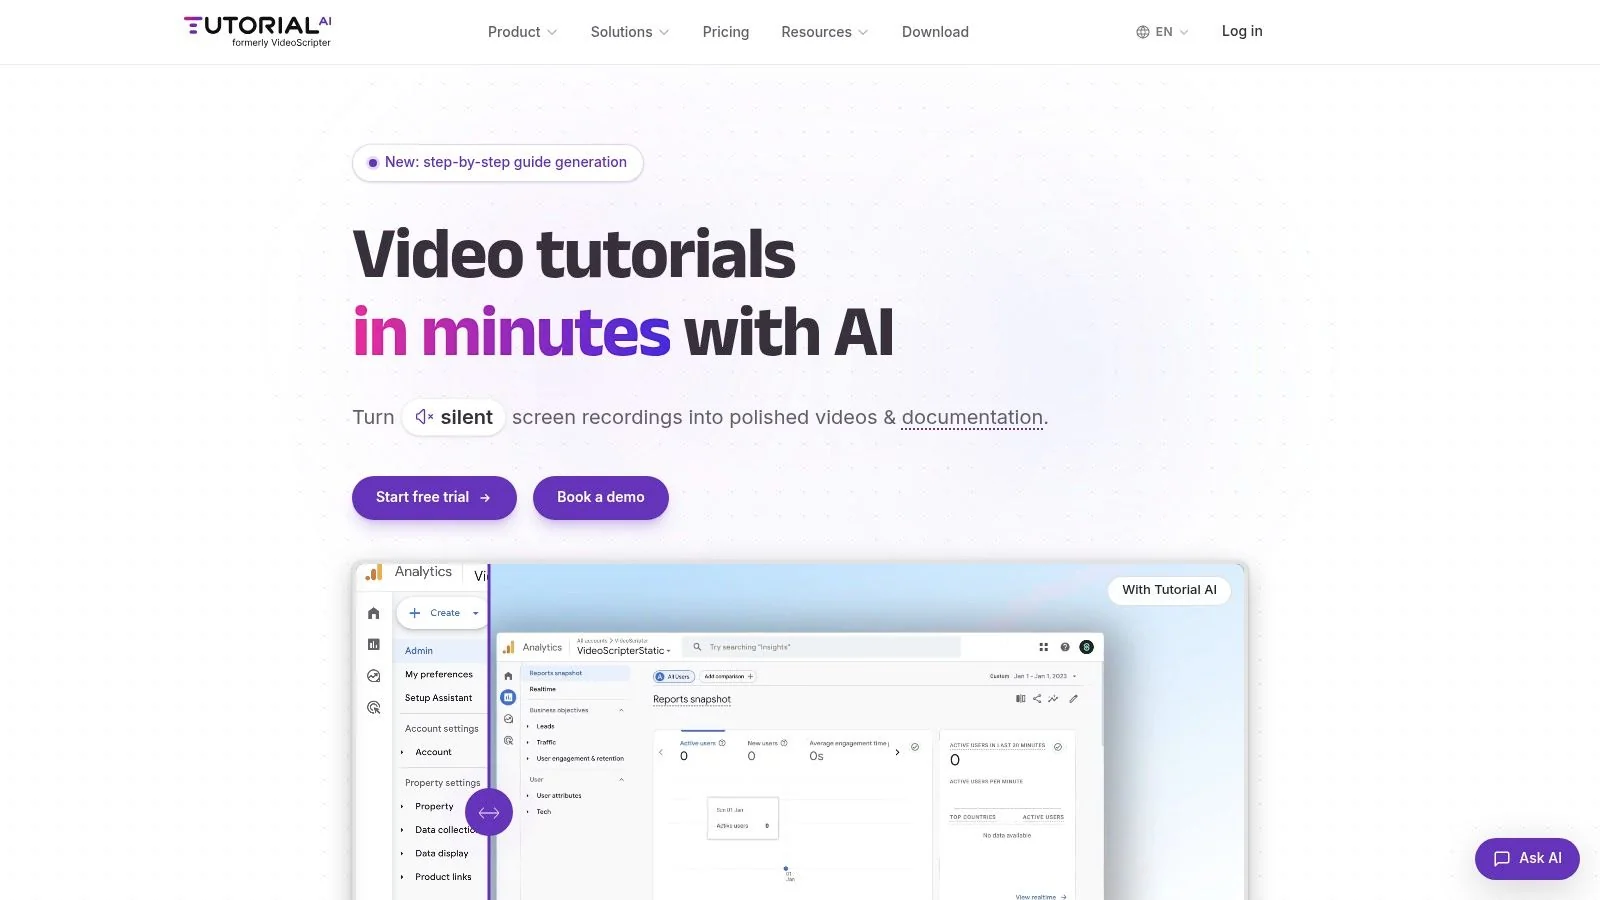
You record a feature flow on an iPhone to answer a customer question. Ten minutes later, the raw clip already has the usual problems: a missed tap, a pause while you find the next menu, and narration that works live but reads rough on replay. Tutorial AI fits after capture, when the job shifts from saving a screen recording to producing a tutorial people can follow.
That workflow matters because iPhone recording tools solve different problems. Native capture is for quick evidence or a fast how-to. Mobile recorder apps add trimming, face-cam, or simple sharing. Wireless mirroring and wired desktop capture make more sense when you need cleaner desktop editing, annotations, or a stable production setup. Tutorial AI picks up after any of those paths and turns the captured iPhone flow into a structured video plus written documentation.
Best for repeatable tutorials and documentation
The practical use case is straightforward. Capture the app flow on iPhone, upload the file, tighten pacing with AutoRetime, review the generated script, fix wording where needed, add narration, and publish the tutorial and step-by-step documentation from the same source recording. That saves time when one walkthrough needs to become a help-center video, onboarding guide, support article, internal training asset, or product demo.
This matters more for subject-matter experts than for full-time editors.
Support, product, onboarding, and training teams usually do not struggle with recording the screen. They struggle with cleanup, script consistency, and turning one raw capture into multiple deliverables without rebuilding the same explanation in three places. Tutorial AI addresses that production gap directly.
Practical rule: If capture is easy but editing and reformatting keep slowing the team down, switch focus from recorder features to the post-capture workflow.
Tutorial AI also supports narration in multiple languages, which helps when the same iPhone workflow needs versions for different markets. Brand Kits and the Multilingual Player are useful when teams need consistent output across customer education, internal documentation, and training.
Where it fits better than a recorder-only app
The main advantage is workflow continuity. You start with the actual iPhone interface and taps, then move straight into tutorial production without handing the file off to a separate editing and documentation stack. That is a better fit than avatar-first tools when viewers need to see the UI and exact sequence on screen. If you want to see that path in practice, this AI screen recorder workflow shows how capture can feed directly into publishing.
For teams working at scale, the admin side matters too. Tutorial AI supports SSO/SAML, SOC 2, and GDPR. It is also used by organizations including Bosch, Deutsche Bahn, Intesa Sanpaolo, Microsoft, and UNICEF.
If your shortlist includes synthetic presenter tools as well as screen-based tutorial tools, this guide to compare leading AI video platforms is a useful reference.
2. Apple iOS built-in Screen Recording
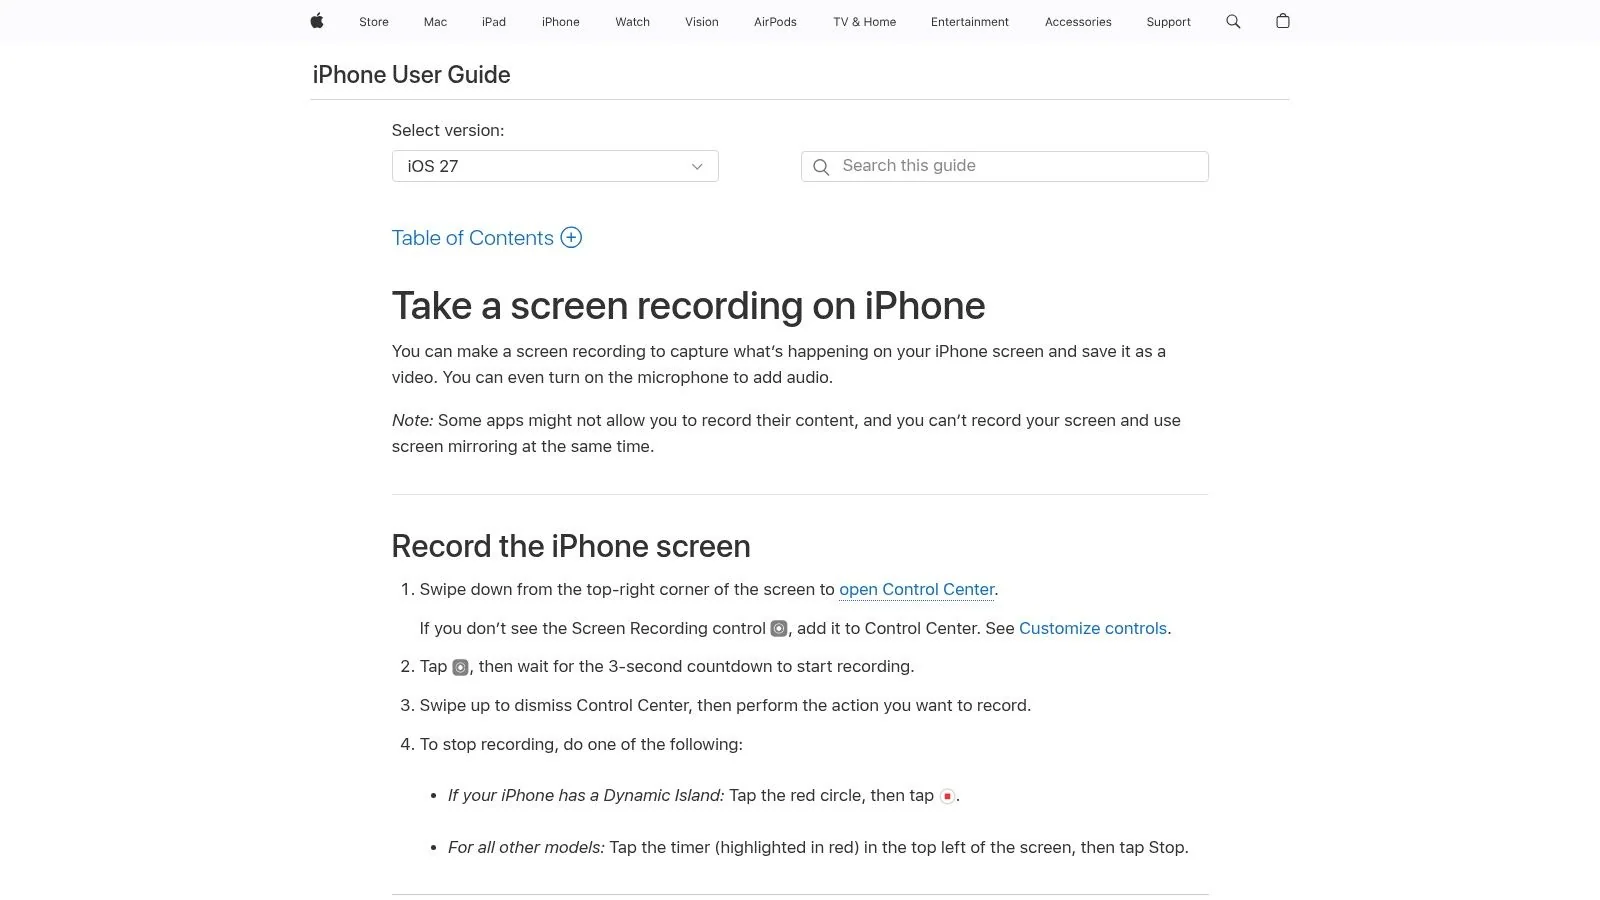
Open Apple’s built-in screen recording guide
For quick captures, this is still the default recommendation. It’s already on the iPhone, it starts from Control Center, and Apple says you can long-press the Screen Recording control, turn the microphone on if needed, and begin after a 3-second countdown, with the finished file saved to Photos via Apple’s iPhone user guide.
That simplicity is why a third-party app isn’t needed for basic recording. If you’re answering a support ticket, showing a bug, or capturing a short onboarding step, built-in recording is usually the fastest path from phone to shareable clip.
Best for free and immediate captures
Apple’s support documentation also confirms the feature has been around since iOS 11, introduced in 2017, with microphone capture built in and saving directly to Photos through Apple’s screen recording support page. That long history matters because it means the native option is stable, familiar, and easy to use across teams.
There’s also no strict Apple-imposed time limit in general guidance. Practical recording length is mostly constrained by available storage, as noted in this iPhone screen recording walkthrough.
Use Apple’s recorder when speed matters more than polish. It’s the least complicated way to capture exactly what happened on the device.
Where it starts to feel limited
The trade-off is editing and presentation. You don’t get built-in touch highlights, structured annotations, script cleanup, or an easy way to turn one capture into a full tutorial package. Newer iPhone guidance also shows Apple keeps improving quality with features such as HDR, stereo audio, and a live camera overlay in recent system updates, as described in Apple’s current iPhone guide, so third-party tools need to add workflow value, not just recording.
If you need a quick refresher on the native process, this guide on how to record on iPhone is the most useful next read.
3. Loom for iOS
Visit Loom for iOS
Loom is the tool I’d choose when the recording needs to move through a team quickly. The recording itself isn’t the main reason to use it. The reason is link-based sharing, comments, and keeping mobile recordings inside the same workspace your team already uses on desktop.
That makes Loom better for internal communication than for polished tutorial production. If a product manager, support lead, and trainer all need to review the same clip, Loom keeps that process lightweight.
Best for quick team sharing
Loom’s iOS app works best when you record a walkthrough, send the link immediately, and let teammates review in context. That’s useful for support escalations, internal bug explanations, and informal customer handoffs where speed beats production quality.
The downside is that Loom recordings often stay raw. Pauses, repeated taps, and improvised narration can be fine for internal communication, but they’re less effective in onboarding, training, or help-center content that needs to stay clear over time.
Where Loom helps and where it doesn’t
Loom is a good fit if your organization already relies on its cross-platform workspace. It’s less compelling if you need structured editing, multilingual outputs, or video-to-document generation from the same capture.
Watch for this: Link-sharing tools are great for “see what I mean?” videos. They’re weaker for “this should become a reusable tutorial” videos.
If that’s your situation, use Loom for the first pass, then move the recording into a production workflow. For browser-based or shared-recording workflows, this online screen recorder guide is a useful complement.
4. Record it! Screen Recorder
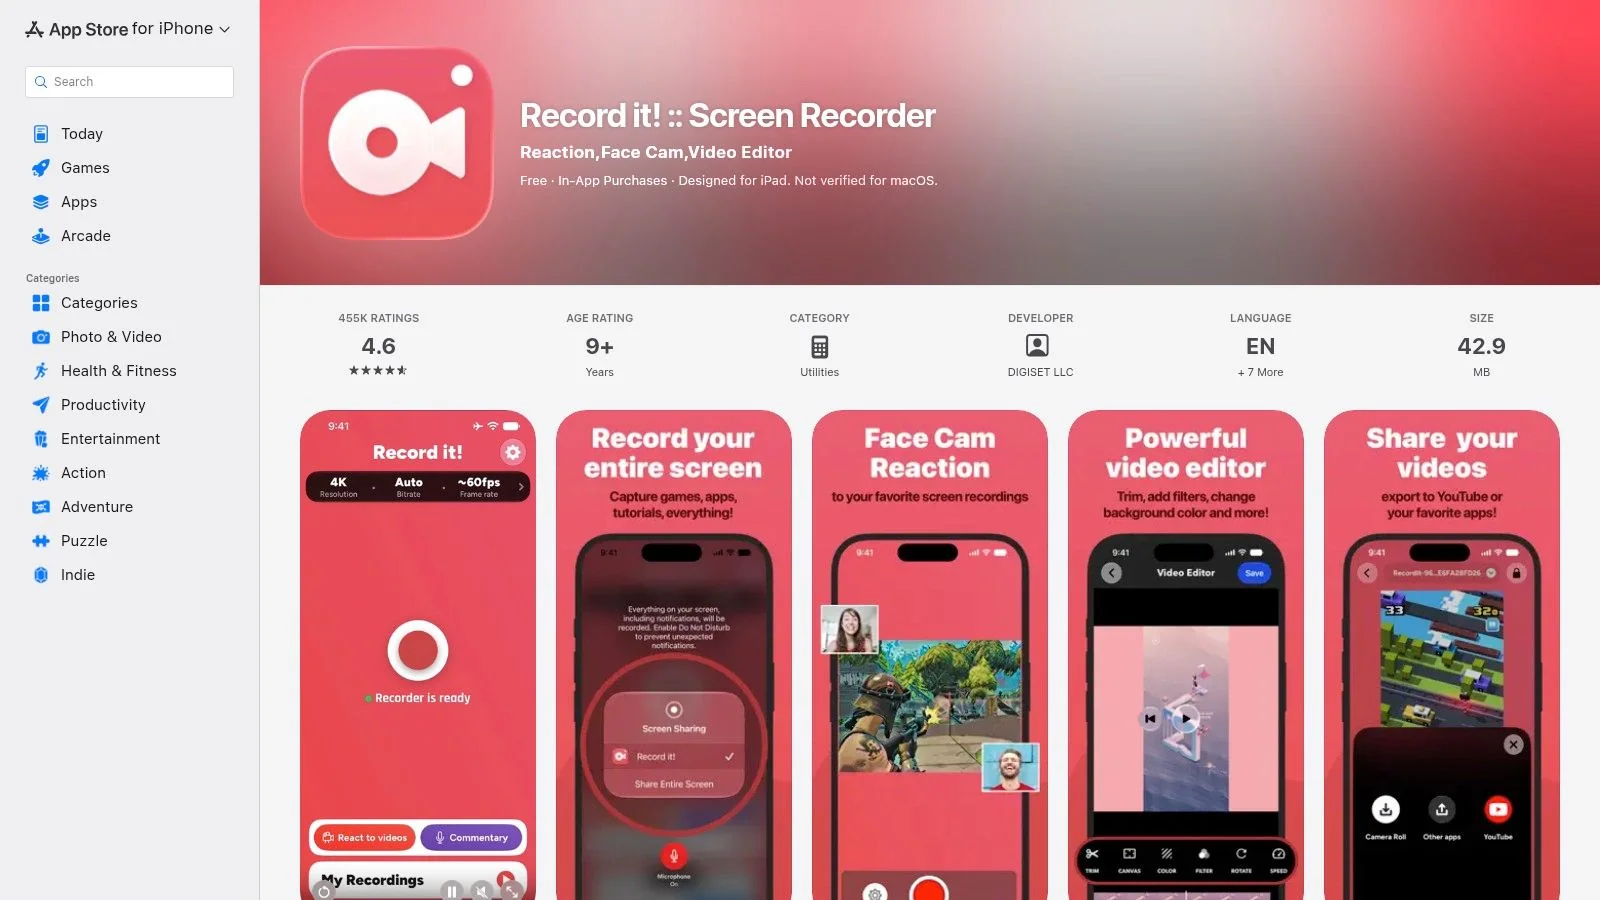
Visit Record it! Screen Recorder
You record a quick app walkthrough on your iPhone, realize the taps need explanation, then add voice and a face-cam reaction before sending it out. That is the workflow Record it! supports better than Apple’s built-in recorder.
Record it! fits the gap between plain iPhone capture and a desktop production setup. It gives you more control after the recording without pushing you into a full editor built for long-form projects. For solo creators, support staff, and anyone making short how-to clips from a phone, that balance is useful.
Best for short tutorials you want to finish on the phone
The main advantage is workflow speed on a small screen. You can capture first, then add commentary, trim mistakes, adjust pacing, and layer in a reaction view without exporting to another device right away. That works well for app demos, feature announcements, response videos, and support explanations where the final video only needs light cleanup.
It is a better fit for quick production than for repeatable documentation.
That distinction matters. If you are recording a one-off clip to explain a setting or show a bug, mobile editing is often enough. If you are building onboarding material, product training, or help-center content that needs a clean structure and matching written steps, phone-based editing starts to slow you down.
Where it fits in an iPhone recording workflow
Record it! is stronger than native iPhone capture when the recording is only the first step and you know you need basic post-production on the device. It is weaker than wired desktop capture or mirrored recording when visual clarity, retakes, audio cleanup, and version control matter more than speed.
A practical way to use it is to treat the app as the capture and rough-cut stage. Once a clip proves useful, move it into a more repeatable production process for polished video or written documentation. That is also the point where tools such as Tutorial AI make more sense, because the job shifts from recording a screen to turning a process into training material people can reuse.
Trade-offs in real use
The trade-off is precision. Trimming a 45-second walkthrough on a phone is manageable. Tightening a 6-minute tutorial with multiple retries, awkward pauses, and missed taps is slower than doing the same work on a desktop.
Choose Record it! if the deliverable is short, fast, and mobile-first. Choose a desktop or documentation workflow if the clip needs to stay useful over time.
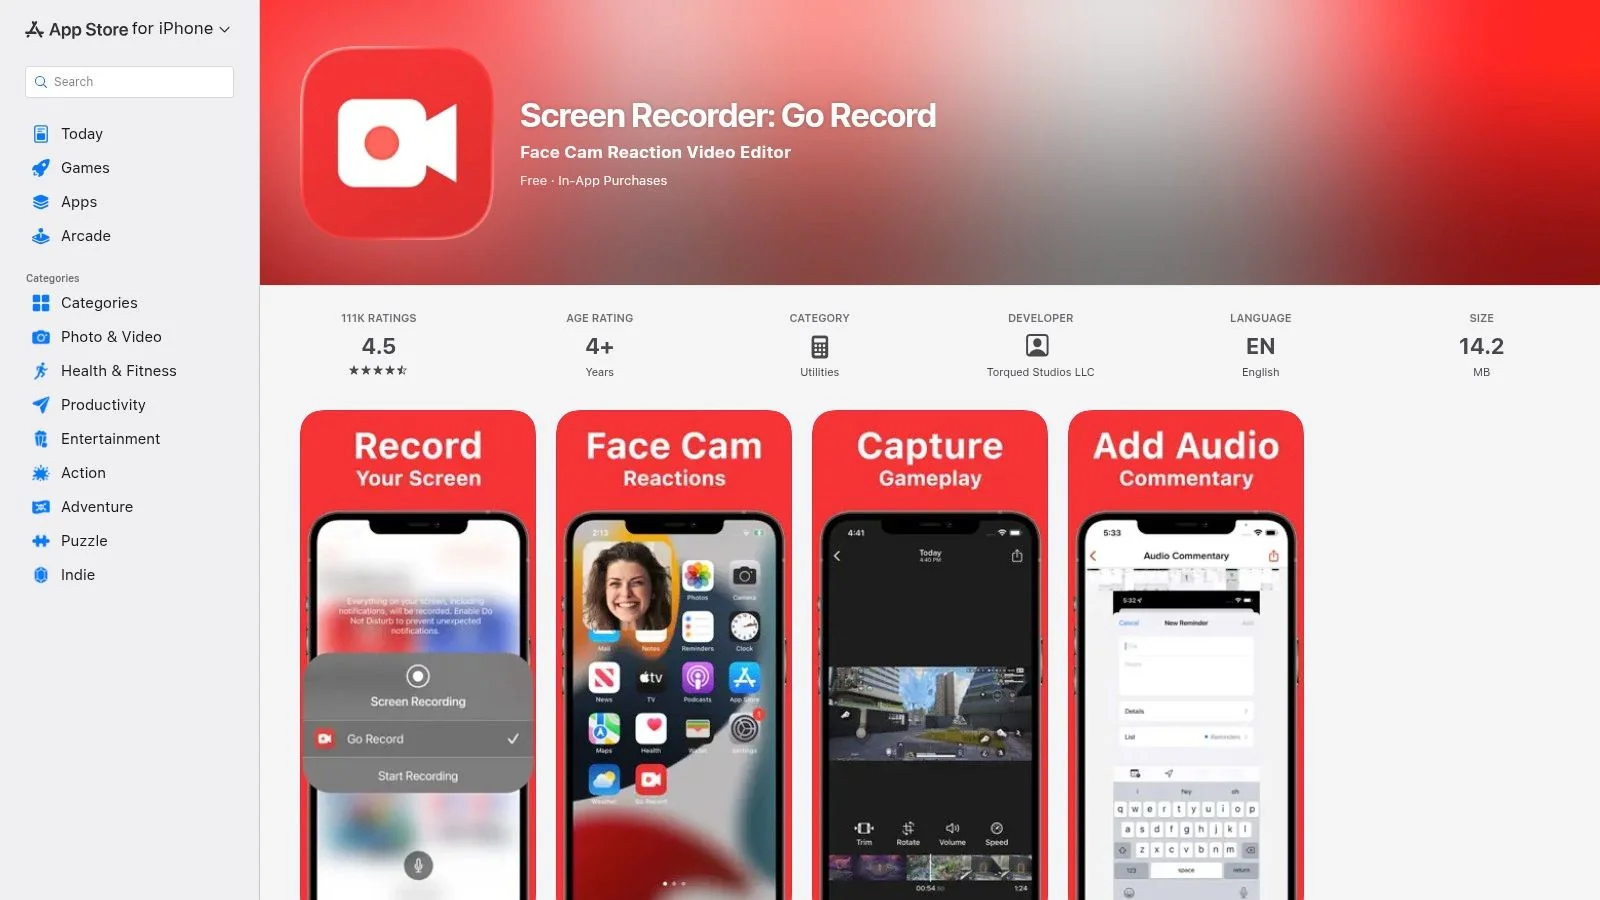
5. Go Record Screen Recorder
Visit Go Record Screen Recorder
Go Record fits the moment when you need to capture an iPhone task quickly, add a short explanation, and send it out without touching a desktop. That is its lane.
It makes sense for a fast customer reply, a short social clip, or a simple app walkthrough where the recording itself is the deliverable. Open the app, capture the screen, trim the extra seconds at the start or end, add face-cam or voiceover if needed, and export.
Best for quick capture, not structured production
The app covers the basics that matter for casual recording workflows. Face-cam, narration, trimming, and light audio adjustment are enough for people who want one mobile tool and do not want to manage a larger editing setup.
That simplicity is also the trade-off. Go Record is easier to hand to a nontechnical teammate than a feature-heavy mobile editor, but it gives you less control once you start caring about pacing, retakes, and consistency across multiple videos.
Where it fits in the workflow
Go Record sits between Apple’s built-in recorder and a more repeatable production process. It does more than native capture because you can clean up the clip on the phone. It does less than wireless mirroring or wired desktop capture because you are still editing inside a small mobile interface with limited precision.
That difference shows up fast in real use. Trimming a 30-second clip is easy. Cleaning up a 5-minute tutorial with missed taps, pauses, and multiple retries is slower than it should be.
For one-off recordings, that may be fine.
For onboarding, support libraries, or tutorials that need to stay accurate over time, recording is only the first step. At that point, the job shifts from capturing the screen to producing a usable asset. A desktop workflow usually gives you cleaner editing, and a tool such as Tutorial AI makes more sense once you need polished video plus written instructions from the same process.
Choose Go Record if speed matters more than control. Skip it if you are building repeatable documentation rather than sending a quick clip.
6. DU Recorder
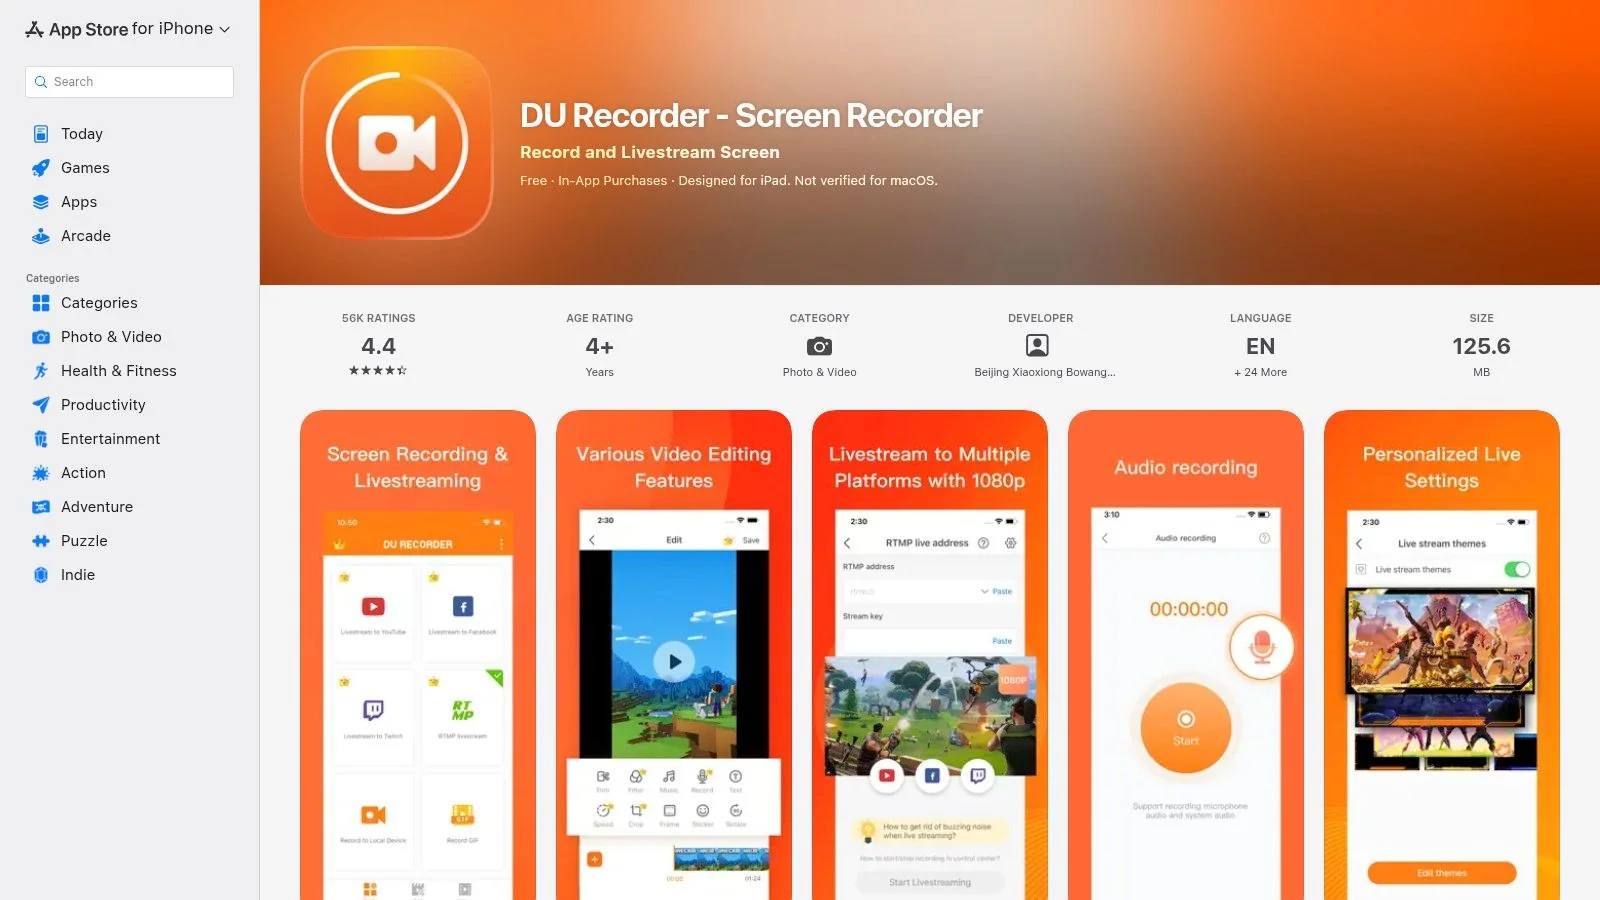
DU Recorder is for people who want a lot of knobs inside one mobile app. Recording is only part of the package. The built-in editor, conversion options, stickers, overlays, and livestream-related features make it feel more like a mini content studio on the phone.
That can be useful. It can also become cluttered if all you need is a clean app tutorial.
Better for creator-style mobile production
If you’re making gameplay clips, social explainers, or tutorial content that needs quick visual dressing before export, DU Recorder offers more room to work than Apple’s native recorder. The extra controls can save a handoff to another app.
Its face-cam support and GIF conversion also make sense when the recording needs to travel across formats, not just live as a simple MP4 in Photos.
More features inside the recorder usually means more decisions during editing. That’s helpful for creators. It’s often unnecessary for support and training teams.
The practical caution
This isn’t the tool I’d hand to every nontechnical teammate. A richer on-phone toolkit sounds appealing, but too many options can slow down people who just need to document a process clearly.
It’s a stronger match for creator workflows than for standardized knowledge-base production. If your main issue is trimming, adding flair, and exporting from one place, DU Recorder fits. If your issue is clarity, script cleanup, and repeatability, it doesn’t solve the whole job.
7. Streamlabs Mobile iOS
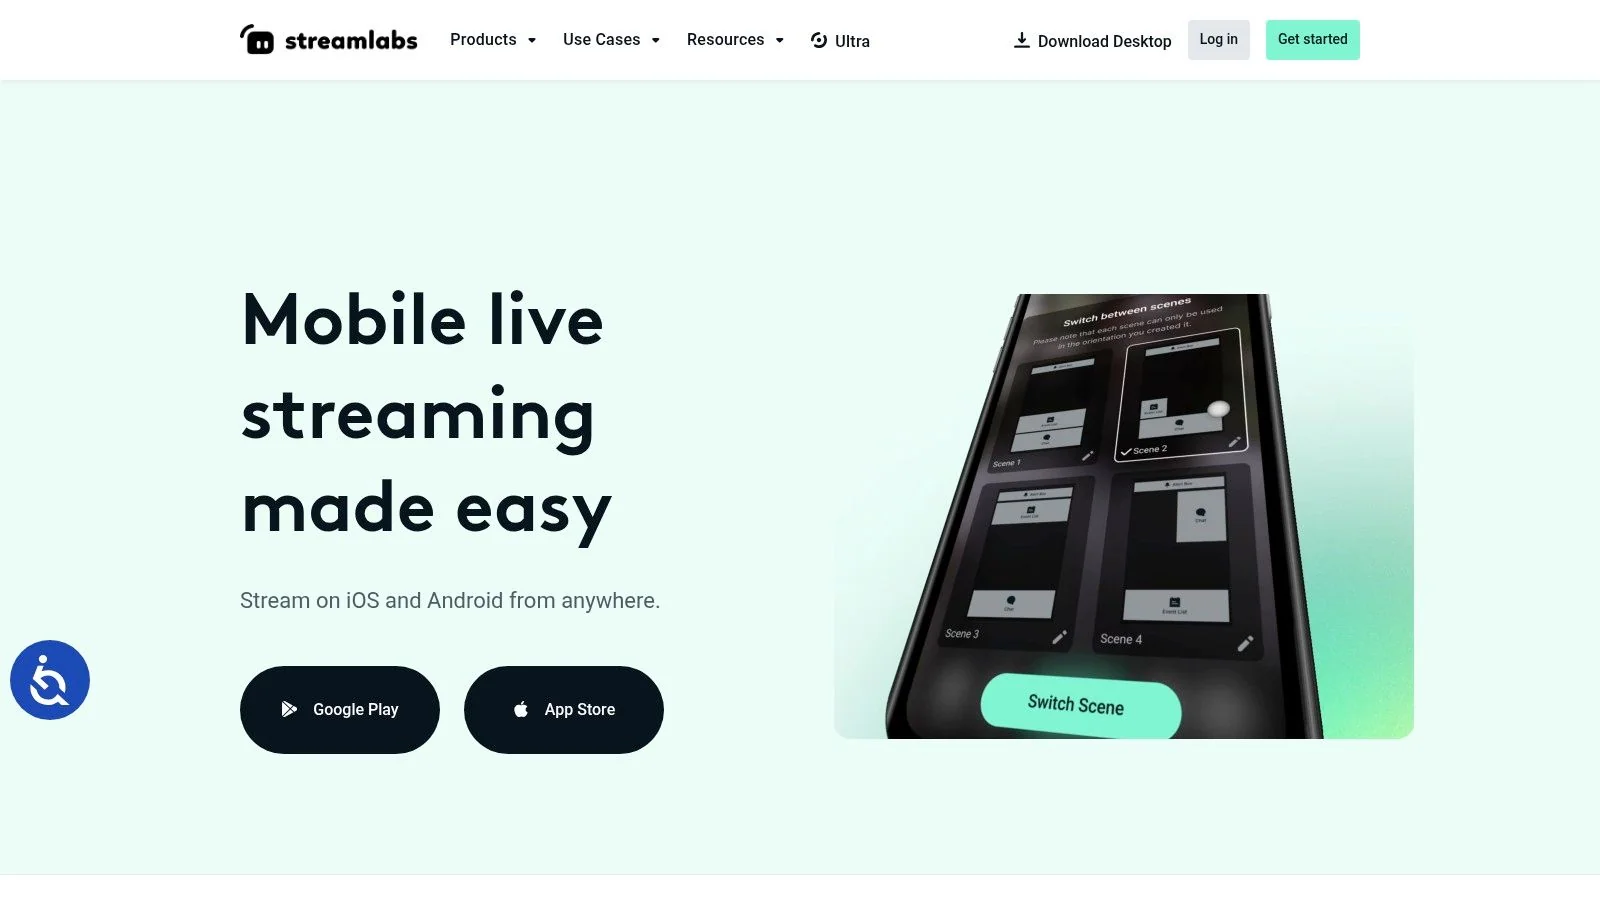
Streamlabs belongs on this list for one reason. Some iPhone recordings are really livestream workflows that also need to be saved or repurposed later.
If that’s your use case, Streamlabs makes more sense than a standard recorder. If it isn’t, it probably adds complexity you don’t need.
Best when recording and livestreaming overlap
This is the app for creator-led sessions, live product walkthroughs, mobile gameplay demos, and real-time broadcasts where the iPhone screen is part of a live presentation. Integration with the wider Streamlabs ecosystem is the main draw.
That’s different from classic support or training production. In those workflows, the recording should usually be captured cleanly first and polished later.
Not ideal for standard app tutorials
The trade-off is focus. Streamlabs is optimized around live creator needs, themes, widgets, and broadcast workflows. A support lead recording a step-by-step fix may find that environment heavier than necessary.
Use it if your “screen recording” is really one piece of a live show. Skip it if your end goal is a straightforward app tutorial or internal SOP.
8. Reflector 4
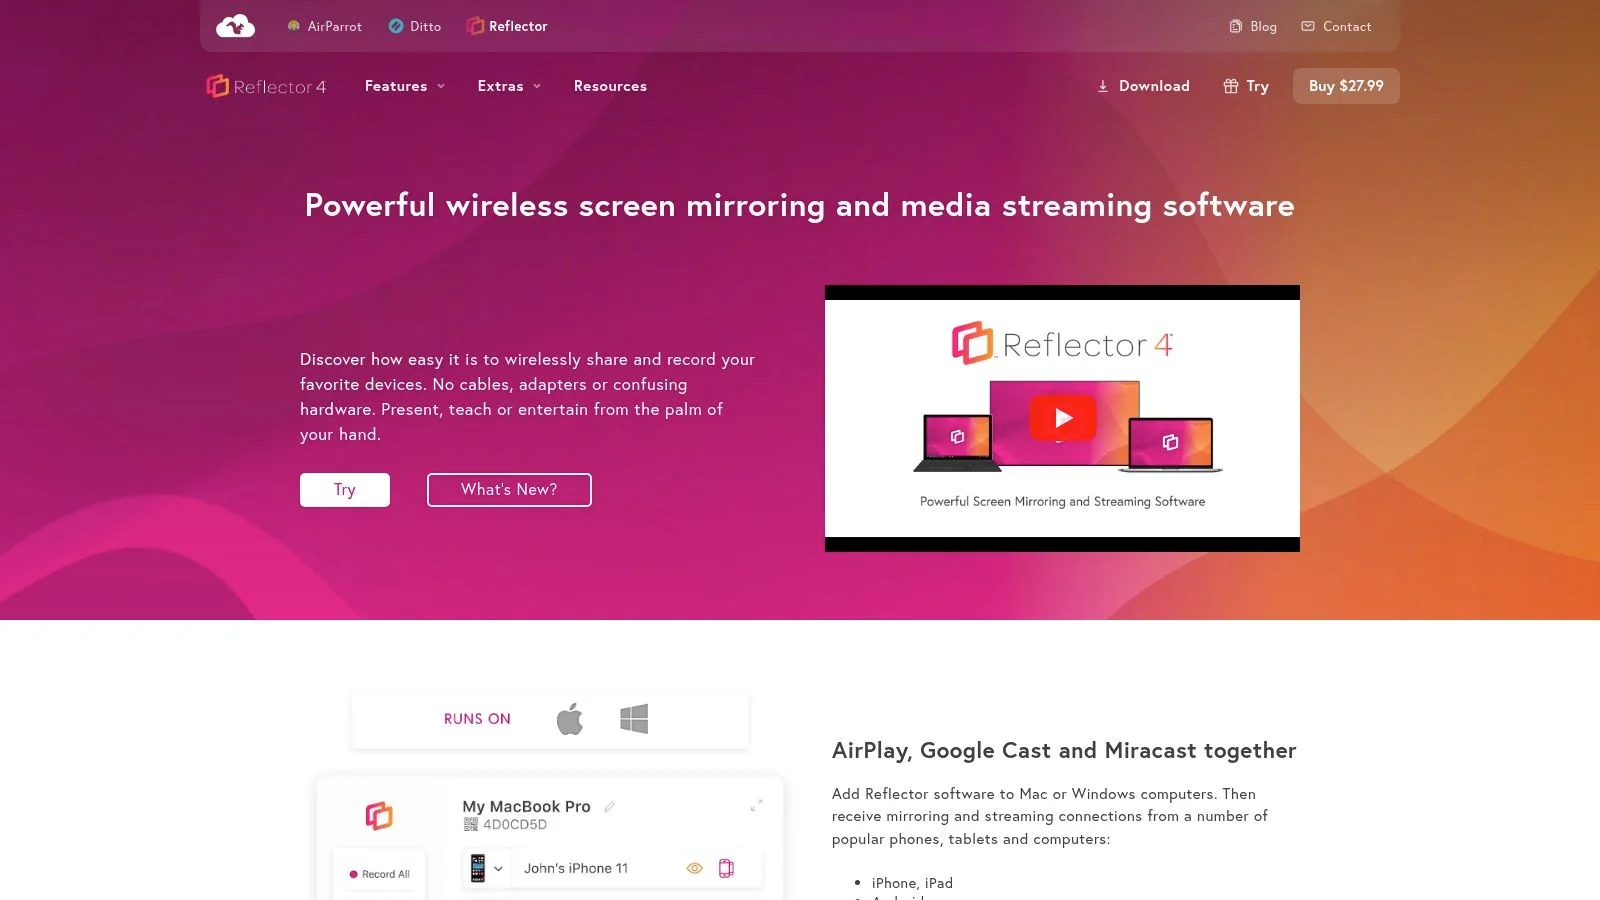
Reflector 4 changes the workflow completely. Instead of recording on the phone and moving the file later, you mirror the iPhone wirelessly to a Mac or Windows machine and record from the desktop side.
That sounds small, but it changes who the tool is for. Reflector is better for classrooms, demos, webinars, and archived training sessions where the computer is already the working hub.
Better for desktop-centered teams
When the file lands on a desktop immediately, editing, filing, and sharing get easier. You also avoid filling up the phone with long captures, which matters if you’re recording repeated sessions.
Wireless mirroring is especially useful when a presenter needs to show an iPhone app live while also managing notes, slides, or a meeting window on the computer.
The main trade-off is stability
The weak spot is the network. Any wireless mirroring workflow depends on local Wi-Fi quality, and that matters most when motion is fast or the session is long.
Reflector makes a lot of sense for presentations and training environments. It makes less sense when you need maximum stability or the cleanest possible capture for polished post-production.
9. AirServer
AirServer lives in the same category as Reflector 4, but the reason to pick one over the other often comes down to environment, licensing preference, and how your team already works.
That’s normal with wireless mirroring tools. You’re not only buying recording. You’re buying a setup that fits your devices, rooms, and support process.
A strong wireless recording option for managed environments
AirServer works well when teams want iPhone recordings stored on a computer without introducing cables into every session. That’s helpful for trainers, IT teams, and presenters who need repeatable desktop capture from mobile devices.
It also suits organizations that want current documentation around recording and mirroring rather than a purely consumer app feel.
Why wireless still isn’t the final answer for everyone
Wireless desktop capture is convenient, but it doesn’t fully replace a wired setup for higher-stakes production. If you’re building polished training or marketing content, network variability can still show up at the worst time.
AirServer is easy to recommend for operational convenience. It’s not the first pick when consistency matters more than flexibility.
10. Telestream ScreenFlow
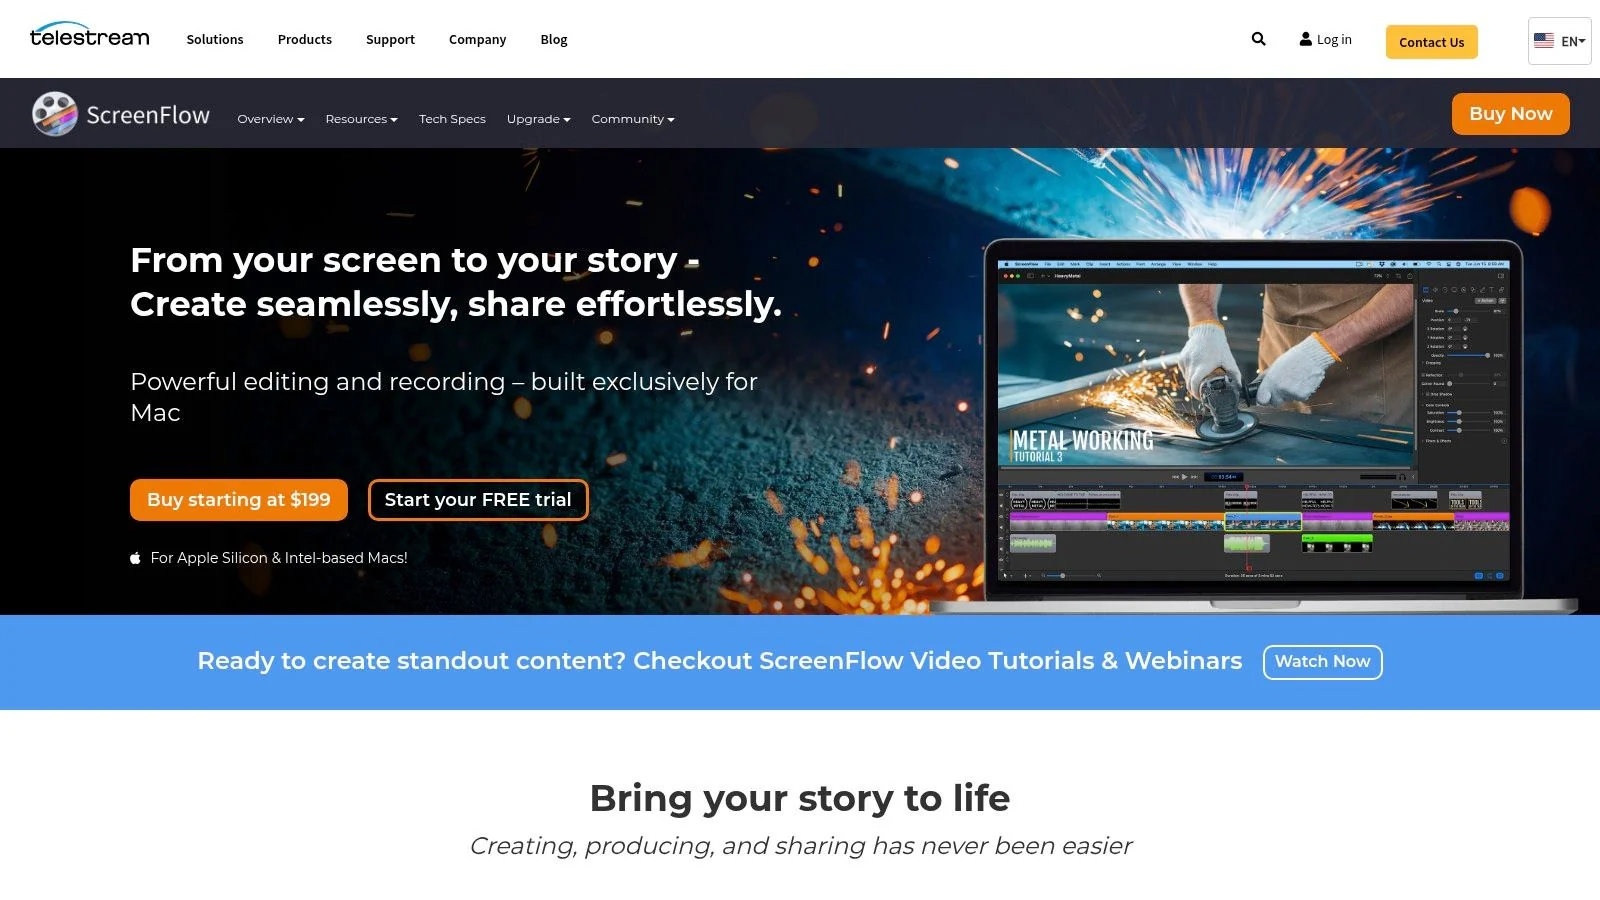
ScreenFlow is the most production-oriented option on this list. It combines direct wired iPhone capture on Mac with a full editing environment, which is why it’s a real step up from mobile-only recorders and wireless mirror apps.
If your iPhone tutorial needs callouts, captions, timeline edits, and controlled exports, ScreenFlow is built for that level of work.
Best for stable capture plus serious editing
The big advantage is stability. A wired connection avoids the uncertainty of Wi-Fi mirroring and gives you a cleaner production path for longer sessions, product demos, and formal training videos.
Apple’s own hardware is rarely the bottleneck now. Current iPhones support advanced media pipelines, including 4K recording options, HDR Dolby Vision on supported models, and HEVC/H.264 formats according to Apple’s iPhone comparison specs. In practice, that means your software workflow often matters more than the phone’s raw capability.
Still overkill for many teams
The obvious trade-off is complexity. ScreenFlow is a desktop editor, and desktop editors still demand time, judgment, and some editing comfort. For polished production, that’s fine. For a support specialist who only wants to explain a billing setting in an app, it’s often too much.
There’s also a broader shift happening here. Some newer reporting says iOS 26 beta can record the screen at full device resolution, including 1320×2868 on supported iPhones, which narrows the quality gap between native capture and third-party recording according to 9to5Mac’s iOS 26 screen recording coverage. That pushes desktop tools like ScreenFlow to win on editing and control, not on capture alone.
Top 10 iPhone Screen Recorder Comparison
| Product | Core features | Quality (★) | Price / Value (💰) | Target audience (👥) | Unique selling points (✨) |
|---|---|---|---|---|---|
| Tutorial AI 🏆 | AI-powered screen recorder + “edit like a doc”, 74‑lang AI voices, AutoRetime™, post-record cursor effects, exports (MP4/4K/SCORM) | ★★★★★ (4.9/5) | 💰 Free → Enterprise; advanced voices & custom cloning paid | 👥 Knowledge bases, L&D, sales enablement, product/docs teams | ✨ Instant voiceover regen, AutoRetime™ multilingual sync, post-record cursor/zoom effects |
| Apple iOS built-in Screen Recording (Control Center) | One-tap native screen + mic capture, saves to Photos, simple trimming | ★★★★ | 💰 Free (native) | 👥 Casual users & quick on-device captures | ✨ No install, no watermark, highest reliability on iPhone |
| Loom for iOS | Mobile recording + instant share links, cross‑platform workspace, comments & analytics | ★★★★ | 💰 Free (limits) → Paid for branding/analytics | 👥 Teams already on Loom; async comms & feedback workflows | ✨ Instant link sharing + workspace collaboration |
| Record it!, Screen Recorder | One-tap capture, bitrate/encoder controls, post-record face‑cam & basic editor | ★★★★ | 💰 Free tier; Pro in‑app for longer exports | 👥 Mobile creators wanting on‑phone edits & reactions | ✨ Post-record reaction overlays & encoder controls |
| Go Record, Screen Recorder | On-device capture with face-cam, basic editor (trim/rotate/audio), quick export | ★★★ | 💰 Free + in‑app purchases | 👥 Casual creators & tutorial clips | ✨ Minimal UI for fast captures |
| DU Recorder | Screen recording + in-app editor (merge/speed/crop), GIF conversion, RTMP livestream | ★★★ | 💰 Subscription for advanced features | 👥 Mobile editors and streamers | ✨ Rich on-device editing + streaming options |
| Streamlabs Mobile (iOS) | Screen/camera recording + live streaming, widgets/themes, Streamlabs ecosystem | ★★★★ | 💰 Free → Ultra subscription for multistream | 👥 Live streamers who also record mobile content | ✨ Integrated streaming + recording with creator widgets |
| Reflector 4 | Desktop AirPlay receiver that mirrors iPhone and records mirrored feed | ★★★★ | 💰 Paid license | 👥 Classrooms, demos, desktop archivists | ✨ Wireless iPhone mirroring + desktop recording |
| AirServer | AirPlay mirroring with high‑quality recording; consumer/education/business licenses | ★★★★ | 💰 Paid (30‑day trial) | 👥 Education & business needing licensed mirroring | ✨ Clear licensing tiers + reliable mirroring capture |
| Telestream ScreenFlow | Wired iOS device capture into Mac + pro timeline editor, callouts, captions, export presets | ★★★★★ | 💰 Paid (one‑time/license) | 👥 Pro editors, marketing & training production teams | ✨ Wired stable capture + studio‑grade timeline editing |
Match the Recorder to the Deliverable
The best screen recorder for iPhone depends less on the app store category and more on the job you’re trying to finish. If you need a fast, free capture, Apple’s built-in recorder is still the right starting point. It’s built into the phone, simple to trigger from Control Center, and good enough for a large share of support, demo, and internal communication work.
Loom is the practical choice when the recording needs to move through a team by link. It’s strongest when review, comments, and quick sharing matter more than polish. That makes it useful for internal communication and rapid customer responses, but less ideal for long-term training assets.
If you want to stay on the phone and do some cleanup there, Record it!, Go Record, DU Recorder, and Streamlabs each cover a different version of that workflow. Record it! and Go Record are easier picks for casual mobile editing and face-cam reactions. DU Recorder gives you a denser toolset if you want more on-device editing options. Streamlabs only makes sense when recording overlaps with livestreaming or creator-style broadcasting.
Reflector 4 and AirServer fit a different need. They’re for teams that want the iPhone screen on a desktop immediately through wireless mirroring. That helps with live demos, classrooms, presentations, and archive-friendly recording setups. The trade-off is that wireless capture always depends on network conditions, so it’s convenient, not always the most stable.
ScreenFlow is the Mac choice when stable wired capture and full timeline editing matter more than speed. It’s the most production-heavy option in this list, which is exactly why some teams need it and many teams don’t.
The bigger decision starts after recording. Raw iPhone captures are rarely ready to publish as onboarding, help-center, support, or training content. They need tighter pacing, cleaner narration, and a format that can be reused. Current guidance around iPhone recording still focuses heavily on starting the capture, microphone toggles, and Control Center changes, while broader workflow issues such as editing, versioning, and reuse are often under-served, as noted in this iPhone screen recording instructions discussion. For narrated tutorials specifically, the microphone toggle remains the key mechanic on iPhone according to this screen recording with audio guide.
That’s where Tutorial AI fits naturally. Record the iPhone workflow with the setup that makes sense for you. Bring the capture into Tutorial AI. Review the generated script, fix phrasing, adjust pacing, generate narration, and create both the tutorial video and matching written documentation from the same recording. That workflow is a better fit for recurring app tutorials, support videos, onboarding, training, and multilingual documentation than treating each iPhone clip as a one-off asset.
If you’re also cleaning up exports for wider publishing, this ClipCreator.ai iPhone MP4 guide is a practical companion.
Record the workflow first. Then build the tutorial around it.
If your team records iPhone workflows for onboarding, support, training, or product demos, Tutorial AI helps you turn those raw captures into polished tutorial videos and matching written documentation. Upload the recording, review the script, adjust narration and pacing, and publish a clearer tutorial without doing all the cleanup by hand.