You know the moment. The product is stable, support keeps asking for a walkthrough, and the feature launch is already waiting on a video. You open a blank doc, stare at the first sentence, and realize the hard part isn’t the product, it’s turning what you know into something clean, watchable, and reusable.
That’s where AI video from script changes the job. The work stops feeling like timeline surgery in Adobe Premiere Pro or Camtasia and starts feeling closer to editing a document, because the script becomes the organizing layer for the visuals, narration, and final export. For teams shipping product demos, onboarding, help-center videos, training, and SOPs, that shift matters more than any individual feature, because it removes the friction that usually sits between product knowledge and a finished asset.
Why Script-Based Video Production Changes the Workflow
A subject-matter expert usually does not need help understanding the feature. The problem starts when that same expert has to turn the feature into a recorded walkthrough. They can explain the flow clearly in conversation, but once recording begins, pacing slips, repeated explanations creep in, and the footage needs cleanup before anyone else can use it.
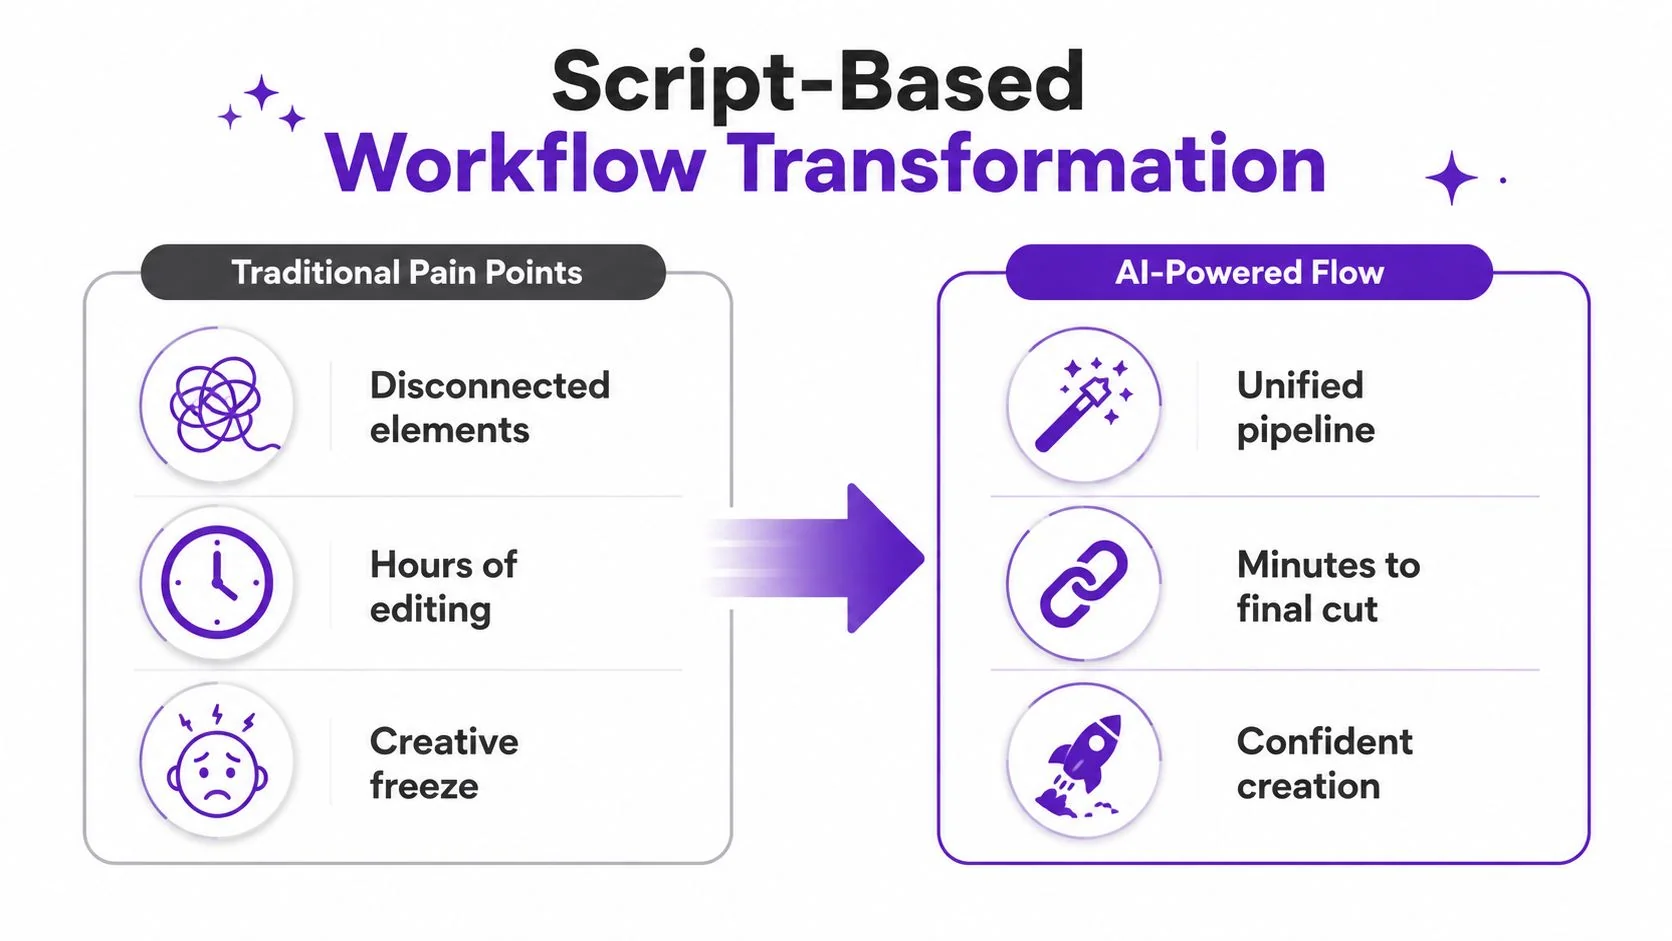
That is why the old model burns time. You write a script, record narration, capture the screen, then spend hours aligning audio, cuts, and zooms in an editor built for people who want to live on a timeline. Casual recorders like Loom are useful for quick sharing, but the footage often runs longer than needed when people ramble, pause, or restart, which means the edit starts from too much raw material instead of the right structure.
The mental model that works in production
Work from the script first, not the timeline. The script is the source of truth, and the video assembles around it, which is how teams keep demos, onboarding clips, and knowledge-base assets consistent without handing every update to an editor.
Practical rule: if the person writing the script understands the product, they should be able to shape the video without learning a full editing stack.
That is also why a good script to video with AI workflow feels different from a casual recording tool. The recording still matters, but the workflow is organized around intent, not around scrubbing through footage until it looks acceptable.
If you need a usable starting point for structure, the video script template from Tutorial AI helps map ideas into scenes before recording begins. That matters in production because the script is where timing problems, visual handoffs, and continuity issues are easiest to catch. Once the script is treated as editable source material, the team can tighten pacing, keep the same visual sequence across revisions, and reuse one raw recording for both a help article and the final video.
Drafting a Script That Translates Cleanly to Video
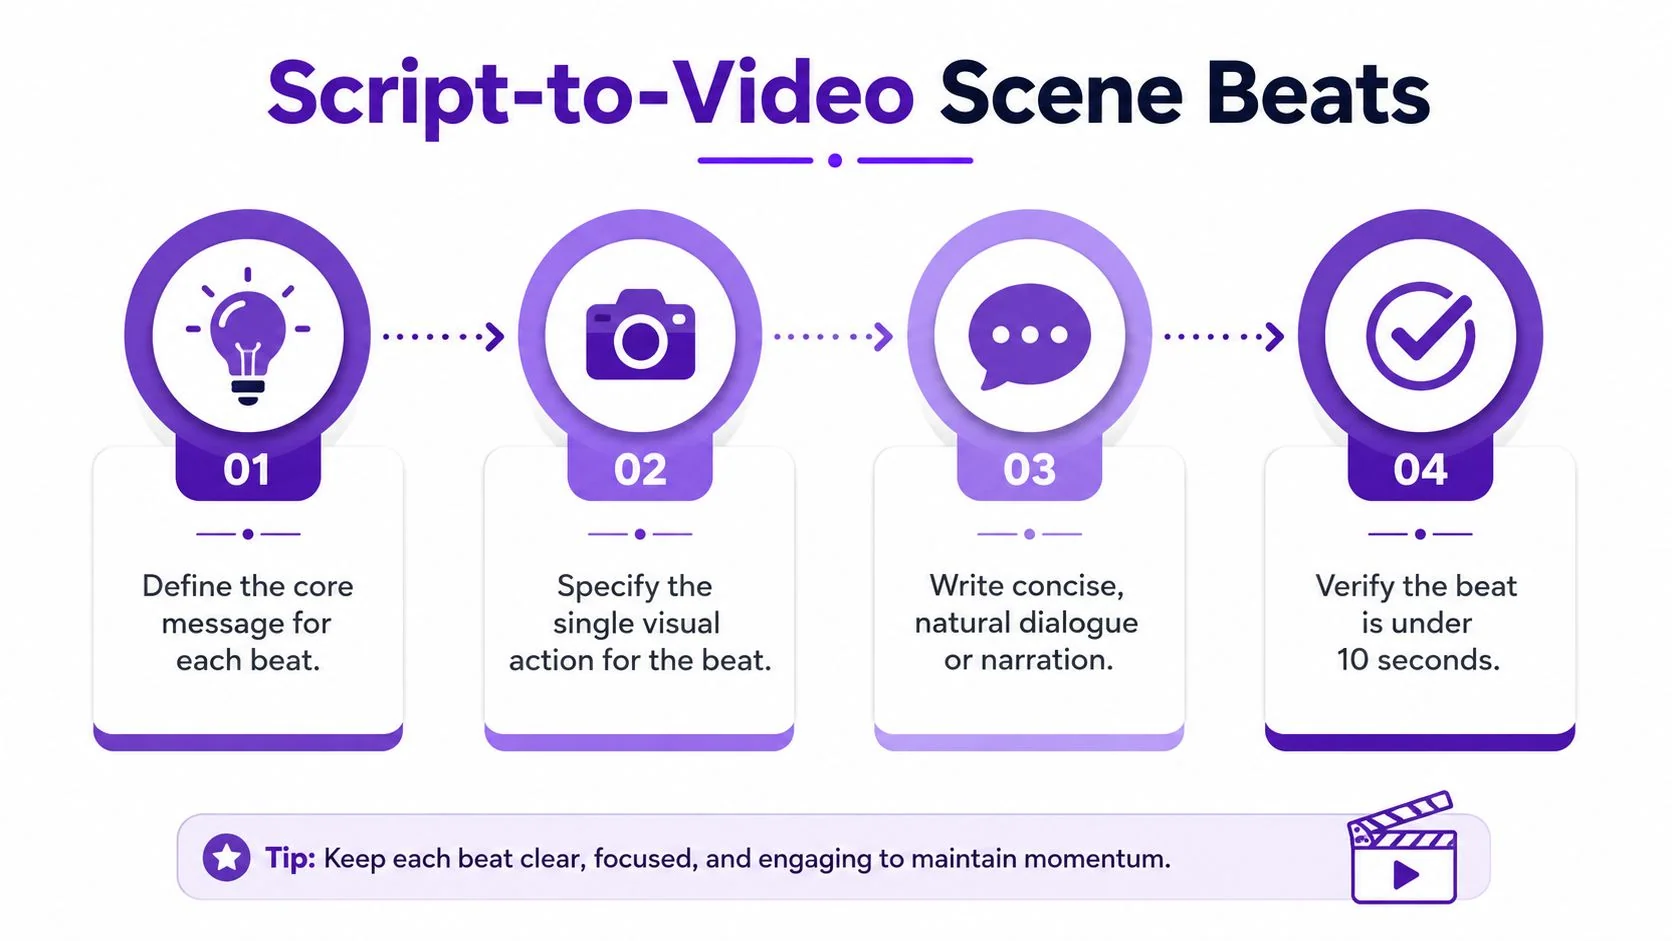
A script written to be read is usually too dense for video generation. Long paragraphs make the generator guess where scenes should break, and that’s where continuity starts to wobble. The cleaner approach is to break the script into scene beats, with each beat carrying one subject, one action, and one camera position.
Write for visual beats, not paragraphs
A strong beat is short enough to stay visually coherent and specific enough that the generator doesn’t invent extra motion. If a beat tries to cover two interface changes, three talking points, and a voiceover transition, the scene usually lands unevenly.
Use this structure for each beat:
- Visual cue: the exact screen or camera moment you want shown.
- Narration line: one idea, spoken naturally.
- Timing note: how long the beat should feel in context.
- Fallback note: what to simplify if the scene gets crowded.
For a 90-second feature release video, the beats should move quickly and stay tightly tied to one outcome per scene. For a 5-minute SOP walkthrough, the beats can breathe more, but each one still needs a clean handoff so the learner can follow the process without rewatching sections.
Keep the generator from drifting
The key is restraint. Short beats give you a better first pass, because the tool doesn’t have to interpret a wall of text and split it imperfectly. That matters when the output is supposed to support tutorials or support content, where a skipped visual step can make the whole workflow harder to trust.
Practical rule: if a beat can’t be explained in one sentence, it probably needs to be split.
A useful resource on script planning is find AI tools for video scripts, especially if you want to compare how different generators handle outlines, narration, and scene planning. I’d still start with a template you can reuse internally, such as this tutorial video script template, because repeatable structure beats improvisation when the same team has to ship tutorials every week.
Generating and Polishing Audio With AI Voices
Once the script is clean, audio becomes the next production decision. Some teams should keep the founder’s voice or the product expert’s voice, because it adds trust in customer onboarding and sales walkthroughs. Others need a generated voice because the same content has to ship across markets, support queues, or internal training libraries.
Choose voice strategy by use case
A real voice works best when the viewer needs confidence in the person speaking. That’s often true for customer-facing onboarding, feature launches, or sales enablement, where a familiar voice can make the walkthrough feel direct and human. A generated voice scales better when the same script has to support many languages or frequent revisions.
For technical training, clearer articulation matters more than warmth. For internal SOPs, faster pacing usually works better because the audience already knows the context and just needs the steps. For sales walkthroughs, a warmer tone helps the video feel conversational without becoming casual or sloppy.
Get pronunciation and timing right
Product names, acronyms, and internal terms trip up voice systems more often than teams expect. The fix is to standardize pronunciations before final export, then lock the script so the narration, captions, and scene timing all update together when the wording changes.
One practical reason teams like AI narration is that the script can drive the whole pass. If you rewrite a sentence, the voiceover, timing, and captions can all update together instead of forcing a rebuild in a timeline editor. That’s useful in product marketing, where feature wording changes late in the cycle, and in documentation, where support teams keep refining the same answer.
The best way to judge a generated voice is by context, not by studio perfection. If the video is a help article replacement, clarity beats performance. If it’s a training video, consistency across modules matters more than one perfect take.
Warm voices tend to work better for external walkthroughs, while plainer delivery usually fits internal documentation and SOPs better.
A focused resource on narration workflows is ShortGenius AI ad generator, not because you need ads for tutorials, but because voice selection, pacing, and script clarity overlap in every format that uses spoken guidance. For a tool-specific workflow reference, the AI voice generator for videos page shows how script changes can propagate through narration without manual re-editing.
Adding Screen Recordings and Visual Polish
The video stops being generic automation and starts looking like a real product tutorial. Tutorials need the actual UI, not a synthetic host talking over stock scenes. That’s the main difference between this workflow and avatar-first tools like Synthesia or HeyGen, because viewers need to see the product they’ll use.
Record the screen first, then refine the motion
Capture the interface on Mac, Windows, iPhone, iPad, or directly in Chrome, depending on where the product lives. The recording can be silent or narrated, but the point is to keep the raw capture clean enough that the post-production layer can shape attention instead of rescuing bad footage.
After recording, apply cursor tracking effects only where they help comprehension. Sizing, smoothing, and highlights are useful when the viewer needs to follow a control, but they become noise if they’re used on every click. Smart zooms work best when they land on a specific UI element during a key action, not when the camera keeps bouncing around for style.
Use polish to reduce cognitive load
Backgrounds, blurs, and shadows are most useful when the video has to hide sensitive data or reduce distraction in training material. Brand Kits help when the same tutorial series needs the same fonts, colors, and animated slides across multiple outputs, because visual consistency matters in help-center content more than many organizations expect.
For example, a product demo usually benefits from modest cursor emphasis and one or two smart zooms. A support article video needs less motion and more clarity. An internal training walkthrough can use stronger blur and background treatments if the screen contains private customer data or internal identifiers.
You can think of the visual layer in three buckets:
- Attention guides: cursor glow, size changes, smoothing.
- Focus controls: zooms, crops, localized blurs.
- Brand controls: fonts, colors, animated title slides.
A practical tool reference for this kind of screen-first workflow is screen recording for tutorials, especially if you’re deciding when to record without narration versus narrate live. In production, the best-looking tutorial is usually the one that keeps the UI legible and the motion intentional.
Localizing Videos Across Languages Without Re-Editing
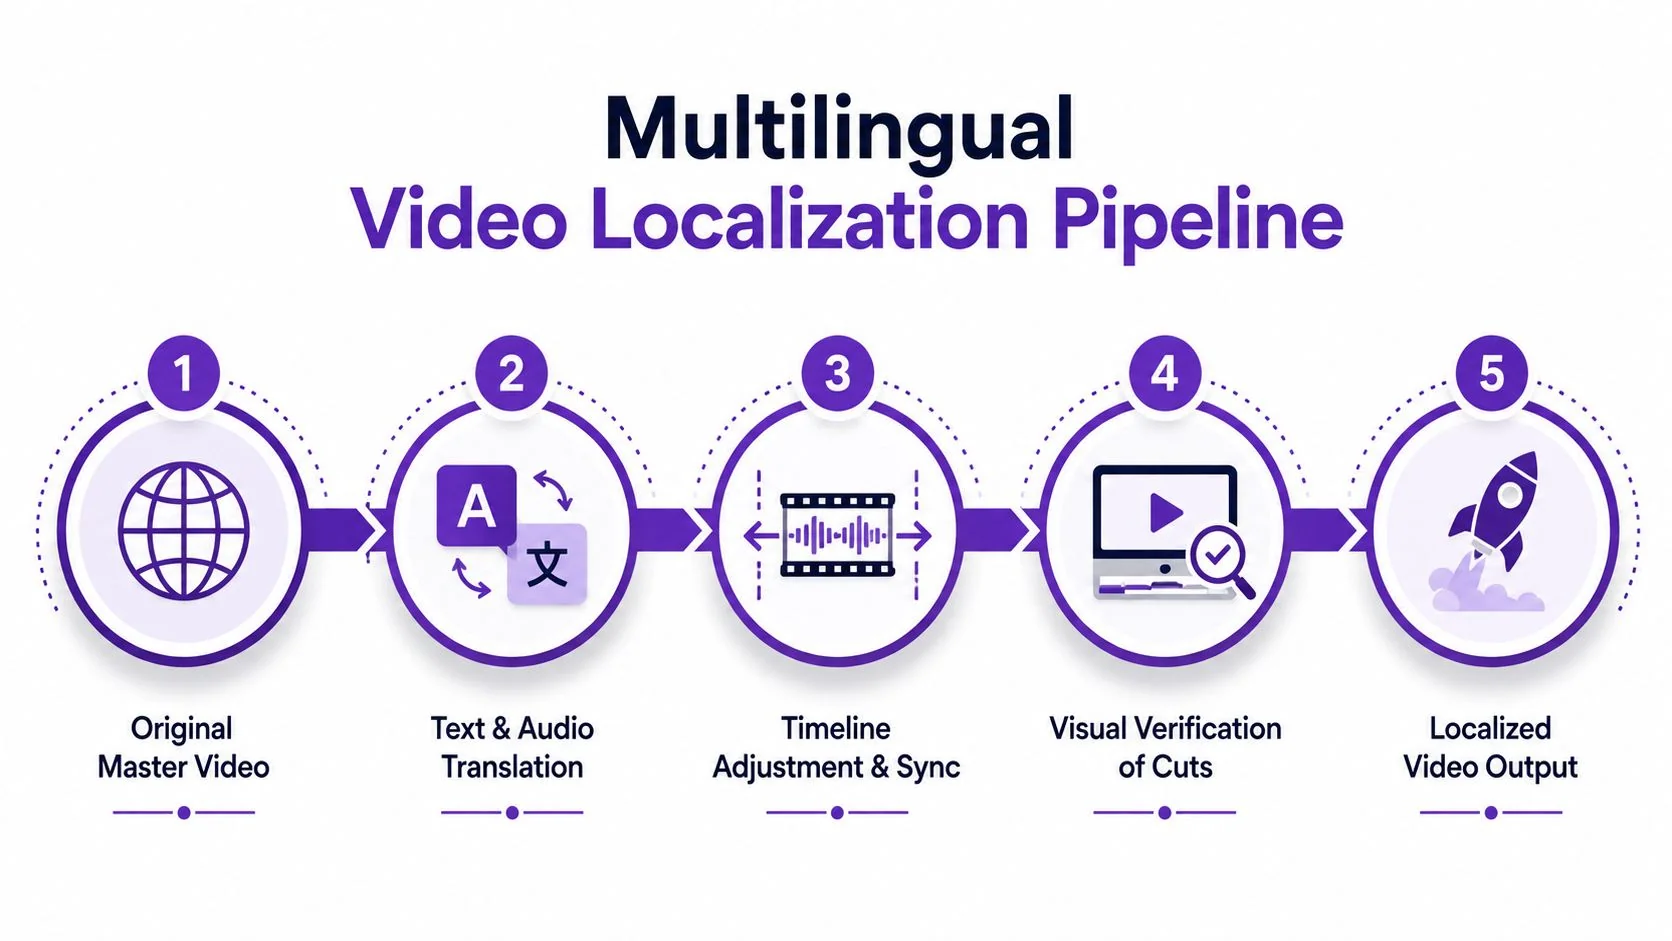
Translation is the easy part. The hard part is what happens after the translated narration lands. German can run longer than English, captions can shift, and the scene that fit neatly in one language can become too tight in another.
Timing mismatch is the real localization problem
Most tools stop at translation. That’s fine for simple content, but it breaks down when a tutorial has tight visual timing, UI calls, or step-by-step instruction. If the voiceover gets longer, the cut points need to move, the captions need to stay synced, and the viewer still needs to understand the same action on screen.
That’s why AutoRetime matters operationally. It re-times scenes, captions, and cuts so each language version stays aligned with its narration length instead of forcing a manual rebuild for every market. For global SaaS, support, and training teams, that’s the difference between one workflow and a growing pile of exceptions.
Design the original script for reuse
The best localization outcomes start with the source script. Shorter beats, fewer compound sentences, and cleaner screen timing all make the translated versions easier to sync later. If the English version already depends on rapid-fire narration, the localized cut will be harder to preserve without re-editing.
The embedded player matters too. A Multilingual Player with a built-in language selector lets the viewer switch versions inside the same experience, which is much easier to manage than publishing separate assets for every market. That’s especially useful when the same tutorial sits in a documentation portal, a help center, or a customer education hub.
A neutral guide to the broader translation workflow is script-to-video maker, mainly because it highlights the gap between basic translation and actual timing control. Many teams discover that localization isn’t only about words, it’s about preserving pacing, continuity, and trust across languages.
The same source recording can be reused for many markets only when timing is treated as part of the edit, not as an afterthought. That’s the operational difference between a translation feature and a production workflow.
Exporting and Deploying Your Finished Video
A polished tutorial sitting in an editor isn’t shipped yet. The final mile is export, then placement. That means getting the video into the same systems your audience already uses, whether that’s an LMS for training, a CMS for help docs, a CRM for sales enablement, or a documentation platform for support content.
Ship the video and the article together
The most useful part of this workflow is that the same recording can also generate a written article. That matters because many teams need both a watchable walkthrough and a searchable help asset, and they usually don’t want to produce them separately. One recording can become the video and the step-by-step documentation if the workflow is set up to support that handoff.
Export settings should fit the destination. Kapwing’s workflow shows how a storyboard step, subtitle controls, platform resizing, and MP4 export fit into a polished pipeline, while Renderforest shows a draft, editor, and section regeneration flow that gives teams more control after generation. Tutorial production benefits from that same logic, because the asset has to survive beyond the first draft.
Match the deployment method to the audience
Secure share links are useful when you’re sending a draft to product, legal, or a customer success team. Embeds matter when the video lives inside a website or knowledge base. Guest sharing helps external stakeholders review without giving them access to the whole workspace.
Here’s the deployment logic that usually works:
- Customer onboarding: embed in the help center and use a language selector for regional teams.
- Internal SOP: export cleanly, then publish in the LMS or internal docs system with version control.
- Feature release: share a polished MP4 and a matching article so product, support, and sales all reference the same source.
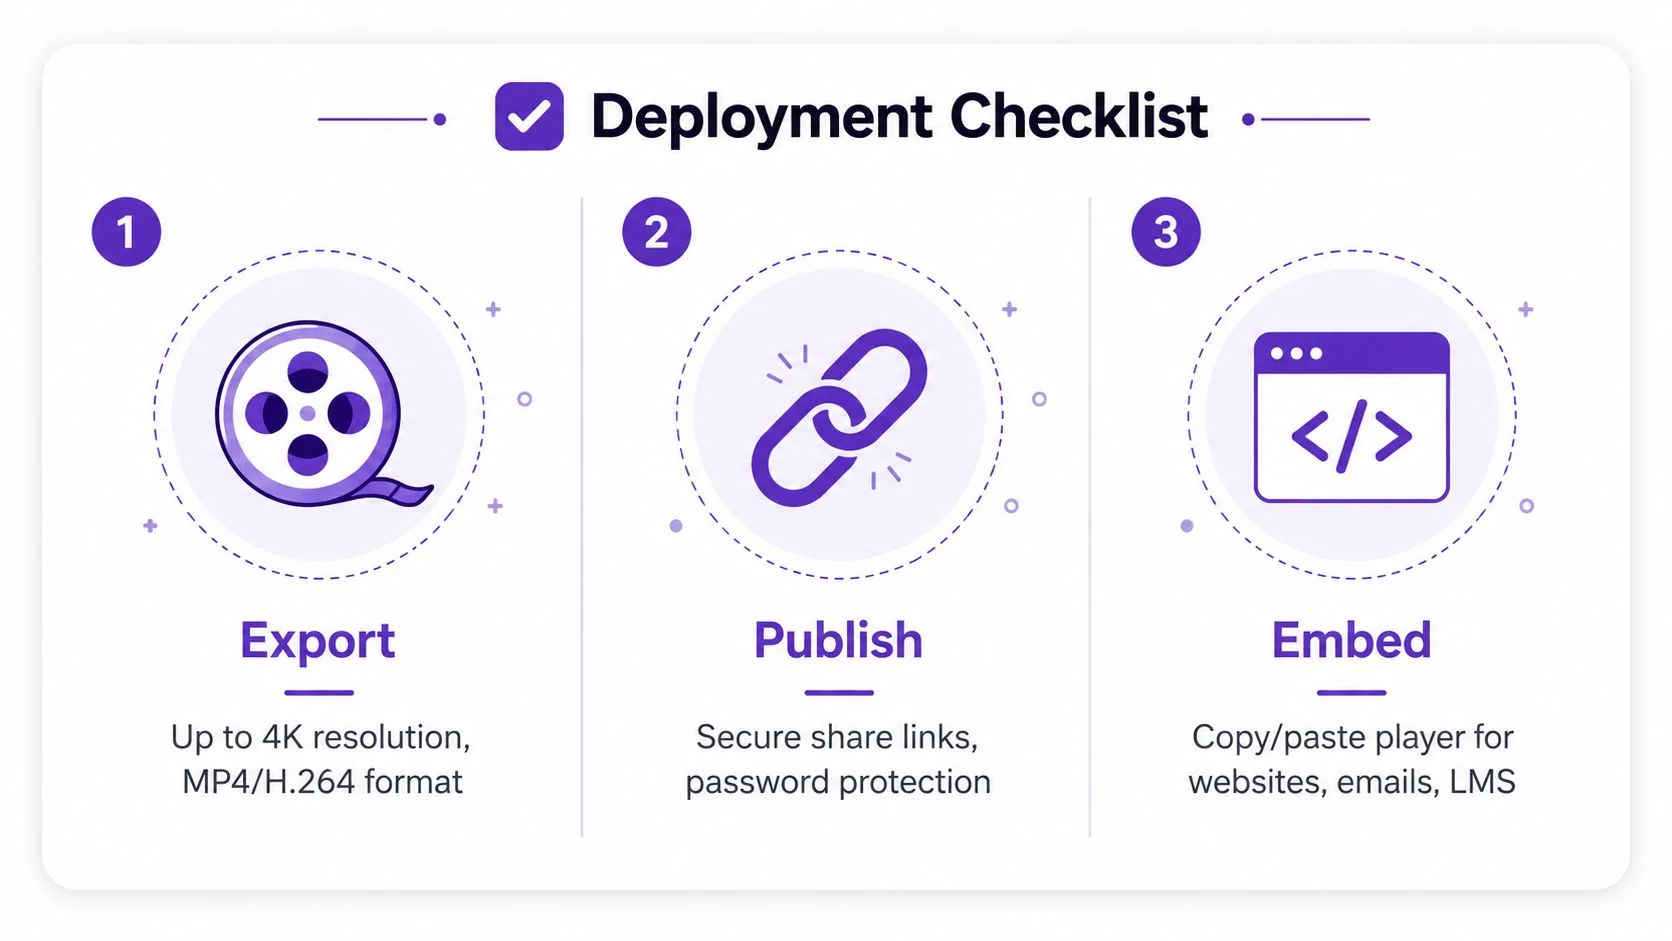
The deployment decision is really about reuse. If the same asset needs to work across teams and channels, the export format, share method, and embed behavior all need to be decided before the final render, not after someone asks for a different version.
Troubleshooting Common Production Issues
The first problem usually isn’t the render. It’s drift. A script gets revised, the shot structure changes, and the new version starts looking inconsistent because the generator interpreted a scene differently the second time.
Fix drift, sync loss, and localization gaps
When visual continuity breaks, the root cause is usually an overly loose prompt. The fix is a rigid structure, with the shot instruction placed first and camera movement added separately, so the generator has less room to improvise. That’s the same reason short, single-purpose beats work better than dense paragraphs.
If audio sync slips after script edits, the narration changed but the timing didn’t get recalculated. Re-run the script through the system instead of trying to patch around the mismatch in a timeline. If captions fall out of alignment in localized versions, treat the translation as a timing event, not just a text change.
A few preventive habits keep the workflow sane:
- Preview early: generate a low-resolution version before committing to a full render.
- Test one language first: validate a single localized version before scaling it across all markets.
- Check timing after edits: any rewritten line can shift the pacing of the whole tutorial.
- Review scenes in context: a frame-perfect clip that feels disconnected in sequence still needs adjustment.
A tutorial is usable when the viewer can follow the sequence without guessing where the edit happened.
Export quality problems are usually simpler. If the output looks soft, the export settings are too low for the destination. If the file is too heavy for your platform, use the platform’s supported format and resolution rather than forcing a single master file everywhere.
The practical goal is not perfection, it’s repeatability. If the team can catch drift, fix sync, and verify one localized version before scaling, the whole script-to-video pipeline becomes reliable enough for real support, training, and product-marketing work.
Tutorial AI gives product teams a way to turn one recording into a polished tutorial video and a matching article without handing the job to a full-time editor. If your team is shipping demos, onboarding, SOPs, or help-center content and the script keeps changing, it’s worth seeing how the workflow behaves in practice at Tutorial AI.