Highlights
Highlights dim everything outside a region of your video so the area you’ve chosen stays at full brightness — useful for calling out a button, a form field, a paragraph, or any part of a busy interface viewers might miss. The dim happens on playback only; your source recording is untouched.
Adding a highlight
Section titled “Adding a highlight”- Move the playhead to the moment in the video where you want the highlight to begin.
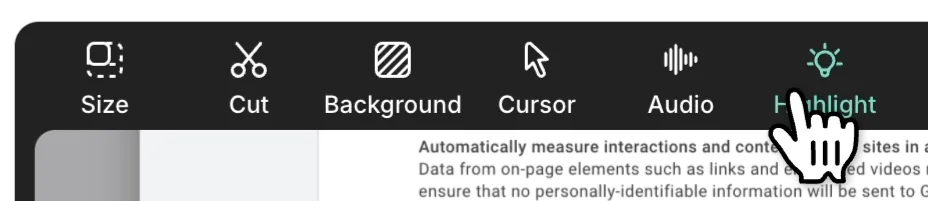
- In the video preview toolbar, click the Highlight icon.
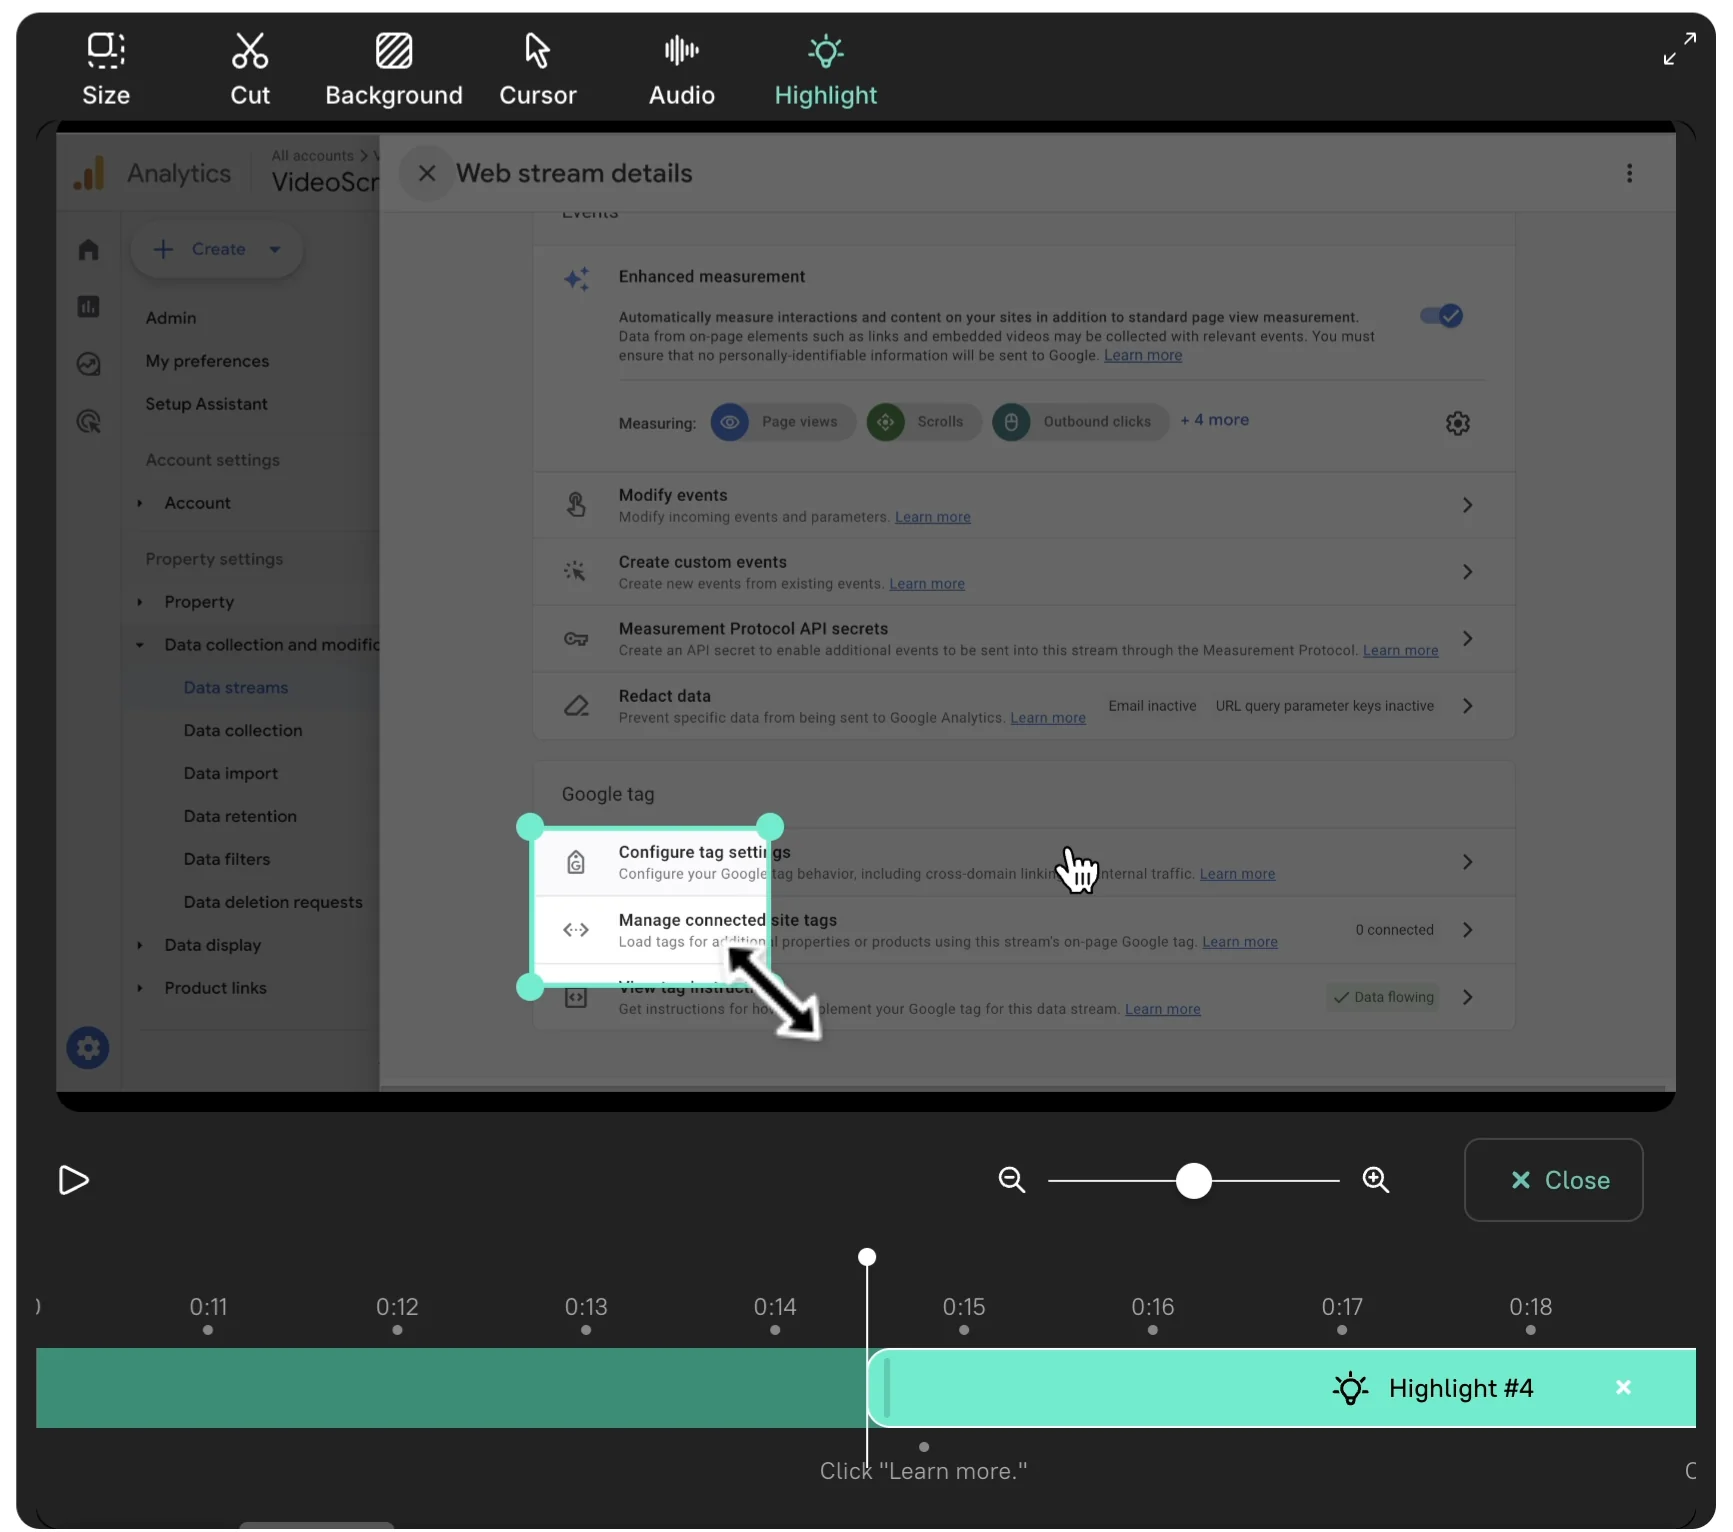
- Drag on the preview to draw the region you want to keep bright, then drag the corner handles to fine-tune the edges.
Trimming on the timeline
Section titled “Trimming on the timeline”Drag the start and end edges of the highlight segment on the timeline to set how long it stays on screen. Pinch on the trackpad, or use the timeline zoom slider, to zoom in for finer positioning.
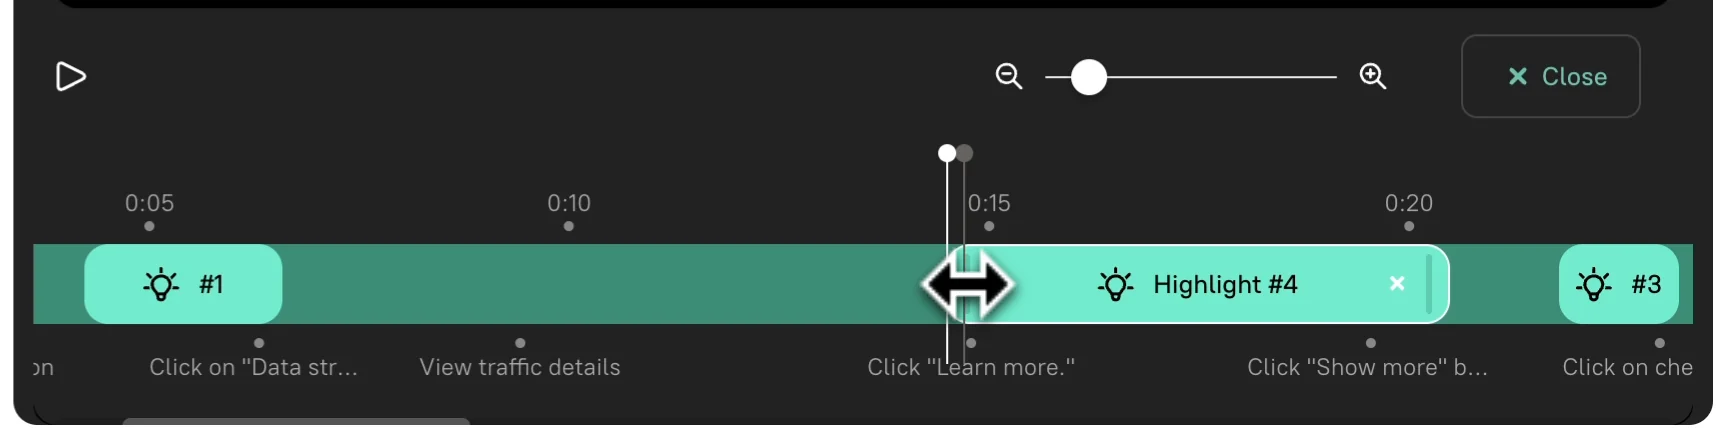
To review, drag the playhead a few seconds before the highlight begins and press play.
How highlights work with auto-zoom
Section titled “How highlights work with auto-zoom”When the video is zoomed in — either from an automatic zoom or a Zoom marker — the camera moves to frame the highlight automatically, even if the cursor in the original recording is somewhere else. You can call out something you never clicked during the recording: a section header, an inactive menu item, a piece of explanatory text.
- Add highlights as the final step, once the script is locked. Re-cutting the script can shift highlight timings, and trimming the mask is faster than re-drawing it.
- Pair a highlight with Zoom when the area you want to call out is small — zoom enlarges it, the highlight dims everything around it.
- To mask sensitive data instead of emphasizing something, use Blur — it covers the region rather than dimming the surroundings.
Next steps
Section titled “Next steps”- Zooming — Complement highlights with zoom effects
- Blur — Hide sensitive data near highlighted areas
- Cursor Effects — Enhance cursor visibility