Ever wonder why some videos look perfect on your phone while others have those annoying black bars? The secret lies in something called video aspect ratio.
Simply put, a video's aspect ratio is the relationship between its width and its height. It’s what gives the video its specific shape. For instance, a 16:9 ratio means the video is 16 units wide for every 9 units high, giving it that familiar widescreen look we see on our TVs. Getting this right is the first step to making your content look polished and professional on any screen.
What Is Video Aspect Ratio and Why It Matters

Think of aspect ratio as the canvas for your video. It’s not about the resolution (like 1080p or 4K), which is the number of pixels packed into that canvas, but purely about the shape of the canvas itself. Just like a painter chooses between a wide landscape canvas or a tall portrait one, your video's shape fundamentally changes how your audience sees it.
This simple ratio has a huge impact on the viewing experience. When your video’s aspect ratio doesn’t match the screen or platform it’s being played on, you get those distracting black bars. If they’re on the sides, it’s called pillarboxing; if they’re on the top and bottom, it’s letterboxing.
The Impact on Viewer Engagement
Honestly, choosing the right aspect ratio is one of the most basic yet crucial decisions in video production. It’s a silent signal to your audience that you know what you’re doing. A video that fills the screen feels immersive and native, whether it's a YouTube deep-dive on a big monitor or a quick Reel on a phone.
Get it wrong, and your content immediately looks amateurish and out of place. Even worse, it might crop out key parts of your shot. That’s a surefire way to make someone lose interest and keep scrolling.
Your video's shape is just as important as its content. A perfectly composed video will lose its impact if it's awkwardly cropped or surrounded by black bars, instantly telling your audience that it wasn't made for the platform they're on.
A Shape for Every Screen
The need to nail your aspect ratio goes beyond just social media. It affects everything from standard desktop monitors to the massive, custom large LED panels for video you see at trade shows and events. Each device and platform has a preferred shape. If you want to learn more about codecs and containers, check out our guide on choosing the best video format for your projects.
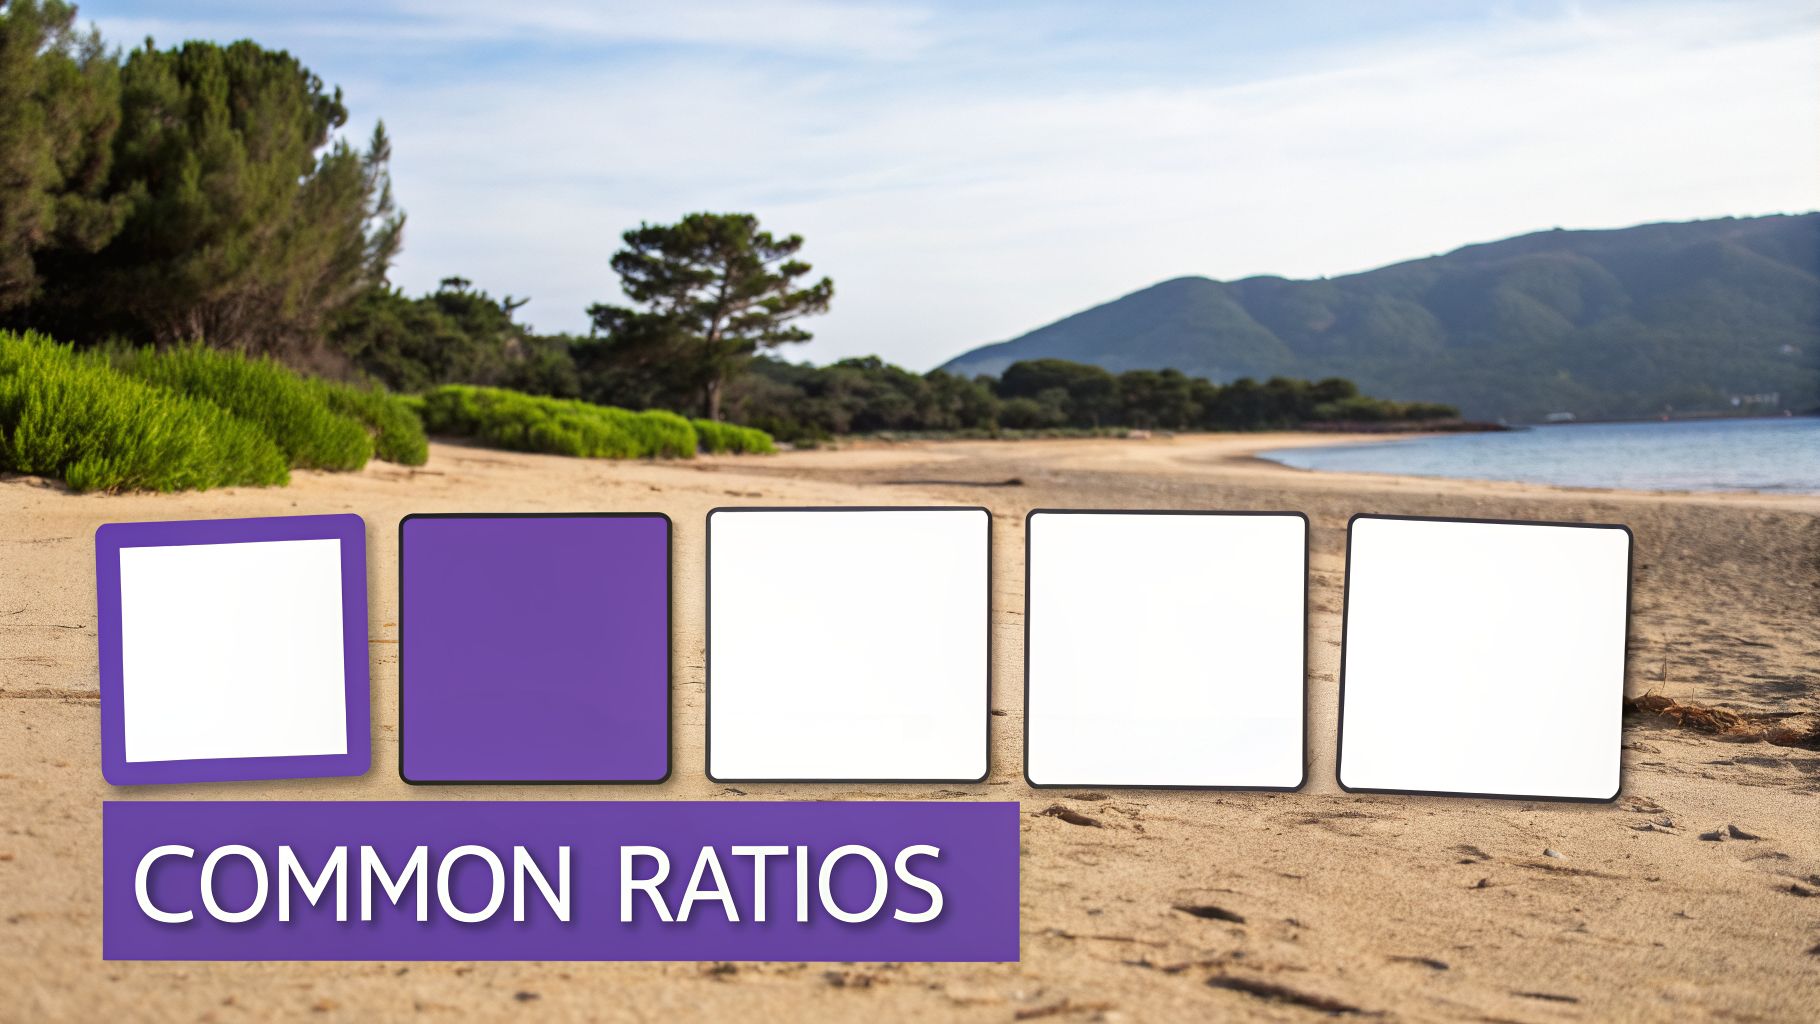
Here are the most common aspect ratios you'll be working with in 2026:
- Widescreen (16:9): This is the undisputed standard for platforms like YouTube and Vimeo, as well as virtually all modern TVs. Most digital cameras shoot in 16:9 by default.
- Vertical (9:16): The king of mobile-first platforms. If you're creating for TikTok, Instagram Reels, or YouTube Shorts, you need to be thinking in 9:16.
- Square (1:1): A powerful choice for social media feeds on Instagram and Facebook. Its shape takes up a ton of screen real estate on a phone, making it hard to ignore.
The Journey from Cinema Screens to Social Feeds
To get a real handle on modern video, you have to look back. The crazy quilt of video shapes we deal with today didn't just appear out of nowhere. For decades, one single frame shape dictated how we told stories, and understanding its evolution is the key to knowing why a 9:16 video feels right on TikTok but wrong on a TV.
It all started with a familiar, almost-square look that defined movies and television for more than half a century. We're talking about the 4:3 aspect ratio.
The Dawn of Cinema and the Academy Ratio
The concept of an aspect ratio was born alongside cinema itself. Back in 1892, a fellow named William Dickson, working for Thomas Edison, standardized 35mm film. The frame he created had a shape of roughly 1.33:1, or 4:3. This became the default canvas for visual storytelling.
In 1932, it was tweaked slightly and formalized as the Academy Ratio (1.375:1). Why the change? To make room for the optical soundtrack right on the film strip. For the next several decades, this was Hollywood's standard. If you want to dive deeper, the history of film standards shows just how much these early decisions still shape what we do today.
This classic format is burned into our visual memory, the frame for countless cinematic masterpieces and the shape of every old, boxy television set.
The Widescreen Revolution
In the 1950s, television started showing up in living rooms, and suddenly, cinemas had a serious competitor. Hollywood's response was to go big and go wide. To get people off their couches, they introduced breathtaking formats like Cinerama and CinemaScope, creating an immersive spectacle TV just couldn't match.
That theatrical, wide-screen feel eventually found its way home with the arrival of high-definition televisions (HDTVs). The industry needed a new standard, and they landed on a perfect compromise.
The 16:9 widescreen aspect ratio became the new default. It felt more cinematic than the old 4:3 box but wasn't so extreme that it was impractical for TV. It quickly became the go-to format for YouTube, modern televisions, and pretty much all horizontal video online.
The Mobile-First Era
The last decade brought the biggest shakeup of all, and it came from the device in your pocket. The smartphone literally flipped the script. We naturally hold our phones vertically, so social media platforms leaned into that behavior.
This kicked off a whole new revolution, making vertical and square video king:
Vertical (9:16): This is now the non-negotiable format for platforms like TikTok, Instagram Reels, and YouTube Shorts. It completely fills a phone screen, creating a powerful, immersive experience that grabs and holds attention.
Square (1:1): Made famous by the Instagram feed, the square is a clever middle ground. It takes up far more screen real estate than a 16:9 video as you scroll, but it's not as restrictive as a full vertical. It’s a fantastic shape for stopping the scroll.
A Practical Guide to Common Video Aspect Ratios
Alright, theory is one thing, but let's get practical. Choosing the right video aspect ratio isn't just a technical detail—it's about making sure your video feels at home on the platform where people will watch it. Each shape has its own purpose, and getting it right from the start makes your content look polished and professional.
Think of this as your field guide to the most common video shapes you'll work with every day.
16:9 The Widescreen Standard
When you picture a "video," you're probably thinking of a 16:9 frame. It’s the undisputed king of horizontal video, the native format for YouTube, Vimeo, and just about every modern TV and computer screen out there.
This ratio became the standard when the world shifted from bulky 4:3 tube TVs to sleek HDTVs. By the early 2000s, 16:9 displays had taken over, and today they make up over 90% of all consumer screens. It’s no surprise that about 75% of videos on major platforms use this format. For most web content, it's the safest and most familiar choice.
Best For:
- Standard YouTube videos
- Website background videos and embeds
- Presentations and webinars
- Most television and film content
9:16 The Vertical Champion
Simply flip a 16:9 screen on its side, and you have 9:16. This is the mandatory format for vertical, mobile-first video. It fills an entire smartphone screen, creating an immersive, full-screen experience that's hard to ignore.
If you’re creating content for TikTok, Instagram Reels, or YouTube Shorts, you have to create it in 9:16. Trying to shoehorn a horizontal video into a vertical feed results in a tiny video with massive black bars—a dead giveaway that the content wasn't designed for the platform. To truly connect with audiences on these platforms, you need to play by their rules, which means knowing the latest technical specs, like those in the official TikTok Ad Specs 2026.
Best For:
- TikTok videos and ads
- Instagram Reels and Stories
- YouTube Shorts
- Snapchat content
1:1 The Social Feed Sweet Spot
The 1:1, or square aspect ratio, is your secret weapon for feed-based platforms like Instagram and Facebook. It’s the perfect compromise between horizontal and vertical, taking up way more screen real estate on a scrolling phone than a 16:9 video ever could.
That extra space makes your content pop and stops the scroll. It’s an excellent choice for ads, quick informational clips, or any video designed to grab attention in a crowded feed.
Best For:
- Instagram feed posts and carousels
- Facebook feed videos and ads
- LinkedIn video posts
To make this even easier, here's a quick cheat sheet you can reference any time you're starting a new project.
Common Video Aspect Ratios and Their Uses
| Aspect Ratio | Common Name | Example Resolutions | Best For |
|---|---|---|---|
| 16:9 | Widescreen / HDTV | 1920x1080, 3840x2160 | YouTube, Vimeo, Websites, TV, Presentations |
| 9:16 | Vertical Video | 1080x1920 | TikTok, Instagram Reels, YouTube Shorts, Stories |
| 1:1 | Square | 1080x1080 | Instagram & Facebook Feeds, LinkedIn Posts |
| 4:3 | Classic TV | 640x480, 1024x768 | Retro-style content, specific artistic choices |
| 21:9 | Cinematic / Scope | 2560x1080, 3440x1440 | Film trailers, high-end brand videos, epic visuals |
This table covers the primary formats you'll encounter, helping you match your video's shape to its intended home.
Other Notable Aspect Ratios
While those three cover most of your needs, a couple of others show up for more specialized, creative work.
4:3 (Classic TV): Once the standard for all television, the boxy 4:3 ratio is now mostly used to create a retro or nostalgic vibe. Its distinct shape can feel intentionally vintage or artistic, immediately signaling a throwback style.
21:9 (Cinematic): Also called anamorphic or CinemaScope, this ultra-wide format is all about creating a dramatic, film-like experience. You’ll see it in movie trailers and high-end brand videos that want an expansive, epic feel. Just be aware it will produce black bars (letterboxing) when viewed on standard 16:9 screens.
Knowing which aspect ratio to use is the first major step. The next is figuring out how to actually crop, convert, and compose your videos to fit these different frames—especially if you're starting with a screen recording that's almost always captured in a native 16:9 format.
The Right Tools for Making Great Tutorials
Knowing your aspect ratio is one thing, but actually creating a great tutorial video is another beast entirely. It’s not just about the shape of your video; it’s about the tools you use. Your choice of software can mean the difference between a project that drags on for days and one you can knock out in a couple of hours.
Most people find themselves stuck between two bad options.
On one hand, you have dead-simple screen recorders like Loom. They’re fantastic for quick, off-the-cuff recordings. Just hit record and go. The problem? Raw footage from an easy-to-use recorder like Loom is often 50-100% longer than necessary, packed with "ums," awkward silences, and sentences you have to repeat to get right.
On the other hand, professional video editing software like Camtasia or Adobe Premiere Pro requires expert video editing knowledge. These are powerful and give you granular control to slice out every mistake and add slick effects. But they come with a brutal learning curve. If you’re a subject matter expert, not a full-time video producer, spending weeks learning complex software just isn't practical.
A Smarter Way to Create
Thankfully, a new wave of tools has emerged to fix this exact problem. They blend the effortless recording of a simple app with the clean finish of a professional edit, using smart automation to handle the heavy lifting.
The whole point is to let experts create polished, on-brand videos without having to become video editors. You should be able to just focus on sharing your knowledge and let the technology take care of the rest.
This approach is a game-changer for any kind of instructional video where clarity and professionalism are non-negotiable. After all, these videos are often a customer’s first real look at your product or a new hire’s introduction to your company’s workflow.
These are just a few common examples:
- Demos and Onboarding Videos: Guiding new users through your software.
- Explainer Videos: Breaking down a tricky concept or feature.
- Feature Release Videos: Showing off what's new in your latest update.
- Knowledge Base Videos: Giving visual answers to frequently asked questions.
- Support Article Videos: Adding a clear visual walkthrough to written guides.
For these, a rambling, unedited screen capture just doesn’t cut it. You need a video that’s tight, professional, and respects your viewer's time.
How AI Editing Changes the Game
This is precisely the gap Tutorial AI was built to fill. It’s designed to generate video tutorials based on screen recordings, making it perfect for demos, onboarding videos, explainer videos, feature release videos, knowledge base videos, and support article videos.
Tutorial AI's tools let you speak freely without any practice, and your video will still look professional, as if it was edited in Adobe Premiere Pro. The process is refreshingly simple. Just record your screen, and the AI gets to work. It automatically creates a transcript, then analyzes your recording to edit it down, cutting filler words, dead air, and mistakes. This allows the subject matter expert to create on-brand videos extremely efficiently.
Want a deeper dive into how this all works? We break it down in our guide to AI video editing software.
The final product looks like it was painstakingly crafted in a pro-level editor, but it takes a fraction of the time to create. This frees up your product experts—the people who actually know the subject inside and out—to produce top-tier sales demos, feature updates, and help videos at a speed that was never before possible.
How AI Changes the Game for Video Aspect Ratios
Sure, you can change a video's aspect ratio in any traditional video editor. But if you've ever tried it, you know the headache. Turning a wide 16:9 screen recording into a vertical 9:16 clip for social media is a manual, tedious process. You have to painstakingly crop the frame, set countless keyframes to follow the on-screen action, and cross your fingers that the final cut doesn't look clumsy and disorienting.
This is exactly where AI-powered tools like Tutorial AI come in. Instead of forcing you to fight with timelines, they offer a fundamentally better way to work. The AI handles the complex reframing automatically, letting you focus on the content, not the tedious mechanics of editing.
From Messy Screen Share to Polished Tutorial
The whole process kicks off with a simple screen recording. Forget needing a script or doing multiple takes to get it perfect. Tutorial AI's tools let you speak freely without any practice and still your video will look professional as if it was edited in Adobe Premiere Pro. It’s built for subject matter experts, not video producers.
Let’s be honest, raw recordings are messy. Whether you use an easy-to-use tool like Loom or a professional suite, you're often left with footage that's 50-100% longer than it needs to be. Tutorial AI sits in that sweet spot. It allows the subject matter expert to create on-brand videos extremely efficiently, turning a raw screen share into a polished tutorial by generating a video based on the screen recording.
This simple workflow is all about removing the technical roadblocks that usually get in the way of creating great content.
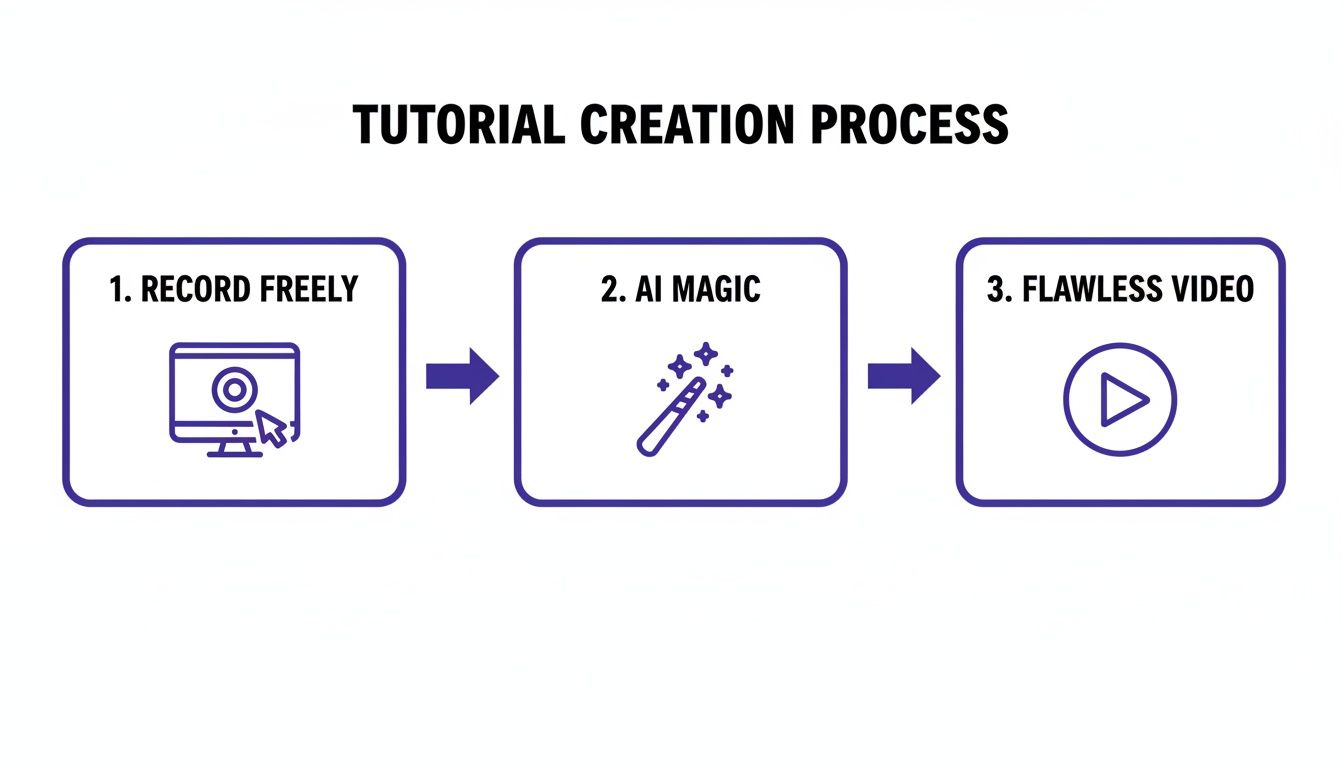
It really is that straightforward: you record, the AI refines, and you get a perfect video.
Smart Reframing and Automatic Zooms That Actually Work
After the AI has edited your recording, changing the aspect ratio is as simple as clicking a button. Switching from a widescreen 16:9 format to a vertical 9:16 is instant. But this is where the real intelligence shines.
Tutorial AI doesn't just blindly crop the video. It analyzes your actions to see what’s important—like where your cursor is moving or which button you're clicking. It then applies smart zooms and reframing automatically to ensure the key action is always centered and easy to follow. This means your audience won't miss a critical step, even when watching on a narrow phone screen.
For a deeper look into the creation process, check out our complete guide on how to create AI video from start to finish.
Edit Your Video Like a Word Doc
One of the most practical features is how you can edit the video by simply editing the text from the auto-generated script. If you stumble over a word or want to rephrase a sentence, you just type the correction. The AI regenerates the voiceover and re-syncs the video to match. No timeline-scrubbing required.
This "edit-like-a-doc" workflow is incredibly efficient. When you change the aspect ratio, this connection between the text and video ensures all your visual elements and smart zooms stay perfectly aligned with the narration.
Imagine you've created a 16:9 product demo and now need a 9:16 version for Instagram. You don't have to go back and manually recreate every zoom and pan. The AI already knows the context from the script and intelligently adapts the visuals to the new frame. It’s a massive time-saver.
Filling the Gaps to Maintain a Polished Look
Changing a video's aspect ratio, especially from wide to tall, inevitably leaves empty space. Instead of black bars, Tutorial AI gives you elegant ways to fill the frame and keep your video looking professional.
You can instantly apply:
- Branded Backgrounds: Fill the empty areas with your company's colors or logo to reinforce your brand identity.
- Blurred Backgrounds: A common and effective technique is to use a blurred, scaled-up version of your video as the background. This fills the screen gracefully while keeping the viewer's focus on the main action.
These options make your repurposed video look intentional and well-designed, not like a sloppy afterthought.
Global Reach with AutoRetime
For teams creating content for a global audience, things get even more complicated. A small edit in the English version of a video could mean hours of re-editing every single translated version to match.
Tutorial AI addresses this with a feature called AutoRetime. When you translate your video into one of over 30 languages, any edits, smart zooms, or timing changes you made in the original are automatically mirrored across all versions. This guarantees every translated video has the same polished composition, giving all your users a consistent, high-quality experience, no matter where they are.
Troubleshooting Common Aspect Ratio Problems
Even the most seasoned video creators run into frustrating aspect ratio issues. You spend hours on a video, only to see it look tiny on a phone or have crucial details chopped off. It’s a common headache, but once you know what to look for, the fixes are usually straightforward.
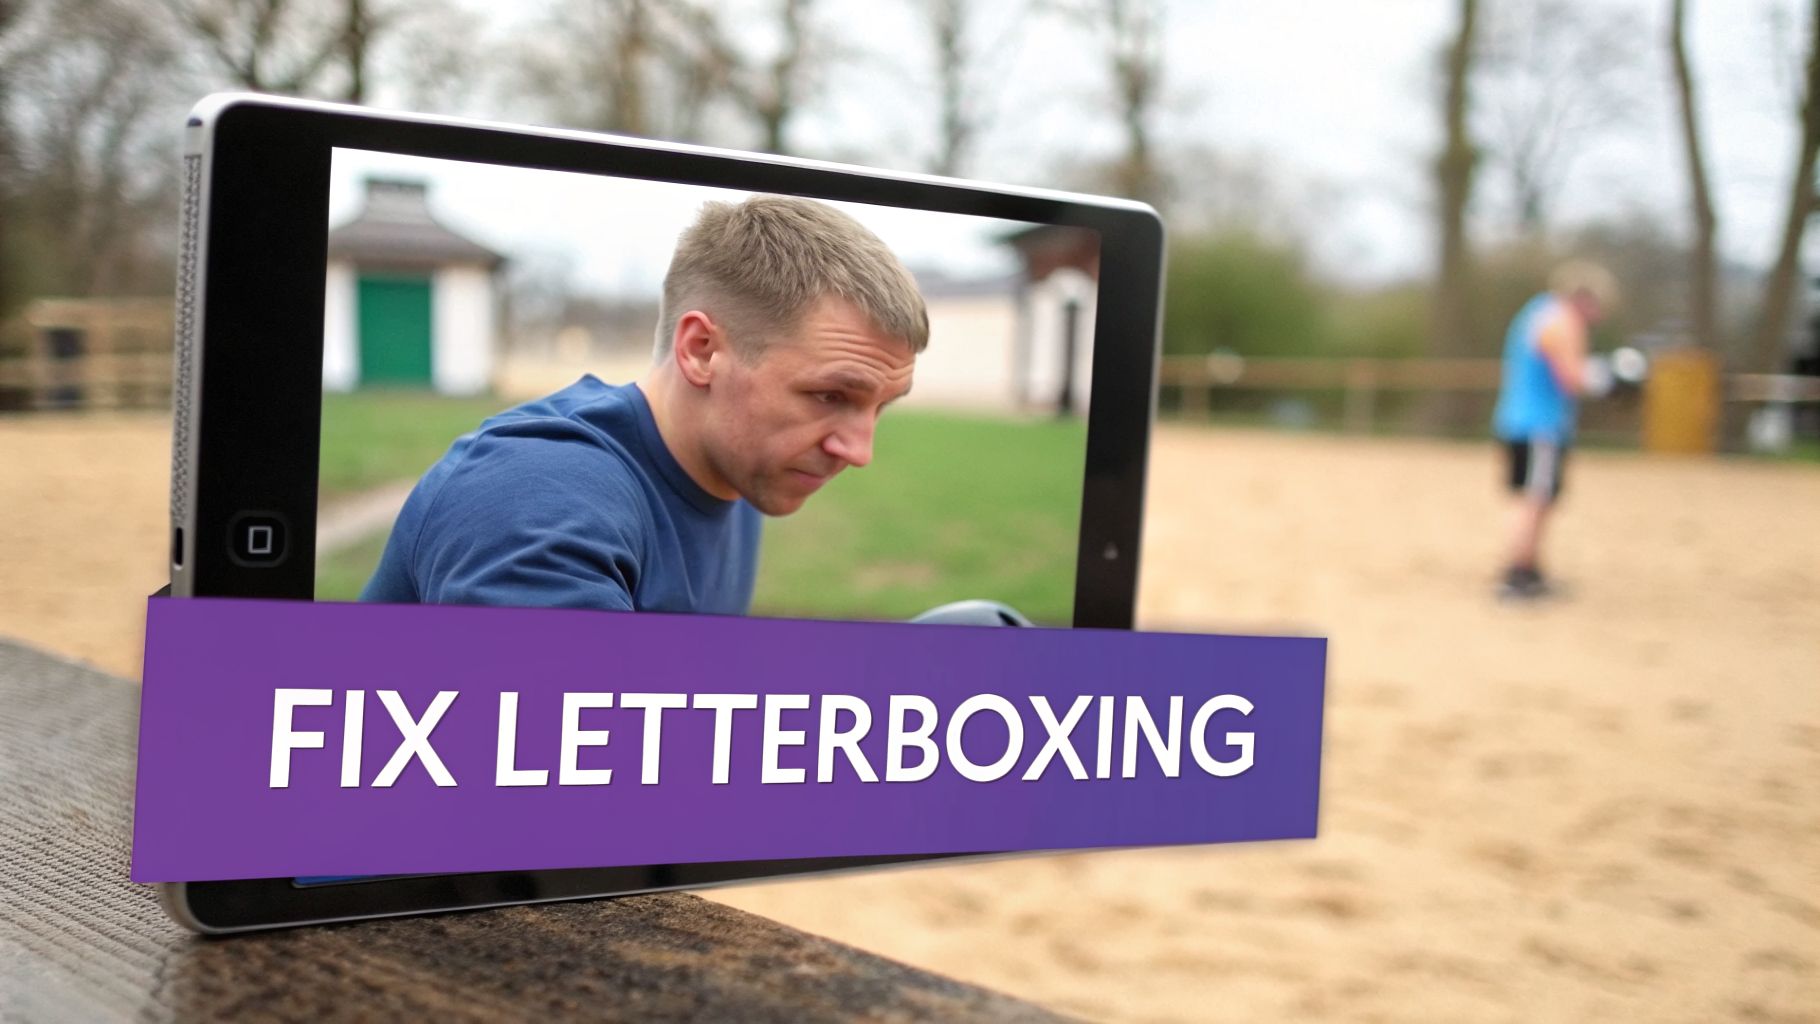
The most obvious sign of trouble? Those infamous black bars. If you see them at the top and bottom, that’s called letterboxing. It’s what happens when you put a wide video (like a 16:9 movie clip) into a taller frame.
The opposite problem, with black bars on the left and right sides, is known as pillarboxing. You’ll see this when you try to force a vertical or square video (like a 9:16 Reel or 1:1 post) into a widescreen player, such as on YouTube. While sometimes a deliberate creative choice, these bars usually just signal a formatting mismatch.
Respecting the Safe Zone
When you're creating for social media, you have to think about the platform's interface. Every app has buttons, usernames, and captions that overlay your video, which is why the safe zone is so important.
The safe zone is simply the central part of your screen that won't ever be covered up by UI elements. It’s your safety net for the important stuff. This is especially true on apps like TikTok or Instagram, where the interface can take up a surprising amount of real estate at the top and bottom.
By keeping key visuals—like text, your face, or your logo—smack in the middle of the frame, you can be sure they won't get hidden behind a "Follow" button or a comment field. It's a non-negotiable for vertical 9:16 videos that rely on on-screen text.
Ignore the safe zone, and you risk your message becoming unreadable or your main subject getting awkwardly cropped.
Aspect Ratio vs. Resolution
Here’s a concept that trips up a lot of people: the difference between aspect ratio and resolution. They're related, but they are not the same thing. The easiest way to think about it is shape versus size.
- Aspect Ratio is the SHAPE: It’s the proportional relationship between your video’s width and height. A 16:9 video is a wide rectangle, no matter how many pixels it contains.
- Resolution is the SIZE: This is the total number of pixels packed into that shape. It's the detail. 1920x1080 (1080p) and 3840x2160 (4K) are common resolutions.
So, you could have a beautiful, ultra-detailed 4K video file, but if it's in a 16:9 aspect ratio and you upload it as an Instagram Reel, the platform will shrink it down and add ugly black bars. Its incredible resolution won't matter because its shape is wrong.
Always start by getting the shape (aspect ratio) right for the platform. Then you can focus on the size (resolution).
Frequently Asked Questions About Video Aspect Ratio
Let's tackle some of the most common questions that pop up when working with video aspect ratios. Here are quick, practical answers to get you unstuck and back to creating.
What Is the Best Video Aspect Ratio for YouTube?
For your standard, long-form YouTube videos, 16:9 is your go-to. It’s the native format for the YouTube player on desktops and TVs, so your video will fill the screen perfectly without any weird cropping or black bars.
However, if you're making YouTube Shorts, the rules change completely. You absolutely must use a vertical 9:16 aspect ratio. This is non-negotiable, as Shorts are designed to give viewers a full-screen mobile experience, just like on TikTok or Instagram Reels.
Can I Use One Video for All Social Media Platforms?
You can, but you really shouldn't. Trying to force a one-size-fits-all video across different platforms is a surefire way to make your content look amateurish and out of place.
Think about it: posting a widescreen 16:9 video on a vertical-first platform like TikTok just doesn't work. Your video will end up as a tiny rectangle floating between huge black bars. The reverse is also true—a tall 9:16 video looks awkward and gets cropped on a standard YouTube player. For the best engagement, always take the extra step to format your video for each specific platform.
How Do I Fix a Video That Looks Stretched or Squished?
A stretched or squished video is a classic sign that something's off with your settings. It usually means there's a mismatch between your project's aspect ratio and the final dimensions you exported, causing the pixels to be displayed incorrectly.
Thankfully, it's a pretty easy fix. Dive into your video editor’s project or sequence settings before you export. Make sure your settings match your goal—for instance, if you want a 16:9 video, ensure your project is set to a corresponding resolution like 1920x1080. Aligning these settings should snap your video back to its proper proportions.
The most efficient way to handle video creation for multiple platforms is to use tools that automate the reframing process. This allows you to focus on your content, not on manually re-editing every version.
How Can AI Help Me Make Better Tutorial Videos?
Anyone who's made a tutorial knows the pain. You can use a simple screen recorder like Loom, but you often end up with a recording that's 50-100% longer than it needs to be, full of "ums," pauses, and mistakes. The alternative is wrestling with professional video editing software like Adobe Premiere Pro or Camtasia, which requires expert video editing knowledge.
This is exactly where AI-powered tools come in. A tool like Tutorial AI is designed to generate video tutorials from screen recordings for things like demos, onboarding, and explainer videos. Its tools let you speak freely without any practice, and your video will still look professional, as if it was edited in Adobe Premiere Pro. The AI takes the raw footage and automatically edits it down, cutting out dead air and tightening the delivery. This allows the subject matter expert to create on-brand videos extremely efficiently.
With Tutorial AI, you can transform raw screen recordings into studio-quality tutorials in minutes. Stop wrestling with timelines and let AI handle the heavy lifting. Start creating professional videos today.