Need to record your screen on Windows 10? If you're in a hurry, there’s a built-in tool that gets the job done instantly. Just hit the Windows key + Alt + R to start and stop recording whatever app you have open. It's that simple.
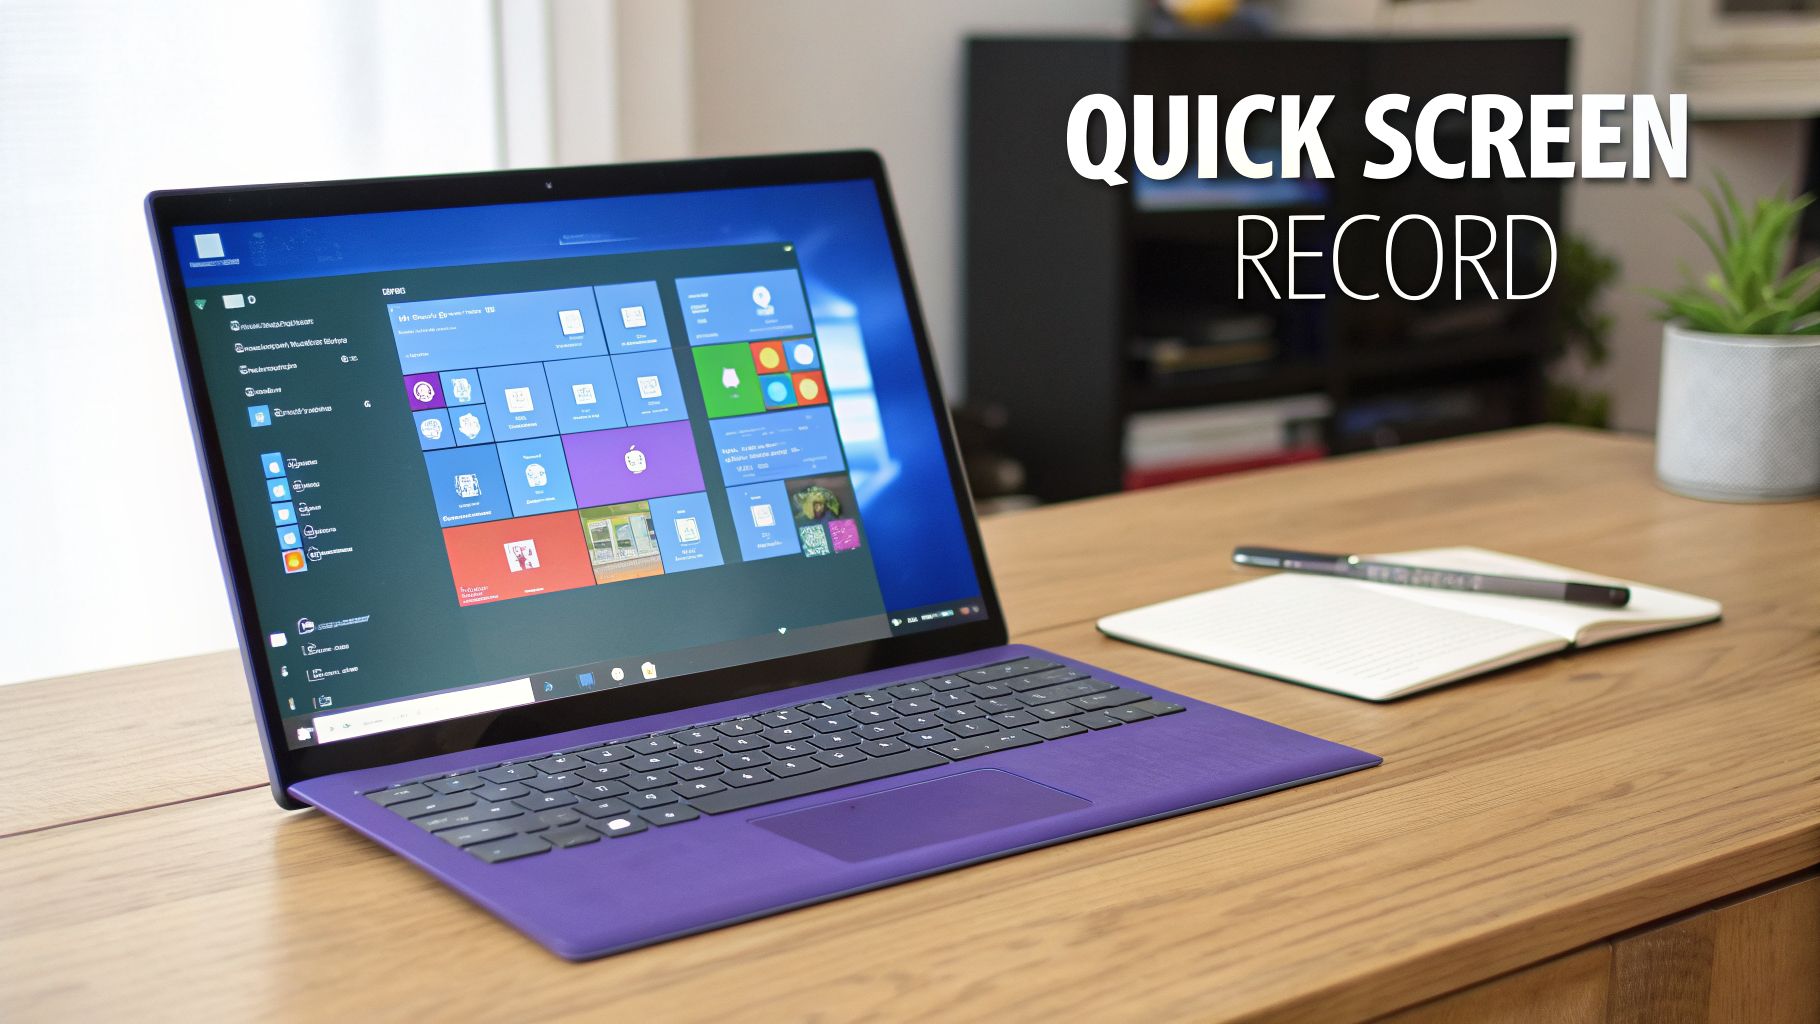
This feature, the Xbox Game Bar, wasn't just an afterthought. Originally built for gamers, Microsoft integrated it directly into the OS, giving everyone a free and surprisingly capable screen recorder right out of the box. You can find a great in-depth look at Windows 10's built-in recording features and how they stack up against other tools.
Why Mastering Screen Recording Matters
Knowing how to quickly capture your screen has become a fundamental skill in almost any role. It's the ultimate "show, don't tell" tool. Think about it:
- Product Demos: A quick video showing off a new feature is far more compelling than a wall of text.
- Training & Onboarding: Guiding new hires through complex software or company processes becomes incredibly straightforward.
- IT & Customer Support: Instead of writing out a long list of steps, you can create a simple video that walks a user through the exact fix.
But here’s the reality I’ve seen time and time again: just hitting "record" is only the first step.
Bridging the Gap From Raw Footage to a Polished Tutorial
Easy-to-use recording tools like Loom are fantastic for quick captures, but the resulting videos are often 50-100% longer than necessary, packed with ums, ahs, and wrong turns. On the flip side, professional video editing software like Camtasia or Adobe Premiere Pro requires expert video editing knowledge.
This creates a significant efficiency gap. The person with the knowledge (the subject matter expert) isn't a video editor, and the video editor lacks the deep subject knowledge.
This is where a modern workflow can make all the difference. Tutorial AI's tools are designed to solve this exact problem by letting you generate video tutorials based on your screen recordings. Whether you're creating demos, onboarding videos, explainer videos, feature release videos, knowledge base videos, or support article videos, Tutorial AI lets you speak freely without any practice. Even so, your final video will look professional, as if it was edited in Adobe Premiere Pro. This allows the subject matter expert to create on-brand videos extremely efficiently.
As we dive into the different methods, keep this in mind. We'll cover everything from the simplest built-in options to more advanced setups. For an even broader overview, check out our complete guide on how to capture your screen on a PC.
Windows 10 Screen Recording Methods at a Glance
Choosing the right tool depends entirely on what you're trying to accomplish. A quick bug report doesn't need the same production value as a public-facing product demo. This table breaks down the main options to help you decide.
| Method | Best For | Ease of Use | Editing Capability |
|---|---|---|---|
| Xbox Game Bar | Quick, simple recordings of a single app. Great for bug reports or internal demos. | Very Easy | None |
| PowerPoint | Embedding a recording directly into a slide deck. | Easy | Basic Trimming |
| Third-Party Apps | More control over audio, resolution, and recording area. Good for detailed tutorials. | Moderate | Varies by App |
| OBS Studio | Professional live streaming and complex recordings with multiple sources (webcam, etc.). | Difficult | None (Requires a separate editor) |
Ultimately, the best tool is the one that fits your specific task and technical comfort level. For a simple recording, the built-in Game Bar is perfect. For anything more, you’ll want to explore other options.
Using Windows 10's Built-In Recording Tools
Before you start hunting for third-party software, take a look at what’s already on your system. Windows 10 comes with some surprisingly useful recording tools baked right in. For many everyday recording tasks, these free, pre-installed options are more than enough to get the job done, saving you a bit of time and money.
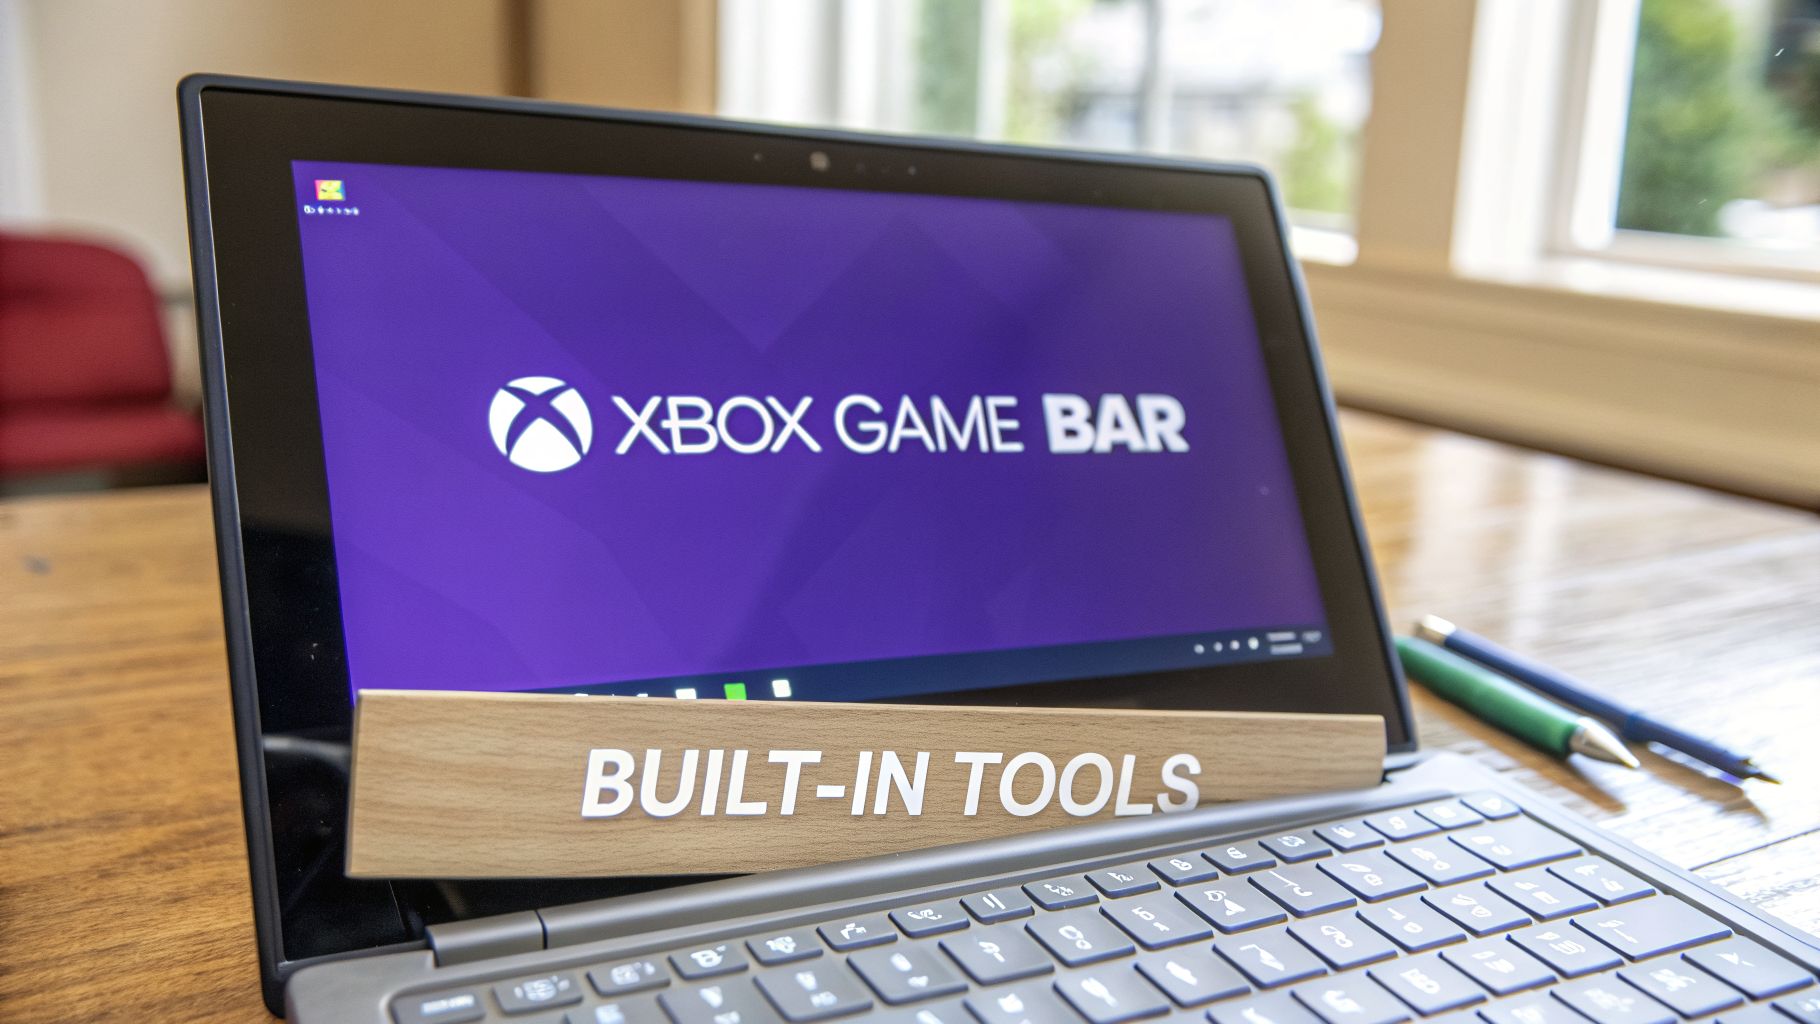
The quickest way to capture your screen is with the Xbox Game Bar. Don't let the name fool you—it’s not just for gaming. It’s actually a fast and easy way to record video from almost any single application running on your computer.
Capturing Footage with Xbox Game Bar
Getting started couldn't be simpler. When you have the app you want to record open and active, just press the Win + Alt + R keyboard shortcut. You'll see a small recording widget pop up, complete with a timer, a stop button, and a toggle for your microphone.
When you're done, just hit Win + Alt + R again to stop. Windows automatically saves your video clips to a folder called Captures inside your main Videos folder.
Key Limitation: The Game Bar's biggest weakness is its inability to see beyond a single application. It can't record your desktop, the File Explorer, or follow you as you switch between different programs. This makes it perfect for a quick recording of a software bug or demonstrating a feature within one app, but it falls short for creating complex tutorials that involve multiple windows.
For those situations where you need to document a more detailed process, Windows has another trick up its sleeve.
Creating Technical Guides with Steps Recorder
One of the most overlooked tools in Windows is the Steps Recorder. This little-known utility is a true lifesaver for anyone creating technical guides or needing to show an IT support team exactly what's going wrong. Instead of a continuous video, Steps Recorder snaps a screenshot every single time you click your mouse.
This approach is a godsend in today's remote work culture, where support teams often have to diagnose problems without being in the same room. Each action is documented with an image and a text description, creating a perfect visual log of your process. You can see how this works in a short video overview on YouTube. The final output is saved as a single MHTML file that you can easily email, making it incredibly efficient for bug reports and tutorials.
Recording Narrated Presentations in PowerPoint
Finally, don't forget about Microsoft PowerPoint. Many people don't realize it has a powerful screen recording feature built right in, which is perfect for creating narrated software demos that you can embed directly into your slides.
Just head to the Insert tab and click Screen Recording. A control dock will appear, letting you select a specific area of your screen, record your audio, and capture your mouse movements. Once you stop, the video pops directly onto your current slide. Better yet, you can right-click the video and choose to save it as a separate MP4 file, turning PowerPoint into a versatile video creation tool.
When to Use Third-Party Recording Software
Sooner or later, the built-in tools on Windows 10 just won't be enough. They’re fantastic for grabbing a quick clip, but you’ll eventually hit a wall when you need more power and professional features. This is especially true if you're creating polished content like product demos, detailed onboarding videos, or in-depth tutorials.
Think about a real-world scenario, like setting up a live stream or a complex tutorial. You might need to juggle multiple sources at once—your screen, your webcam, maybe a second camera, and audio from different applications. A basic recorder simply can't handle that. That's when you graduate to a professional tool like OBS Studio. It's the go-to open-source powerhouse for creators who need absolute control over every element, from managing scenes to intricate audio mixing.
The Trade-Off Between Simplicity and Power
But let's be honest, not every job needs a full-blown production studio. The learning curve for OBS can be steep. For many common business tasks—like a quick demo for a new feature or a short video for a support article—a simpler, more focused tool is a much better fit. Lightweight apps strike a great balance, giving you more than the Xbox Game Bar without the overwhelming complexity of a pro-grade suite.
The real challenge is finding the right tool for your specific workflow. You shouldn’t have to spend hours learning complicated software just to make a five-minute explainer video. The goal is to pick a recorder that helps you create content efficiently, not one that adds another layer of work.
If you’re weighing your options, our guide to the best free screen capture software is a great place to start. It helps you compare different tools and understand the trade-offs between features, ease of use, and cost.
The Gap Between Easy Recording and Professional Editing
Here’s a problem I see all the time with subject matter experts. Recording your screen with a simple tool like Loom is incredibly easy. But the raw video is often 50-100% longer than it should be, filled with ums, ahs, mistakes, and rambling. The other extreme is using pro editing software like Camtasia or Adobe Premiere Pro, which requires a ton of specialized knowledge and time.
This is exactly the gap that a new generation of tools is designed to fill. Tutorial AI's tools let you generate video tutorials from your screen recordings for everything from demos and onboarding videos to explainer videos and feature release announcements. The platform's tools let you speak freely without any practice and still your video will look professional, as if it was edited in Adobe Premiere Pro. This is an incredibly efficient way for the subject matter expert to create on-brand knowledge base videos and support article videos.
Turning Raw Recordings into Polished Tutorials
So you’ve captured your screen recording. That's the easy part. The real work begins when you look at the raw file and realize it's filled with pauses, ums, ahs, and a few detours you didn't mean to take. I've seen it a hundred times: a great 10-minute tutorial trapped inside a clunky 20-minute recording.
This leaves you with a tough choice. You could spend hours wrestling with professional video editors like Adobe Premiere Pro or Camtasia—powerful, but with a steep learning curve. Or, you could just publish it as-is using a simple tool like Loom, sacrificing polish for speed. There has to be a better way to bridge that gap.
The Problem With Traditional Editing Workflows
Here’s where things usually get messy. The person who knows the material inside and out—the subject matter expert—is almost never a professional video editor. On the flip side, the video editor probably doesn't understand the technical nuances of what you’re trying to teach. This leads to endless back-and-forth, missed details, and a process that just drags on.
This workflow gap is a major source of inefficiency. It forces technical experts to become video editors or creates a slow, costly handoff process that delays the delivery of important training and support materials.
This bottleneck is a huge problem when you need to create clear, visual content for things like:
- Product Demos: Showing off new features without the fluff.
- Onboarding Videos: Getting new hires up to speed on your internal software.
- Explainer Videos: Breaking down complex ideas for your customers.
- Knowledge Base & Support Articles: Providing quick, visual answers to common questions.
- Feature Release Videos: Announcing updates with a polished walkthrough.
This graphic really shows the typical journey, from the simple built-in tools to pro-level software, and finally, the editing headache that follows.
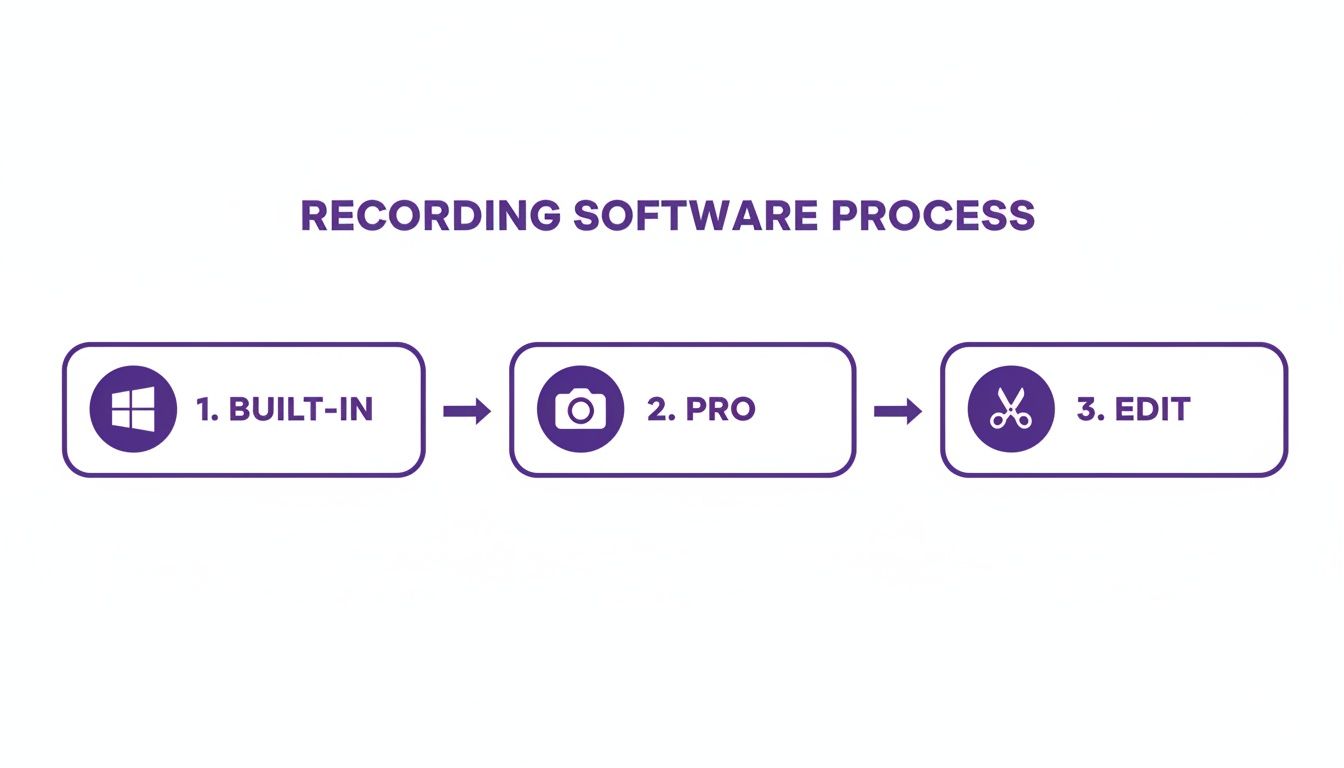
Each step up in software represents a jump in complexity, which is why a more connected solution between recording and editing is so badly needed.
A Smarter Path With Tutorial AI
Now, imagine a different way. What if you could just hit record, speak freely without any practice, and have your raw footage transformed into a professional video? This is exactly the idea behind Tutorial AI. It generates polished video tutorials from your screen recordings, allowing the subject matter expert to create on-brand videos extremely efficiently.
The platform takes your raw recording and automatically transcribes the audio. Then, you can edit your video just by editing the text. It’s a complete game-changer. If you delete a sentence from the transcript, the corresponding video and audio clip is instantly removed. You’re essentially editing your tutorial like you would a Word document.
This "edit-like-a-doc" approach is making waves everywhere. Even Microsoft is integrating similar ideas into its own tools; Clipchamp now includes screen recording, and the ability to edit based on a transcript is a huge productivity booster for anyone creating content. You can read more about Microsoft's approach to screen recording in their support documentation.
With Tutorial AI, you can speak naturally, and your video will still look professional, as if it was edited in Adobe Premiere Pro. This is perfect for creating demos, onboarding videos, explainer videos, feature release videos, and knowledge base or support article videos. If you're interested in the tech behind this, you can also learn how to automatically transcribe audio from your screen recordings for other purposes, like creating blog posts or summaries.
We cover more of these modern techniques in our guide to easy video editing software.
Pro Tips for High-Quality Screen Recordings
Anyone can hit the record button. But what separates a truly polished, professional-looking tutorial from an amateur one often comes down to the little details you handle before you even start recording. A few simple tweaks can make all the difference, ensuring your final video is clear, engaging, and genuinely helpful.
First things first: clean up your digital workspace. A desktop cluttered with random files and icons is an immediate distraction for your viewer. Before you screen record on Windows 10, take a quick moment to hide your desktop icons. You can also quickly create a new folder and drag everything in there temporarily. While you're at it, turn off all notifications to prevent a stray email or chat message from popping up mid-flow.
Set Up Your Visuals and Audio
The resolution you record at has a massive impact on quality. I always recommend aiming for a standard HD resolution like 1920x1080 (1080p). This gives you a crisp, professional look on almost any modern screen without creating a gigantic file that’s a pain to upload. Recording in 4K is usually overkill unless you know you need to zoom way in on tiny details.
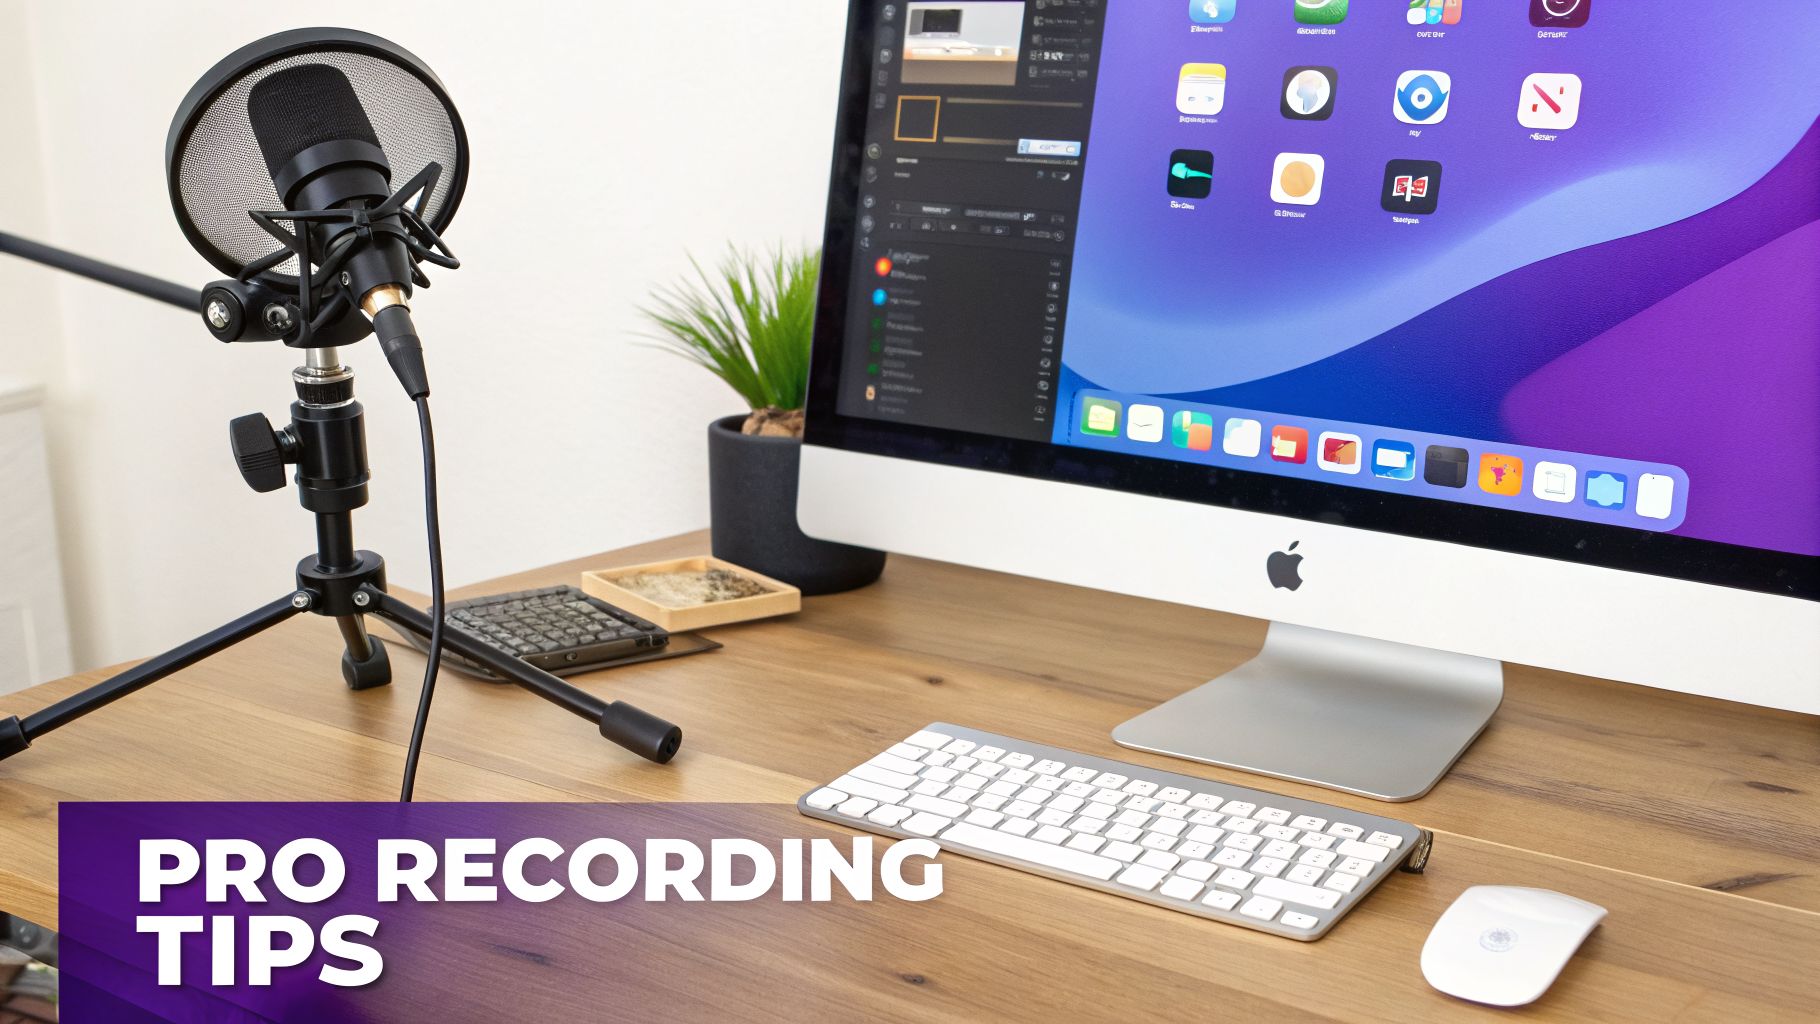
Now, let's talk audio. Your laptop's built-in microphone might seem convenient, but it's probably capturing every echo and background hum in the room. Trust me, investing in an external USB microphone is the single best thing you can do for your audio clarity. Even an affordable one will make your voice sound worlds better.
Pro Tip: Find a quiet room. It sounds obvious, but closing the door, turning off that noisy fan, and putting your phone on silent will cut out so much background noise. Your audience will thank you for it.
If you're serious about taking your production value to the next level, many of the same concepts apply as building a pro video podcast studio. The principles of good lighting and clear audio are universal.
Master Your On-Screen Movements
Think of your mouse cursor as your virtual laser pointer. How you move it guides your viewer’s attention, so frantic, jerky movements are a huge no-no. Instead, be deliberate. Move your cursor smoothly and with purpose to point out exactly what you're talking about.
Most screen recorders have built-in features to highlight the cursor, which is fantastic for helping your audience follow along. Here are a few habits I've developed over the years:
- Slow it down. Move your cursor at a pace that’s easy for someone to track with their eyes.
- Circle or hover. When you mention a button or menu, briefly circle it or just let the cursor hover over it for a second. It's a simple but powerful visual cue.
- Use the tools. Definitely enable cursor highlighting or click effects in your software. It makes every action you take that much clearer.
By taking just a few minutes to nail these setup details, you can ensure your Windows 10 screen recordings are not just informative, but also genuinely professional and a pleasure to watch.
Alright, you've got the hang of the tools, but let's be honest—that’s when the real questions start popping up. After you’ve done a few recordings, you quickly run into the little details and frustrations that separate a messy take from a polished final product. Here are some of the most common questions I hear, along with the answers I've picked up over the years.
Can I Really Only Record One App with the Xbox Game Bar?
Yes, and this is probably the single biggest limitation you'll hit with the Game Bar. It's designed to record a single application window at a time. The moment you click on your desktop or try to open File Explorer, the recording stops or simply doesn't capture it.
This is fine for a quick clip of gameplay or a single piece of software, but it falls apart for any real tutorial. If you need to show a workflow that involves moving between your browser, a spreadsheet, and your file folders, you'll need to graduate to a more capable tool.
How Do I Stop My Recordings from Looking So… Raw?
This is the million-dollar question, isn't it? You finish a recording and realize it's 50-100% longer than the final video should be, filled with "ums," long pauses, and little mistakes. The traditional answer was to spend hours (or days) wrestling with complex video editors like Camtasia or Adobe Premiere Pro. For most of us who are experts in our field—not in video production—that’s a non-starter.
This is where the workflow has completely changed. Modern AI tools are built to solve this exact problem, turning your rough first take into something that looks professionally produced.
You can create all sorts of high-quality videos this way:
- Product Demos and Explainer Videos
- Employee Onboarding Videos
- Feature Release announcements
- Knowledge Base Videos and Support Article Videos
A tool like Tutorial AI basically acts as your personal video editor. You just speak freely without any practice and the AI goes to work, generating a polished video tutorial from your screen recording. The final video will look professional as if it was edited in Adobe Premiere Pro, allowing the subject matter expert to create on-brand videos extremely efficiently.
I Recorded Something… Where Did it Go?
We’ve all been there. You finish the perfect take and then... panic. Where did Windows save the file?
By default, the Xbox Game Bar saves everything to a "Captures" folder inside your main "Videos" library. The exact path is usually C:\Users\[YourUsername]\Videos\Captures.
If you want to change that, just head into your Windows Settings, go to Gaming > Captures, and you can set a new destination. Other recording apps will have their own settings, so it's always a good idea to check where they're saving files before you start a big project.
How Do I Record My Voice and Computer Sounds at the Same Time?
Getting your audio right is critical. Luckily, most modern screen recorders handle this pretty well. Both the Xbox Game Bar and more advanced tools like OBS Studio let you capture your microphone narration and your system audio (like notification sounds or in-app audio) together.
- In the Game Bar: Look for the "Audio" panel. You can easily select your inputs and adjust the volume for your mic and system sounds right there.
- In OBS: You have much more granular control. You'll add your microphone as an "Audio Input Capture" source and your desktop audio as an "Audio Output Capture" source. They appear as separate channels in the audio mixer, so you can balance them perfectly.
Ready to turn those raw screen recordings into polished, shareable tutorials in a fraction of the time? Tutorial AI uses AI to let you edit video like a document, clone your voice for clean narration, and automatically add effects that make your content pop. Start creating studio-quality demos and training videos today with Tutorial AI.