At its heart, trimming a video is simple. You find the parts you don’t want, mark a start and end point, and cut them out. Most editing software gives you a trimming handle to drag or a split tool to slice the clip. But don’t let the simplicity fool you—this is one of the most powerful edits you’ll ever make.
Why Every Second Counts: The Power of a Good Trim
Let’s be honest, we live in a world of shrinking attention spans. Raw, unedited footage is a surefire way to lose your audience. That’s why smart video trimming isn’t just a final polish; it’s the key to turning a rambling recording into something people will actually watch and remember.
Think about your own experience. How many times have you bailed on a video because of long, awkward pauses or a speaker fumbling for the right words? Even a few seconds of dead air is enough to make someone click away. By making clean, tight edits, you directly boost your video’s completion rate and help viewers absorb complex information.
From Raw Recording to Polished Asset
Nowhere is this more true than with screen recordings for business. Whether you’re making a product demo, an onboarding tutorial, or a quick support video, the first take is rarely perfect. Easy-to-use recording tools like Loom are great, but the resulting videos are often 50-100% longer than necessary, bloated with pauses, “ums,” and backtracking.
On the other side, professional video editing software like Camtasia or Adobe Premiere Pro requires expert video editing knowledge. This creates a huge bottleneck, especially for subject matter experts who need to create content but aren’t professional video editors.
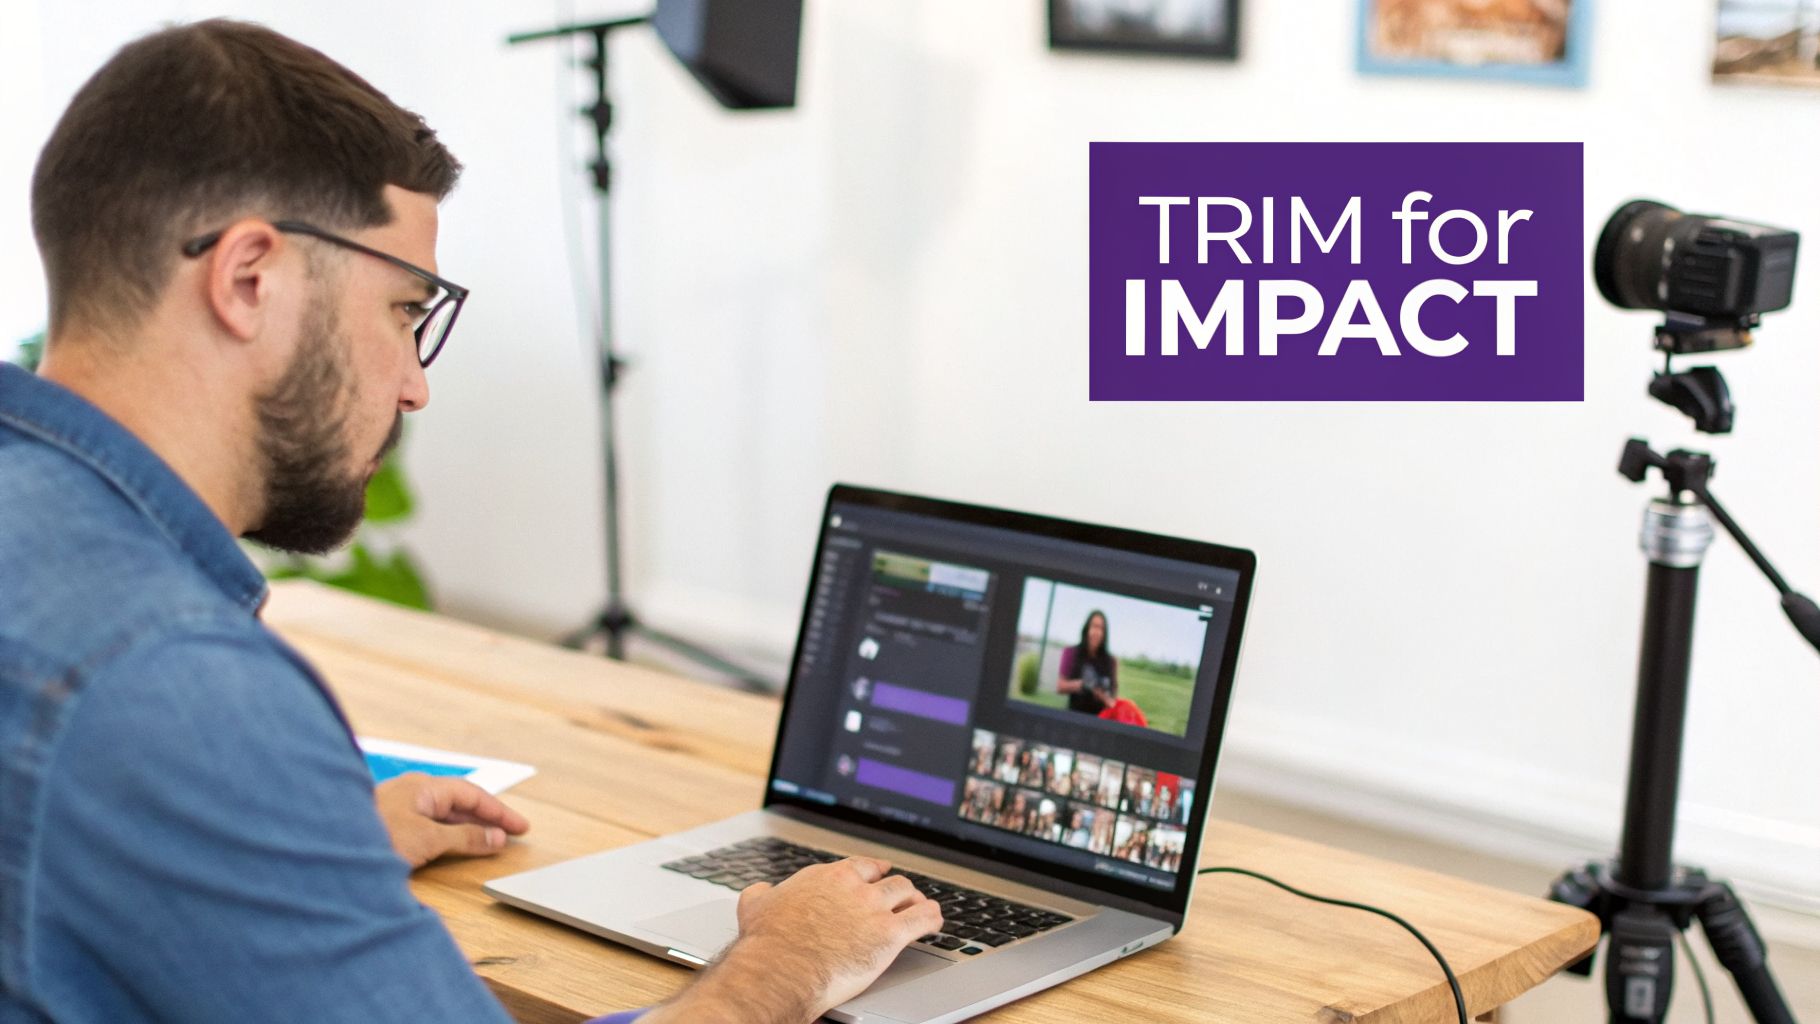
This is where Tutorial AI changes the game. Its tools let you speak freely without any practice, and still your video will look professional as if it was edited in Adobe Premiere Pro. It bridges that frustrating gap between quick recording and high-quality output. This approach puts the power back in the hands of the expert, letting them create on-brand videos efficiently. It’s the perfect workflow for turning raw ideas into polished content that’s clear, concise, and professional.
You can quickly generate a whole range of video tutorials based on screen recordings:
- Demos: Show off your features without any distracting slip-ups.
- Onboarding Videos: Guide new users through your software seamlessly.
- Explainer Videos: Break down complicated topics into bite-sized, digestible segments.
- Feature Release Videos: Announce new updates with a crisp, professional presentation.
- Knowledge Base & Support Article Videos: Give users clear, direct solutions to their problems.
By trimming away the fluff, you’re not just making a shorter video. You’re respecting your viewer’s time and making sure your message lands with maximum impact.
Fundamental Video Trimming Techniques
When you get down to it, effective video editing is about knowing which tool to grab for the job. Not all trims are created equal, and once you get a feel for a few core techniques, you’ll be able to turn raw footage into a polished, professional video. It’s all about building your editing instincts.
Let’s walk through the three essential trimming workflows I use every day. We’ll skip the abstract theory and jump right into real situations, so you know exactly when and why to use each one.
The Quick Trim For Clean Starts And Stops
The quick trim is your workhorse. It’s fast, simple, and perfect for cleaning up the head and tail of your video clips. Think of it as lopping off the unwanted footage from the beginning or end. It’s the ideal fix for removing those few seconds of you getting your screen recorder started or that awkward moment at the end as you fumble to hit “stop.”
For example, I often see sales teams create product demos that start with ten seconds of them just setting up. A quick trim gets rid of that dead air, dropping the viewer right into the action. It’s a small change that makes the entire presentation feel more confident and respectful of the viewer’s time.
Frame-By-Frame Trimming For Surgical Precision
Sometimes, just dragging the edge of a clip isn’t going to cut it. You need to be more precise. That’s where frame-by-frame trimming comes in, allowing you to make surgical edits with single-frame accuracy. It’s absolutely essential for fixing tiny mistakes—a slight verbal stumble, a distracting pop-up notification, or an accidental mouse click that could confuse the viewer.
Imagine a support agent recording a tutorial. In the middle of showing a critical step, they accidentally click the wrong button before clicking the right one. With frame-by-frame trimming, they can isolate and snip out that single misclick. The final video is perfectly clear, with no disruption to the flow. For extra emphasis, you can learn /b/how-to-zoom-in-on-video to really guide your viewer’s focus after making such a precise cut.
The Ripple Delete For Seamless Edits
So, what happens when you need to remove a chunk from the middle of your video? This is where the ripple delete becomes your best friend. After you slice out an unwanted section—maybe a long pause where you were gathering your thoughts or a part of the process that went wrong—you’re left with an ugly gap in your timeline. A ripple delete automatically closes that gap, pulling everything that comes after it forward to create a seamless sequence.
This is hands-down one of the biggest time-savers in video editing. It ensures your video flows without any jarring jumps or black screens, maintaining a professional feel from start to finish. A good online video trimmer can help you put these ideas into practice right away. Once you master these three fundamental methods, you’ll have the confidence to tackle any screen recording, turning imperfect takes into valuable, clear assets for your team and audience.
Traditional vs. AI-Powered Video Trimming
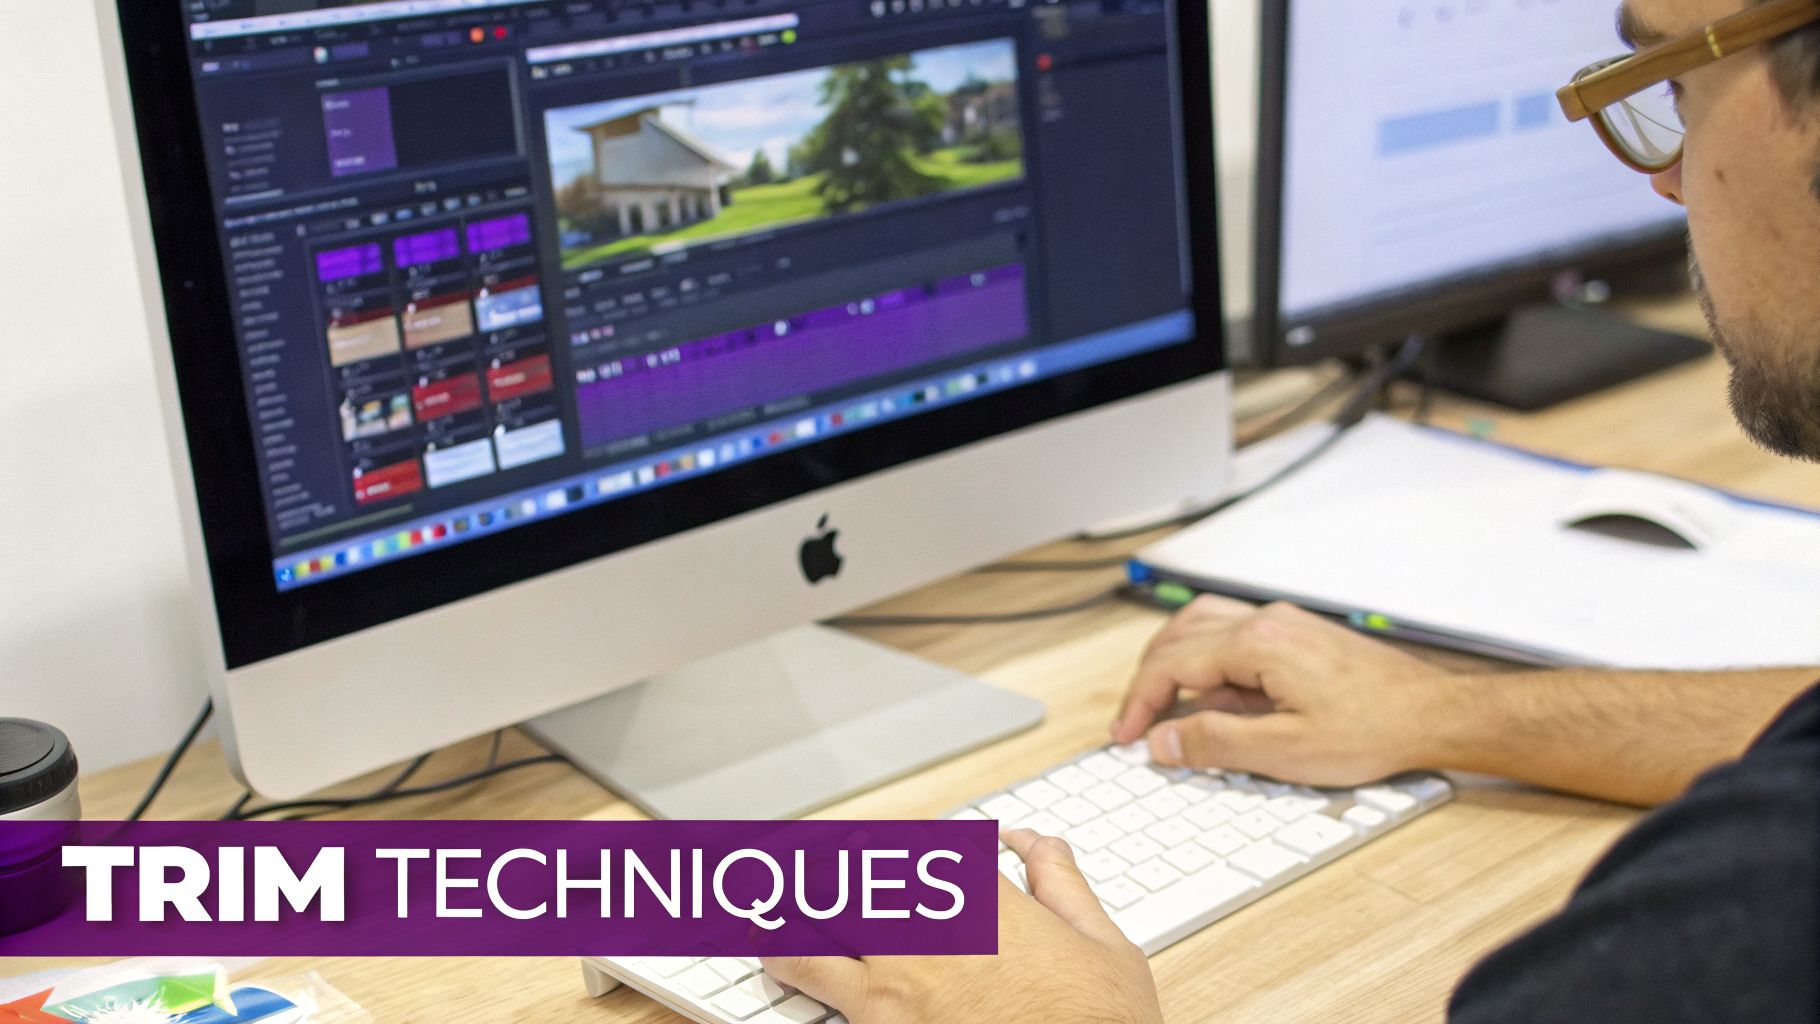
For a long time, learning how to trim video meant one thing: wrestling with a complex, timeline-based editor. Powerful tools like Adobe Premiere Pro and Camtasia are industry standards for a reason, but they don’t exactly welcome beginners with open arms. The whole process is meticulous. You have to scrub through timelines, hunt for the exact frame, make a cut with a razor tool, delete the bad take, and then stitch everything back together.
This traditional method isn’t just time-consuming; it demands a specific skill set that most subject matter experts—think product managers or customer support specialists—simply don’t have. This creates a massive workflow bottleneck. An expert might record a fantastic screen-sharing demo, only to have the raw footage sit for weeks, waiting for a trained video editor to finally clean it up.
The Problem with Unedited Screen Recordings
Let’s be honest, those quick, casually recorded screen demos are often 50-100% longer than they need to be. They’re riddled with natural hesitations, “ums” and “ahs,” moments where you backtrack, and long pauses while you think. While it’s easy to hit “record” with a tool like Loom, the raw footage is rarely something you’d want to send to a customer or post in your knowledge base.
Trimming this footage the old-fashioned way is a painful exercise in hunting for mistakes. You end up watching the same recording over and over, making dozens of tiny cuts, and praying the audio and video stay perfectly in sync. It’s a frustrating process that can easily turn a five-minute recording into a two-hour editing session. This is the exact problem AI-powered editing was built to solve. Instead of forcing experts to become video editors, it brings the editing process into a familiar, intuitive space.
The New Way to Trim Video with Tutorial AI
Tutorial AI completely changes the game. Just imagine editing a video the same way you’d edit a text document. That’s literally how it works. As soon as you finish recording, Tutorial AI automatically provides a word-for-word transcript of everything you said.
To trim your video, you never have to touch a timeline. You just read the transcript and delete the words, phrases, or entire sentences you don’t want.
- Delete an “um” from the text, and that awkward pause instantly vanishes from the video.
- Remove a sentence where you misspoke, and that video segment is snipped out.
- Get rid of a whole paragraph you regret, and the video seamlessly jumps to the next point.
This doc-style editing is a huge shift. It means you can speak freely while recording, without the pressure of getting it perfect on the first take. You can make mistakes, pause to gather your thoughts, or rephrase things on the fly, knowing that cleaning it all up will only take a few clicks. The video and AI voiceover update in real time, creating a professional-looking result as if it were edited in a high-end suite. Many options for the best video editing software for beginners are now leaning into AI to make these once-complex tasks surprisingly simple.
Here’s a look at how these two approaches stack up against each other.
Video Trimming Methods: A Head-to-Head Comparison
This table breaks down the core differences in workflow, efficiency, and the skills required when you compare a traditional editor to a next-generation AI tool like Tutorial AI.
| Feature | Traditional Editors (e.g., Premiere Pro) | Tutorial AI (Doc-Style Editing) |
|---|---|---|
| Primary Workflow | Manipulating clips on a visual timeline. | Editing a text-based transcript. |
| Learning Curve | Steep; requires learning complex tools and concepts. | Intuitive; as easy as editing a document. |
| Speed & Efficiency | Slow and meticulous; requires multiple passes. | Extremely fast; edit a recording in minutes. |
| Mistake Correction | Requires precise splitting, deleting, and rejoining of video clips. | Delete unwanted words or sentences from the transcript. |
| Skill Requirement | Specialized video editing skills. | Basic text editing skills. |
| Accessibility for Experts | Low; creates a dependency on dedicated video editors. | High; empowers subject matter experts to edit their own videos. |
The takeaway is clear: while traditional tools offer immense power, AI-driven platforms prioritize speed and accessibility, fundamentally changing who can create high-quality video content.
Bridging the Gap for Subject Matter Experts
This approach empowers the person who actually has the knowledge—the subject matter expert—to create the final video asset themselves, without any friction. You no longer need to hand off a recording and hope the editor understands which parts are critical and which are just noise. You can find more details on this topic in our comprehensive guide to AI video editing software.
This workflow is perfect for efficiently creating a wide range of polished, on-brand content:
- Product demos and explainer videos
- Onboarding and training tutorials
- Feature release announcements
- Knowledge base and support article videos
Ultimately, AI-powered trimming isn’t just about going faster; it’s about making video creation accessible to everyone. It allows anyone to transform a messy screen recording into a polished, engaging, and professional video that respects the viewer’s time and gets the message across clearly.
Going Beyond the Trim: Advanced Edits with AI
Once you’ve mastered the basics of trimming, you can start exploring how smart AI features can take a simple screen recording and turn it into something genuinely polished and professional. This is where you move past just cutting out mistakes and start actively improving the viewer’s experience. It’s about adding a layer of clarity that, until recently, took a ton of manual work.
Think about the raw footage from a typical screen recording. The cursor might jump all over the place, some sensitive data might pop up, or the key action you’re trying to show is too small to see clearly. AI-driven tools like Tutorial AI are built to fix exactly these kinds of problems, giving you powerful ways to refine your video after the initial cuts are made.
Directing the Viewer’s Eye with Smart Zoom and Cursor Effects
One of the best things you can do for a tutorial is guide your audience’s focus. In traditional editing software like Adobe Premiere Pro, this means painstakingly setting manual keyframes to zoom in and out. It works, but it’s tedious.
This is where a feature like Tutorial AI’s Smart Zoom really shines. Instead of you doing the work, the AI analyzes your recording and automatically zooms in on the important stuff—like when you click a menu or start typing in a form field. The result is a dynamic, easy-to-follow video, and you didn’t have to set a single keyframe. You just record, and the AI plays cinematographer for you.
You can also clean up the cursor’s movement after the fact. I find this incredibly useful.
- Smooth out jerky movements for a much cleaner, more deliberate-looking path.
- Add a highlight effect to clicks to make it obvious where the action is happening.
- Change the cursor’s size or color so it doesn’t get lost on a cluttered screen.
These little touches are what separate a confusing screen share from a crystal-clear tutorial. It’s the difference between simply showing your screen and actually teaching someone a process.
Protecting Data and Adding a Professional Sheen
If you’re recording for work, you’ll inevitably run into sensitive information on screen, whether it’s customer names, internal data, or email addresses. Going through and blurring every instance by hand is a real nightmare. With Tutorial AI, you can just apply a blur to an area and have it track automatically, keeping private information safe without the headache.
This whole workflow is a game-changer. It lets your subject matter experts create fantastic, on-brand videos with amazing speed. You can just talk and record naturally, knowing you can easily polish the final cut to look like a pro edited it. Ultimately, the goal is to get past just knowing how to trim video. These AI tools help you build a whole library of high-quality assets. Think feature release videos, explainer demos, and even knowledge base articles that are clear, secure, and make a real impact.
This efficiency is even more crucial if you’re localizing content for different regions. Tutorial AI’s AutoRetime feature, for instance, automatically syncs all your edits, zooms, and captions across different language versions. So when you trim a section from your English video, that exact same cut gets applied to the Spanish, German, and Japanese versions. It saves a staggering amount of time and keeps your content consistent everywhere.
From Raw Recording to Polished Tutorial in Minutes
It’s one thing to talk about trimming video, but it’s another to see it in action. Let’s follow a real-world example of how Tutorial AI can take a rough screen recording and turn it into a high-quality tutorial in just a matter of minutes.
We’ve all been there: a product marketer needs to quickly record a video announcing a new software feature. They grab a screen recorder—maybe Loom or the one built into Tutorial AI—and capture a quick walkthrough. The first take is full of the usual stumbles: a few “ums,” long pauses, and a couple of sentences that just don’t land right. In my experience, this first draft is often 50-100% longer than necessary, a common problem for anyone making demos or onboarding content.
From Messy First Take to Clean Transcript
The moment the recording is done, Tutorial AI gets to work, generating a word-for-word transcript. This transcript becomes your new editing suite. Instead of tediously scrubbing through a video timeline, the marketer simply reads the text. They immediately spot a whole sentence where they misspoke, plus a few filler words like “uh” and “so.”
By just highlighting and deleting those unwanted words from the text, the corresponding video and audio are instantly and cleanly cut. There’s no fumbling with razor tools, hunting for precise timecodes, or worrying about leaving an awkward gap. This doc-style editing is what makes the whole process so intuitive, letting the expert focus on the message, not the mechanics.
This kind of efficiency is a huge deal. The video editing market is projected to hit $3.75 billion by 2026, and much of that growth comes from AI tools that simplify core tasks like trimming. We’re seeing that smart AI cuts can make editing workflows over 50% faster, which is a massive win for creators trying to hold a viewer’s attention. For more on this, check out this detailed industry report on AI’s impact on video editing.
Polishing the Script and Voice
With the big mistakes gone, the marketer reads a few sentences that still sound a bit clunky. Instead of setting up for a re-shoot, they use Tutorial AI’s script polisher. The AI suggests clearer, more concise wording. After accepting the changes, they can regenerate the audio with a new, lifelike AI voice that perfectly matches the updated script.
This is a complete game-changer. It means you can just speak naturally during the recording, knowing you can fix any imperfections later without having to do another take. You end up with a flawless, professional voiceover that sounds like it was scripted and recorded in a studio from the start. To really make the tutorial shine, the marketer adds a few final touches:
- Smart Zoom: They toggle on Smart Zoom, which automatically magnifies the new feature on-screen, directing the viewer’s focus without any manual keyframing.
- Brand Kit: With a single click, they apply their company’s brand kit. This instantly adds the logo, branded fonts, and color palette for a consistent, polished look.
And just like that, an imperfect, off-the-cuff screen recording becomes a sharp, on-brand tutorial ready for a feature launch. It’s a perfect example of how subject matter experts can now create incredible training assets without needing a background in video production. If you want to put these ideas into practice, our guide on how to make a training video is a great place to start.
A Few Common Questions About Trimming Video
Even seasoned pros run into questions when it comes to trimming video. You’ve got the raw footage, but what’s the best way to get it polished and ready for an audience? Let’s walk through a couple of the hurdles I see people face all the time.
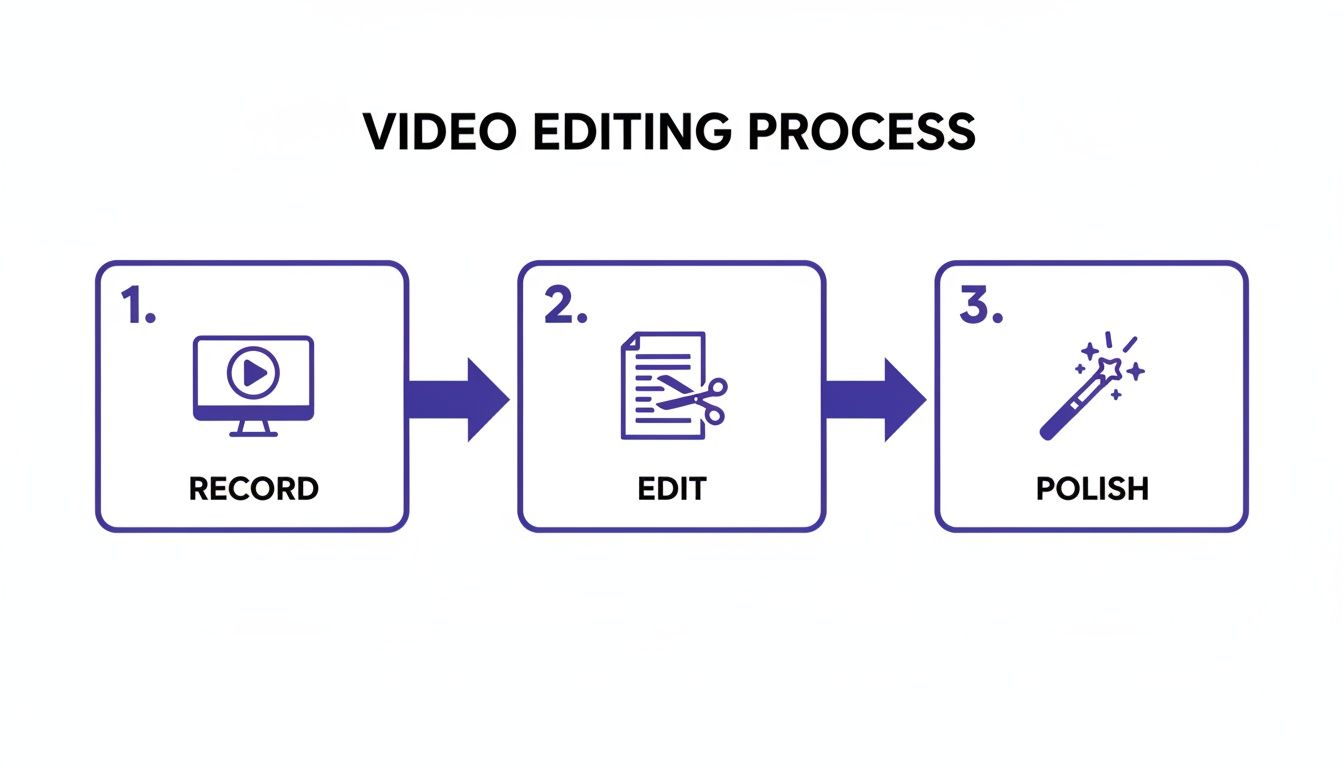
A lot of the confusion comes from an outdated view of video editing—thinking it has to be this complicated, timeline-based chore. But it doesn’t. The modern workflow is much simpler: you record, you edit, and you polish.
The big idea here is that editing your video can be as intuitive as editing a text document. Once you make that mental shift, a lot of the complexity just melts away.
What’s the Right Tool for the Job?
I see this all the time: creators are caught between two extremes. On one hand, you have simple screen recorders like Loom. They’re fast but offer limited editing. On the other, you have powerful, beastly editors like Adobe Premiere Pro or Camtasia that have a steep learning curve.
The real problem is that most raw screen recordings are 50-100% longer than the final version needs to be, thanks to all the inevitable pauses, “ums,” and restarts. The pro software can fix that, but it demands serious time and expertise. This leaves most subject matter experts—the people who actually need to create clear demos and tutorials—stuck in the middle.
This is exactly the gap Tutorial AI was built to fill. It lets you record your screen freely, mistakes and all, and then turns that recording into a polished video that looks like it took hours to edit. You can generate entire video tutorials from a single take, perfect for everything from quick explainers to detailed knowledge base articles. Ultimately, this puts the power back in the hands of the expert, letting them create professional, on-brand videos without having to become a professional video editor.
Will Trimming My Video Reduce Its Quality?
This is a huge one. Many people worry that every cut and trim will make their video look worse. Here’s the good news: the act of trimming itself doesn’t hurt your video quality one bit.
Quality loss almost always happens during the final export. If you save your video with compression settings that are lower than the original file’s, you’ll see a drop in quality. As long as you export your video using settings that match your source footage, the final cut will look just as crisp as the original.
Ready to see how fast you can turn raw footage into a polished tutorial? Tutorial AI makes it as simple as editing a doc. Sign up for free and experience the future of video editing today.