At its core, zooming in on a video is pretty straightforward. You're usually using an editor’s crop or scale tool to make a specific part of the frame bigger. But for those more polished, dynamic effects, you’ll want to dive into keyframe animation. This is how you create those smooth, gradual zooms that expertly guide your viewer’s eye right where you want it.
Why Smart Zooming Is Your Secret Weapon for Engagement
Let's face it: nobody wants to squint at a static screen recording, trying to follow a tiny cursor or make out unreadable text. Knowing how to properly zoom in on a video isn't just a fancy editing trick; it's a critical skill for making your content clear, professional, and easy to follow. When you strategically magnify key areas, you turn a boring, flat recording into a dynamic and engaging visual story.
This is especially true for any video that teaches or demonstrates something. Think about the last software tutorial you watched. Was it a static, full-screen view that left you lost and confused? Or did it zoom in to show you exactly which button to click?
Guide Attention and Add a Professional Polish
Dynamic zooms are all about control. They let you direct your audience's focus precisely where it needs to be. Instead of making viewers guess what's important on a cluttered screen, you guide their eyes, ensuring they don't miss a crucial step or a key piece of information. This one technique instantly adds a layer of professionalism that separates your content from a raw screen share.
Here’s what effective zooming really does for your videos:
- Clarifies Complex Steps: Magnifying a specific menu or button makes intricate workflows feel simple and intuitive.
- Emphasizes Critical Information: Highlighting a key statistic in a report or a specific line of code ensures it lands with impact.
- Boosts Viewer Engagement: A little bit of motion goes a long way in keeping your audience hooked and preventing their attention from wandering.
The Challenge of Creating Pro-Level Tutorials
This is where things usually get tricky. Many subject matter experts—the people who actually have the knowledge to share—lean on simple recording tools like Loom. They’re quick and easy, but the final videos are often 50-100% longer than they need to be, full of dead air and mistakes that bore the audience.
On the other hand, you have powerful, complex video editing software like Camtasia or Adobe Premiere Pro. These tools give you incredible control, but they come with a steep learning curve and require expert video editing knowledge. Mastering keyframes and animation paths takes a ton of time and practice. This creates a huge bottleneck, forcing the expert to hand off their raw footage to a separate video editing team, which slows everything down.
That’s the gap Tutorial AI was built to fill. It specializes in generating video tutorials based on screen recordings—perfect for demos, onboarding videos, explainer videos, feature release videos, knowledge base videos, and support article videos. Its tools let you speak freely without any practice, and your video will still look professional, as if it was edited in Adobe Premiere Pro. This allows the subject matter expert to create on-brand videos extremely efficiently.
Gaining Full Control with Manual Zoom Techniques
If you're the kind of creator who wants to control every last detail, then manual zoom techniques are where you'll feel right at home. This is the hands-on approach you'll find in professional software, letting you dictate exactly what your audience sees, frame by frame. It’s how you transform a simple screen recording into a polished, intentional guide that directs the viewer's eye with purpose.
This level of control really boils down to two core methods you’ll see in editors like Adobe Premiere Pro and Camtasia. Each one has a specific job, whether you're aiming for a quick, punchy highlight or a smooth, cinematic effect. Knowing which one to grab is the key to making your videos feel dynamic and professional.
The Digital Punch-In for Quick Emphasis
The simplest and most direct manual method is the digital punch-in. It's straightforward: you make a cut in your footage, and then on the very next clip, you scale up to magnify a specific area. Think of it as a hard cut that instantly forces attention onto a critical detail, like a tiny button in a software menu or a single cell in a massive spreadsheet.
I use this all the time for fast-paced tutorials. When you need to highlight multiple elements one after another without any lag, it’s perfect. Imagine a complex software demo where you're jumping between different toolbars—a series of quick punch-ins keeps the energy up and the focus tight, with zero distracting motion.
Creating Smooth Motion with Keyframe Animation
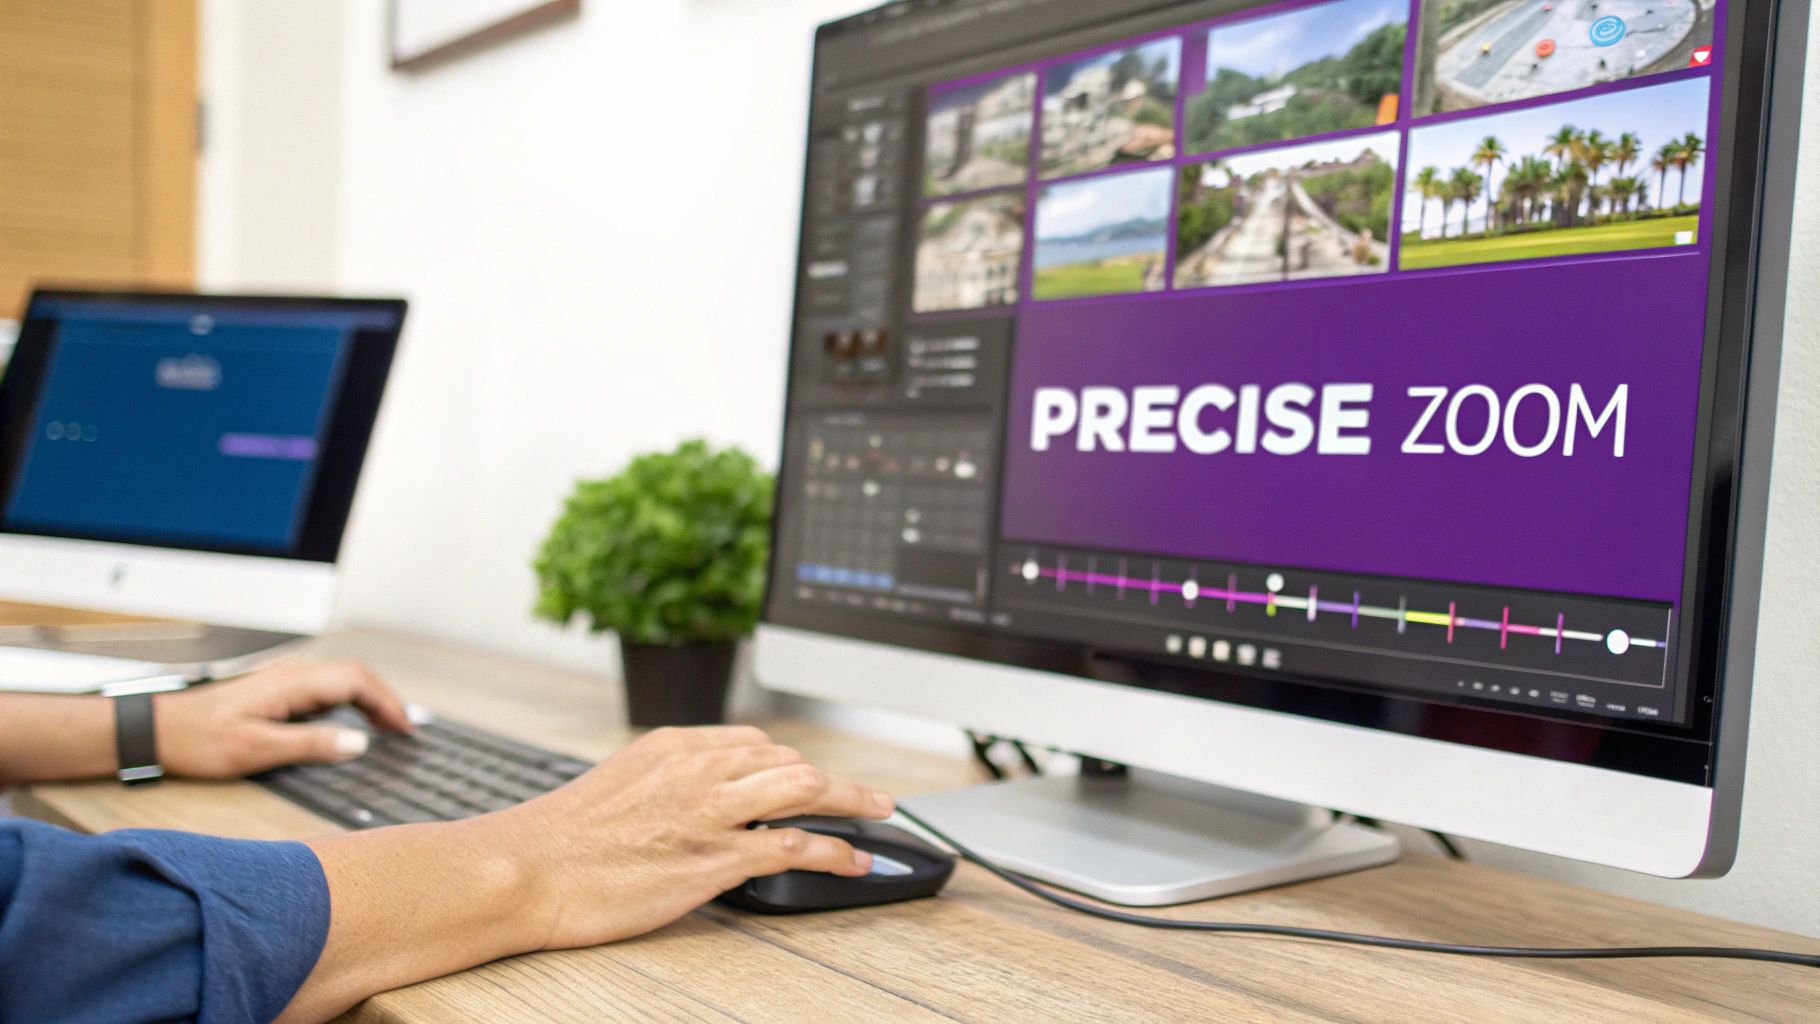
For a more graceful, cinematic feel, you need to get comfortable with keyframe animation. Keyframes are essentially markers you place on your video timeline to define the start and end points of an effect, like a change in scale or position.
By setting a keyframe at your starting size and another one a few seconds later at a larger scale, the software fills in the gaps, creating a perfectly smooth zoom.
This technique is often called the "Ken Burns effect," and it’s brilliant for building anticipation or gently guiding your viewer. You could use it to slowly reveal a key finding in a report or pan across a design mockup. You can even get fancy by combining scale and position keyframes to create dynamic movements that follow the action on screen. If you're ready to level up, exploring the best video editing software for beginners will introduce you to tools that make mastering keyframes much less intimidating.
The Trade-Off: Time and Skill
While manual methods give you ultimate control, they come at a cost: time. Properly setting up keyframes, tweaking the timing, and smoothing out the motion is a painstaking process that requires patience and a good bit of technical skill. It's incredibly powerful, but it often becomes a major bottleneck for experts who just want to share their knowledge without spending days editing. This is where the manual approach starts to feel impractical for anyone creating content at scale.
From Blurry Pixels to AI-Powered Precision
To really get why today’s smart zoom technology is such a big deal, you have to understand where we came from. For a long time, the idea of cleanly zooming into a video clip was more of a headache than a helpful tool. The constant battle with quality loss and the sheer tedium of manual editing made creating sharp, detailed tutorials a pipe dream for most.
Those old frustrations really set the stage for the AI-driven tools changing the game today. Sure, you can get incredible results with manual zooms if you have the right tools and patience—exploring the best video editing software is a great place to start. But a quick look back shows why manual editing alone was never the whole answer.
The Era of Pixelated Zooms
Think back to the early days of video. Zooming in was a technical nightmare. It all started in the 1960s with AT&T's Picturephone Mod I, which could only send a single black-and-white frame every two seconds. With a tiny 129x129 pixel resolution, any kind of zoom was out of the question. Even decades later, by 1994, cameras like Connectix's QuickCam faced similar hurdles, turning any attempt to magnify a detail into a blocky, pixelated mess.
The quality was so poor that up to 95% of businesses simply gave up on using video for tutorials. It just wasn't worth it. This history underscores a core problem that has plagued creators for years: most are subject matter experts, not professional video editors. They need to share their knowledge, not spend days wrestling with software.
Bridging the Gap Between Expertise and Editing
The traditional workflow has always been a bit clunky, hasn't it? An expert would record a demo or an onboarding video with a simple tool like Loom. It’s fast, but these recordings often end up being 50-100% longer than they need to be, full of "ums," pauses, and mistakes. The only other option was to dive into pro-level software like Camtasia or Adobe Premiere Pro, which requires a steep learning curve and hours of meticulous work.
This gap is precisely where modern AI tools come in. They eliminate the trade-off between speed and quality.
Tools from Tutorial AI, for example, generate video tutorials based on screen recordings for demos, onboarding videos, explainers, and more. Their tools let you speak freely without any practice, and your video will still look professional, as if it was edited in Adobe Premiere Pro. The AI analyzes your screen recording and automatically adds smooth, on-brand zooms right where they're needed—just as if an editor spent hours in Premiere Pro.
This completely changes the game. It empowers the subject matter expert to create high-impact knowledge base articles, feature release videos, and support content with incredible efficiency. What was once a complex, time-consuming editing task now becomes an automated, background process.
Letting AI Handle the Hard Work with Smart Zooms
Manually editing a video gives you absolute precision, but it's a huge time sink and requires some serious technical chops. On the other hand, simple screen recorders are quick and easy, but they often result in long, raw videos that struggle to hold a viewer's attention. This leaves a frustrating gap for subject matter experts who just want to create polished content without becoming full-time video editors.
This is exactly where AI-driven tools come in. They offer a fantastic middle ground, blending the speed of a simple screen recorder with the professional finish of a high-end editing suite. These platforms use smart technology to automate the really tedious parts of video creation—like zooming and panning—so you can stay focused on what you do best: sharing your expertise.
The Problem with Traditional Screen Recordings
We've all been there. You need to create a product demo, an onboarding video, or an announcement for a new feature. So, you fire up a tool like Loom and record your screen. It's fast, but the final video is often 50-100% longer than it needs to be, full of awkward pauses and unedited mistakes that make viewers tune out.
The alternative is diving into professional software like Adobe Premiere Pro or Camtasia. These tools are incredibly powerful, but you need to be a video editing wizard to master keyframes and create smooth animations. This usually means the subject matter expert has to hand off their raw footage to a dedicated editor, which just slows the whole process down.
Tutorial AI was built to break this cycle. It lets the expert record freely—no practice runs needed—knowing the final video will look like it was meticulously edited by a pro. The AI does all the heavy lifting, making it incredibly efficient to create on-brand, professional videos.
How Smart Zoom Changes the Game
Imagine recording a complex software tutorial without having to stress about every little mouse movement or keeping the most important part of the screen perfectly centered. With a tool like Tutorial AI, you just record your screen as you normally would. After you're done, its Smart Zoom feature automatically analyzes the footage, figures out where your cursor is active, and applies smooth, professional zooms and pans to follow the action.
This technology transforms a boring, static screen capture into a dynamic, easy-to-follow guide. It intelligently trims out dead air and snaps the viewer's focus exactly where it needs to be, resulting in a tight, engaging final video. This is a game-changer for creating content at scale, especially for things like:
- Knowledge base videos that clearly explain specific product features.
- Support article videos that walk users through troubleshooting steps.
- Explainer and onboarding videos that guide new users through a platform.
- Feature release videos that highlight new functionality with absolute clarity.
This infographic shows just how far video zoom technology has come, from the clunky, pixelated methods of the past to today's incredibly precise AI-driven solutions.

The journey from manual, quality-sapping zooms to automated, high-fidelity AI enhancements represents a massive leap forward in efficiency for creators.
Comparing Video Zooming Methods
To really understand the difference, let's look at how these approaches stack up. Each method has its place, but for creating professional-looking tutorials and demos quickly, AI-powered platforms offer a clear advantage.
While traditional tools give you ultimate control, and simple recorders offer speed, an AI-powered platform like Tutorial AI provides the best of both worlds: a professional result without the steep learning curve or time investment.
From Rudimentary Tools to AI Precision
The explosion of the video conferencing market really highlights how important zooming is. Back in the early 2000s, desktop tools made video more accessible, but zooming was basic and limited by low-resolution cameras and no intelligent focusing. Fast-forward to today, where we know that poorly executed manual zooms in tutorials can cause up to a 35% drop-off in viewer retention. For any team focused on growth, that's a lot of wasted effort.
Tutorial AI flips this on its head with unique, post-recording effects like auto-zoom that follows your cursor, smart highlights, and even automated blurs to protect sensitive on-screen data. This shift empowers anyone on the team to become a skilled video creator.
You can learn more about how different tools compare in our detailed guide on AI video editing software. And for adding another layer of creativity to your projects, an AI Zoom Out Video Generator can create expansive, engaging transitions that really make your content stand out.
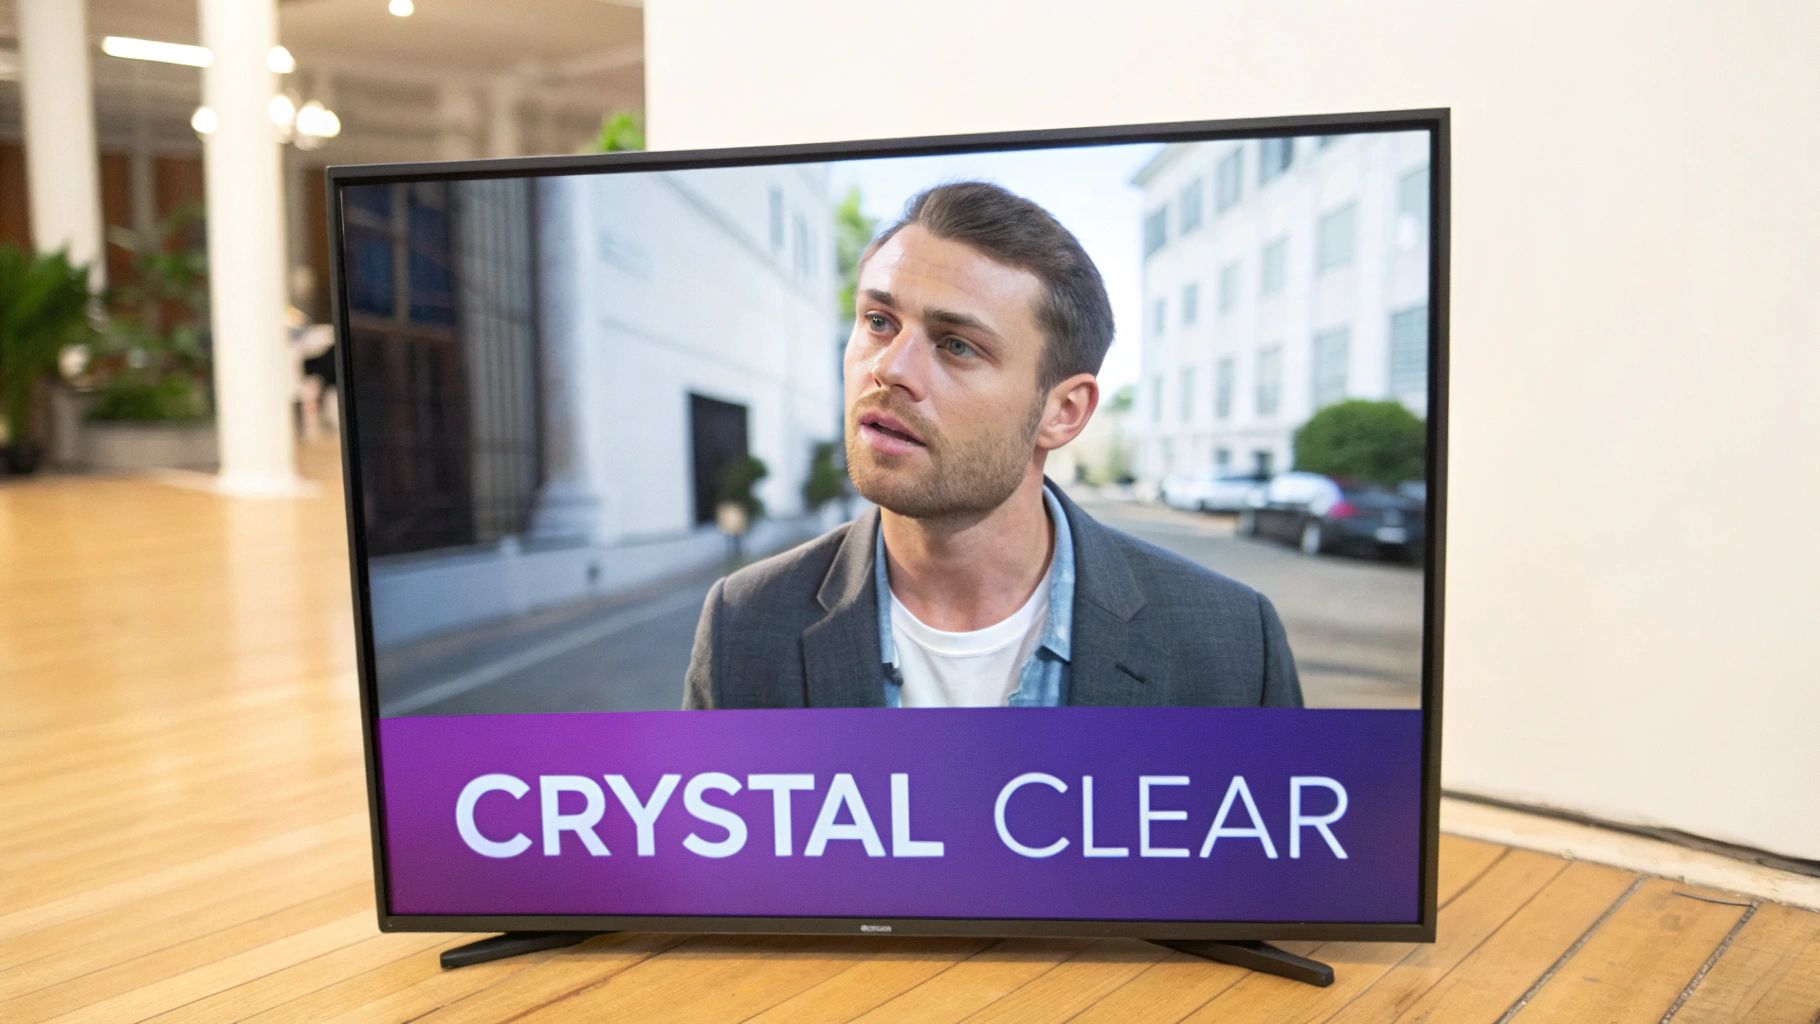
How to Keep Your Zooms Looking Crystal-Clear
Zooming is one of the most effective tools in your editing arsenal, but it has a dark side. Do it wrong, and you trade clarity for a blurry, pixelated mess that screams "amateur." The real trick to zooming like a pro isn't just how you zoom, but how you make sure every single frame stays sharp and professional.
Start with High-Resolution Footage—It's Non-Negotiable
This is the golden rule, and it starts before you ever press record. Think of your original footage as the raw material. If you start with a low-quality foundation, no amount of editing magic can fix it.
Always, always record your screen in at least 1080p (1920x1080). If your machine can handle it, 4K (3840x2160) is a game-changer. Why? Because you're giving yourself a massive canvas of pixels. When you zoom in on 4K footage for a 1080p final video, you're not just stretching pixels—you're cropping into a larger, more detailed image, which keeps everything looking crisp.
Don't Sabotage Your Work with the Wrong Export Settings
You can do everything right in the edit, but if you fumble the export, all that hard work goes down the drain. These settings are what stand between you and a high-quality final video, whether it's going on YouTube or an internal training portal.
Here’s what I focus on:
- Dial in the Right Bitrate: Think of bitrate as the data budget for each second of your video. More data means better quality. For a solid 1080p video destined for the web, I find a bitrate between 8-12 Mbps is the sweet spot. It balances quality without creating a ridiculously large file.
- Use a Modern Codec: A video codec is the technology that compresses your video. The industry standards for a reason are H.264 (AVC) and its successor, H.265 (HEVC). They do an incredible job of keeping quality high while making file sizes manageable. If you want to get nerdy about the details, we have a guide on what is a video codec that breaks it all down.
Where AI Steps in to Preserve Quality
This is where things get really interesting. For years, digital zoom was a dirty word in video editing. Early platforms had clumsy zoom features, often forcing you to just resize a window, which would instantly degrade quality by 50-70% and introduce nasty compression artifacts. It’s no wonder 62% of video calls pre-2020 had focus issues that frustrated everyone involved.
Tutorial AI completely sidesteps this problem. Instead of crudely stretching pixels, its smart zoom technology analyzes the on-screen action. It’s not just blowing up the image; it’s intelligently scaling the content to maintain maximum clarity.
When the AI tracks your cursor and magnifies a critical step in a demo, it does so without that dreaded pixelation. For product marketing teams, this is huge. We've seen this intelligent approach to quality boost video retention by as much as 40%. The reason is simple: viewers can actually see what’s going on without squinting. Your tutorials look polished, professional, and sharp every time.
Common Questions About Zooming In On Video
Even with the best tools, you're bound to have questions when you're figuring out how to zoom in on video. Getting the hang of dynamic zooms can feel tricky at first, but a few quick answers can clear up the common hurdles and get you back to creating.
Let's tackle some of the things people ask most, from dealing with robotic-looking zooms to choosing the right software in the first place.
Finding the Right Tool for the Job
One of the first questions I always hear is, "Which software should I use?" Honestly, it depends entirely on your goals. Are you aiming for absolute, frame-by-frame control for something cinematic? Or do you need to pump out a high-quality software tutorial as quickly as humanly possible?
For subject matter experts creating demos, onboarding videos, or support articles, the biggest challenge is always efficiency. You could use a simple screen recorder like Loom, which is super easy, but the raw videos are often 50-100% longer than they need to be. They're full of pauses and mistakes, forcing viewers to sit through the rough cut.
On the other end, you have professional video editing software like Camtasia or Adobe Premiere Pro. These give you incredible control but come with a steep learning curve. Mastering keyframes and timelines is a huge time sink that most experts just don’t have.
That’s exactly where AI-powered tools come in. With something like Tutorial AI, you can just speak freely and record your screen without stressing over perfection. The AI handles the hard part, automatically adding smooth zooms and cuts that make your video look like it was polished by a pro.
How Can I Make My Zooms Feel More Natural?
This is a big one. A common mistake is making zooms too fast or jerky, which can really disorient the viewer. A sudden, jarring movement just feels wrong.
To fix this, focus on smooth, gradual motion. If you're setting keyframes manually, give the zoom a few seconds to complete its movement instead of snapping into place.
Another great trick is to use "easing." Think of it as adding a slight acceleration and deceleration to the start and end of your zoom. This mimics how our eyes naturally focus, making the whole effect feel much more organic and less robotic.
What’s the Best Way to Create Tutorial Videos?
For tutorials, clarity is king. Your goal is to guide the viewer's attention so seamlessly they don't even notice the edits. This is where AI really shines, especially for content like:
- Explainer Videos: Breaking down complex topics one step at a time.
- Feature Release Videos: Highlighting new software functionality with precision.
- Knowledge Base and Support Videos: Providing clear, visual troubleshooting steps.
By automating the tedious parts of editing, you can put all your energy into delivering great information. Your final video will be tight, professional, and dead simple for your audience to follow, turning a basic screen recording into a powerful teaching tool.
Ready to stop wasting time on manual edits and start creating polished, professional tutorials in minutes? Tutorial AI uses smart technology to automatically add cinematic zooms, trim dead air, and make your screen recordings look studio-quality.