Recording a webinar is so much more than just hitting a button. You’re not just capturing a live event; you're creating a lasting asset that can work for you long after you go offline. The whole process really boils down to three key phases: preparing your content and tech, nailing the live recording itself, and then using smart post-production tools to polish the final video for on-demand viewing. These days, AI tools are a game-changer, making it possible to turn that raw footage into professional-grade demos and tutorials without needing a film degree.
Why Webinar Recording Is Your Secret Growth Engine
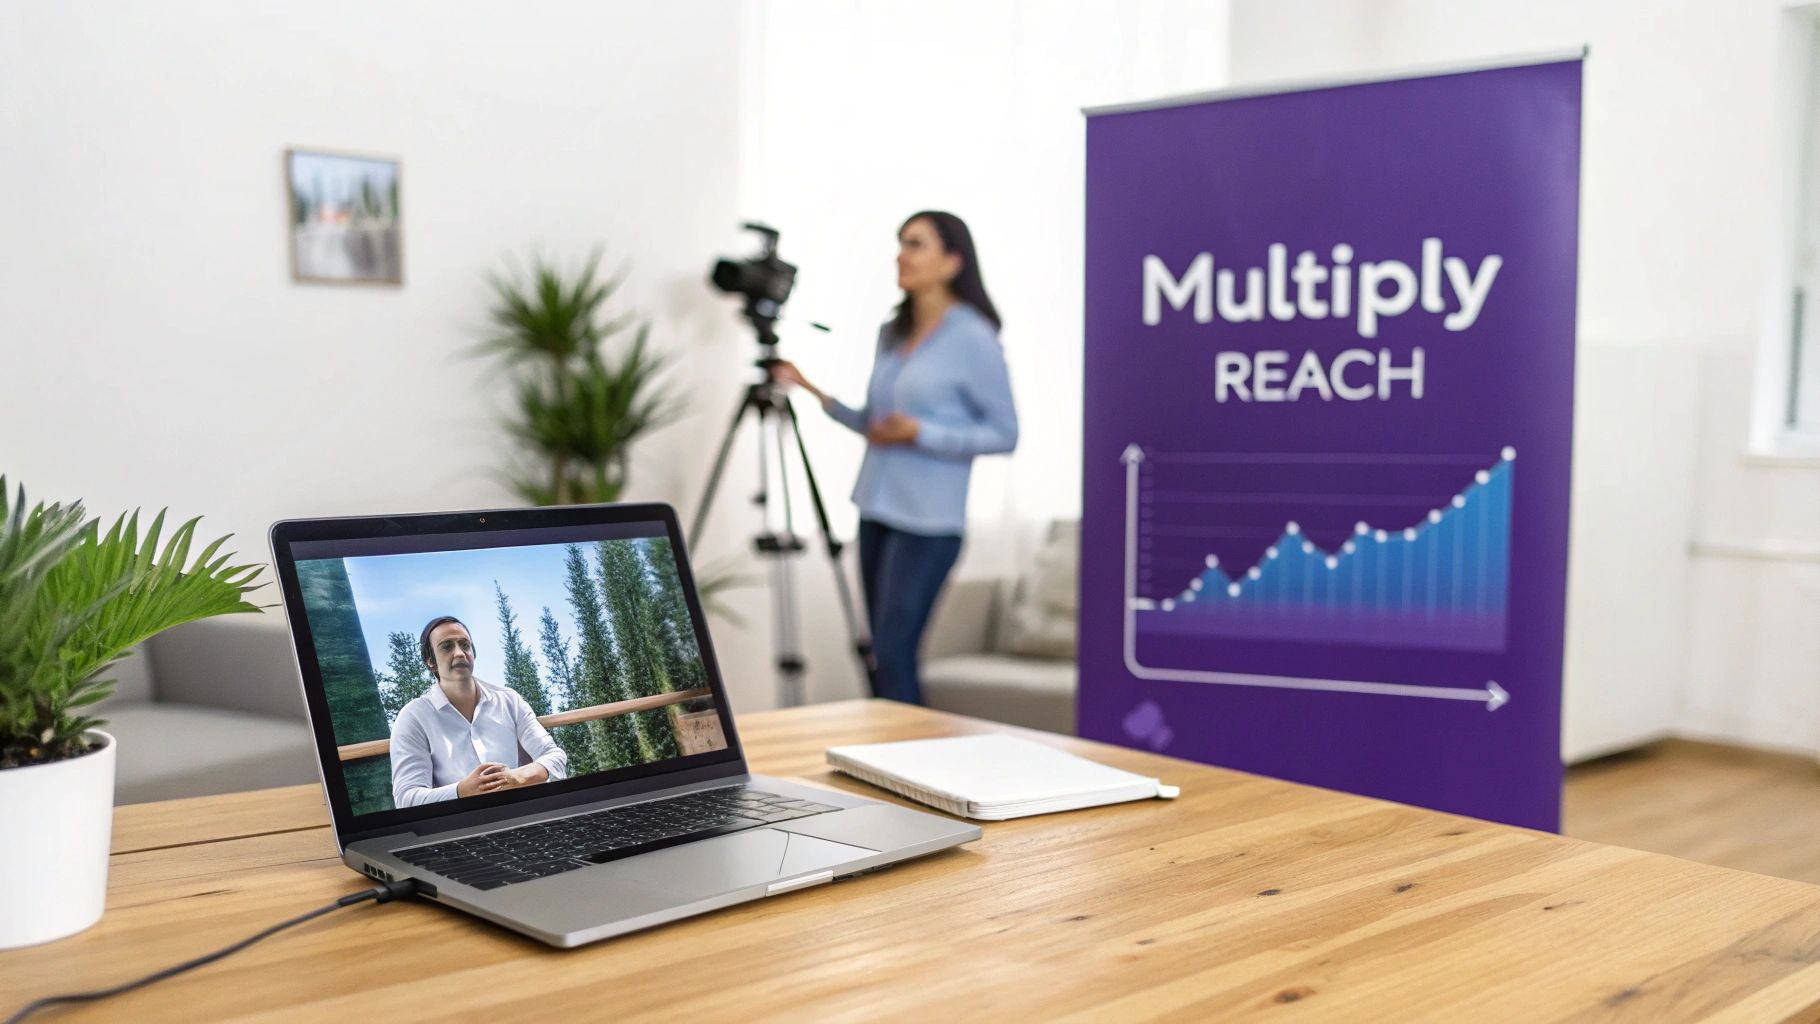
Let's be real for a moment. A live webinar, no matter how great, only ever reaches a fraction of its total potential audience. We live in an on-demand world, and the true, long-term value of your webinar is unlocked in the replay. This simple fact shifts recording from a chore to a core part of your business strategy—a way to scale knowledge, nurture leads, and train your teams far more efficiently. A polished recording isn't just a nice bonus anymore; it's a critical business asset.
The numbers back this up. The global webinar market is on track to hit USD 1.305 billion in 2025. Even as live demand plateaus a bit, the secret to growth is in the replays. When you factor in on-demand views, total attendance jumps to 57%. With average live attendance hovering around just 49%, you're literally leaving more than half of your potential audience on the table if you don't have a solid recording strategy.
The Problem with Turning Live into On-Demand
Here’s where most teams hit a wall. It’s one thing to have a raw, hour-long recording; it’s another thing entirely to transform it into a compelling, professional video that people actually want to watch.
Simple screen recorders like Loom are fantastic for quick, informal messages, but they often result in demos or tutorials that are 50-100% longer than they need to be. On the flip side, you have powerful video editing software like Camtasia or Adobe Premiere Pro, which are incredible but demand expert-level video editing knowledge and a serious time commitment.
This is the gap where great content goes to die. The subject matter expert has all the knowledge, but they don't have the time or the editing chops to create a polished, on-brand video that does their expertise justice.
How AI Is Bridging the Gap
This is exactly where tools like Tutorial AI come in and completely change the equation. The platform generates polished video tutorials based on screen recordings. This makes it perfect for creating a wide range of content, including demos, onboarding videos, explainer videos, feature release videos, knowledge base videos, and support article videos.
Tutorial AI's tools let you speak freely without any practice, and your video will still look professional, as if it was edited in Adobe Premiere Pro. It empowers the subject matter expert to create on-brand videos with extreme efficiency.
By using AI to handle the heavy lifting of editing, you can produce on-brand videos with incredible speed, multiplying the impact of every single webinar you host. This approach is a cornerstone of a powerful customer education strategy that continues to serve your audience long after the live event is over.
Your Pre-Webinar Blueprint for a Perfect Recording
A flawless final video starts long before you ever hit the 'record' button. The secret to creating a webinar recording that becomes a valuable, long-lasting asset is to think about the on-demand viewer from the very beginning. This means going beyond just planning your live talking points and actually designing every element for future clarity and impact.
This kind of strategic foresight isn't just nice to have; it's essential. In the B2B world, an incredible 73% of marketers say that high-quality leads come directly from webinars. With companies running an average of 23 webinars a year and 92% of professionals seeing them as the best way to engage remote audiences, a well-planned recording setup is non-negotiable. Get it right, and these assets will keep working for you long after the live event ends. You can dig into more of these top B2B webinar trends and statistics.
Crafting Content for On-Demand Viewing
Let's start with your presentation materials. You need to design your slides with the recording in mind, which means using large, legible fonts and high-contrast colors. Avoid the temptation to cram slides with dense text. Instead, let powerful visuals and key phrases support your narration. This simple practice ensures your content stays crystal clear, even when someone is watching it back on a smaller screen.
Your script also needs a slightly different mindset. While you absolutely want a natural, conversational tone for the live audience, try to keep references to the specific live date or time-sensitive promotions to a minimum. Adopting this "evergreen" approach makes your recording relevant and useful for months—or even years—to come.
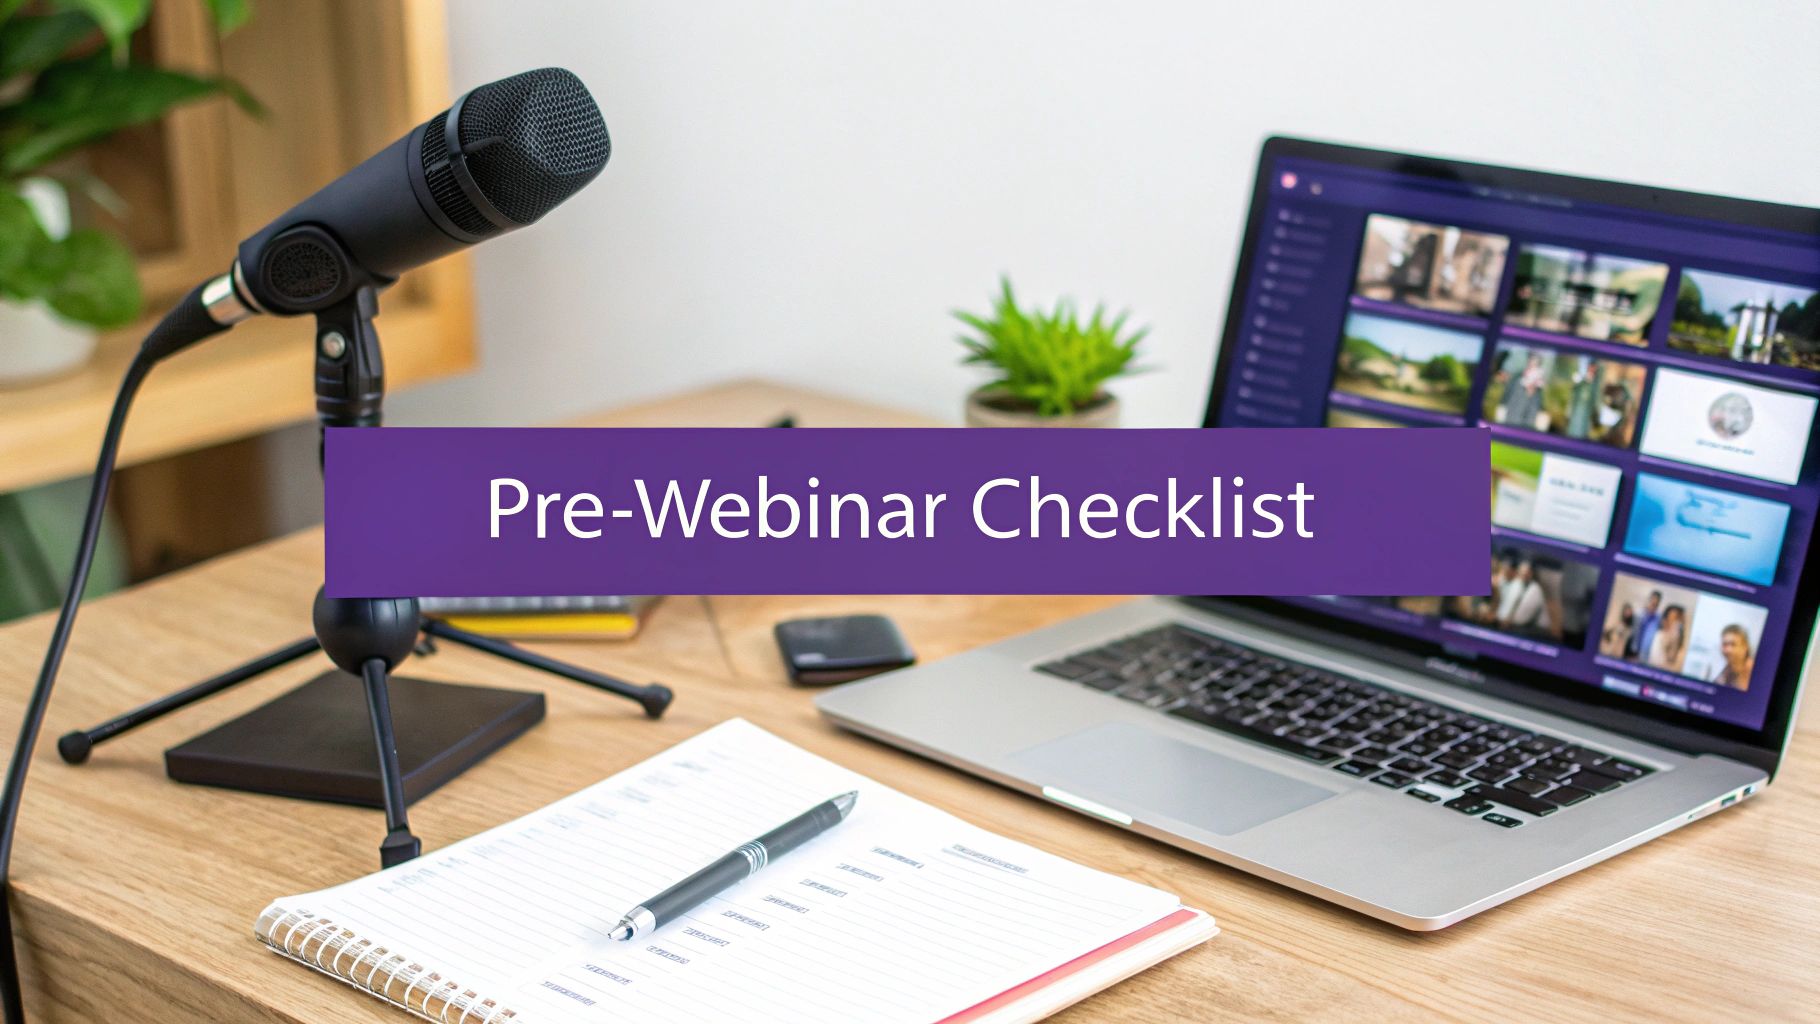
Nailing Your Tech Setup
Your technical setup is where quality is truly won or lost. Even the most compelling content can be completely undermined by poor audio or a grainy video feed. Don't leave this to chance. I always recommend a full tech rehearsal at least a day in advance to iron out any kinks.
Before you go live, a quick check of your hardware and software is crucial. This simple table breaks down the essentials to look over.
Essential Pre-Recording Tech Checklist
A quick-reference table to ensure your hardware and software are ready for a high-quality webinar recording.
Running through these quick checks will save you a world of headaches later.
A critical, and often forgotten, step is preparing for consent. At the beginning of the webinar, before you start recording, clearly announce that the session will be recorded and made available for replay. This simple statement respects attendee privacy and covers your legal bases.
How to Nail the Live Recording Process
The quality of your raw footage is a direct reflection of how well you manage the live event. When you run a tight ship during the webinar, you're not just serving the live audience—you're saving yourself hours of cleanup work later. Think of your live performance as the first, and most important, step in post-production.
Your delivery is everything. I've learned that speaking at a steady, deliberate pace is a huge favor to the AI transcription tools we all rely on now. Clear, evenly paced speech gives you a much more accurate transcript, which is the foundation for everything that comes next. If you rush or mumble, you're just creating a tedious cleanup job for yourself later.
Along the same lines, managing your attendees' audio is non-negotiable for a clean recording. It only takes one person's unmuted microphone to introduce chaos—dogs barking, keyboard clatter, side conversations—and ruin a key moment. Be proactive. Mute everyone on entry and clearly explain how they can use the "raise hand" feature or chat for questions.
Handling Audience Interaction for Replay Viewers
Live Q&A is often where the real magic happens, but it can be a confusing mess for anyone watching the replay. They don't see the chat feed, so your answers will lack all context.
Make this your golden rule: always repeat the question out loud before you answer it.
Instead of a vague, "Great question, yes you can," try this: "Sarah is asking if you can export reports to a PDF. Yes, you absolutely can, and let me show you how..." This one simple habit makes your Q&A segment make sense for everyone, turning it into a valuable, standalone piece of content.
Don't let a technical glitch derail you. If your screen share freezes or your audio cuts out, just acknowledge it calmly, fix it, and move on. Handling a hiccup with poise looks far more professional than pretending it didn't happen.
Mastering Your On-Screen Presence
How you present yourself on camera plays a huge role in the final recording's quality. Try to maintain eye contact with the camera itself, not just the faces on your screen. This creates a much more direct connection with everyone watching, both live and on-demand.
Use hand gestures naturally to add emphasis, but try to avoid nervous fidgeting, which can be super distracting on video. I also find it incredibly helpful to pause for a beat between major points. These pauses not only add impact to your delivery but also create clean, natural breaks that are a gift during the editing process.
For more tips on getting the basics right, our guide on how to screen record with sound is a great place to start. A few small adjustments like these can elevate your recording from a simple screen capture to a genuinely polished presentation.
From Raw Footage to Polished Asset with AI
Once the live session wraps up, the real work begins. Your raw webinar recording is probably full of awkward pauses, "ums" and "ahs," and maybe a few tangents that made sense in the moment but won't help an on-demand viewer. This is where you turn that rough cut into a valuable, evergreen asset, and thankfully, modern AI tools make this process easier than ever.
In the past, you were stuck between two frustrating options. You could use a simple tool like Loom for quick screen shares, but these often result in videos that are 50-100% longer than necessary. Or, you could dive into professional software like Camtasia or Adobe Premiere Pro, which can deliver a perfect result but demand serious video editing skills and hours of painstaking work.
The New Way to Edit Video
AI-powered platforms are completely changing this dynamic. They’re built on a simple idea: the subject matter expert shouldn't have to become a video editing pro just to create a great tutorial. This tech lets you record naturally, without worrying about a flawless delivery, because you know the AI will clean it up beautifully.
The workflow is surprisingly simple. After recording, the AI generates a full text transcript of your narration. Instead of fumbling with a complex timeline, you just edit the text.
This approach means you can focus on clarity during the live event, which makes the post-production process even simpler.

As the flowchart shows, what you do live—speaking clearly, repeating audience questions, and keeping audio clean—has a direct impact on how quickly you can polish the final video.
From Text Edits to Perfect Video
This "edit-like-a-doc" method is a real game-changer. If you find a sentence in the transcript you don't like, just delete it. The corresponding video and audio disappear, and the timeline stitches itself back together seamlessly. Said "uh" one too many times? Remove every filler word with a single click.
This makes it incredibly fast to produce all kinds of valuable content:
- Knowledge Base Videos: Turn common support questions into clear, visual walk-throughs.
- Feature Release Videos: Quickly create engaging announcements for new product updates.
- Sales Demos: Craft the perfect product demo once and let your sales team use it forever.
- Support Article Videos: Add visual guides to your help docs to cut down on support tickets.
Think about it: the average webinar viewing time is 53 minutes, and 60-minute sessions draw the highest attendance at 62%. Manually editing an hour-long video is a monumental task. With 43% of businesses now using video for webinars, AI platforms are becoming essential for turning these long sessions into powerful training assets without the timeline headaches.
One of the coolest features is the ability to regenerate your entire narration using a lifelike AI voice. If you flubbed a line or the audio quality was poor in one spot, you don't have to re-record the whole thing. Just fix the text and regenerate the audio.
Adding Professional Polish with AI
Beyond just making cuts, these tools automatically add a layer of professional polish. They can create smart zooms that pan and focus on key areas of your screen, add cursor effects to highlight important clicks, and insert branded intros and outros to keep everything consistent with your company's style. For a deeper dive into crafting effective tutorials, this guide to Training Video Creation offers some great strategies that pair well with AI-driven editing.
By automating the most tedious parts of video editing, you free up your internal experts to do what they do best: share their knowledge. They can create high-quality training materials, product demos, and support content in a fraction of the time it used to take. You can learn more about this evolving technology in our detailed breakdown of AI video editing software.
Getting Your Recorded Webinar in Front of the Right Eyeballs
You've done the hard work of creating a fantastic webinar, editing it to perfection, and now you have a polished, valuable asset. But a great recording is useless if no one ever sees it. The final, and arguably most important, step is getting that replay in front of your target audience.
Your distribution strategy isn't a one-size-fits-all plan. What works for your support team trying to close tickets won't be the best approach for the sales team trying to close deals. The real trick is to deliver your content where your audience already spends their time, making it frictionless for them to watch and learn.
Match the Channel to the Team's Goal
Different departments have different missions, and your recorded webinar can be a powerful tool for all of them if you package and deliver it correctly. For the support team, the goal is fast, effective problem-solving. For sales, it's about providing persuasive proof that helps move a prospect forward.
Here’s a practical look at how this plays out:
For Support Teams: Don't just link to the hour-long recording. Clip out short, specific tutorials and embed them directly into your knowledge base articles. When a customer has a question about a particular feature, a two-minute visual guide is infinitely more helpful than a long video, and it dramatically cuts down on support ticket volume.
For Sales Teams: Integrate potent product demos right into your CRM and email sequences. Imagine following up with a prospect and sending a personalized email with a 90-second clip that perfectly demonstrates the solution to the exact problem they mentioned on your call. It's targeted, helpful, and incredibly effective.
For Training & Onboarding: Your webinar content should live inside your Learning Management System (LMS). This allows you to build comprehensive training modules around key topics, track who has completed the training, and ensure new hires or customers are getting up to speed consistently.
To help you visualize this, here's a breakdown of how different teams can use the same core recording in very different ways.
Webinar Distribution Channels by Team
As you can see, a single webinar can fuel content for every part of your business if you're thoughtful about how you slice it up and where you put it.
Your Webinar Is a Content Goldmine—Treat It That Way
Your recorded webinar isn't just one video. It's a rich source of raw material that's begging to be repurposed. To really squeeze every drop of value out of your efforts, you need to get smart about content repurposing. An hour-long session can easily be transformed into a dozen or more smaller, highly targeted assets.
Think bigger. Turn the key talking points into a detailed blog post. Pull out a few powerful quotes and create shareable graphics for social media. You could even strip the audio track and release it as a podcast episode for people who prefer to listen on the go. This multi-format, multi-channel approach is how you get the absolute most out of the time you invested in the live event.
The goal isn't to just spam a link to the full recording everywhere. It's about strategically breaking the recording into digestible, context-aware pieces that meet different audiences on the platforms they actually use.
Don't Skimp on the Final Polish
Finally, make sure the technical quality of your videos matches the quality of your content. Always export your final edits in the highest resolution you can, all the way up to 4K. Video platforms like YouTube and Vimeo favor high-quality uploads in their algorithms, and more importantly, it just looks better and more professional to your audience.
Brand consistency is the other side of that coin. Use features like shareable brand kits to effortlessly apply your company’s logo, fonts, and color scheme to every single video clip you create. This ensures that whether someone sees your content on LinkedIn, in your knowledge base, or in a sales email, the experience is seamless and instantly recognizable as yours. It’s a small detail that builds a massive amount of brand trust with every single view.
Common Questions About Recording Webinars
Even the most seasoned presenters run into a few snags when recording a webinar. It's just part of the process. Let’s tackle some of the most common questions head-on to save you some time and a few headaches. Think of this as your cheat sheet for those little details that make a big difference.
What's the Best Resolution to Record a Webinar?
My rule of thumb? Always record in the highest resolution you can. You can always scale down, but you can never add quality that wasn't there to begin with.
Your baseline should be 1080p (Full HD). It’s the standard for a reason—it looks crisp, professional, and is essential if you're showing off software or walking through detailed slides. Anything less will look amateurish.
If your computer and internet can handle it, stepping up to 4K is a game-changer. The extra detail gives you so much more freedom when you're editing. You can zoom in on a specific part of your screen or pan across a slide without the image turning into a pixelated mess.
How Should I Handle the Q&A for the On-Demand Replay?
A live Q&A can be a goldmine of information, but it often falls flat for on-demand viewers who can't see the chat. The fix is surprisingly simple: read every question out loud before you answer it. This single act gives the replay audience all the context they need to follow along.
When you're editing later, you can clean this up even more. Cut out any questions that weren't relevant, or use simple text overlays to pop the question on the screen while you're answering. This turns a potentially messy live Q&A into a polished, easy-to-digest FAQ section for your final video.
Can I Really Edit My Mistakes Out Easily?
Absolutely. We all use filler words like "um" and "ah" or start a sentence over. In the past, fixing these was a tedious process of hunting through timelines. Not anymore.
Modern AI-powered tools have completely changed how this works.
Instead of scrubbing through a video timeline, you edit the transcript. The software transcribes your recording, and you just delete the words or phrases you don't want. When you delete the text, the corresponding video and audio are automatically snipped out, leaving you with a seamless, clean take.
This "edit-like-a-doc" workflow is a lifesaver. It means your experts can just focus on what they know best without worrying about a perfect delivery. The AI handles the polish, turning a natural conversation into a professional demo or tutorial. This is how teams create great on-brand videos—from customer onboarding to internal knowledge base content—in a fraction of the time.
What's the Best Way to Share a Big Webinar File?
First things first: don't even think about attaching it to an email. It’ll almost certainly bounce back. The professional standard is to upload your video to a dedicated hosting platform.
Which one should you use? It depends on your audience.
- For public-facing content, platforms like YouTube or Vimeo are solid choices. Just upload and share the link.
- For most business needs, a more specialized platform is the way to go. Using a host with a secure, embeddable player lets you drop the video right into your knowledge base, training portal, or sales follow-up emails. Plus, you get valuable analytics and security controls you just don't get with public sites.
Ready to turn your screen recordings into polished, professional tutorials in minutes? Tutorial AI uses an AI-powered workflow to make video editing as easy as editing a document. Create studio-quality demos and training videos effortlessly.