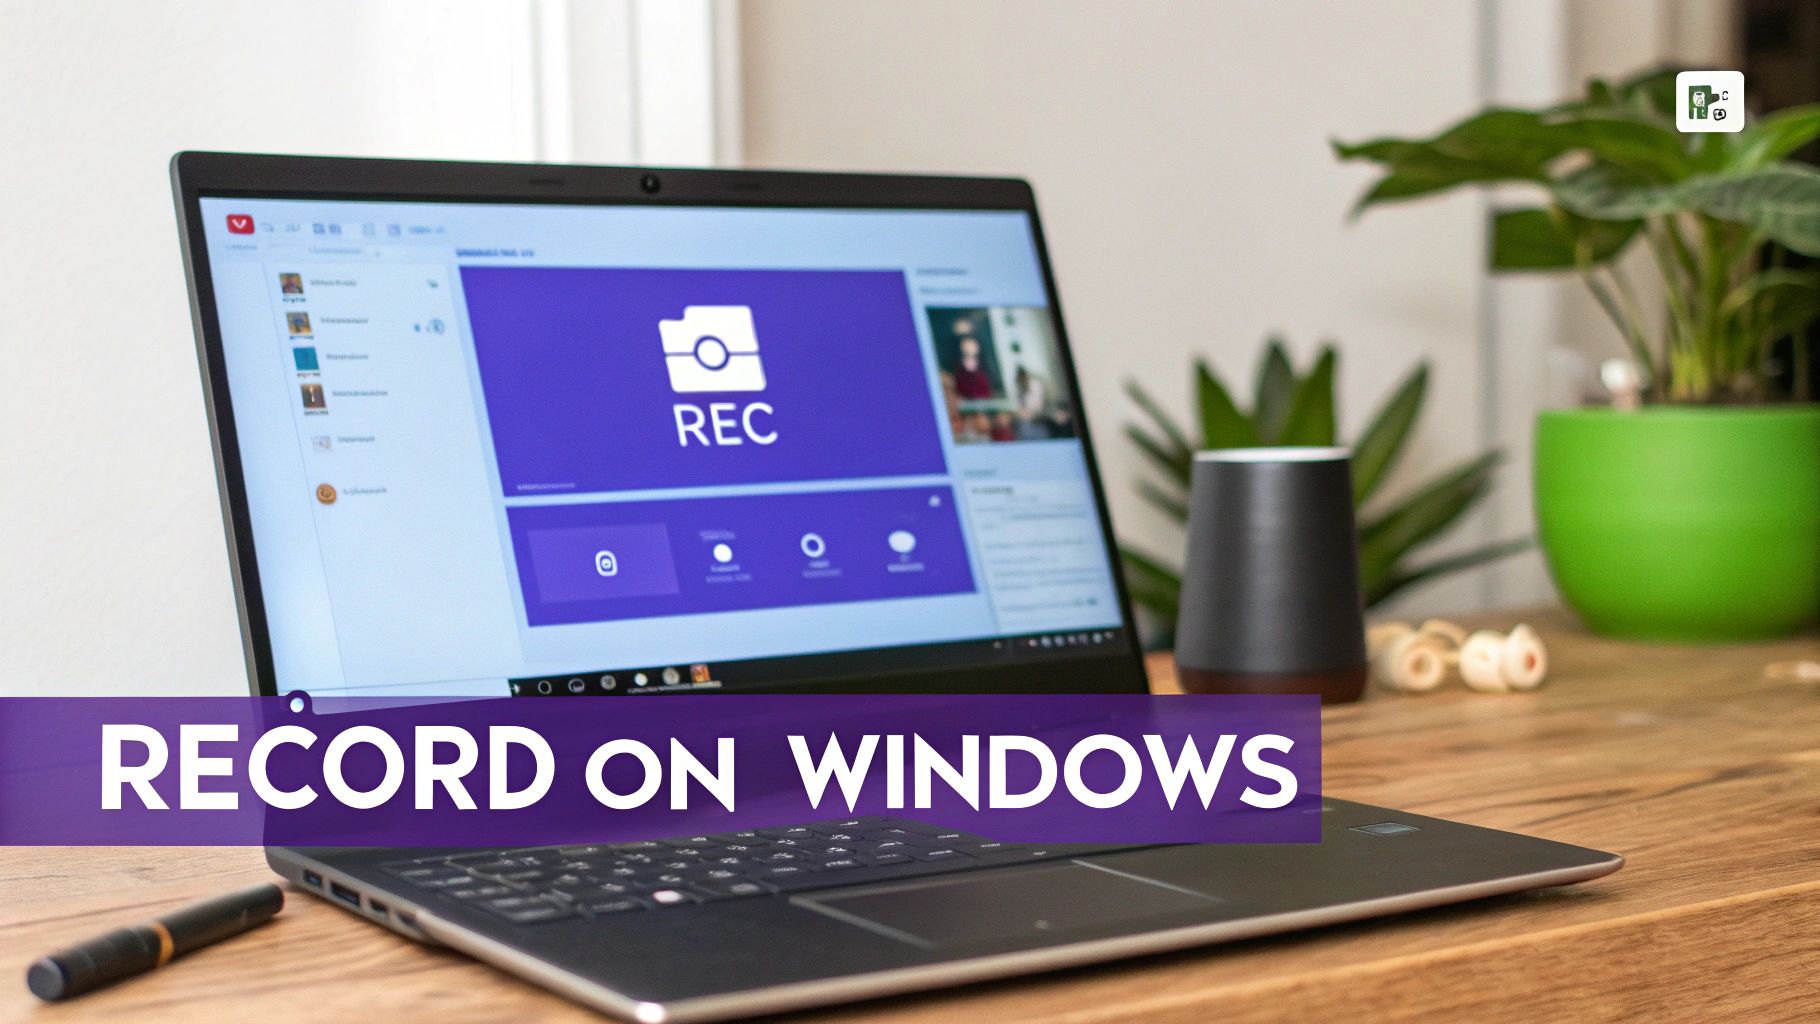
Welcome! If you've ever needed to show a colleague how to do something, report a weird bug, or create a full-blown software tutorial, you know that a quick screen recording is often worth a thousand words. Knowing how to record your screen on Windows is a skill that’s moved from a "nice-to-have" to a "must-have" for many of us.
This guide will walk you through everything you need to know to capture, polish, and share your screen recordings like a pro.
Why Screen Recording Is a Modern Superpower
Let's be honest, screen recording isn't just for IT support anymore. It’s become a core part of how we work, especially in sales, marketing, and training roles. Clear, visual communication is king, and nothing gets a point across faster than a short video showing exactly what’s on your screen.
The numbers back this up. The global market for screen recording software was valued at a whopping $1.2 billion in 2023 and is expected to hit $2.1 billion by 2031. This surge is directly tied to the rise of remote work and the endless demand for digital training. If you're curious, you can read the full research on the screen recorder market's growth to see just how big this trend has become.
The great news is that Windows gives us plenty of options, from quick and easy built-in tools to powerful third-party software. We’ll cover them all.
Choosing the Right Tool for the Job
Picking the right screen recorder really comes down to what you’re trying to accomplish. A quick clip for a coworker doesn't need the same production value as a polished product demo for a new client.
Here's a quick breakdown of the approaches we'll explore:
- Quick Wins: Need to capture something right now? Built-in tools like the Xbox Game Bar or even PowerPoint are surprisingly effective.
- Full Control: For those who need granular control over every detail, professional tools like OBS Studio offer a universe of customization.
- AI-Powered Workflows: If you want professional results without the steep learning curve, new AI-driven tools can help you create polished videos in a fraction of the time.
The key takeaway is to match the tool to the task. Using a complex program for a simple screen grab is overkill, but relying on a basic tool for a professional tutorial will leave you frustrated with the results.
The Old Way of Making Tutorial Videos Is Broken
For years, creating high-quality video tutorials based on screen recordings meant facing a tough choice. You could use an easy recorder like Loom, which is fast but often results in demos or explainer videos that are 50-100% longer than they need to be. Or, you could dive into the deep end with professional video editing software like Adobe Premiere Pro or Camtasia, which requires expert video editing knowledge.
This is where a tool like Tutorial AI changes the game. Its tools let you speak freely without any practice, and your video will still look professional, as if it was edited in Adobe Premiere Pro. It bridges the gap by allowing the subject matter expert to create on-brand videos—like demos, onboarding videos, feature release videos, knowledge base videos, or support article videos—extremely efficiently. You can just talk and click through your process, and the final video comes out looking sharp, concise, and professionally produced.
To help you decide which path is right for you, here’s a quick comparison of the main options we'll be discussing.
Windows Screen Recorder Comparison At a Glance
This table breaks down the best tools for the job, whether you're making a quick bug report or a polished, professional tutorial.
Ultimately, the best tool is the one that fits your workflow and helps you create great content without unnecessary friction. Let's dive into how to use each one.
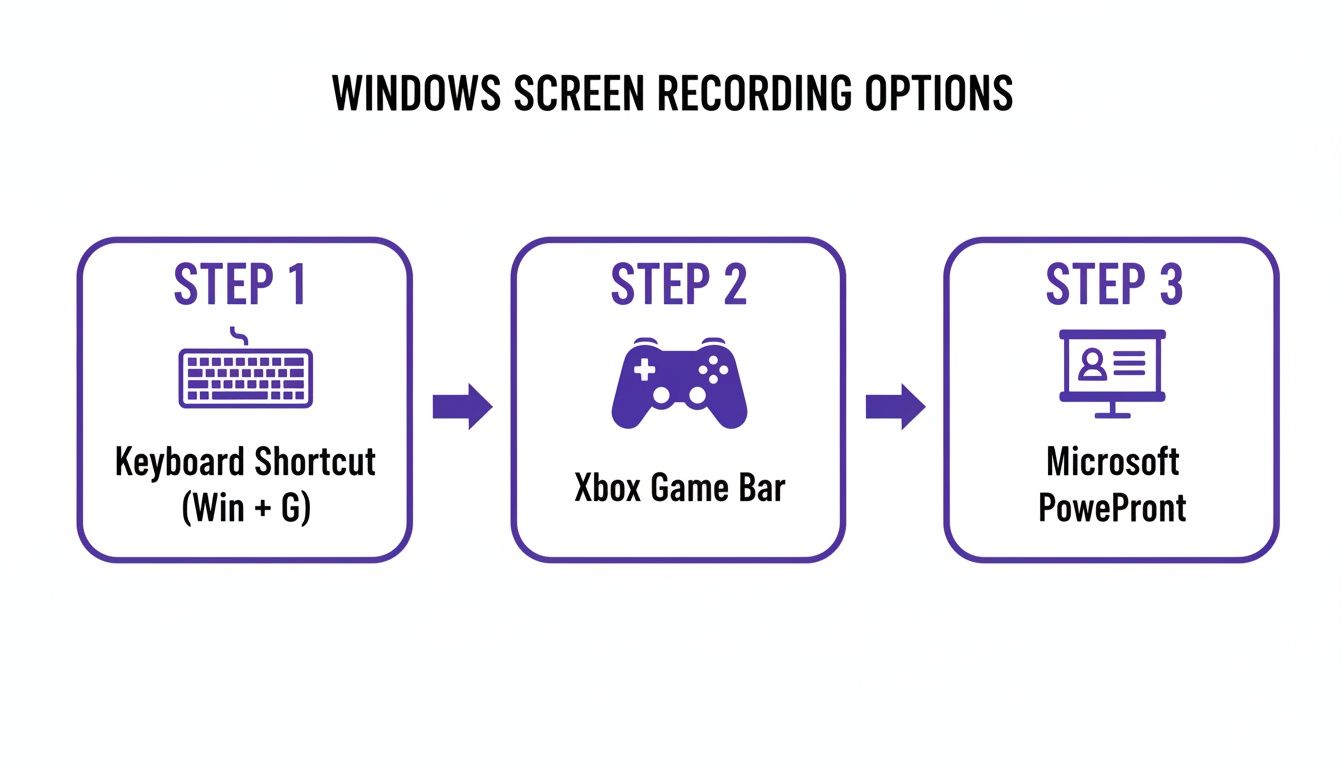
Mastering Windows Built-In Recording Tools
Ever find yourself needing to record your screen right now? The last thing you want to do is hunt down, download, and install new software. Luckily, you probably don't have to.
Windows comes with a couple of surprisingly good built-in tools that are perfect for those quick jobs—like showing a developer a bug, walking a colleague through a process, or just capturing a workflow for your team.
Your Go-To Tool: The Xbox Game Bar
Don't let the name fool you; the Xbox Game Bar isn't just for gaming. It's a versatile recorder baked right into Windows, ready whenever you need it. Think of it as your instant-capture utility.
The fastest way to pull it up is with the keyboard shortcut: Windows key + G. This brings up an overlay with a bunch of widgets. If you don't see the "Capture" window, just click the little camera icon on the main bar to bring it forward.
Once it's open, you're ready to roll. These are the shortcuts you'll want to remember:
- Start/Stop Recording:
Windows key + Alt + R - Mute/Unmute Mic:
Windows key + Alt + M - Take a Screenshot:
Windows key + Alt + PrtScn
Here’s the main thing to keep in mind: the Game Bar is designed to record one application at a time. It won’t capture your full desktop or the File Explorer. This makes it fantastic for a focused recording of a specific program, but if you're building a tutorial that requires jumping between different windows, it's not the right tool for the job.
Getting your microphone and system audio captured is a breeze. If you want a deeper dive into the specifics, our guide on how to record your screen with sound covers all the details.
The Hidden Gem: Microsoft PowerPoint
Here's a tool most people don't even know exists: Microsoft PowerPoint has a built-in screen recorder, and it's actually pretty great for creating presentation clips or even standalone video files.
Just open up a PowerPoint presentation and head over to the Insert tab. Look all the way to the right of the ribbon, and you'll spot the Screen Recording button.
Clicking it minimizes PowerPoint and gives you a small control dock at the top of your screen. From here, you can draw a box around the exact area you want to record, choose whether to capture audio, and decide if your mouse pointer should be visible. It’s simple and effective.
The real magic here is the workflow. As soon as you stop recording, the video drops directly onto your current slide. You can then do quick trims, add some styling, or just right-click the video and hit "Save Media as..." to export it as a standard MP4. This is my go-to method for creating quick instructional snippets to embed in a larger deck.
Achieving Pro-Level Recordings With OBS Studio
When you’ve pushed the built-in Windows tools to their limits, it’s time to bring in the heavy hitter. OBS (Open Broadcaster Software) Studio is, without a doubt, the gold standard for free, open-source recording software. It’s what streamers, professional content creators, and trainers rely on when they need absolute control over every pixel and sound byte.
I’ll be honest, the interface can look a bit like a cockpit at first glance, but the core idea is surprisingly simple. OBS is all about building Scenes out of different Sources. A source can be anything you want to show: your entire monitor, a specific app window, your webcam feed, a logo, or even a live browser window.
This layered approach is where the magic happens. You could set up one scene for a full-screen software demo, then instantly switch to another scene showing your webcam feed in a picture-in-picture layout for a personal welcome. That kind of dynamic control is what separates a basic screen grab from a polished, professional-looking tutorial. You can see how it stacks up against other tools in our roundup of the best free screen capture software.
Fine-Tuning Your Recording Settings
To get the best out of OBS, you'll want to dive into the settings menu for a few minutes. Head over to File > Settings > Output—this is where you dial in the quality of your final video.
For high-quality recordings you'd be proud to upload to YouTube, here’s what I recommend:
- Output Mode: Switch this from "Simple" to "Advanced" to unlock the good stuff.
- Recording Format: Stick with MP4. It's the universal standard and gives you the best mix of quality and file size.
- Video Encoder: If your computer has a modern NVIDIA graphics card, choose NVENC H.264. It offloads the work from your CPU and delivers fantastic results. If not, x264 is a solid CPU-based alternative.
- Rate Control: Set this to CQP (Constant Quantization Parameter). Think of this as a quality setting. A value between 18 and 23 is the sweet spot; lower numbers mean better quality but result in larger files.
Next, pop over to the Video tab. You'll want to set your Base (Canvas) Resolution to match your monitor's native resolution. For the Output (Scaled) Resolution, set it to what you want your final video to be (like 1920x1080). For the sharpest results, keep these two the same. As for frame rate, set Common FPS Values to 30 for most tutorials or bump it to 60 if you’re recording fast-paced gameplay or animations.
The graphic below shows the typical path people take, starting with the simplest tools before graduating to something more powerful like OBS.
This illustrates how you can move from quick keyboard shortcuts to built-in apps like the Game Bar or PowerPoint, and then finally to advanced software for ultimate control.
Mastering Audio and Multiple Sources
One of my favorite things about OBS is its audio handling. The Audio Mixer panel gives you independent control over your desktop audio (like app sounds) and your microphone.
This is huge. You can easily add filters like noise suppression or a compressor directly to your mic source. This lets you get that clean, broadcast-quality voiceover sound without needing to fix it in post-production.
Here's a pro tip: Combine a "Display Capture" source with a "Video Capture Device" source (your webcam) to create a more engaging tutorial. OBS makes it easy to resize and position your webcam feed anywhere on the screen, adding a personal, professional touch that really connects with your audience.
Transforming Recordings With AI-Powered Workflows
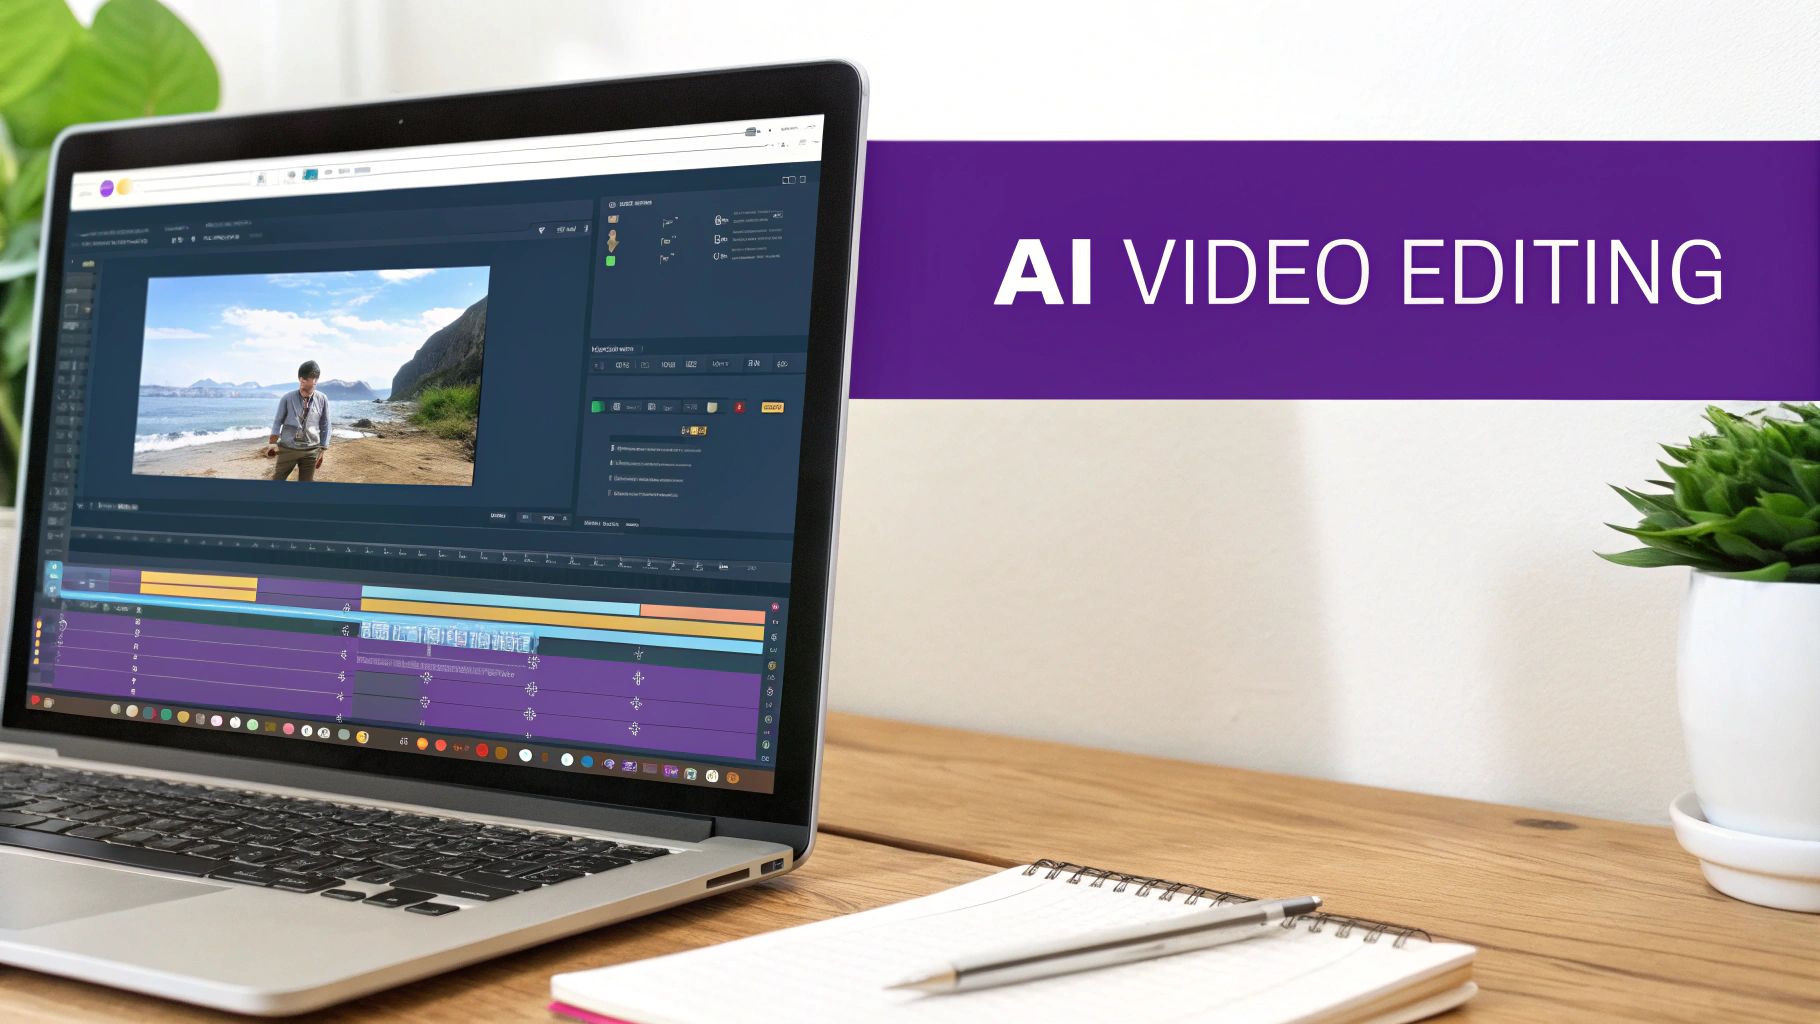
Once you've gotten the hang of a powerful tool like OBS, you might start thinking, "There has to be a faster way to do this." Let's be honest: manually editing screen recordings is a grind. It takes a ton of time and often requires skills most of us don't have. This is exactly where AI-powered platforms are completely changing the game.
For years, generating video tutorials based on screen recordings has felt like a lose-lose situation. You could use a simple tool like Loom, which is a breeze to record with. The downside? You often end up with rambling videos that are 50-100% longer than they need to be, packed with all the "ums," "ahs," and dead air from a live take.
Your other option was to dive into professional video editing software like Adobe Premiere Pro or Camtasia. These are fantastic, but they come with a brutal learning curve. Suddenly, you're not just a subject matter expert anymore; you're expected to be a video editor, too. It’s a huge bottleneck for people who know their product inside and out but have never cut a video in their life.
Bridging The Gap Between Speed And Quality
Thankfully, a new wave of AI tools is here to blow up that old trade-off. Platforms like Tutorial AI are built specifically to connect easy recording with polished, professional results. Its tools let you speak freely without any practice, and your video will still look professional, as if it was edited in Adobe Premiere Pro. This approach allows the subject matter expert to create on-brand videos extremely efficiently.
The whole idea is to let you just hit record and talk naturally. No script. No practice runs. Just explain what you know, and the AI will handle the messy parts. It takes your raw screen capture and turns it into a tutorial that looks like it was meticulously edited by a pro. To see what else is out there, you can explore some of the best AI tools for content creators that can automate different parts of your workflow.
This approach is a perfect fit for all kinds of videos, including:
- Product Demos: Clearly showing off your software's best features.
- Onboarding Videos: Walking new users through your platform, step by step.
- Explainer Videos: Making complex ideas simple and easy to follow.
- Feature Release Videos: Creating quick, effective announcements for new functionality.
- Knowledge Base Videos: Building a library of helpful support content.
- Support Article Videos: Adding a visual component to answer common questions.
How AI Streamlines Video Creation
The real magic of an AI-driven workflow is how it automates the tedious tasks that used to eat up hours. When you record your screen on Windows with a tool like Tutorial AI, the platform starts working its magic the second you hit stop.
The platform automatically transcribes everything you say. This lets you edit your video by just editing text. If you delete a sentence from the transcript, the matching video and audio clips are instantly cut. It makes video editing feel as easy as editing a Word doc.
On top of that, the AI cleans everything up for you. It intelligently snips out all the filler words and awkward pauses, giving your video a much tighter, more professional pace. It can even add dynamic zooms and pans, automatically focusing on the most important parts of your screen to keep your audience engaged.
This means you, the expert, can just focus on sharing your knowledge. You don't have to worry about the final cut, because the AI ensures it will be clean, concise, and professional. To see this in action, check out our guide on how to create AI video from a basic screen recording.
Nailing the Fundamentals: Tips for a Professional-Quality Screen Recording
Anyone can hit the record button, but creating a screen capture that's actually clear, helpful, and professional takes a little forethought. Think of it this way: you’re setting a stage, and you want your audience to focus on the action, not the clutter in the wings.
Putting in a few minutes of prep work beforehand can save you hours of frustration and re-recording later. These tips are universal, whether you're making a quick tutorial for a coworker or a polished presentation for a client.
Set the Stage: Prep Your Digital Workspace
Before you even launch your recording software, take a look at your screen from your audience's perspective. A messy desktop full of random files is an instant distraction. Switch to a clean, neutral background and hide all your desktop icons. It's a small change that makes a huge difference.
Next, silence the digital noise. Shut down every application you don't absolutely need for the tutorial. This not only frees up precious system resources but, more importantly, it stops that dreaded Slack or email notification from popping up right in the middle of your perfectly delivered line.
- Activate "Focus Assist": This built-in Windows feature is your best friend. Turn it on to automatically silence notifications while you’re recording.
- Check Your Resolution: To make sure your video looks crisp on any screen, stick to a standard resolution like 1920x1080 (1080p).
- Zoom in: Use your browser or app's zoom function (a quick Ctrl + scroll wheel usually does the trick) to make sure text and interface elements are big and easy to read.
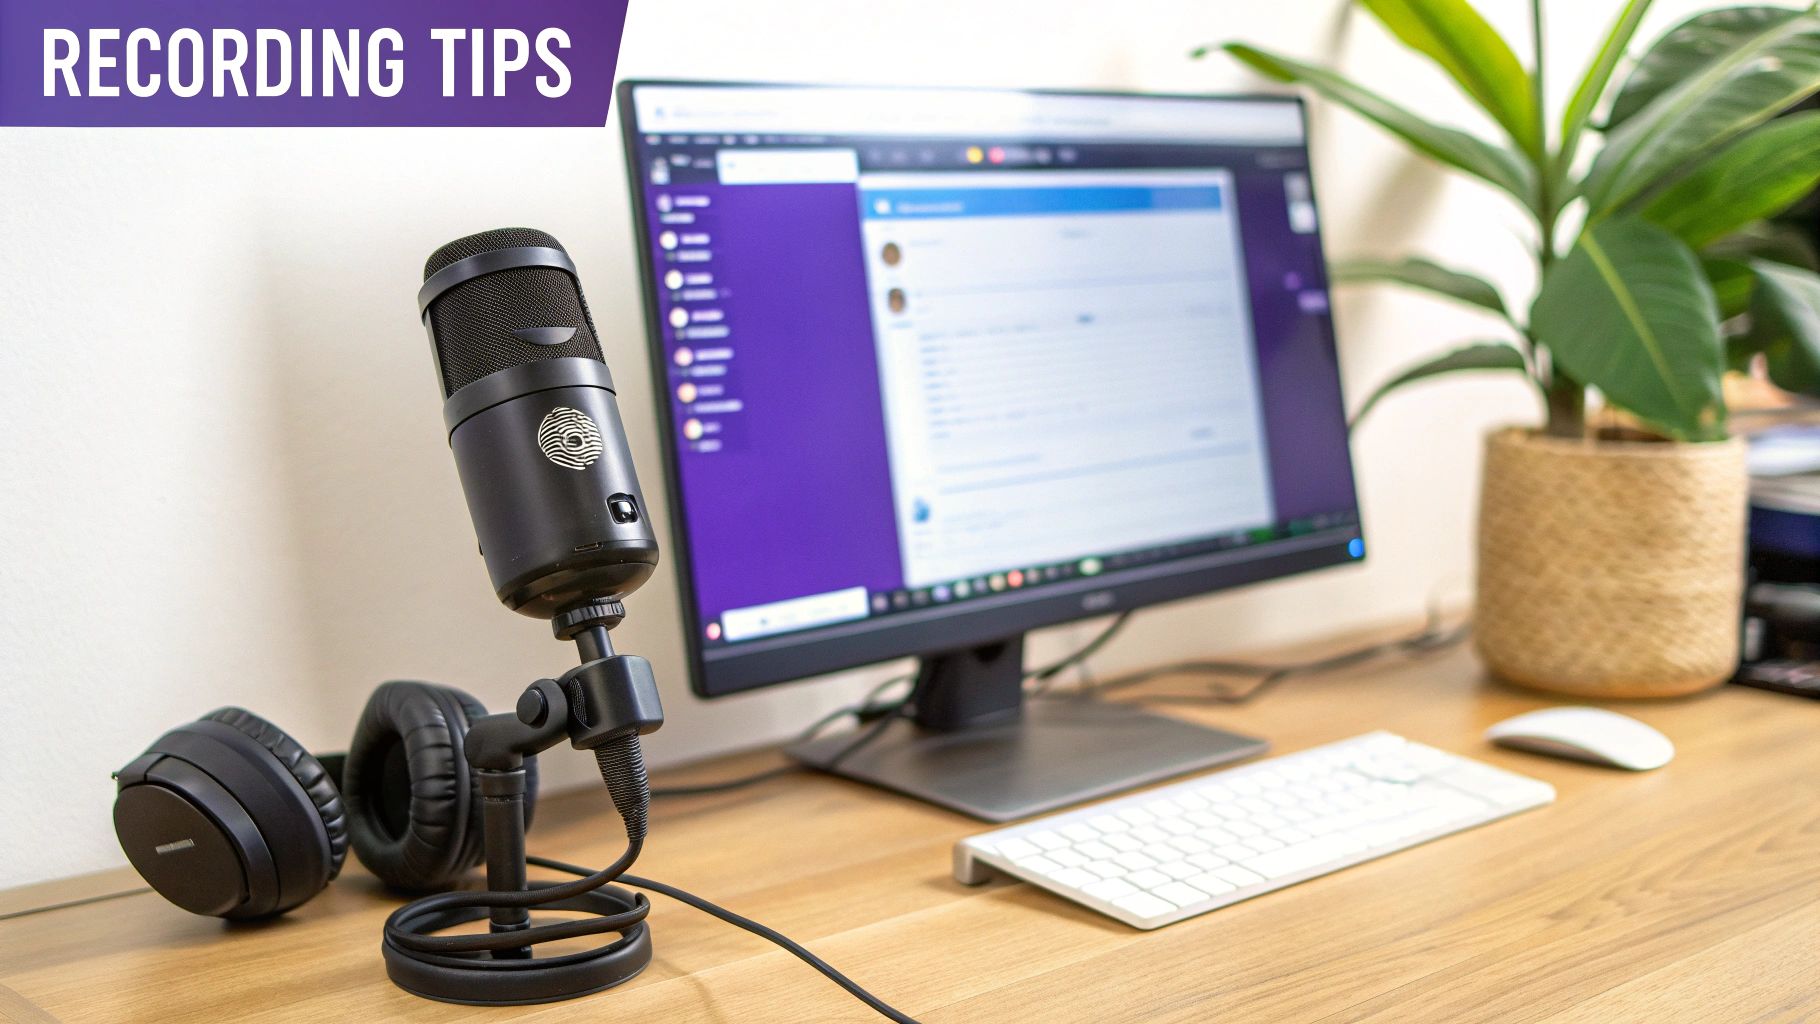
Getting Great Audio (Without a Pro Studio)
You can have the most beautiful video in the world, but if your audio is scratchy and distant, people will tune out. The good news is you don't need a fancy recording booth. Just find a quiet room, close the door, and kill any background noise like fans or air conditioning.
Even an affordable USB microphone will be a massive step up from your laptop's built-in mic. For the best results, place it a few inches from your mouth and slightly off to the side—this helps avoid the harsh "popping" sounds (plosives) when you say words with Ps and Bs. As digital content becomes more global, clear audio is non-negotiable. The demand for high-quality screen recording software is booming, particularly in regions like Asia-Pacific, driven by the need for clear, multilingual training materials. You can explore the full market analysis on FortuneBusinessInsights.com to see just how big this trend is.
Always, always do a quick test recording. Record yourself saying a few sentences and listen back with headphones. This five-second check is the single best way to catch an echo, a low hum, or muffled audio before you've spent 20 minutes recording the whole thing.
The Final Polish: A Simple Post-Production Workflow
Once you record your screen on Windows, the real magic happens in the edit. This doesn't mean you need to become a video editing wizard. It's all about trimming the fat.
Simply snip off the awkward bits at the beginning and end where you're fumbling to start and stop the recording. If you stumbled over a word or had a long, awkward pause, just cut it out. Most built-in tools, like the Windows Photos app, can handle these basic trims.
For a little extra polish, consider adding a few simple callouts or highlights to draw attention to important parts of the screen. It’s a small effort that transforms a raw recording into a genuinely helpful resource.
Common Screen Recording Questions Answered
Even with the best tools, you'll inevitably hit a few snags when you start to record your screen on Windows. It happens to everyone. Whether you’re wrestling with a technical glitch or just trying to figure out which video format to choose, getting a straight answer can save you a lot of frustration. Let's dig into some of the questions I hear most often from creators.
Can I Record My Entire Desktop With Xbox Game Bar?
This is easily the most common point of confusion for anyone starting out with Windows' built-in recorder. The short answer? No. The Xbox Game Bar is designed to capture just one active application window at a time. It simply can't record your full desktop, the Start Menu, or File Explorer.
This isn't a bug; it's by design. The tool was originally created for gamers to capture gameplay inside a specific game. So, if you're making a tutorial that involves jumping between different programs or showing how to navigate the desktop, you'll need to reach for a more capable tool like OBS Studio or an AI-powered platform.
How Do I Record System Audio and My Microphone Together?
Getting your voice and your computer's audio in the same recording is crucial for most tutorials. It's the difference between a clear guide and a confusing one. More advanced tools like OBS Studio make this a breeze, giving you separate audio channels for your mic and "Desktop Audio" right in the mixer.
If you're using a built-in tool, double-check that your microphone is set as the default in your Windows sound settings before you hit record. With the Xbox Game Bar, you can quickly toggle your mic on and off with the Windows key + Alt + M shortcut. If you find one audio source is drowning out the other, you might have to tweak the application's volume in the Windows Volume Mixer before you start.
What Is the Best Video Format for Sharing Recordings?
You’ll see a bunch of options like MP4, MOV, and AVI, and it's easy to get analysis paralysis. But for pretty much any screen recording you’ll ever create, MP4 is the undisputed champion. It’s the sweet spot—giving you great quality without a massive file size. This makes it ideal for uploading to YouTube, attaching to an email, or embedding in a help doc.
MP4 files are so universal because they use the H.264 codec, which is a standard that works on nearly any device or browser without needing special plugins. Of course, if you're working within a specific ecosystem like Microsoft Teams, it's also worth understanding the specifics of recording a Teams meeting, as some platforms have their own rules.
The key takeaway is to stick with MP4 for maximum compatibility and efficiency. It’s the industry standard for a reason and will save you headaches down the line when it comes to sharing your content.
Ready to stop wrestling with complicated editing software? Tutorial AI lets you record your screen freely and transforms your raw footage into a polished, on-brand tutorial in minutes. Let our AI handle the cuts, zooms, and narration so you can focus on sharing your expertise. Try Tutorial AI for free and see how easy creating professional videos can be.