Shrinking your video file size really just boils down to a few key moves: dropping the resolution, picking a smarter codec like H.265, lowering the bitrate, and simply cutting out the fluff you don’t need. A few tweaks in your video software can make a huge difference, letting you slash the file size without trashing the visual quality.
Why Are My Video Files So Big?
Ever recorded a quick two-minute screen share and been shocked to see it’s a massive, multi-gigabyte monster? You’re definitely not alone. The reason your video files are so huge comes down to a few technical details that control how much data gets packed into every single second of footage.
Once you get a handle on these factors, you can start compressing your videos intelligently. Instead of just hitting a generic “compress” button and crossing your fingers, you’ll know why the file is so big and can make targeted changes. This isn’t about making your videos look bad; it’s about making them leaner and more efficient.
This table provides a quick overview of the most effective ways to reduce your video’s file size.
Quick Guide to Reducing Video Size
| Feature | H.264 (AVC) | H.265 (HEVC) |
|---|---|---|
| Compression Efficiency | Good | Excellent (up to 50% better) |
| File Size at Same Quality | Larger | Smaller |
| Compatibility | Universal (works on nearly everything) | Widespread (supported by all modern devices and browsers) |
| Ideal Use Case | Legacy support, older devices | All new video projects, streaming, 4K content |
The bottom line? H.265 is a more advanced language that can say the same thing with fewer words, resulting in a much smaller file.
Key Takeaway: H.265 (HEVC) is the modern standard, offering up to 50% better compression than H.264 at the same quality. That means you can get a file that’s half the size with no visible loss in quality. While H.264 is still the king of compatibility for older hardware, H.265 is fully supported by all modern platforms. For any new video you create, choosing H.265 is one of the easiest wins for getting a smaller file right from the start. If you want to dive deeper into the nuts and bolts, check out our guide on what is a video codec.
Optimizing Your Frame Rate
Frame rate, measured in frames per second (fps), is simply how many individual pictures are shown every second to create the illusion of motion. Movies often use 24fps for a cinematic feel, standard video is usually 30fps, and high-action gaming content might go up to 60fps for buttery-smooth motion.
For a software tutorial or a typical screen recording, 60fps is almost always unnecessary. The movement of a cursor or a drop-down menu doesn’t need that level of fluidity. By simply lowering the frame rate from 60fps to 30fps, you can cut the file size nearly in half, and your audience will never know the difference.
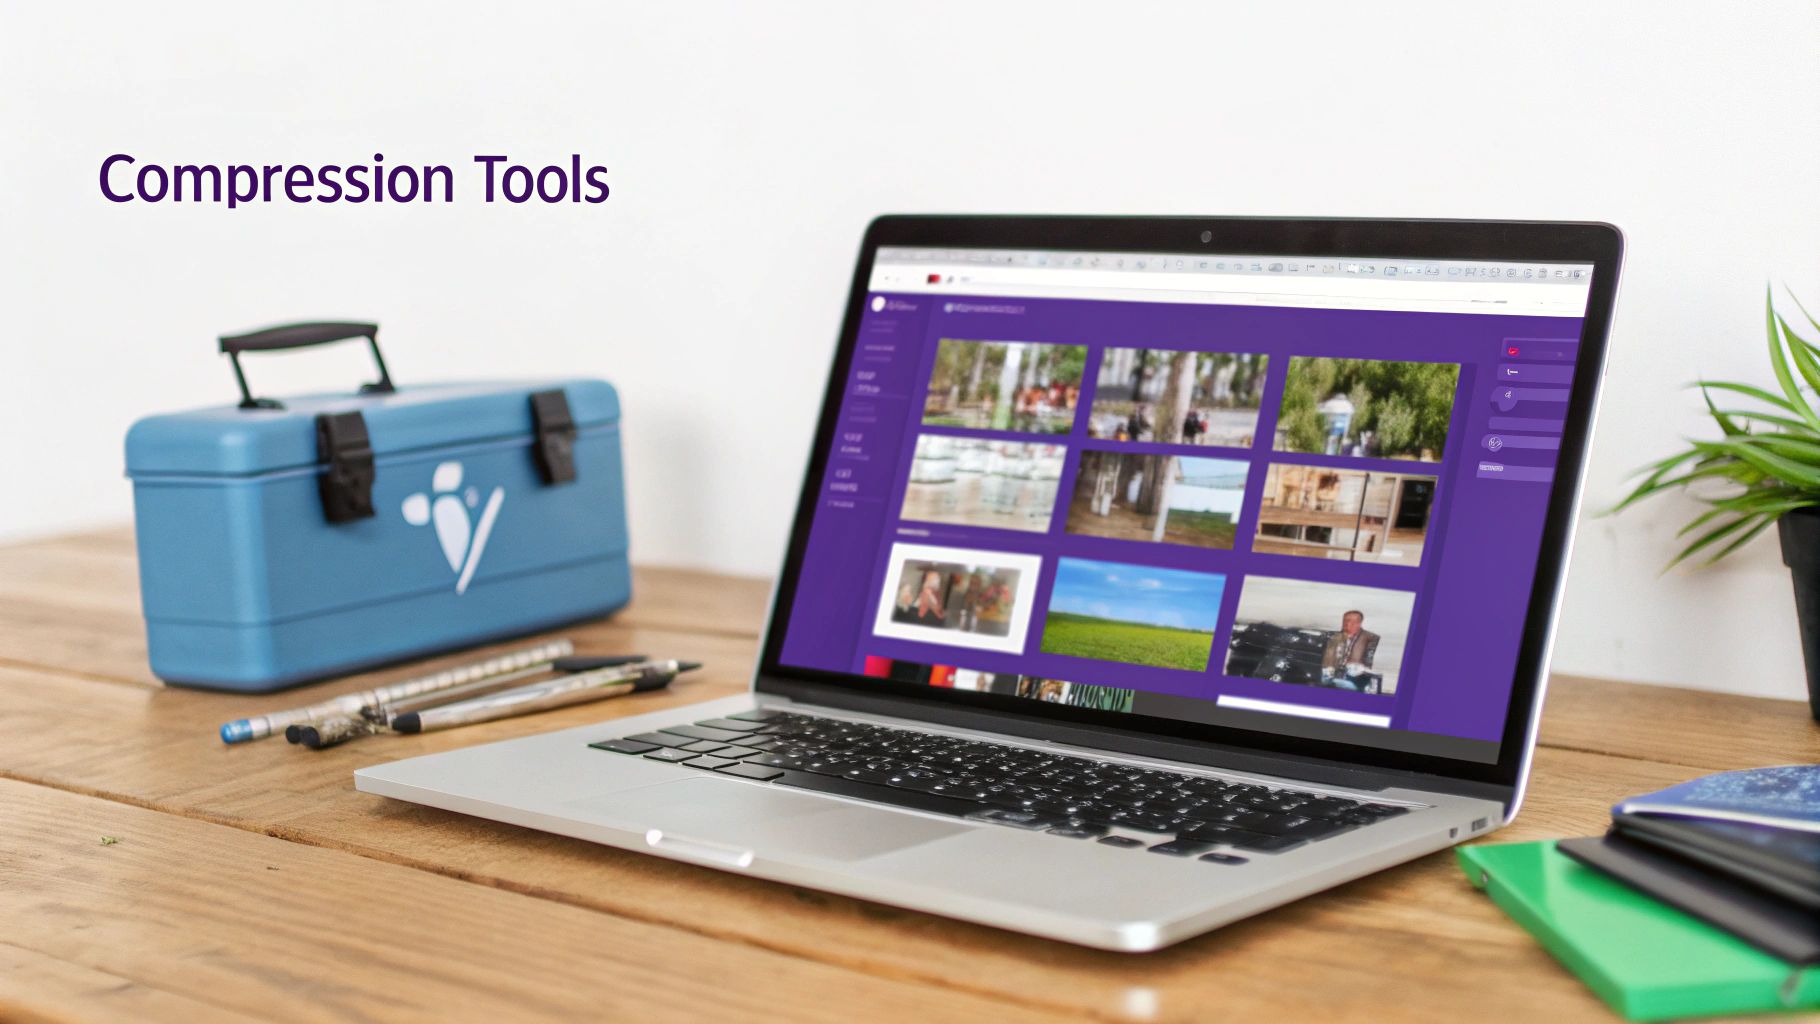
Your Toolkit for Video Compression Software

Knowing the theory behind compression is one thing, but having the right tool for the job is what really makes the difference. The software you pick can have a massive impact on how quickly and effectively you shrink a video file. From beefy open-source programs to the handy utilities you might not even know you have, there’s a solution out there for everyone.
The real key is matching the tool to the task at hand. You don’t need a complex professional suite for a quick file trim, but you’ll definitely want more control when quality is the top priority. To help you sort through the options, we put together a detailed guide to finding the best video compressor for any project.
Free and Powerful: HandBrake
For a fantastic mix of power and simplicity, HandBrake is a go-to choice for countless pros and hobbyists. It’s a completely free, open-source video transcoder that gives you incredibly detailed control over almost every part of the compression process—codecs, bitrates, filters, audio tracks, you name it.
While its interface might look a bit intimidating at first glance, its presets are a lifesaver. They offer optimized settings for different platforms and devices, so you can get fantastic results with just a couple of clicks. For instance, the “Fast 1080p30” preset is a perfect starting point for most videos you’d upload to the web.
These presets take all the guesswork out of the equation, offering reliable settings for everything from web content to specific devices like a Roku or PlayStation.
Built-in Tools for Quick Fixes
Sometimes you just need to make a video smaller, and fast, without installing anything new. Luckily, both macOS and Windows have built-in tools that can handle basic compression tasks surprisingly well.
- On macOS with QuickTime Player: Just open your video, go to
File > Export As, and pick a lower resolution like 720p. QuickTime handles the re-encoding with optimized settings, often creating a much smaller file that’s perfect for sharing. - On Windows with Video Editor (Clipchamp): The built-in Video Editor app, now often part of Clipchamp, lets you trim clips and export. When you export, simply choose a lower quality setting like “Medium (720p)” to knock down the file size.
These options don’t have the deep controls of something like HandBrake, but for a quick-and-dirty compression job, they are incredibly convenient.
Professional Control with Adobe Premiere Pro
For professionals who demand the absolute best quality and the most control, Adobe Premiere Pro and its sidekick, Adobe Media Encoder, are the industry standard. The export dialog in Premiere Pro is a compression powerhouse, letting you fine-tune every single setting.
You can pick your container (MP4), your codec (H.264 or the more efficient H.265), and precisely manage your bitrate. Using a VBR 2-pass encoding gives you the best possible balance of quality and size. Even better, you can create and save your own export presets in Media Encoder—a huge time-saver for teams that consistently output videos for different platforms like a knowledge base, YouTube, and social media.
Pro Tip: When exporting a software demo from Premiere Pro, I often use a VBR 2-pass with a target bitrate of around 2-4 Mbps for 1080p video. This setting usually produces a crisp image at a fraction of the file size of the default presets.
A New Approach with AI-Powered Tools
Traditional video creation often forces a trade-off. You can record a quick demo with a tool like Loom, but it’s often 50-100% longer than necessary, filled with pauses and restarts that inflate the file size. The alternative is using professional software like Adobe Premiere Pro or Camtasia, but that requires serious video editing skills and a lot of time to trim the fat.
This is where AI tools are changing the game. Tutorial AI, for example, is designed for generating video tutorials from screen recordings—perfect for demos, onboarding videos, explainer videos, feature releases, and knowledge base videos. While easy-to-use recording tools like Loom are often 50-100% longer than necessary, professional editing software such as Camtasia or Adobe Premiere Pro requires expert video editing knowledge. Tutorial AI’s tools let you speak freely without any practice, and your video will still look professional, as if it was edited in Adobe Premiere Pro. This approach allows the subject matter expert to create on-brand videos with extreme efficiency, shrinking the file size by getting rid of unnecessary content before you even think about compression.
A Smarter Way to Create Compact Videos with AI
While all the compression tricks we’ve discussed are great for finished videos, what if you could shrink the file size by simply making a more efficient video from the start? For anyone creating instructional content—demos, tutorials, onboarding videos—the traditional ways of working present a real headache. This is where AI is completely changing the game.
Think about how these videos usually get made. A subject matter expert might fire up a simple screen recorder like Loom to capture a quick walkthrough. It’s fast, sure, but the raw footage is often 50-100% longer than it needs to be. It’s packed with pauses, “ums” and “ahs,” and moments where they have to correct themselves, all of which needlessly inflate the file size.
The alternative is handing that footage over to a video editor. Using professional tools like Camtasia or Adobe Premiere Pro, they can painstakingly trim every wasted second to create a tight, polished final cut. But that requires specialized skills and a serious time commitment, which is a massive bottleneck for teams needing to create content quickly.
Bridging the Gap Between Speed and Quality
This is exactly where modern AI tools come in. They offer a completely new way to approach file size reduction—not by squishing a finished product, but by stripping out the fluff during the creation process itself. The focus shifts to building a lean, clean video from the ground up, before you even think about exporting.
Imagine your go-to expert needs to record a detailed explainer. Instead of stressing about memorizing a script or delivering a perfect take, they can just talk through the process naturally while recording their screen.
Tutorial AI lets the expert focus on their knowledge, not their performance. The platform allows you to record without any practice, and the final video will still look as professional as if it was meticulously edited in Adobe Premiere Pro. This approach lets your content experts create polished, on-brand videos themselves, cutting out the need to rely on a dedicated video team. If you’re curious about how this works, you can dive deeper into the world of AI video editing software.
How AI Streamlines Video Creation
The whole process feels incredibly intuitive because it attacks the main causes of file bloat: excess length and redundant footage. It transforms a raw, off-the-cuff recording into a studio-quality tutorial, and it does it automatically.
Here’s a quick look at how it all comes together:
- Just Record and Transcribe: First, the creator records their screen and voice, no script needed. The AI immediately transcribes all the audio into text.
- Edit Like a Doc: Next, you edit the transcript just like a Google Doc. If you delete a sentence or reword a paragraph in the text, the corresponding video and audio clips are trimmed automatically. It’s that simple.
- Generate a Perfect Voiceover: Once the script is tight, the AI generates a new, perfectly paced voiceover. All the mistakes, stumbles, and filler words are gone.
- Sync the Visuals: Finally, the system intelligently snips and trims the video to align perfectly with the new, concise narration. All the dead air, long pauses, and retakes vanish.
You get a final video that is inherently shorter, more direct, and has a much smaller file size—all without ever touching a complex timeline. It’s simply a smarter way to work, turning rambling recordings into tight, professional videos ideal for support docs, feature announcements, and internal training.
Putting Compression Into Practice: Real-World Scenarios
Alright, let’s move from theory to reality. Knowing what a codec or a bitrate is is one thing, but knowing exactly which settings to use for a specific job is where the magic happens. I’ll walk you through a few common situations I see all the time, giving you a practical starting point for your own projects.

Every project has its own unique balance point between quality and file size. A tutorial for your knowledge base doesn’t need the same high-fidelity treatment as a cinematic social media ad. It’s all about knowing which levers to pull.
Compressing a Software Demo for a Knowledge Base
Let’s say you’ve just recorded a 10-minute software demo for your company’s help center. The top priority here is clarity—users have to be able to read text and see interface details clearly. But you also don’t want a massive file that takes forever to load.
Here’s my go-to recipe for this kind of video:
- Tool of Choice: You can’t go wrong with HandBrake or Adobe Media Encoder.
- Resolution: Stick with 1080p (1920x1080). It’s the sweet spot. 4K is total overkill, and dropping to 720p can make small text look fuzzy.
- Codec: I’d opt for H.265 (HEVC) here. It offers the best compression efficiency, meaning a smaller file for the same quality.
- Bitrate: Use a VBR (Variable Bitrate) setting and aim for a target between 2–4 Mbps. For screen recordings, this delivers fantastic quality without bloating the file.
- Frame Rate: 30fps is perfect. It’s more than enough for capturing smooth mouse movements and UI animations.
This setup gives you a sharp, professional-looking tutorial that loads quickly and won’t hog server space.
Shrinking a Sales Video to Send Via Email
This is a classic challenge. You need to send a video to a hot lead, but you’re up against the dreaded email attachment limit, which is usually around 25 MB. This calls for some pretty aggressive compression where size is everything.
You’ll need to pull out all the stops:
- Trim ruthlessly. Cut that video down to the absolute essentials. Shave off every unnecessary second.
- Drop the resolution. Go down to 720p (1280x720). If the content is simple enough, even 480p can work in a pinch.
- Slash the bitrate. Get comfortable with a much lower bitrate, somewhere in the 500–800 Kbps (0.5–0.8 Mbps) range.
- Ditch the audio. If the video makes sense without sound—maybe it’s a quick visual demo with text overlays—just remove the audio track completely.
A word of advice: If you’ve tried all this and the file is still too big, stop trying to force it. The best move is to upload it to a private host like Vimeo or YouTube and just email the link. It’s a much better experience for your recipient anyway.
Optimizing a Feature Announcement for Social Media
Social media platforms are going to re-compress your video no matter what, but feeding them a well-optimized file gives you a better chance of preserving quality. These videos need to look great on a phone, grab attention fast, and upload without a headache.
For a punchy new feature announcement, here’s what I’d do:
- Format: MP4 is the only way to go for universal support.
- Resolution: Think mobile-first. A square (1080x1080) or vertical (1080x1920) aspect ratio is what you want.
- Codec: While H.265 is more efficient, H.264 (AVC) is still the king of compatibility. Use it to ensure your video plays perfectly on every device, old and new.
- Bitrate: For 1080p, a target bitrate of 5–8 Mbps usually hits the sweet spot for social media quality.
This approach gives you a video with real visual pop without the painfully long upload times.
A Final Compression Checklist
No matter what you’re working on, it pays to run through a quick mental checklist before hitting that export button. These are the little things that add up.
- Kill unused audio tracks. Does your edit have silent audio channels or extra language tracks? Get rid of them.
- Top and tail your video. Trim any dead air or pre-roll footage from the very beginning and end of your timeline.
- Break up longer videos. If you have a tutorial that’s creeping past the 15- or 20-minute mark, think about splitting it into a series of smaller, more focused chapters. This helps with file size and viewer engagement.
- For specific formats like MOV, a targeted approach can make a huge difference. You can check out our guide on how to compress an MOV file for more details.
The compression power we have in our pockets now is incredible. For example, some mobile apps can take a 132.1 MB video and shrink it down to just 18.4 MB—that’s an 86% reduction. A hefty 415.1 MB file can be crushed to 45.6 MB. This is achieved through smart engines that let you tweak frame rates and dimensions to slash sizes by 90% or more without a noticeable drop in quality.
Got Questions About Video Compression? We’ve Got Answers.
Jumping into video compression always brings up a few questions. I’ve been down this road countless times, so let’s clear up some of the most common things people ask.
What’s the Best Format for Shrinking a Video File?
If you’re looking for the sweet spot between small file size, great quality, and wide compatibility, your best bet is the MP4 container paired with an H.265 (HEVC) codec. It’s the modern standard for a reason—it offers fantastic compression, meaning you get a much smaller file without sacrificing visual quality.
But what if you need to guarantee playback on older devices or software? In that case, stick with MP4 using the H.264 (AVC) codec. It’s the workhorse of video formats, universally supported everywhere. Think of H.264 as the reliable old friend, while H.265 is the new, more efficient kid on the block.
Does Making a Video Smaller Ruin the Quality?
Yes, technically speaking, it does. Almost all video compression is “lossy,” which means some of the original data gets permanently removed to shrink the file.
The real art, however, is making sure that loss is completely invisible to the viewer. When you intelligently tweak settings like bitrate and resolution, you can cut the file size dramatically with no perceptible drop in quality. For anything you’re putting on the web, a well-compressed video will look just as crisp as the original to the naked eye.
How Do I Squeeze a Video Down for Email?
Ah, the classic 25MB email attachment limit. Hitting that target requires a pretty aggressive approach. You need to be ruthless about cutting data.
Here’s my go-to game plan:
- Trim it Down: Be merciless. Cut every single second that isn’t absolutely essential.
- Drop the Resolution: Don’t send a 4K masterpiece. 720p (1280x720) is plenty, and even 480p will work in a pinch.
- Slash the Bitrate: Fire up a tool like HandBrake and aim for a low bitrate, somewhere in the 500-1000 Kbps (0.5-1 Mbps) range. A preset like “Fast 720p30” is a great starting point.
Pro tip: If it’s still too big, don’t fight it. Just upload the video to Google Drive or another cloud service and share the link. It’s a much better experience for the person on the other end anyway.
Can I Do This on My Phone?
You bet. Both iOS and Android have some excellent apps for this, which is a lifesaver when you need to free up space or share a clip on the go without grabbing your laptop.
For iPhone users, an app like “Compress Videos & Resize Video” works wonders right inside your photo library. If you’re on Android, “Video Compressor Panda” is a solid, popular choice. Both give you simple sliders and presets to get the job done in just a few taps.
Creating high-quality, compact videos doesn’t have to be a trade-off. With Tutorial AI, you can generate polished, on-brand demos and tutorials that are efficient from the start. Skip the tedious editing and let AI transform your raw screen recordings into studio-quality content in minutes.