So, you need to record your screen on Windows 10. The quickest way to get started is by hitting the Windows key + G to pop open the built-in Xbox Game Bar. But honestly, that's just scratching the surface of what you can do.
Your Starting Point for Windows 10 Recording
Knowing how to properly record your screen is an essential skill these days, whether you're putting together a software demo, saving an incredible gaming moment, or trying to show a developer exactly what that weird bug looks like. This guide will walk you through the tools you already have on your PC—like the Game Bar and the Camera app—and then show you what’s possible when you bring in more advanced AI tools to turn that raw footage into something truly professional.
My goal is to give you practical advice so you can pick the right tool for any job, from a quick, throwaway clip to a polished tutorial for your customers.
This graphic gives you a nice overview, comparing the built-in Windows tools against the more powerful AI-powered options available today.
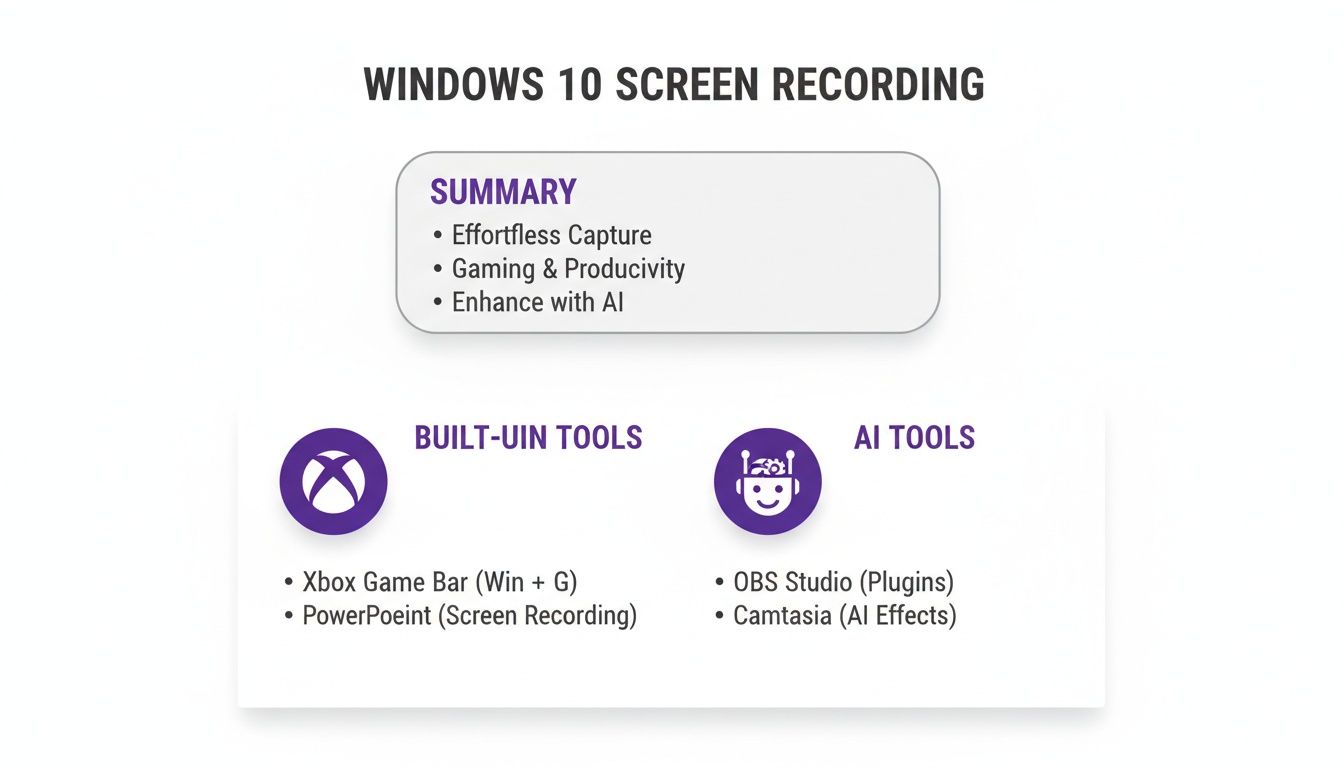
To make it even clearer, here’s a quick breakdown of the methods we'll be covering. Think of it as a cheat sheet to help you decide where to start.
Windows 10 Recording Methods at a Glance
As you can see, the right tool really depends on what you're trying to accomplish. For a simple screen grab, the built-in options are fine, but for creating instructional content, you'll want something more powerful.
Taking Your Screen Recordings to the Next Level with AI
Let's be honest: creating a high-quality tutorial video is a real challenge. You're the expert on the topic, not necessarily a video editor, and that's where things can get complicated.
The Challenge with Traditional Video Creation
Easy-to-use recording tools such as recording via Loom are fantastic for quick, informal screen shares. The problem is that the final videos often end up being 50-100% longer than they need to be, full of "ums," pauses, and mistakes. On the other hand, you have professional video editing software such as Camtasia or Adobe Premiere Pro, which are incredibly powerful but require expert video editing knowledge.
This creates a frustrating gap. Subject matter experts have the knowledge but often lack the time or skills to produce truly professional video content.
A More Efficient Path with AI
This is where AI-powered video creation tools are changing the game. Take a tool like Tutorial AI, for instance. It is designed to let you generate video tutorials based on screen recordings. It’s perfect for a whole range of content:
- Demos and explainer videos
- Onboarding videos for new employees or customers
- Feature release videos
- Knowledge base videos and support article videos
Tutorial AI's tools let you speak freely without any practice and still your video will look professional as if it was edited in Adobe Premiere Pro. It allows the subject matter expert to create on-brand videos extremely efficiently, completely bridging that gap between simple recording and complex editing.
Using the Xbox Game Bar for Instant Recordings
Believe it or not, you probably already have a powerful screen recorder on your computer. Many people are surprised to find out that Windows 10 has a fantastic tool baked right in—no downloads necessary. It's called the Xbox Game Bar, and while the name suggests it's just for gaming, it’s a surprisingly versatile tool for quick, hassle-free screen captures of almost any app.
Getting it open is a breeze. Just hit the Windows key + G on your keyboard, and a control panel, or overlay, will pop up over your current window. This dashboard gives you instant access to everything you need for a straightforward recording session, from capture controls and audio settings to performance monitors.
Getting Your First Recording Started
Once the Game Bar overlay is up, your eyes should go to the "Capture" widget. If it's not there for some reason, just click the widget menu icon (it looks like a few stacked lines) on the main bar at the top and select it. This little box is your command center for all things recording.
Here's what you'll be looking for—it's pretty self-explanatory.
From here, just click the round "Record" button to start capturing whatever is in the active window. It's the perfect solution when you need to grab a quick clip of an app misbehaving or a slick bit of gameplay.
To wrap things up, you can either bring the overlay back up (Windows key + G) and hit the stop button, or use the much faster keyboard shortcut: Windows key + Alt + R. This combo starts and stops your recording without you ever needing to see the full overlay, making the whole process incredibly smooth.
Configuring Your Audio and Video Settings
Before you jump in, it's a good idea to spend a minute in the settings. This little bit of prep ensures your final video looks and sounds just right. The Game Bar gives you the essential controls to get it done.
In the "Audio" widget, you'll find separate volume sliders for your system sounds (like game audio or alerts) and your microphone. This is an absolute lifesaver for balancing your voice-over with whatever is happening on screen. You can also quickly mute your mic right from the Capture widget by clicking the microphone icon.
A key thing to remember is that the core video settings aren't in the Game Bar overlay itself. For those, you'll need to head into the main Windows Settings. Just go to Gaming > Captures. In there, you'll find options for video frame rate (30fps or 60fps), overall video quality, and toggles for audio capture.
Microsoft has done a solid job integrating these tools, giving Windows 10 users a surprisingly robust recorder right out of the box. The ability to customize frame rates and fine-tune audio, all triggered with a simple shortcut, is a huge win. You can learn more about these integrated features on Microsoft's official support page.
Getting the Most Out of Windows’ Other Built-in Recording Tools
The Game Bar is a fantastic tool for capturing what’s happening in an app window, but what about when you need something more specific? Your Windows 10 machine actually comes with a few other handy, focused apps for different recording jobs, no extra downloads required. Getting familiar with these rounds out your built-in recording toolkit.
Let’s start with the Camera app. This one is often overlooked but it's perfect for recording your webcam. Think about creating a quick personal video message, a practice run for a presentation, or that classic "talking head" clip you want to add to a software tutorial. It gets the job done without any fuss.
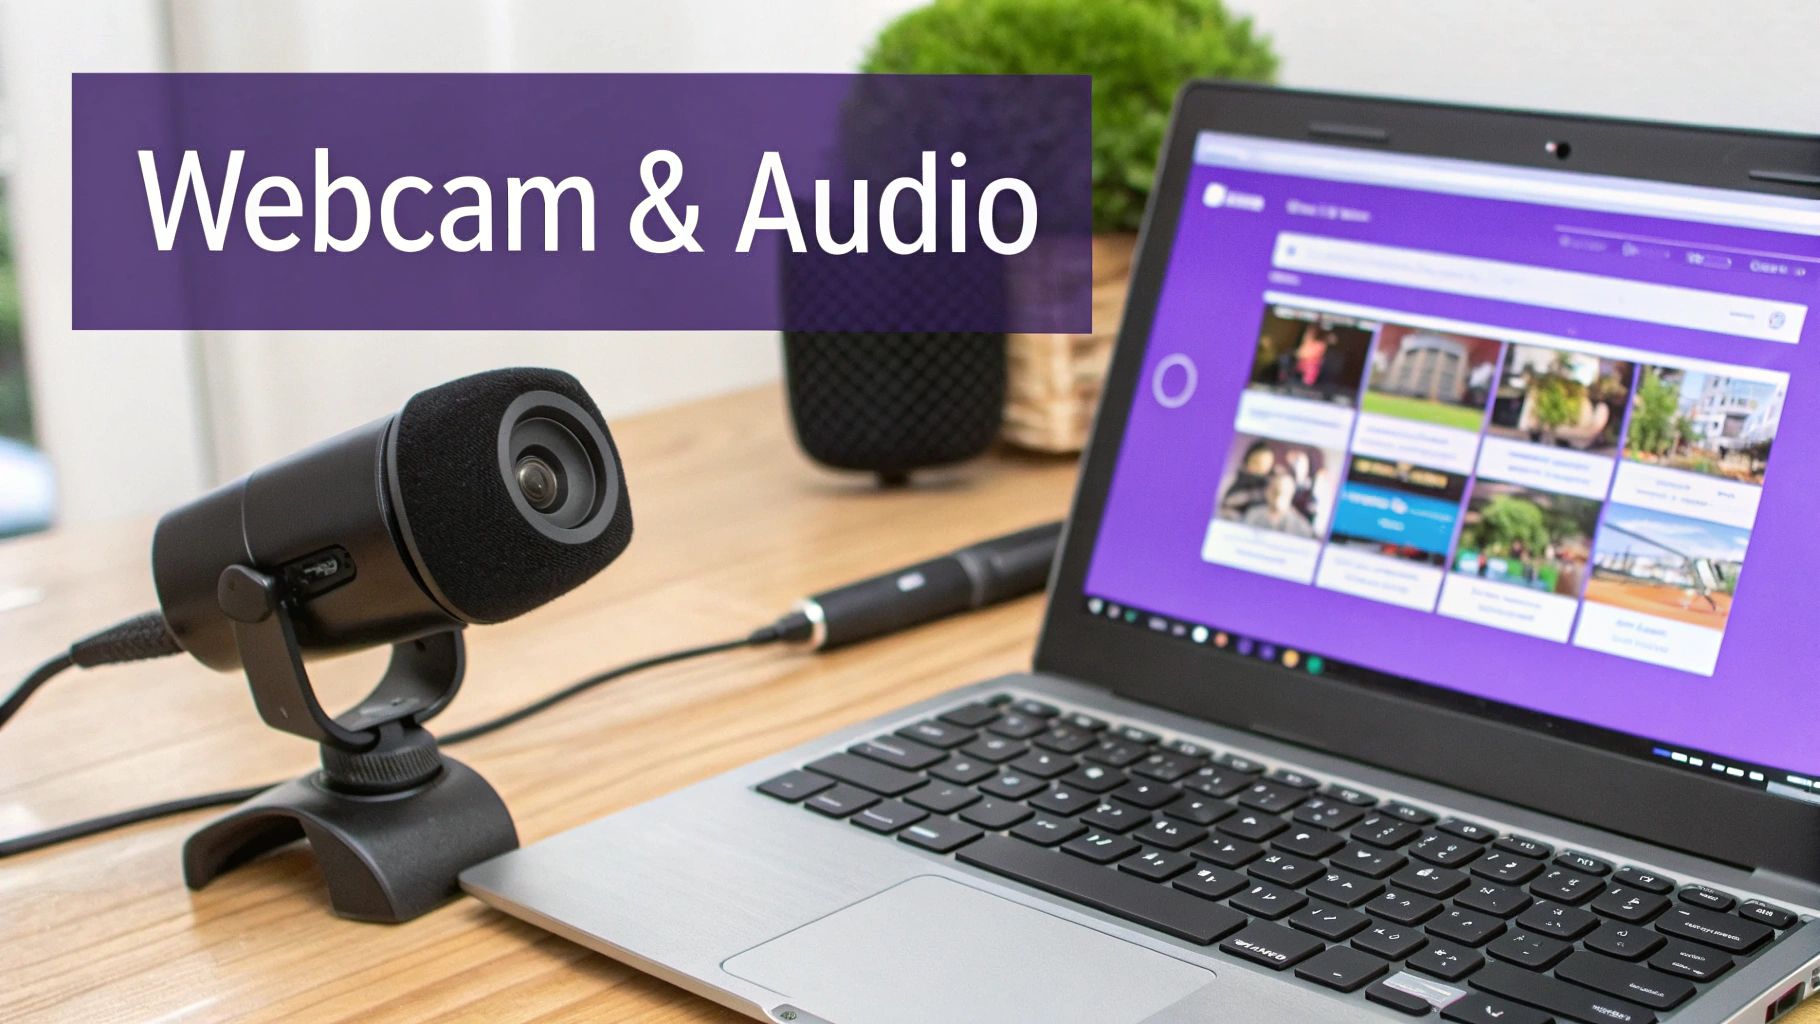
Using it couldn't be simpler. Just fire up the app, flip it from photo to video mode (look for the little camcorder icon), and hit the big button to start recording. You can even tweak a few settings, like video quality and framing grids, to line up a better shot.
Capturing Audio with Voice Recorder
But what if you just need to record audio? For that, Windows has the Voice Recorder app (sometimes you'll see it called Sound Recorder). This little utility is surprisingly capable for capturing audio-only clips. I find it’s perfect for:
- Dictating quick voice memos or notes for a project.
- Recording a meeting or an interview for later reference.
- Saving a spontaneous idea for a podcast episode or script.
When you open the app, there's a giant microphone icon just waiting for you to click it. One of its best features, and one I use all the time, is the ability to add markers as you record. Just click the flag icon to tag important moments. This saves so much time later when you're trying to find a specific spot in a long recording. Once you’re done, it even gives you some basic tools to trim the beginning and end.
These native apps are fantastic for straightforward, single-purpose recordings. Of course, as your needs grow, you might want to see what else is out there. If you're curious, we've put together a guide on the best free screen capture software that explores more powerful options.
By learning to use the Camera and Voice Recorder apps along with the Game Bar, you’ve got a surprisingly versatile trio of tools for almost any basic recording task. This native setup covers your screen, webcam, and microphone, giving you a solid foundation before you ever need to download a third-party program. It’s all about picking the right tool for the job.
Take Your Recordings to the Next Level with AI
So, you’ve mastered the built-in Windows tools, but you're finding they just don't cut it for more polished, professional content. This is a common sticking point. You find yourself caught between two extremes.
On one end, you have quick-and-dirty tools like Loom. They’re fantastic for firing off a quick, informal message, but the final product is often bloated. I’ve seen recordings that are easily 50-100% longer than necessary because they capture every "um," every wrong click, and every long pause. It gets the job done, but it doesn't look professional.
On the other end of the spectrum, you have the heavy hitters: professional suites like Camtasia or Adobe Premiere Pro. These tools are incredibly powerful, no question. But they come with a steep learning curve and demand serious time and expertise. If you're a subject matter expert, not a video editor, you're left in a bind—you have the knowledge but not the tools or time to package it effectively.
Bridging the Gap with AI-Powered Editing
This is where a new breed of AI-powered tools, like Tutorial AI, is completely changing the game for creating instructional videos. The whole idea is to let you take a single, unscripted screen recording and turn it into a professional-grade tutorial without ever touching a traditional timeline.
You just hit record and talk through your process naturally. No need for a perfect script or multiple takes. The AI steps in afterward and does the heavy lifting, making your final video look like it was painstakingly edited by a pro. It’s an ideal approach for quickly creating all sorts of on-brand content, like:
- Product Demos: Showcasing your software in a clear, concise way.
- Onboarding Videos: Walking new customers or team members through key workflows.
- Feature Release Videos: Announcing new updates and explaining how they work.
- Knowledge Base and Support Videos: Answering common questions with a visual guide.
The real magic here is that it lets the expert be the expert. You can focus on sharing what you know instead of getting bogged down in the technical weeds of video editing.
How AI Simplifies the Entire Video Workflow
The process is a complete departure from traditional editing. When you upload your recording, Tutorial AI automatically transcribes your voice. From that point on, you edit the video by simply editing the text. If you want to cut a section, you just delete the corresponding words or sentences from the transcript, and the platform snips out that part of the video and audio automatically.
But it goes even further. Let's say you stumbled over a word or wish you had phrased something differently. Instead of having to re-record the whole segment, you can have the platform regenerate your narration using a surprisingly realistic AI voice. It keeps your audio smooth and consistent. Of course, if you want even more control over the final cut, you can always explore some of the best free video editing software to add extra flair.
This new text-based workflow is a lifesaver. It gives anyone the power to create high-quality, on-brand videos without any real editing experience. The system handles all the complicated stuff, letting you produce professional content in a fraction of the time. If you're curious about how this technology works, our guide to AI video editing software is a great place to dig deeper.
Pro Tips for High-Quality Screen Recordings
Anyone can hit the record button, but creating a truly professional-looking screen recording on Windows 10 takes a little bit of prep work. Spending just a few minutes getting organized beforehand can make a world of difference in your final video, no matter what software you're using.
Before you even think about recording, take a look at your digital workspace. Close out any browser tabs you don't need and shut down applications running in the background. This does two things: it frees up your computer's resources to ensure a smooth, lag-free capture, and it gets rid of any visual clutter that could distract your viewer.
While you're at it, make sure to silence all your notifications. Nothing kills the flow of a great tutorial faster than a random email or chat pop-up appearing on the screen. A clean, distraction-free environment is the foundation of a polished video.
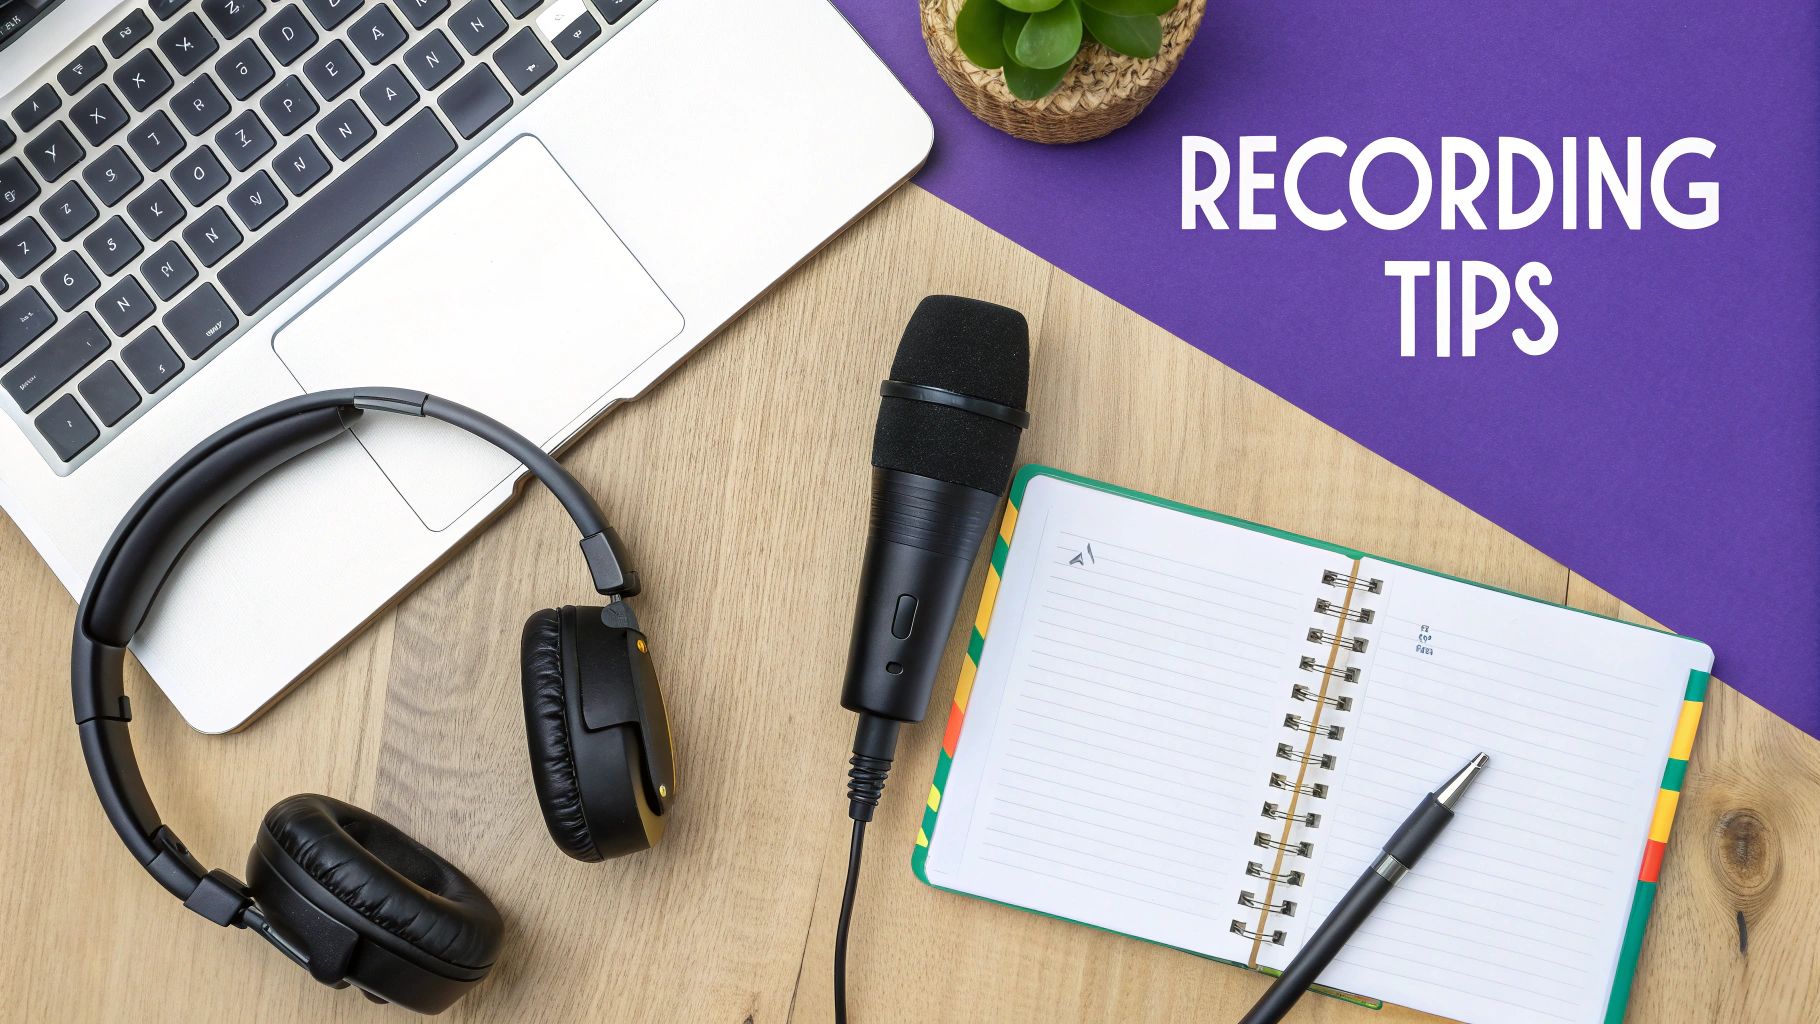
Optimize Your Audio and Pacing
If there's one thing I've learned, it's that audio quality is just as important as the video itself—maybe even more so. Your laptop’s built-in mic might be okay for a quick chat, but investing in a decent external USB microphone will instantly make your recordings sound clearer and far more professional.
Always, and I mean always, do a quick soundcheck before you start the real take. Record yourself speaking for a few seconds and play it back. Is your voice coming through clearly? Is there any annoying background hiss or is the audio peaking? For a deeper dive, our guide on how to screen record with sound has some great pointers.
Your pacing matters, too. Try to speak clearly and at a steady, deliberate pace. The same goes for your mouse movements—avoid zipping the cursor all over the screen. Smooth, intentional actions make it much easier for your audience to follow along. I find that jotting down a quick outline or a few bullet points helps me stay focused and maintain a consistent flow.
"A recording with crystal-clear audio and choppy video is watchable. A recording with stunning video and terrible audio is unwatchable. Always prioritize your sound."
Understanding the Growing Demand for Quality
The demand for good screen recordings isn't just in your head; it's a massive, growing trend. The global market for screen recording software was valued at a staggering USD 1.5 billion in 2024 and is expected to more than double to USD 3.2 billion by 2033.
What's driving this? The massive shift to remote work and online learning. Clear, effective video is no longer a "nice-to-have" for training, team collaboration, and tutorials—it's an absolute necessity. You can see more details about the screen recorder market growth on verifiedmarketreports.com. This just goes to show that mastering these simple tips isn't just about making better videos; it's about becoming a more effective communicator in today's digital world.
Running Into Recording Problems on Windows 10? Here's What to Do.
Even with the best-laid plans, things can go wrong when you hit the record button on Windows 10. It’s a frustrating experience, especially when you think you’ve nailed the perfect take. Whether you’re wrestling with the built-in Game Bar or another tool, glitches are bound to happen. The good news is that most of these problems have surprisingly simple fixes that will get you back on track without pulling your hair out.
One of the most common things I hear is, "I'm pressing Windows key + G, and nothing happens!" More often than not, this isn't some deep system bug but a setting that's been toggled off. The Xbox Game Bar might be disabled entirely or just not permitted for the specific app you're trying to capture.
Then there's the classic audio nightmare. You finish your recording, play it back, and... silence. Either your microphone didn't get picked up, or the system sounds are missing. It’s a real momentum-killer, but the solution is usually just a few clicks away in your privacy settings or sound panel.
Getting the Game Bar to Cooperate
If that Game Bar overlay is playing hide-and-seek, your first move should be to dive into your Windows Settings. Head straight to Gaming > Xbox Game Bar and check that the main toggle at the top is flipped on. Think of this as the master power switch for the whole feature.
Now, what if the Game Bar opens but refuses to record certain things, like your desktop or File Explorer? That’s actually not a bug—it’s a feature. The Game Bar is designed to capture games and individual applications, not your entire desktop experience. If you need to record your desktop, you'll have to grab a third-party tool.
If the recording just won't start, or it cuts out unexpectedly, here are a couple of likely suspects:
- App Permissions: Windows is pretty serious about privacy. Go to Settings > Privacy > Microphone and make sure "Allow apps to access your microphone" is enabled. Below that, you'll see a list of apps—find the one you're using and confirm it has permission, too.
- Game Mode: This one feels a bit backward, but sometimes the very feature designed to help you game can interfere with recording. Windows 10's Gaming Mode prioritizes system resources for the game itself, which can sometimes starve the recording process. Try turning it off under Settings > Gaming > Game Mode to see if it solves the problem.
Tackling Poor Audio and Video Quality
Nothing ruins a good video faster than choppy playback or audio that's completely out of sync. These performance hiccups are almost always a sign that your system is struggling to juggle capturing, encoding, and running your application all at once.
Pro Tip: Before you do anything else, update your graphics drivers. This is my go-to first step for any video-related issue. NVIDIA and AMD constantly release updates that fix bugs and improve performance for video capture. A quick driver update can work wonders.
If your drivers are fresh and you're still seeing stutters, it's time to ease the strain on your PC. In the Game Bar settings (Gaming > Captures), try dialing back the frame rate from 60 fps to 30 fps. You can also knock the video quality down from "High" to "Standard." This simple change can make a massive difference.
And what about that missing audio? Double-check that Windows knows which device you want to use.
- Right-click the little speaker icon in your taskbar and open Sound settings.
- Under the "Input" section, make sure your microphone is selected as the default device.
- Do the same for your speakers or headphones under the "Output" section.
Walking through these steps will fix the vast majority of recording headaches on Windows 10. A little troubleshooting now can save you a ton of frustration later.
Wrapping Up: Common Questions About Recording on Windows
So, you've got the tools and techniques down, but you might be wondering about the next step: turning those raw recordings into something truly effective. This is a common hurdle I see people run into all the time.
You've got two traditional paths. On one hand, you have dead-simple recorders like Loom. They're quick, but let's be honest, the final videos often end up 50-100% longer than they need to be, filled with pauses and ums. On the other end, you have beastly editors like Adobe Premiere Pro, which require a steep learning curve and a ton of time to master.
This is where AI-powered editors have really changed the game for creating training content. A great example is Tutorial AI. It's designed to take a single, unscripted recording and turn it into a professional-looking tutorial. You can just talk through your process naturally, and the AI handles the heavy lifting—trimming, polishing, and adding brand elements.
What this really does is put the power back in the hands of the subject matter experts. You don't have to be a video editing guru anymore to create clear, concise demos, onboarding guides, or support videos. It's a massive time-saver.
If you're tired of spending hours editing or shipping long, unpolished screen shares, it's worth checking out how AI can help. You can learn more about Tutorial AI and how it transforms raw recordings into finished videos over at their website: https://www.tutorial.ai.