So, you need to record some audio on your Windows machine? You're in luck. Windows comes packed with options for just about every scenario, from jotting down a quick voice memo to producing a polished podcast episode. This guide will cut through the noise and show you the right tool for the job.
We'll cover everything from getting your mic set up to capturing your voice, system sounds, and even specific app audio.
Your Starting Point for Recording Audio
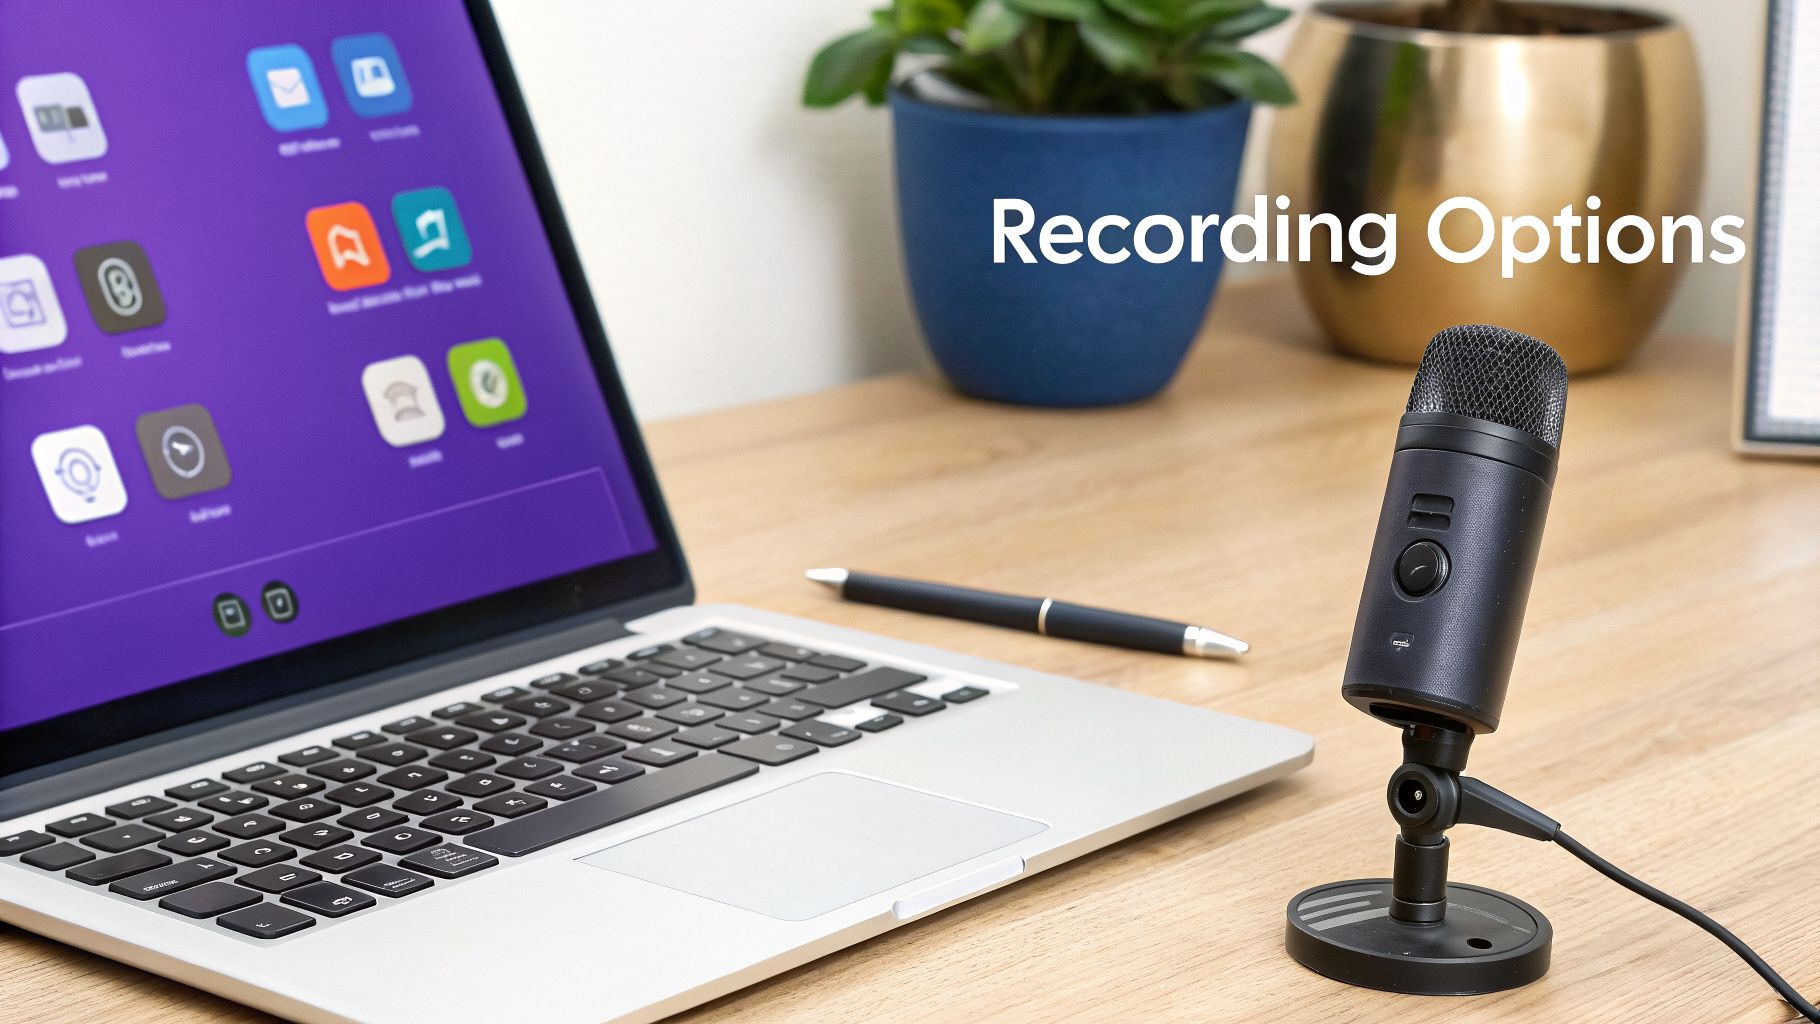
Knowing how to capture clean audio is a game-changer, whether you're a content creator, a sales pro making demo videos, or a trainer building a knowledge base. The best method really just depends on what you’re trying to accomplish.
We'll start with the simple, built-in tools that everyone has. Then, we'll dive into more powerful free software like Audacity and OBS Studio. Along the way, I'll share some practical tips for dealing with common headaches like background hum and tricky edits.
Why Is Windows So Good for Audio?
There's a reason so many people record on Windows PCs. It’s not just about personal preference—the numbers back it up. In the digital audio workstation (DAW) market, the Windows segment pulled in a massive 63.3% revenue share in 2025. That kind of market dominance means there's a huge ecosystem of compatible hardware and software out there for you.
This wide support makes it easy to get started. Grabbing one of the best budget USB microphones is a fantastic first step for getting clear, crisp sound without breaking the bank. For a deeper dive into microphones, check out our guide on finding the https://www.tutorial.ai/b/best-mic-for-recording.
But What About Recording Audio for Videos?
For many of us, especially if you’re creating tutorials or demos, just recording an audio file isn't enough. The real challenge is syncing that audio perfectly with a screen recording. This is where things can get complicated, fast.
On one hand, you have easy-to-use recording tools like Loom, which are great for quick, off-the-cuff recordings. The problem is that these unscripted videos often end up being 50-100% longer than they need to be because of pauses, mistakes, and rambling. On the other end of the spectrum, you have professional video editing software like Camtasia or Adobe Premiere Pro, which are powerful but require expert video editing knowledge.
Tutorial AI's tools let you speak freely without any practice and still your video will look professional as if it was edited in Adobe Premiere Pro. It allows the subject matter expert to create on-brand videos extremely efficiently.
This guide will focus on the "how-to" of recording audio, but it’s important to keep your final goal in mind. For many professionals, the end product is a polished video tutorial based on a screen recording, such as:
- Demos and onboarding videos
- Explainer videos and feature release videos
- Knowledge base videos and support article videos
Modern AI-powered tools are designed to streamline this entire workflow, helping you generate a professional-grade tutorial from a raw screen recording and voiceover without the manual editing grind.
Recording in a Pinch with the Windows Sound Recorder
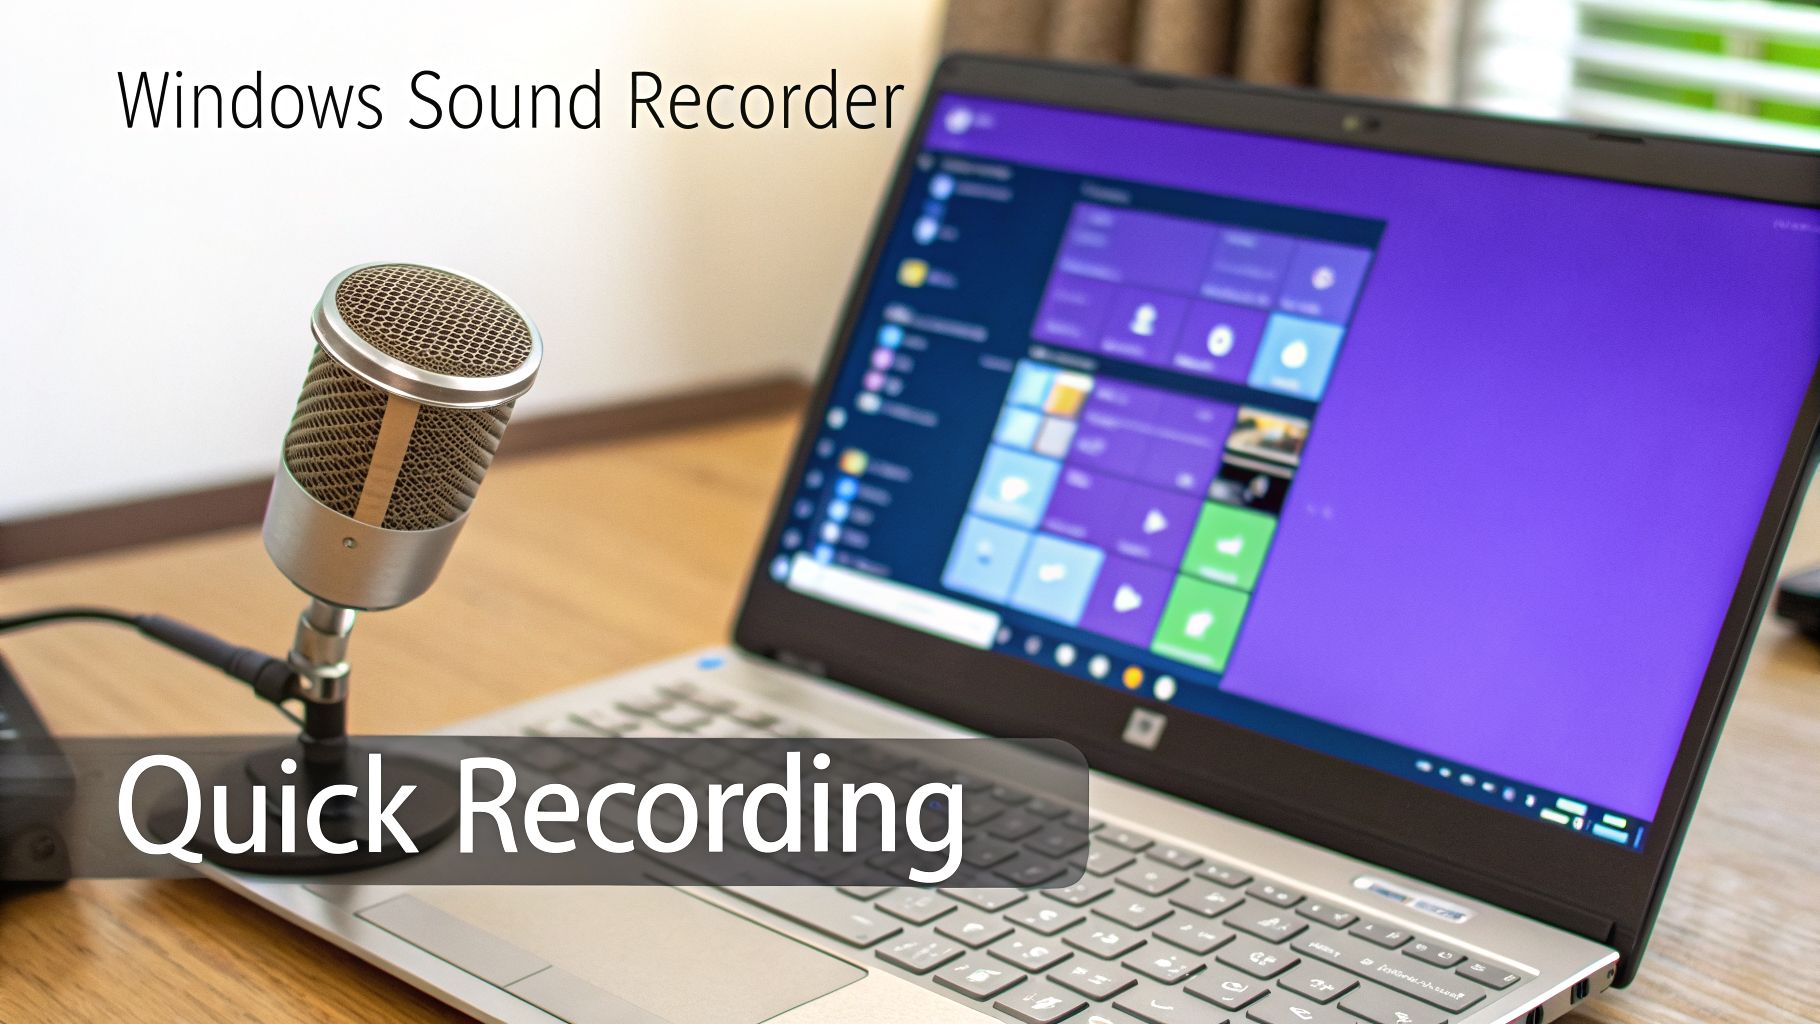
Sometimes you just need to capture a thought or conversation right now, without messing with complicated software. For those moments, Windows has a surprisingly capable tool built right in: the Sound Recorder. I like to think of it as a trusty digital notepad for audio—it’s perfect for jobs where speed trumps studio-quality features.
For example, a support agent could use it to grab a quick, word-for-word recording of a customer's issue. Or maybe you've just walked out of a meeting and want to record your key takeaways while they're still fresh. The Sound Recorder is designed for exactly this kind of spontaneous, no-fuss recording.
Firing Up the Sound Recorder
Getting started couldn't be easier. Just pop open your Start Menu, type "Sound Recorder", and the app will appear.
Once you launch it, you’ll see a clean, minimalist screen dominated by a large microphone button. Click it, and you're officially recording audio from your default mic. You can pause and resume the recording as needed, which is handy. When you're done, just hit the stop button, and your audio clip is automatically saved and ready to go.
The app even includes some basic editing functions. After you save a recording, you can trim away any silence at the beginning or the awkward fumbling at the end as you reached for the stop button. It’s a simple but genuinely useful feature.
Pro Tip: Check Your Mic Levels First
Before you hit that big red button, take ten seconds to check your microphone's input level. This is a crucial step that many people skip. If you record too loudly, your audio will "clip" and distort, and there's no way to fix that crackly mess later.
To get it right, just right-click the speaker icon on your taskbar and go to "Sound settings." From there, head to the "Input" section and select your microphone. Speak into it and watch the test meter—you want to adjust the volume so your voice peaks at around 75%. This single adjustment makes a massive difference in quality.
Just be aware of the Sound Recorder's limitations. It’s fantastic for simple, mono voice recordings, but it wasn't built for anything more complex. It can't handle multi-track projects, professional voiceovers, or capturing your computer's internal audio. For tasks like recording a webinar or a software tutorial, you'll need something more powerful.
If you’re interested in learning how to screen record with sound for those more advanced projects, we have a complete guide that walks you through it.
How to Capture Your Computer's System Audio
Okay, so recording your voice is one thing. But what if you need to record the audio coming from your computer? This is something I get asked about all the time. You might want to capture the sound from a product demo in your browser, save a key segment from a webinar, or grab your game audio for a highlight reel.
The key is to record your system's output directly. The good news is Windows has a built-in feature for this, but it's often tucked away and hidden. It's called Stereo Mix.
Think of Stereo Mix as a virtual microphone. Instead of listening to the outside world, it listens to all the audio your computer is currently playing.
Enabling the Hidden Stereo Mix
For some reason, most PC manufacturers disable Stereo Mix by default, so you’ll probably have to turn it on yourself. It’s a quick fix.
Here’s how to find and activate it:
- Right-click the speaker icon in your system tray (down by the clock) and select "Sounds".
- When the Sound window pops up, click over to the "Recording" tab.
- You'll likely see a short list of devices. Right-click anywhere in the blank space of that list and make sure both "Show Disabled Devices" and "Show Disconnected Devices" are checked.
- A new device named "Stereo Mix" should appear. Just right-click on it and choose "Enable".
Once it's enabled, you can set it as your default recording device. Now, any recording program—from the simple Windows Voice Recorder to Audacity—will capture whatever audio is playing on your PC when you hit record.
Pro Tip: Stereo Mix records everything. This includes all those little notification dings from your email and chat apps. Before you start an important recording, turn on "Focus" mode in Windows or just manually mute any apps you don't want in your final audio. It's a simple step that saves a lot of editing headaches.
What if Stereo Mix doesn't show up, even after you've told Windows to show disabled devices? This usually means your sound card or its drivers don't support the feature. Don't worry, you still have options.
A common workaround is to use a free virtual audio cable program. This software creates a digital "loopback," essentially routing your system's audio out and right back into a recordable input. It gives you a lot more control, especially if you need to do something more complex like isolate audio from specific apps. You can find more on this and other methods by exploring different software to record your computer screen and audio.
So, you've mastered the basics, but the built-in Windows tools are holding you back. When you’re ready to get serious about your audio, it's time to bring in the heavy hitters: Audacity and OBS Studio. These aren't just free tools; they're industry staples for a reason, giving you the kind of control you need for truly professional-sounding projects.
Mastering Your Voice with Audacity
Let's say you're a course creator recording a voiceover for a training module. This is where Audacity, a dedicated audio editor, really shines. It strips away all the other distractions and lets you focus on one thing: sound quality.
You can just plug in your USB mic, select it as the input, and hit record. But here's the magic. Once you're done, you can use its legendary Noise Reduction filter. I use this all the time to kill the low hum from my computer fan or an air conditioner. It’s a simple two-step process that instantly makes your audio sound cleaner and more professional.
From there, you can easily snip out mistakes, boost quiet sections, and export your final audio. If you need a small file to email, MP3 is perfect. For archiving a master copy or for high-fidelity projects, you'll want to save it as a WAV file. That flexibility is crucial.
Capturing Screen and Voice with OBS Studio
Now, picture a different scenario: you're a sales engineer who needs to record a compelling software demo. For this, OBS Studio is your go-to. While many know it for live streaming, it's an incredible recording powerhouse.
Its absolute best feature? The ability to record your microphone and your desktop audio on separate tracks. This isn't just a nice-to-have; it's essential for any serious video work. It gives you complete freedom later on to edit the audio independently.
Capturing audio sources on separate tracks is a game-changer. It means you can lower the volume of a loud system notification during your narration without affecting your voice, or vice versa. It’s a critical step for creating clean, professional demos and tutorials.
Recording your computer’s internal sounds is a common need, and thankfully, you're not limited to just one method. If you're comparing different approaches, you can find a great list of the most popular screen recording tools to see what else is out there.
To get started with system audio capture, you'll often need to enable a hidden setting in Windows. This diagram shows the general path.
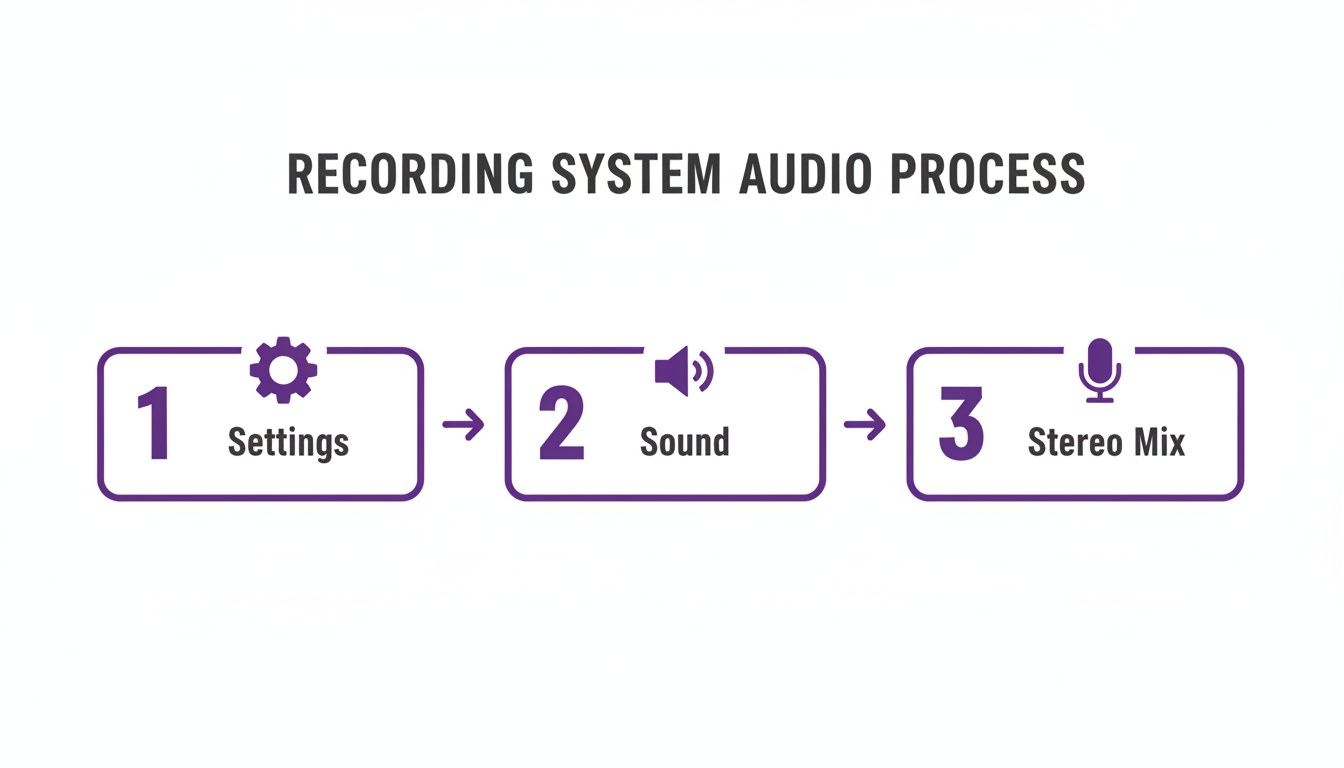
This process shows you how to find and enable the 'Stereo Mix' device in your sound settings, which acts as a virtual input to record any sound your computer makes.
Why Windows Is a Powerhouse for Audio
The sheer dominance of Windows in the PC market gives us a huge advantage. By 2025, it's expected to hold 56.40% of the digital audio workstation market for a simple reason: compatibility. An incredible 95% of USB mics are plug-and-play on Windows, so you can just get to work.
This massive ecosystem, which generates 84.40% of the market's revenue, allows powerful free tools like OBS Studio—with over 500 million downloads—to flourish.
For anyone creating content, this is a goldmine. Product marketers, for example, report that 45% of growth teams record screen captures on Windows every week. The payoff is real, too, with teams seeing up to a 30% boost in video views when they nail the audio clarity.
A Smarter Way to Create Videos: Letting AI Do the Heavy Lifting
Getting your audio right on Windows is a huge step, but let's be honest—it's rarely the final goal. More often than not, that clean audio track is destined for a video tutorial, a product demo, or a training session. This is where things can get messy, fast.
Many of us reach for simple screen recorders like Loom because they're quick and easy. You hit record, talk through your steps, and you're done. The problem? Those single-take, unscripted recordings are often 50-100% longer than they should be. They're filled with "ums," long pauses, and side tangents that water down your message.
So, what's the alternative? Diving into professional video editing software like Adobe Premiere Pro or Camtasia. These tools are incredibly powerful, but they come with a notoriously steep learning curve. Suddenly, the subject matter expert—the person who actually knows the material—is expected to become a video editor overnight. That's a massive time sink and a poor use of their expertise.
Finding the Sweet Spot with AI
This is exactly where a new breed of AI-powered platforms, like Tutorial AI, comes in. It’s a completely different approach. Imagine just recording your screen and explaining the process naturally, without worrying about a script or making a mistake. You can focus entirely on showing what you know, confident that the AI will polish everything afterward.
With this workflow, you can generate all sorts of professional video tutorials based on screen recordings:
- Demos: Show off your software's best features without any verbal fumbles or awkward pauses.
- Onboarding Videos: Create a library of concise, welcoming guides for new customers or employees.
- Explainer Videos & Feature Release Videos: Announce updates and break down complex ideas with a crystal-clear, studio-quality voiceover.
- Knowledge Base Videos & Support Article Videos: Build a collection of helpful, on-brand video articles that dramatically cut down on support tickets.
The real magic happens after you stop recording. The AI transcribes your spoken audio, and you simply edit the text—just like editing a Word doc. When you're done, the AI regenerates a perfect, human-sounding voiceover that syncs flawlessly with your screen actions.
What used to take hours of tedious audio editing and timeline adjustments now takes just a few minutes. Tutorial AI's tools let you speak freely without any practice and still your video will look professional as if it was edited in Adobe Premiere Pro. It allows the subject matter expert to create on-brand videos extremely efficiently.
A Growing Need for a Better Workflow
The demand for high-quality audio and video is exploding. The market for Digital Audio Workstations (DAWs), a space heavily dominated by Windows users, hit USD 3.49 billion in 2025. It's projected to more than double to USD 7.16 billion by 2034.
Even with all this growth, basic frustrations still trip people up. For instance, 28% of users report struggling with something as simple as microphone permissions. Tools like Tutorial AI sidestep these headaches entirely by auto-transcribing and regenerating narration in over 30 languages, delivering up to 80% time savings for creators compared to traditional editing. You can read the full market analysis from Fortune Business Insights to see where things are headed.
This shift means you no longer have to choose between a rambling, off-the-cuff video and a time-consuming, complex editing project. The power to create polished video content is finally in the hands of the people who know the subject best.
Frequently Asked Questions About Audio Recording
Even when you follow all the steps, recording audio can throw you a curveball. Let's tackle some of the most common questions that pop up, with practical answers to get you back on track.
How Can I Make My Microphone Sound Better on Windows?
Getting clean, crisp audio has less to do with expensive gear and more to do with a few key fundamentals. I always tell people to start with their environment first. Find a quiet room and close the door—you'd be surprised how much a mic can pick up, from a humming refrigerator to traffic outside.
Next, focus on your microphone technique. If you're using a standard vocal mic, position it a few inches from your mouth but slightly off to the side. This simple trick prevents those harsh "p" and "b" sounds (called plosives) from hitting the microphone directly. A cheap pop filter is also a fantastic investment for this.
Finally, before you hit record, do a quick level check. Open your Windows Sound settings, find your mic, and watch the input meter as you speak. You want the loudest parts of your speech to peak around -6dB. This gives you plenty of headroom and prevents that nasty, distorted sound known as clipping.
Your recording space and mic placement will improve your sound quality more than any piece of software. Getting this right from the start saves a ton of headaches in the editing room later.
What Is the Best Audio Format for My Recordings?
The "best" format really comes down to what you need the audio for. There isn't a single right answer, so you have to think about the end goal.
Here’s a simple breakdown I use:
- For sharing or web use: Choose a lossy format like MP3 or M4A. They compress the file to a much smaller size, which is perfect for emailing, uploading to a website, or sharing on social media. You sacrifice a tiny bit of quality for a huge gain in convenience.
- For editing or archiving: If you plan on doing any serious editing or want to keep a perfect master copy, always record in a lossless format like WAV. WAV files are big because they contain 100% of the original audio data, giving you maximum quality and flexibility for post-production.
A good workflow is to record in WAV for the highest quality, do all your edits, and then export the final product as an MP3 for easy distribution.
Why Can't I Record My Computer's Audio?
Ah, the classic Windows audio mystery. You're trying to record a sound playing on your PC, but your software can't "hear" it. The culprit is usually a hidden setting called "Stereo Mix." It’s a special recording input that captures your computer's audio output, but it's often disabled by default.
We walked through how to enable it earlier, but sometimes it's missing entirely, even after you "Show Disabled Devices." If that's the case, your computer's sound card or its drivers probably don't support the feature.
But don't worry, there's a fantastic workaround. You can install a free virtual audio cable application. These tools create a digital loopback, essentially routing your computer's speaker output into a new virtual microphone input. Any recording software can then select this new input and capture your system audio perfectly.
Creating high-quality tutorials and demos means getting both audio and video right. Instead of wrestling with complex editors, let Tutorial AI do the heavy lifting. Just record your screen, speak naturally, and let our AI turn your raw take into a polished, studio-quality video in minutes. Discover a smarter way to create video content with Tutorial AI.