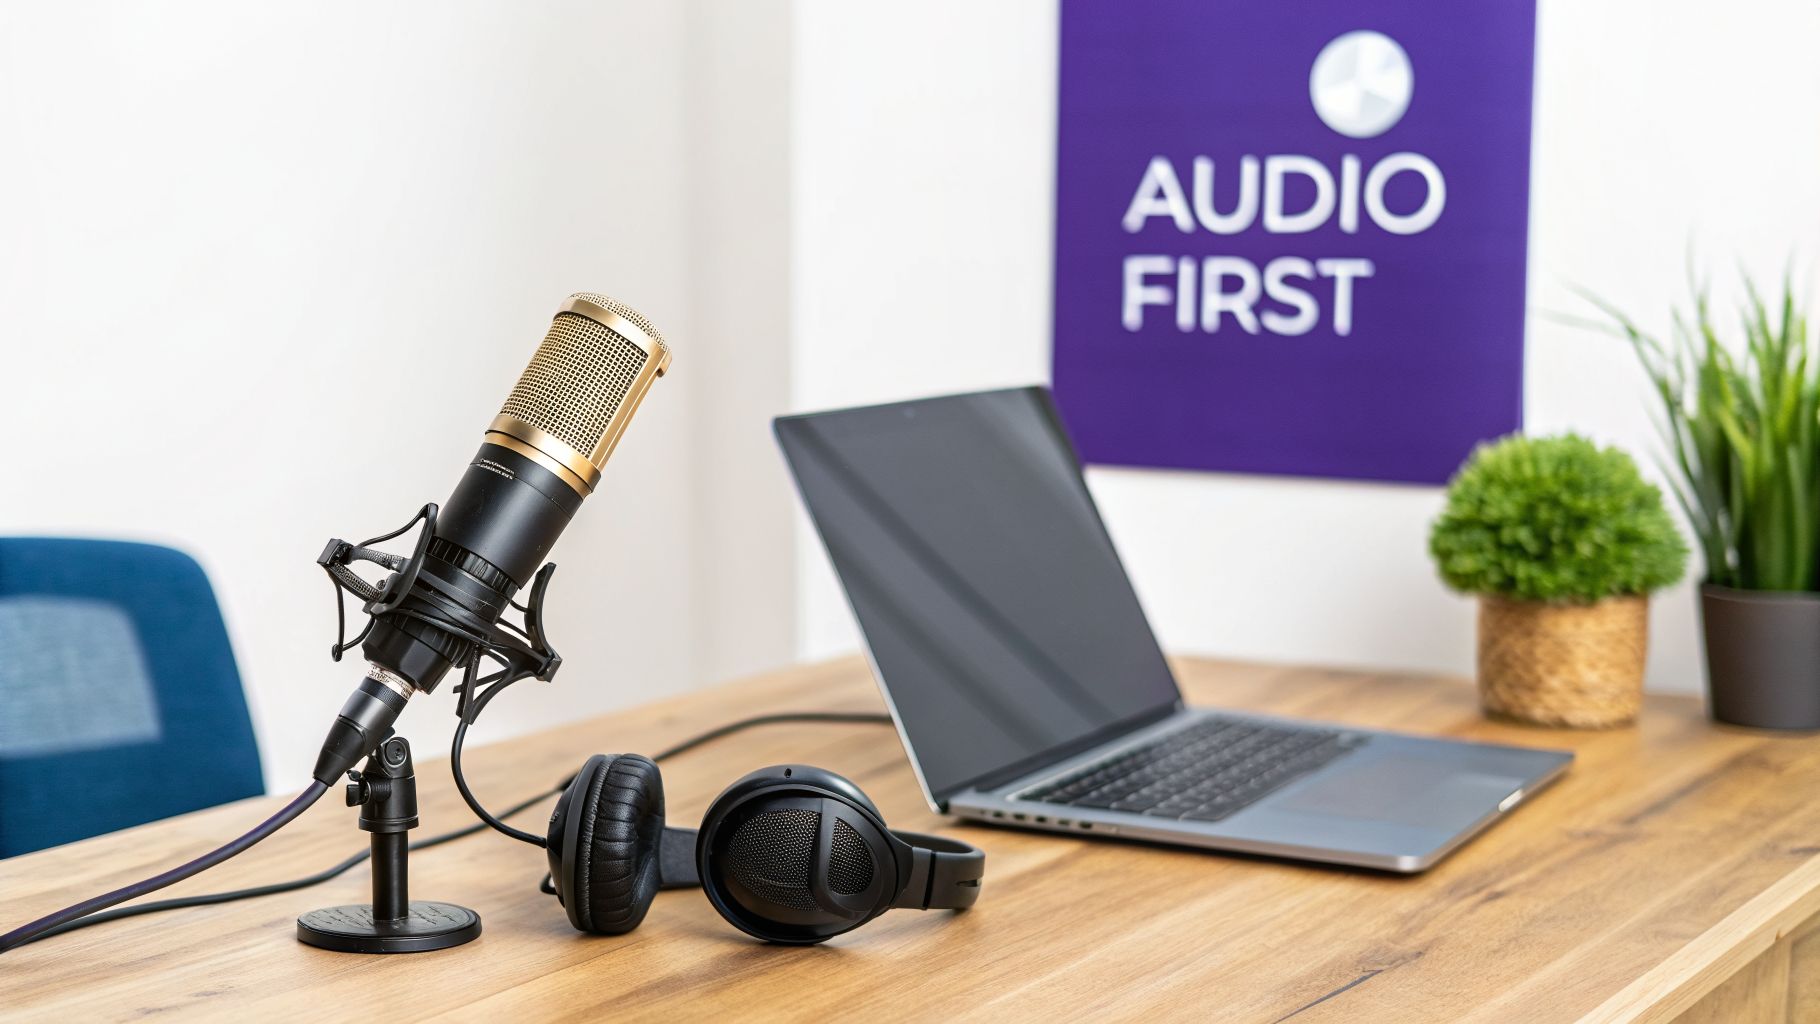
When you're looking for the best mic for recording your tutorials, don't get hung up on the price tag. What truly matters is clarity. For most of us creating tutorials, demos, and voiceovers, a great USB condenser microphone like the Rode NT-USB+ or Shure MV7 hits the sweet spot, giving you that crisp, professional sound without a complicated setup. It's all about making sure your message is heard, loud and clear.
Why Your Microphone Is Your Most Important Tool
We've all been there. You click on a tutorial with stunning 4K video, but the moment the creator starts talking, it’s a mess of muffled words, distracting background noise, and static. You click away instantly. That’s because great audio isn’t just a nice-to-have; it’s the foundation of effective communication.
Choosing the right microphone is more than just a gear upgrade—it's a direct investment in your credibility. Whether you're walking a customer through a new product or creating an in-depth support video, bad audio can make your expertise sound amateur. This guide will cut through the noise and help you pick the perfect mic to make your content shine.
The Challenge of Modern Video Creation
As a creator, you've probably felt stuck between two extremes. On one side, you have simple screen recorders like Loom. They're incredibly fast, but they often produce rambling videos that are 50-100% longer than necessary, full of "ums," "ahs," and dead air. These raw takes just don't feel professional enough for polished training or marketing content.
On the other side are the heavy-duty video editors like Adobe Premiere Pro or Camtasia. They give you total control, but the learning curve is steep and the editing process is a massive time sink. This leaves many subject matter experts in a tough spot, forced to choose between something that's easy and something that's good.
Tutorial AI bridges this gap. It’s a platform built specifically to turn your raw, unscripted recordings into polished, on-brand videos—without the headache of traditional editing.
How a Great Mic Empowers Tutorial AI
Tutorial AI is designed to generate video tutorials based on your screen recordings. This means you can create polished demos, onboarding videos, explainer videos, feature release updates, knowledge base content, and support article videos with incredible efficiency. Its tools let you speak freely without any practice, and your final video will look professional, as if it was meticulously edited in Adobe Premiere Pro.
For that magic to happen, the AI needs one thing from you: clean audio. A quality microphone provides that pristine signal, which is the key that unlocks Tutorial AI's full potential. With it, the AI can:
- Accurately transcribe every word you say for quick script editing.
- Generate a crystal-clear AI voiceover that sounds smooth and natural.
- Perfectly sync every video cut and on-screen action to your narration.
Starting with the best mic for your recording needs sets the entire process up for success. It’s the synergy that allows a subject matter expert to create on-brand videos extremely efficiently, even with zero editing experience. If you want to dive deeper into narration, check out our guide on how to do a voice over.
Getting to Grips With Core Microphone Concepts
Choosing your first proper microphone can feel like a trip down a rabbit hole of technical specs. The good news is you don’t need an audio engineering degree to get it right. You just need to understand a couple of key differences.
Think of it like this: a Phillips-head and a flat-head screwdriver both turn screws, but using the wrong one is an exercise in frustration. Picking the best mic for recording is the same—understanding the two main types, dynamic and condenser, makes the job infinitely easier.
H3: Dynamic vs. Condenser Microphones
Picture the lead singer at a loud rock concert, belting into a handheld mic. They can move around, the crowd is roaring, but their voice cuts through it all. That’s a dynamic microphone in its element. They’re built like tanks, are less sensitive to sound, and do a fantastic job ignoring anything that isn't happening right in front of them. This makes them a solid choice if you have to record in a noisy or untreated room.
Now, imagine a quiet, treated recording studio. The voice actor is speaking into a large, elegant microphone that’s capturing every subtle detail and warm tone in their voice. That’s a condenser microphone. These mics are designed for sensitivity and detail, giving you that crisp, professional "radio voice" perfect for tutorials and voiceovers. They do require a power source (called phantom power) and really shine in a quiet space.
The Bottom Line: For most of us creating tutorials from a home office, a condenser microphone is the way to go. It delivers the clarity and richness that makes your voice sound polished and professional, which is exactly what you want when working with platforms like Tutorial AI.
To help you decide, here’s a quick comparison.
Dynamic vs Condenser Microphones at a Glance
Use this quick comparison to decide which microphone type best fits your recording environment and content needs.
Ultimately, a condenser mic's ability to capture detail makes it the go-to for the kind of clear, articulate voice work needed for effective tutorials.
H3: What Is a Polar Pattern?
Once you’ve settled on the microphone type, you need to check its polar pattern. This sounds technical, but it’s just a way of describing the microphone’s "field of hearing"—the specific direction from which it captures sound most effectively.
Getting this right is your secret weapon for isolating your voice and rejecting distracting sounds like keyboard clicks, a humming computer, or room echo.
Cardioid: This is the pattern you’ll want 99% of the time. It picks up sound in a heart-shaped area directly in front of the mic while rejecting sound from the sides and rear. It's purpose-built for a solo speaker at a desk, keeping the focus locked on your voice.
Omnidirectional: This pattern listens in every direction at once—a full 360-degree sphere. While great for plopping a mic in the middle of a table to record a group meeting, it’s a nightmare for solo recording. It will pick up every echo and background noise in your room.
Bidirectional (Figure-8): This pattern captures sound from the front and the back, but not the sides. It's designed for face-to-face interviews, with one person on each side of the microphone.
For creating tutorials, a cardioid polar pattern is almost always your best bet. It’s the key to achieving that direct, present vocal sound that keeps your audience focused.
Of course, the microphone is just one piece of the puzzle. The signal's journey into your computer is just as important, and understanding concepts like recording from line in can help you ensure that what the mic hears is what your audience hears.
The Great Debate: USB vs. XLR Microphones
When you're looking for the best mic for recording, you’ll quickly run into a major fork in the road: USB or XLR? This isn't a simple "which is better" question. The right answer comes down to what you value most for your specific workflow—convenience, ultimate quality, or the freedom to upgrade down the line.
Think of a USB microphone as a self-contained studio in a box. It's got everything it needs built right in: the microphone capsule, the tech to convert analog sound to digital, and the USB connection. You just plug it into your computer, select it as your input, and you’re ready to hit record.
Why USB Mics Nail Simplicity and Speed
USB mics are the very definition of plug-and-play. Their main draw is how incredibly fast and easy they are to set up, which is a massive win for anyone who needs to create great content without getting bogged down in technical details. For teams making product demos, onboarding videos, and feature announcements, a good USB mic is an efficiency machine.
This is especially true when you're using a platform like Tutorial AI. The goal is to get your expertise on camera quickly and let the AI do the heavy lifting.
You can record freely without worrying about multiple takes, and Tutorial AI will transform your raw footage into a polished video that looks like it came straight out of Adobe Premiere Pro. A USB mic fits this fast-paced workflow perfectly.
Your subject matter expert can just focus on sharing what they know, confident that their audio is clear and professional. This is how you create high-quality, on-brand knowledge base videos and support articles at scale. For more on this, check out our guide on the best software to record your computer screen and audio.
Why XLR Mics Offer Flexibility and a Path to Grow
If a USB mic is an all-in-one stereo, then an XLR mic is like a component in a custom hi-fi system. These are the traditional microphones of the pro audio world, connecting to your computer with a sturdy three-pin cable that runs into a separate box called an audio interface.
This modular approach gives you two huge advantages:
- More Flexibility: You can mix and match parts. As your skills and needs grow, you can upgrade just the microphone or just the interface without having to scrap your entire setup.
- Higher Sound Ceiling: Audio interfaces typically pack better preamps and converters than what's squeezed into a USB mic. This often translates to cleaner, lower-noise recordings.
Of course, this flexibility comes with a bit more complexity and a higher upfront cost. This path is really for those who envision building out a dedicated recording space and want total control over every aspect of their sound.
Market Trends and Making Your Choice
The professional microphone market, valued at USD 2.14 billion in 2024, is expected to hit USD 3.22 billion by 2031. While old-school XLR mics still command a huge 79% of the market thanks to their reputation for low-noise performance, a major shift is happening. According to a report on the professional microphones market from Reanin, demand for convenience is driving impressive growth in USB and hybrid models, which are expanding at a 12% annual rate to meet the needs of modern creators.
So, where does that leave you?
- Choose a USB mic if: Your top priorities are speed, efficiency, and ease of use for creating tutorials, demos, and other business content. It’s the perfect match for tools like Tutorial AI.
- Choose an XLR mic if: You're building a more permanent setup, you need the absolute highest audio fidelity possible, and you want the option to upgrade your gear piece by piece over time.
For most people making tutorials and business videos, the audio quality you get from a great USB microphone is more than good enough, and the simple, fast workflow is a game-changer.
Choosing the Right Mic for Your Use Case
Let's be honest: there's no single "best mic for recording." The right choice really comes down to the job you need to do. Are you a sales pro who needs to whip up quick, personalized demos on the fly? Or are you a training lead tasked with building out an entire video knowledge base from scratch? Your answer completely changes the gear you should be looking at.
This guide will help you connect the dots between your day-to-day work and the right microphone, especially if you're creating content with a tool like Tutorial AI. We’ll even break down our top picks by budget, so you can find the best value no matter what you're looking to spend.
Matching Your Mic to Your Tutorial AI Workflow
One of the best things about Tutorial AI is that it lets subject matter experts shine. You can create truly polished, on-brand videos without ever touching a complex editing timeline. The whole point is to just hit record, speak naturally, and let the AI handle the heavy lifting to turn your raw take into a professional video.
But for the AI to work its magic, you have to give it a clean audio signal to start with. Let’s look at two of the most common workflows and the kind of microphone that makes the most sense for each.
Quick Demos and Explainer Videos: If your world revolves around recording short demos, feature updates, or quick onboarding videos, then speed is everything. You can't afford to waste time fiddling with a complicated setup. For this, a high-quality USB mic is your best friend. It’s genuinely plug-and-play, letting you go from an idea to recording in a matter of seconds.
In-Depth Knowledge Base and Support Videos: For teams building out large libraries of training content or detailed support videos, consistency and quality are the top priorities. An XLR microphone setup gives you that robust, top-tier audio you need for recording session after session. It offers the ultimate control to make sure every single video hits a high standard of quality.
If you're still weighing the options, this simple flowchart can help you decide which path makes the most sense for you.

Think of it this way: if your main goal is a fast "plug & play" process, a USB mic is the clear winner. If you'd rather have a more "flexible setup" that you can upgrade over time, then an XLR mic is the way to go.
Recommendations by Budget
The intense competition in the microphone world is fantastic news for us. It means you can get amazing audio quality without having to spend a fortune. It’s a massive $2.6 billion global market, but since it's so fragmented—with only six brands holding more than a 2% market share—it forces everyone to innovate. This has given us better and more affordable options than ever, including new wireless models that can cut background noise by up to 30dB.
Here’s a breakdown of what you can expect at three different price points.
Entry-Level (Under $100)
In this price range, you're looking for a huge leap in quality from your computer's built-in microphone. You won’t get studio perfection, but you will get clear, understandable audio that sounds professional.
- What to Look For: Stick with USB condenser mics from well-known brands. A cardioid polar pattern is a must, and a built-in headphone jack for monitoring your voice in real-time is a huge plus.
- Good For: Anyone just getting started, creating internal-only training videos, or working with a tight budget but needing a serious audio upgrade.
- Example Models: The Audio-Technica AT2020 (USB version) and Blue Snowball are timeless classics that have proven their value for years.
Mid-Range ($100 - $250)
This is the sweet spot for most business and professional users. Here, you get fantastic audio quality, durable construction, and genuinely useful features that make recording easier. This is where you'll find the best mic for recording high-quality tutorials.
- What to Look For: Mics in this category have better sound capsules and do a much better job of rejecting room noise. Many also come with handy onboard controls for volume and muting. You’ll also find flexible hybrid USB/XLR mics like the Shure MV7 here.
- Good For: Sales teams, product marketers, and learning and development pros who need consistently great audio for customer-facing videos.
- Example Models: The Rode NT-USB+ and Shure MV7 are two of the best out there, delivering that crisp, clear "radio voice" that makes you sound like a pro.
For creators who also spend time live streaming or in online gaming, the audio needs can be a bit different. If your main use case involves gaming, you might want to explore specific recommendations for the best gaming microphones, which often have features tailored to canceling out keyboard clicks and other background noise.
Pro-Level ($250+)
Once you cross this threshold, you’re almost certainly looking at an XLR setup. This means you’ll need to buy two things: an XLR microphone and an audio interface to connect it to your computer. It’s a bigger investment, but it gives you access to pristine, broadcast-quality sound.
- What to Look For: Seek out large-diaphragm condenser mics known for their warmth and incredible detail, like the legendary Rode NT1. You'll need to pair it with a solid audio interface like the Focusrite Scarlett 2i2, which provides clean power and excellent analog-to-digital conversion.
- Good For: Dedicated content creation teams, corporate training departments, and anyone producing flagship video content where audio quality cannot be compromised.
- Example Models: The Rode NT1 (when paired with a Scarlett 2i2) and the Shure SM7B are industry standards for a reason—they deliver flawless vocal recordings every time.
Setting Up Your Space for Perfect Recordings
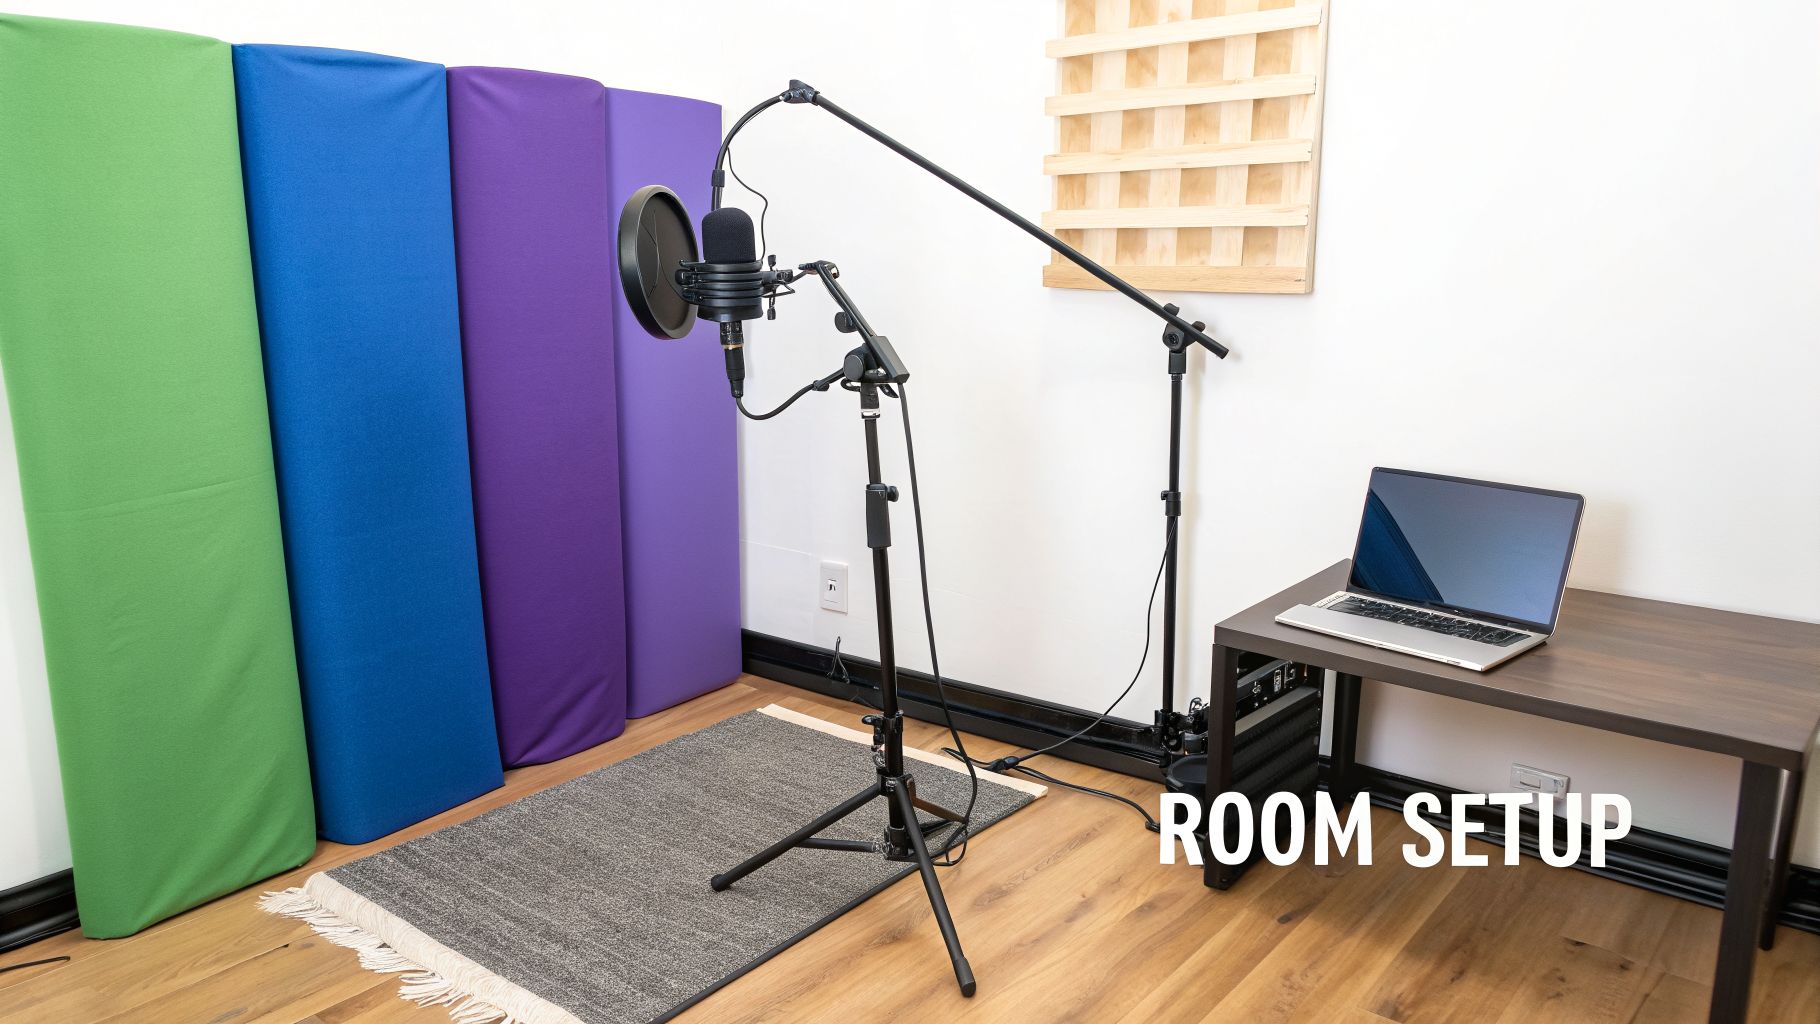
So, you’ve picked out the best mic for recording and you’re eager to get started. Before you do, let’s talk about the room itself. A fantastic microphone in a bad room will always, always give you bad audio. Your biggest enemy usually isn't the garbage truck outside; it's the echo and reverb bouncing off the hard surfaces right there in your office.
Your recording environment is every bit as important as your equipment. Taking a few minutes to “treat” your room before you hit record can make a night-and-day difference. It’s how you capture clean, crisp audio that gives a tool like Tutorial AI the best possible material to work with.
The microphone market exploded to $7.21 billion in 2024, driven in large part by a 40% jump in home studio setups since 2020. This tells you just how much clear audio matters now. A good dynamic mic, for example, can slice background noise by 25dB. When you apply that level of clarity to something like a SaaS tutorial, industry data shows you can boost engagement by up to 35%.
Taming Echo with Everyday Items
Here’s the good news: you don't need to build a professional studio to get professional-sounding results. The goal is simply to stop sound from reflecting off hard, flat surfaces like walls, floors, and your desk. Anything soft and textured will absorb those sound waves instead of letting them bounce around.
Believe it or not, one of the best recording booths you can find might already be in your house: a walk-in closet. All those clothes are natural sound dampeners, creating a wonderfully dead space that’s perfect for recording vocals. If a closet won’t work, you can get the same effect in your office.
- Soften the Floor: Throwing a thick rug or even a few blankets on a hardwood or tile floor will immediately tame a huge amount of echo.
- Cover the Walls: You don’t have to buy official acoustic panels. Heavy curtains, tapestries, or just tacking a few blankets to the walls around your desk will do the trick.
- Use Soft Furniture: A couch, an armchair, or even some well-placed pillows can work wonders to break up and absorb sound.
Mastering Your Microphone Technique
Once you’ve softened up your space, a few simple tweaks to how you use the mic will take your audio from good to great. These are easy habits to build, and they have a massive impact on your final recording.
The most common mistake new creators make is recording from too far away. This forces you to turn up the gain, which amplifies not only your voice but also every bit of room noise and echo you were trying to eliminate.
For clean, consistent sound, just follow these best practices:
Maintain Proper Distance: For most cardioid condenser mics, aim to keep your mouth about 6-12 inches away. A great rule of thumb is the "shaka" hand-span—thumb on the mic, pinky near your mouth. This captures the full, warm tone of your voice without sounding boomy or distant.
Use a Pop Filter: This is non-negotiable. A pop filter is that simple mesh screen you place between your mouth and the mic. It diffuses the harsh puffs of air from "p" and "b" sounds (known as plosives) and is the cheapest, fastest way to make your audio sound more professional.
Speak Slightly Off-Axis: Try not to speak directly into the dead center of the microphone. Instead, aim your voice slightly to one side. This little adjustment further reduces plosives and sharp "s" sounds (sibilance), giving you a much smoother vocal track.
By combining the right mic with a treated room and solid technique, you’re creating the perfect raw material. When you start with a clean audio file, you’re setting up Tutorial AI to perform at its best, turning your recording into a polished, studio-quality video. To see how it all comes together, check out our guide on how to screen record with sound.
Picking the right microphone can feel overwhelming, with countless options and technical specs to decipher. Let's cut through the noise. I've heard these same questions from creators for years, so here are some straightforward answers to help you choose the right mic with confidence.
Do I Really Need an Expensive Microphone for My Tutorials?
Honestly, no. The single biggest leap in audio quality you'll make is simply switching from your computer's built-in mic to any dedicated external one. You’ll find that an entry-level USB mic, often in the $50-$150 range, delivers a massive improvement in clarity for your voiceovers.
Ultimately, it’s less about the price tag and more about how the microphone fits your recording space. Clean, clear audio from an affordable mic will always sound better than distorted, echoey audio captured on a premium one in the wrong room.
My Room Is Noisy—What Kind of Mic Is Best?
If you’re dealing with unavoidable background hum from things like computer fans, an AC unit, or just general office chatter, you’ll want a dynamic microphone. Specifically, one with a cardioid polar pattern. This combo is your best friend for isolating your voice.
Dynamic mics are built to be less sensitive to sounds that are far away. The cardioid pattern then doubles down on this by focusing the mic's "hearing" into a tight area directly in front of it, actively rejecting noise from the sides and back. It's the perfect setup to make sure your voice is what gets recorded, not the room around you.
What Is a Pop Filter and Do I Need One?
You know that harsh, windy "pop" you hear when someone says words with hard 'P' or 'B' sounds into a microphone? That’s called a "plosive," and a pop filter is a simple screen that stops it from happening.
And yes, you absolutely need one. For just a few dollars, a pop filter is one of the cheapest and most effective ways to instantly make your recordings sound more professional and pleasant for your listeners.
Can I Just Fix Bad Audio Later with a Tool Like Tutorial AI?
While Tutorial AI has some seriously powerful editing features, it's designed to add polish, not perform miracles. Think of it like cooking: you have to start with good ingredients. The AI gets the best results when it has a clean, clear recording to work with from the start.
Things like heavy echo, clipping distortion, or a constantly running air conditioner are nearly impossible to remove completely without degrading the audio. Starting with a quality recording from the right mic ensures that a tool like Tutorial AI can deliver that truly professional, studio-quality sound you're after, saving you a ton of time and frustration in the process.
Ready to transform your raw recordings into polished, on-brand tutorials without the editing headache? Tutorial AI lets you speak freely and turns your unscripted screen recordings into studio-quality videos in minutes. Create professional demos, onboarding videos, and knowledge base content with the power of AI. Discover a smarter way to create video content.