Creating a great training video is more than just hitting record. It’s a thoughtful process of planning your content, capturing clean footage, and then polishing it all in the edit. From the very beginning, every decision should be centered on clear learning goals and keeping your viewer hooked.
Why Bother With Good Training Videos?
It’s easy to say video is just “more engaging,” but let’s get real about the business reasons for doing this well. High-quality training video isn’t just a nice-to-have; it’s a fundamental part of running an efficient business and developing your people. It hits your bottom line, plain and simple.
When you nail it, a good training video can dramatically cut down the time it takes to onboard a new hire. It also helps people remember what they learned far better than a dry, text-heavy manual. Best of all, it allows you to scale your training efforts effortlessly. The same video can train one person or a thousand with perfect consistency.
The Numbers Don’t Lie
The shift to video learning isn’t just a passing trend; it’s a core strategy for companies everywhere, and they’re putting serious money behind it.
By the mid-2020s, video had become a non-negotiable part of corporate training. A 2022 industry report revealed that roughly 75% of global enterprise companies rely on video for their internal training. And it’s not slowing down. The corporate training market is on track to hit an estimated $487 billion by 2030. That kind of growth tells you just how valuable organizations find video as a scalable, effective learning tool. For a deeper look at this shift, you can explore a guide to creating training videos.
Scale Your Learning, Not Your Workload
The real magic of video is its reusability. A single, well-made video can eliminate the need for dozens of repetitive, in-person training sessions. Think about it: this frees up your senior people and subject matter experts from explaining the same process over and over, letting them focus on work that actually moves the needle.
The best training videos take that precious knowledge locked away in the minds of a few experts and turn it into an on-demand asset that anyone in the company can access. That kind of scalability is a huge competitive edge. Documenting your processes this way is how you build a powerful, internal knowledge base. As you build out your video library, think about how each piece fits into your larger strategy for the documentation of training. The aim isn’t just to make one-off videos, but to create a cohesive learning ecosystem that helps your team grow on their own terms.
Building Your Blueprint for a Successful Video
Jumping straight into recording without a plan is a classic mistake. It’s like trying to build a house without a blueprint—you might end up with something, but it won’t be sturdy, functional, or what you actually wanted. Think of this pre-production phase as your architectural plan; it’s where you lay the essential groundwork to ensure every second of your video serves a real purpose.
Spending just a few hours here will save you countless more during recording and editing. It’s the difference between a rambling, unfocused video and a sharp, effective learning tool that gets the job done.
Defining Clear Learning Objectives
Before you even think about hitting ‘record’, you have to answer one simple question: “What should the viewer be able to do after watching this video?” The answer is your learning objective. It has to be specific, measurable, and action-oriented. Vague goals like “understand the new software” are completely useless.
Instead, get crystal clear. A strong objective sounds like this: “After watching, the sales team will be able to log a new lead in the CRM in under two minutes.” This gives you a north star for the entire creation process, from the first word of the script to the final edits.
Here are a few more real-world examples:
- For a feature release video: “Users will be able to locate and use the new ‘auto-tagging’ feature to organize their files.”
- For an onboarding video: “New hires will be able to set up their two-factor authentication without needing to contact IT.”
- For a support article video: “Customers will be able to troubleshoot and resolve error code 503 on their own.”
Once you have this objective, it becomes your filter. If a script segment, a graphic, or a scene doesn’t directly help achieve that one goal, it’s probably just noise. Cut it.
A well-defined learning objective is the most powerful editing tool you have. It helps you cut through the fluff and focus only on what the learner absolutely needs to know to succeed. The business case for this initial planning is strong. Investing a little time upfront leads to faster employee onboarding and much better knowledge retention down the line.
The takeaway here is simple: video isn’t just another expense. It’s an investment that pays you back in operational efficiency and a more competent team.
To help you nail this down, I’ve put together a quick summary of the key components you need to think through before you start.
Key Elements of an Effective Training Video Plan
| Planning Element | Key Questions to Answer | Example Goal |
|---|---|---|
| Audience | Who is this for? What's their current knowledge level? What do they care about? | New marketing hires who have never used our analytics dashboard before. |
| Learning Objective | What's the one thing they must be able to do after watching? | Be able to create and share a custom "Source/Medium" report within 5 minutes. |
| Key Takeaways | What are the 2-3 essential pieces of information they need to retain? | 1. How to find the custom report builder. 2. How to add the correct dimensions/metrics. 3. How to save and share the report link. |
| Call to Action | What should they do next? | "Now it's your turn. Go build your first report and share the link in our team channel." |
Thinking through these points ensures you’re not just creating content, but creating a resource that drives a specific, valuable outcome.
Writing Scripts That Connect
With your objective locked in, it’s time to script. A lot of subject matter experts get nervous here, thinking they need to be professional writers. You don’t. The goal isn’t a Hollywood screenplay; it’s a clear, conversational guide that sounds like a real person talking.
The most common mistake I see is writing a script that reads like a formal document. Instead, write like you’re talking to a colleague sitting right next to you. Use simple words, short sentences, and a friendly, helpful tone.
The absolute best way to check your work? Read your script out loud. You’ll immediately catch awkward phrasing and robotic language. If it feels weird to say, it’s going to sound ten times weirder in the final video. This is especially true for software demos where you need to be a helpful guide, not a machine reading from a manual.
Storyboarding Your Visual Flow
A storyboard is a deceptively simple tool that helps you see your video before you actually record it. And no, you don’t need to be an artist—stick figures and basic shapes work perfectly. The whole point is to map out the sequence of your shots and on-screen actions.
For a software tutorial, your storyboard could just be a series of rough screenshots with notes scribbled underneath about what you’ll say and do in each one. This quick visual outline helps you:
- Spot logic gaps: You can instantly see if your steps are in the wrong order.
- Catch missing info: It becomes painfully obvious if you’ve forgotten a crucial step.
- Plan your visuals: You can mark exactly where you need to add a zoom, a callout, or a text overlay to emphasize a point.
Taking 30 minutes to storyboard will prevent major headaches later. You’ll go into your recording session knowing exactly what to capture, shot by shot. It’s the step that turns your script from words on a page into a complete visual and narrative plan.
Capturing Your Content Like a Pro
Alright, with your blueprint in hand, it’s time to switch gears from planning to production. This is the fun part—where you actually record the raw material for your video, whether that’s a software walkthrough on your screen or a direct-to-camera piece. And don’t worry, you don’t need a Hollywood budget to get clean, professional results.
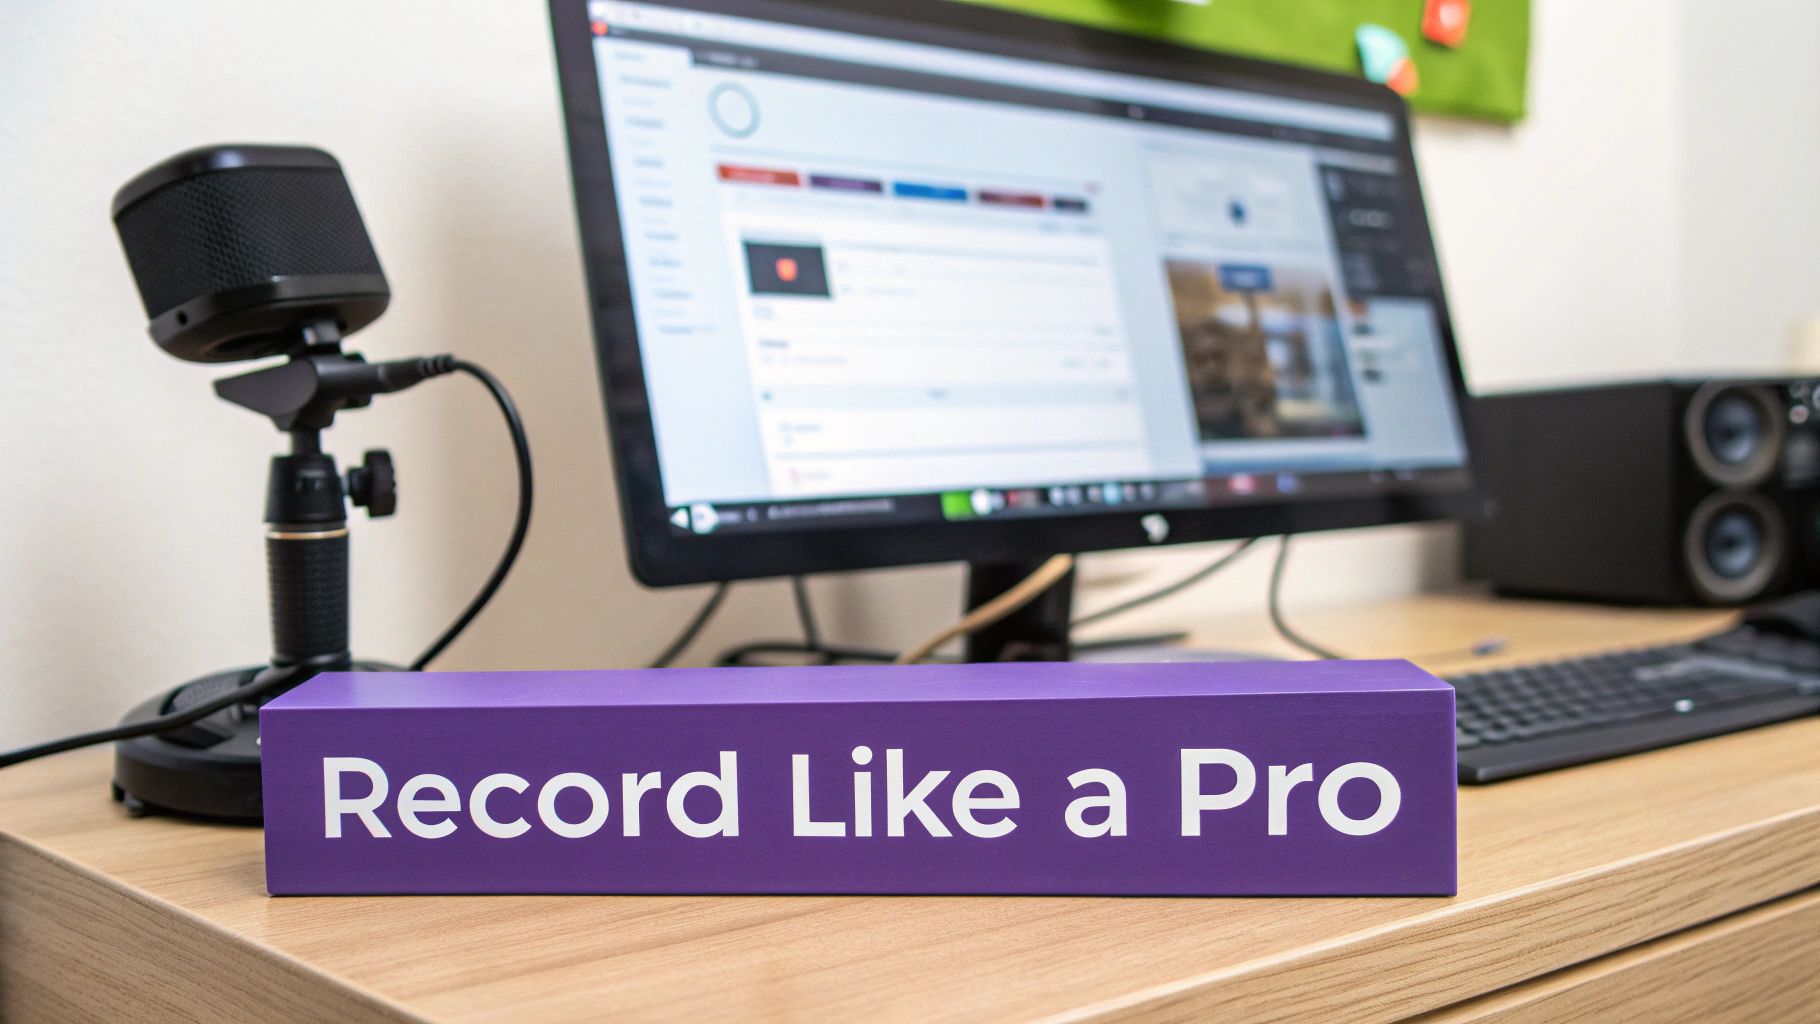
The real goal here is to capture crisp video and clear audio. Get this right, and you’ll thank yourself when the editing process is ten times smoother.
Mastering the Screen Recording
For most training videos—I’m talking software demos, feature updates, and support articles—your screen is the stage. Getting a clean screen capture is probably the most important technical skill you’ll need. Before you even think about hitting that record button, take a minute to prep your digital workspace.
- Clean up your desktop: Nobody needs to see your cluttered files and icons. Hide them.
- Close other apps: Shut down anything that isn’t part of the lesson.
- Silence notifications: Turn off alerts from Slack, email, and system updates. A random pop-up can derail the entire take.
This simple prep work keeps the recording focused and directs your viewer’s attention exactly where it needs to be. For a deeper dive, we have a whole guide dedicated to screen recording for training.
The Classic Trade-Off: Simplicity vs. Efficiency
We’ve all seen it. Easy-to-use recording tools like Loom are brilliant for quick, off-the-cuff captures, but that convenience often results in recordings that are 50-100% longer than necessary. They’re filled with pauses, filler words, and rambling sections that someone then has to painstakingly edit. On the other end, professional video editing software like Camtaisa or Adobe Premiere Pro gives you incredible control, but requires expert video editing knowledge and a huge time investment.
This is where Tutorial AI bridges the gap by generating video tutorials based on screen recordings. You can create demos, onboarding videos, explainer videos, feature release videos, knowledge base videos, or support article videos by simply speaking freely without any practice. The AI tools ensure your final video will look professional, as if it was edited in Adobe Premiere Pro, but without any technical headaches. This approach allows the subject matter expert to create on-brand videos extremely efficiently, turning their raw knowledge into a polished asset in a fraction of the time.
On-Camera Essentials for a Professional Touch
If your training video includes any “talking head” segments, a few basic principles can make a massive difference. You really don’t need a fancy camera—your smartphone or a decent webcam is often more than enough, provided you nail the fundamentals.
Think about these three things:
- Lighting: This is non-negotiable. The best and cheapest light source you have is a window. Sit so you’re facing the window, letting that soft, natural light hit your face. Never, ever sit with a bright window behind you, or you’ll end up as a dark silhouette.
- Audio: People will forgive slightly grainy video. They will not tolerate bad audio. A dedicated USB microphone is the single best investment you can make. It will make your voice sound clear and professional, killing the echo and background hiss that plagues most built-in computer mics.
- Background: Keep it simple. A clean, uncluttered background works best. A tidy bookshelf, a plain wall, or a simple office setting ensures the focus stays on you, not the laundry pile behind you.
Nailing these simple techniques will set you up for success. If you find you enjoy the process and want to build on these skills, an APS Certificate in Videography could be a great next step. Remember, the better your recording, the easier the next phase—editing—will be.
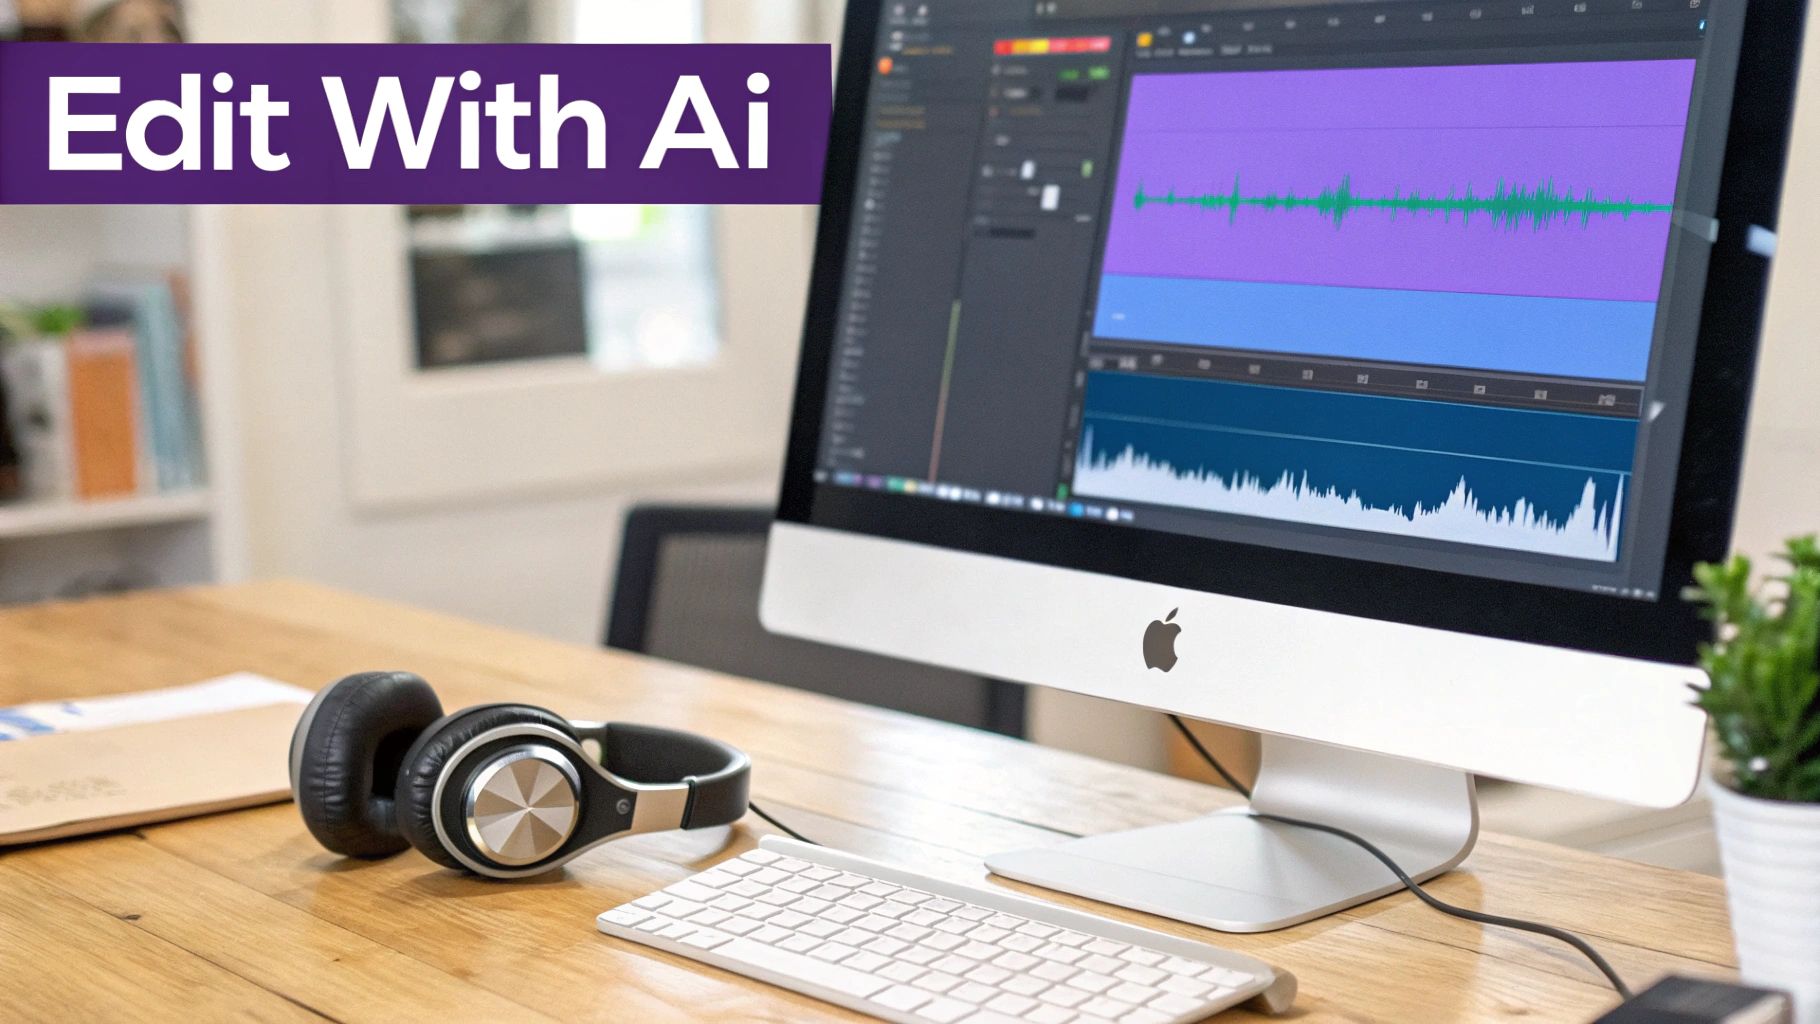
Editing Smarter, Not Harder, with AI
Alright, you’ve got your raw footage. Now comes the part where the magic happens: editing. This is where you transform a rough screen recording into a polished, professional training asset. It’s where you snip out the fluff, tighten up the pacing, and add those little touches that make the content click for your audience.
For a long time, this was the most dreaded part of the process—a real time-sink that required a ton of technical skill. But things are changing. Post-production is getting a major upgrade, moving away from clunky, manual timelines and toward smarter, more automated workflows.
The Old Way: A Steep Learning Curve
For years, if you wanted a pro-level training video, you really only had two options. You could either shell out for an expert video editor or resign yourself to becoming one.
Tools like Adobe Premiere Pro or Camtasia are absolute powerhouses, giving you fine-tuned control over every last frame and transition. But all that power comes with a price: a steep learning curve. Mastering them takes dedicated expertise and hours upon hours of practice—time that most subject matter experts simply don’t have.
On the other end of the spectrum, you have super-simple screen recorders like Loom. They’re fantastic for quick captures, but the raw output is often… well, raw. Recordings are frequently 50-100% longer than necessary, bloated with long pauses, “ums,” and “ahs” that you have to painstakingly trim out by hand.
The New Way: Editing with AI
This is where a new wave of AI-powered tools is completely changing the game. Platforms like Tutorial AI are built from the ground up for subject matter experts, not professional video editors. The whole idea is to let you focus on what you do best—sharing your knowledge—while the tech handles the tedious bits.
This approach flips the script on how we create all sorts of screen-based tutorials, including:
- Software Demos: Flawlessly showcasing how your product works.
- Onboarding Videos: Smoothly guiding new hires through key processes.
- Explainer Videos: Breaking down complex ideas into bite-sized, digestible pieces.
- Feature Release Videos: Announcing new functionality with a crisp walkthrough.
- Knowledge Base Videos: Turning static support docs into dynamic visual guides.
With a tool like Tutorial AI, you can just hit record and talk freely. Don’t worry about nailing the perfect take on the first try. Mistakes, long pauses, and filler words are no longer a big deal. You can just narrate your process naturally, like you’re explaining it to a coworker sitting next to you.
Once you’re done recording, the AI takes over. It automatically transcribes your audio and then edits the video based on the text, trimming out all the fluff. You’re left with a clean, professional cut that looks like it was meticulously edited in Premiere Pro—but you never had to touch a complex timeline. This shift means you, the expert, can create high-quality, on-brand videos in a fraction of the time. What used to take hours of manual editing can now be done in minutes. AI is making the whole process smarter, and if you’d like to learn more, you can see how to leverage automation in content creation across your entire workflow.
Beyond Just Cutting the Fluff
The perks of an AI-driven editing process go way beyond just cleaning up mistakes. This technology can handle a bunch of other post-production tasks that used to require specialized skills or more manual effort.
AI Voice GenerationEver record a great demo but cringe at your own narration? Or maybe you need to update a small section of the video months later without re-recording everything? AI voice generators are the answer. They can create a perfect, studio-quality voiceover directly from your script. You can even pick from different voices and languages, which makes localization a snap.
If that sounds like something you could use, you might want to check out our guide on using an AI voice generator for videos.
Automated Visual EnhancementsIntelligent editing tools can also add a layer of visual polish to your screen recordings automatically, making them far more engaging and easy to follow. Think of features like:
- Smart Zooming: The video automatically zooms in on key areas of the screen as you talk about them, guiding the viewer’s eye.
- Cursor Highlighting: A subtle highlight or animation is added to your cursor so it’s always easy to track.
- Auto-Generated Captions: Instantly create accurate subtitles, which is a must-have for accessibility and for viewers in noisy environments.
These automated enhancements are massive time-savers and help you maintain a consistent, high-quality look across all your training content. This frees you up to focus on what really matters: the substance and quality of your teaching.
Taking Your Video Live: Distribution and Impact
You’ve planned, scripted, recorded, and polished your training video. It looks fantastic. But a video sitting on your hard drive doesn’t help anyone. The final, crucial step is getting it in front of the right people, making sure they can access it, and setting it up to make a real impact.
This is where the rubber meets the road. Let’s walk through how to launch your video effectively, turning that polished file into a genuine learning tool for your organization.
Making Your Content Accessible from Day One
Before you upload anything, think about accessibility. It’s not an afterthought; it’s a necessity. People learn in all sorts of environments—a noisy open-plan office, on a commute, or even in a quiet library where they can’t turn the sound on. Accurate captions are no longer a nice-to-have, they’re essential.
Here’s why you can’t skip this step:
- Inclusivity: Captions ensure colleagues who are deaf or hard of hearing can fully participate.
- Flexibility: They empower people to watch and learn anywhere, without needing headphones.
- Better Learning: Many people simply learn better when they can see and hear the information at the same time. This is especially true for complex topics or technical jargon.
A Quick Tip: While auto-generated captions from platforms like YouTube are a good starting point, they are notoriously imperfect. Always plan to spend a few minutes reviewing and editing them. Clean, accurate captions reflect the same professionalism you put into the video itself.
Finding the Right Home for Your Video
Where your video “lives” determines who can see it and how they’ll interact with it. The right platform really just depends on your audience and the video’s purpose.
For internal training, you’ll want a secure, centralized spot. This keeps sensitive company information safe and makes it easy for employees to find what they need.
Common places to host internal videos include:
- A Learning Management System (LMS): If your video is part of a formal course, an LMS is the perfect fit. It lets you track who has completed the training, add quizzes, and see how the video fits into a broader curriculum.
- Your Internal Knowledge Base: Platforms like Confluence or SharePoint are great for just-in-time learning. Placing a tutorial right next to its corresponding written documentation makes it incredibly easy for people to find help when they need it most.
- Company Intranet or Comms Channels: For a big company announcement or a quick policy update, posting on the main intranet or in a dedicated Slack channel is a great way to get immediate eyeballs on your content.
If you’re creating videos for customers—like product tutorials or onboarding guides—public platforms are your best bet. Vimeo and YouTube give you massive reach and fantastic analytics to see what’s resonating with your audience.
Setting Your Video Up for Success
Don’t just upload a file named final_video_v3.mp4 and call it a day. A little optimization goes a long way. A sharp title and a helpful description are your best tools for getting people to click and watch, whether it’s on an internal server or a public platform.
Think about how your audience searches for information.
A title like “CRM Update” is vague. Instead, try something descriptive and action-oriented, like “How to Log a Sales Call in the New CRM.” Right away, the viewer knows exactly what they’ll learn to do.
In the description, add a quick summary of the key takeaways. You can also include links to other helpful resources or documents mentioned in the video. This small effort makes your content infinitely more useful.
Taking these final steps ensures all your hard work pays off. The demand for learning through video is undeniable. One study found that 77% of learners preferred video to text, and an incredible 94% wanted more video-based training at work.
Interestingly, that same research found no major difference in learning outcomes between human-recorded and AI-generated videos. However, it did find a 20% reduction in time-on-task with AI-generated content, pointing to some serious efficiency gains. You can read the full research on effective AI video training to dig deeper. This data confirms it: by delivering clear, accessible videos, you’re meeting a huge need within your organization.
Answering Your Top Questions About Training Videos
As you start creating training videos, you’ll inevitably run into a few common questions. Let’s tackle some of the ones I hear most often, with practical advice to keep you moving forward.
What’s the Ideal Length for a Training Video?
In the corporate world, shorter is almost always better. I always recommend aiming for microlearning videos that are between 3 to 7 minutes long. This sweet spot respects your team’s busy schedule and makes the information much easier to absorb and remember.
What if you’re explaining a really complex process? Don’t fall into the trap of making one giant video. A much better approach is to break it down into a series of focused, bite-sized videos. Instead of a 25-minute marathon on your new CRM, think of it as a playlist: “How to Log a Call” (4 minutes), “Updating a Client Record” (3 minutes), and so on. This way, employees can find the exact answer they need, exactly when they need it, without having to scrub through a long recording.
How Much Gear Do I Actually Need to Get Started?
Honestly, you can get going with a lot less than you probably think. The trick is to put your budget where it will have the most impact, not just into flashy equipment.
If you invest in one thing, make it a good USB microphone. Viewers will forgive a slightly grainy webcam, but they will click away instantly if the audio is terrible. Clear sound is non-negotiable. Beyond that, you just need a solid screen recording tool. Many of the best ones have free versions that are perfectly fine for getting started.
For any on-camera parts, just focus on good lighting. You don’t need a pro setup; simply sitting in front of a window for natural light works wonders. Your laptop’s webcam or smartphone is often more than enough to begin with. The content and clear audio are what truly matter.
How Do I Make My Screen Recordings Less Boring?
Let’s face it, a static screen recording can put anyone to sleep. To keep your audience tuned in, you need to actively guide their attention.
When you’re editing, use simple zoom and pan effects to draw focus to the specific part of the screen you’re talking about. Add a cursor highlight or click animations so it’s crystal clear where you’re pointing and what you’re doing. A little bit of visual direction goes a long way.
It’s also crucial to keep your narration conversational and energetic—try to edit out any long, awkward pauses. Another great trick is to break up the screen recording with a full-screen text slide to introduce a new topic or summarize a key point. These little visual interruptions act like a reset button for your viewer’s attention.
How Do I Know if My Training Videos Are Actually Working?
To measure success, you have to look past simple view counts. The real proof is in learner engagement and whether your video actually improves something for the business.
Start by diving into the analytics in your video platform or Learning Management System (LMS). Look for metrics like audience retention—it will show you the exact moments where people are losing interest and dropping off. Also, keep an eye on completion rates and any quiz scores tied to the video.
Even better, try to collect direct feedback with a quick survey asking learners what they thought. Combining this hard data with real human feedback gives you the full picture of your video’s impact.
Ready to create on-brand, professional training videos with incredible efficiency? With Tutorial AI, you can speak freely, make mistakes, and let our AI-powered editor turn your raw screen recordings into polished demos, tutorials, and knowledge base videos in minutes.