Screen recording is exactly what it sounds like: capturing your computer screen’s activity, usually with a voiceover, to create a training video. It’s an incredibly practical way to walk someone through a process step-by-step, demo a piece of software, or get a new team member up to speed. Think of it as the ultimate “show, don’t just tell” approach to learning.
Why Screen Recording Is Your Training Superpower
Let’s face it, nobody gets excited about a 100-page PDF manual. In today’s world of distributed teams and just-in-time learning, screen-recorded videos aren’t just a nice-to-have; they’re a core part of any smart training strategy. This method turns abstract instructions into concrete, visible actions anyone can follow.
When you record your screen, you’re not just explaining a task—you’re literally guiding your viewer through it. They see exactly where to click, which menus to navigate, and what the outcome should be. All the guesswork that comes with text-only guides? Gone.
The Power of Visuals
Our brains are wired to process visual information far more quickly than text. By showing a process, you’re tapping directly into how people naturally learn, making even the most complicated workflows feel more approachable and easier to remember.
This isn’t just a theory; it has a real impact. Training programs that incorporate video have been shown to improve knowledge retention by up to 60%. The numbers don’t lie—showing is simply more effective than telling.
A great training video becomes the single source of truth. It doesn’t matter if an employee joins today or a year from now; they get the exact same high-quality instruction, every single time. This simple recording of a user clicking through a software interface demonstrates how a visual can instantly clarify a workflow.
Just by following the cursor, you can understand the entire sequence of actions without reading a single word.
Scale Your Training, Not Your Time
Beyond being effective, screen recordings are a massive time-saver. You invest the time to record a process once, and that single video can train ten, fifty, or even hundreds of people. This frees up your subject matter experts from repeating the same one-on-one training sessions over and over again.
Over time, you build a library of on-demand, self-service resources that empowers your team to find their own answers. Instead of interrupting a colleague, an employee can pull up a two-minute video and solve their problem immediately. It’s a game-changer for building a more independent and productive team. This video library is the foundation for scaling your internal systems training and creating a culture of self-sufficiency.
Blueprint for a Flawless Training Video
The real work on a great training video happens long before you hit the record button. Just jumping into a screen recording for training without a plan is like building a house without a blueprint—it’s a recipe for wasted time and a wobbly final product. A bit of planning upfront respects your audience’s time and makes the entire production process so much smoother.
The absolute foundation of your video is a clear set of learning objectives. Before you map out a single step, you have to ask yourself: what should the viewer be able to do after watching this? Your answer to that question sets the scope and saves you from adding fluffy details that just get in the way of the core lesson.
Define Your Core Learning Objectives
First things first, write down one to three specific, action-oriented goals. I’m not talking about just listing topics; you need to define concrete outcomes. Vague goals inevitably lead to vague, unhelpful content.
- A Vague Goal: “Show users the new reporting feature.”
- A Specific Goal: “Demonstrate how to generate a quarterly sales report and export it as a PDF.”
See the difference? That level of clarity becomes your North Star. It ensures every click, every spoken word, and every on-screen action is there for a reason—to guide the learner from A to B. Once you have these objectives locked in, you can build everything else around them.
This infographic really highlights how far training has come, from dense, static manuals to the kind of dynamic and intelligent screen recordings we can create today.
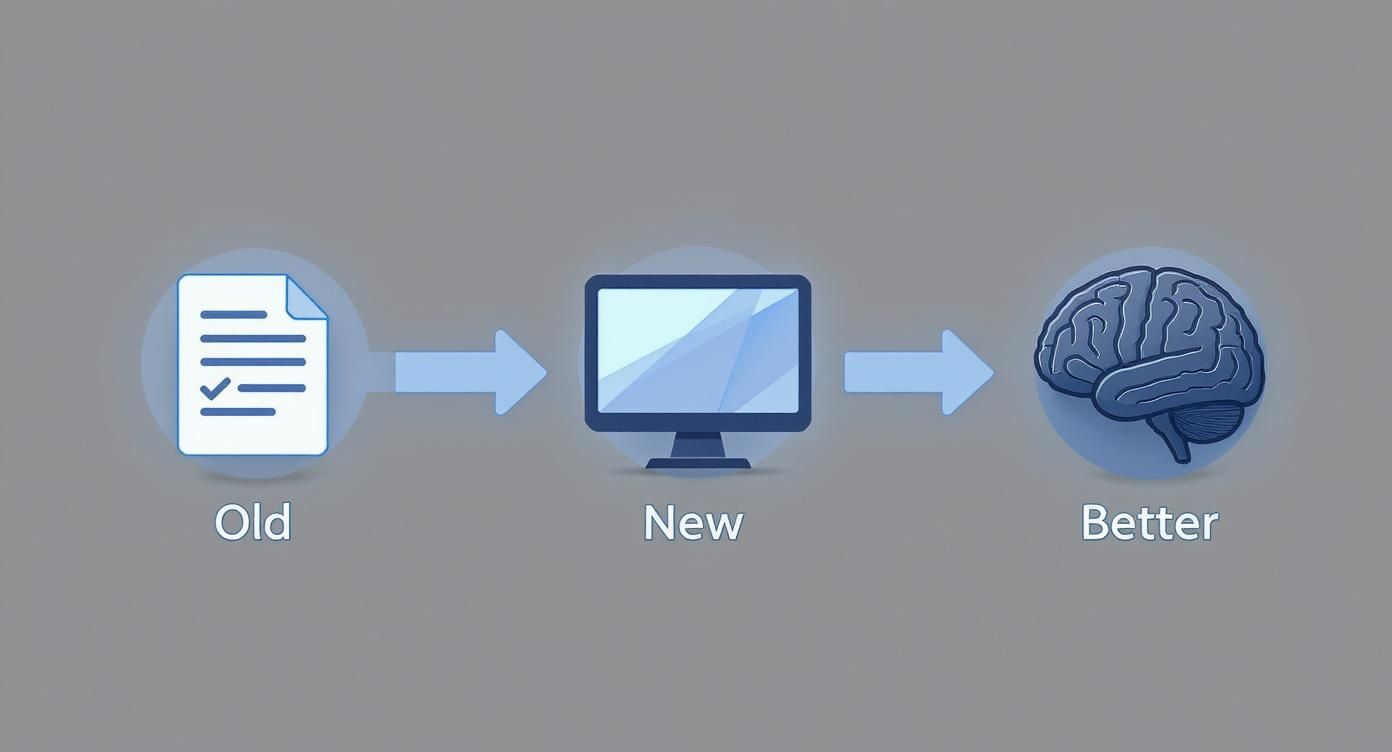
It’s a great visual reminder of how modern training works with the brain, not against it, prioritizing direct learning over just dumping information.
Scripting vs. Storyboarding Your Content
With your objectives set, it’s time to think about the narrative. The two main ways to approach this are scripting and storyboarding. There’s no single “best” way; it really comes down to your personal style and how complex the material is.
A full script means writing out every single word you’re going to say. This is fantastic for keeping your tone consistent, nailing technical details, and producing a tight, concise recording. It’s the best way to kill all the “ums” and “ahs” that can tank a video’s credibility and, honestly, it makes editing a breeze. The only catch is that reading a script can sometimes sound a little stiff if you don’t practice your delivery.
On the other hand, you could go with a storyboard or a detailed outline. This involves sketching out the key visual steps and jotting down bullet points for your narration. This approach often leads to a more natural, conversational feel, which can be really engaging. The trade-off? You need to be more comfortable ad-libbing during the recording, and you’ll almost certainly spend more time in the editing room cleaning up tangents or mistakes.
Pro Tip: Even if you opt for a storyboard, I always recommend scripting your intro and outro word-for-word. A strong opening hooks your viewer immediately, and a crisp summary at the end drives home those key learning objectives.
Prepare Your Digital Environment
The final piece of prep work is to get your digital workspace in order. A clean, organized environment is about more than just aesthetics—it’s about preventing distractions that can derail a perfect take.
Here’s a quick checklist of what I always do before recording:
- Clean Your Desktop: Get rid of any random icons or personal files. A clean desktop with a simple, branded wallpaper just looks more professional.
- Close Unnecessary Applications: This is a big one. Shut down your email, Slack, or any other app that might throw a pop-up notification on your screen. Nothing ruins a recording faster.
- Prepare Your Data: If you’re walking through a process, have all your sample data, accounts, or documents ready to go. Fumbling around trying to find a file mid-recording just breaks the flow.
- Check Your Resolution: Make sure your screen resolution is set to a standard like 1920x1080 (1080p). This ensures your final video will be sharp and easy for everyone to read.
It might feel a little tedious, but this kind of meticulous prep work pays for itself ten times over in post-production. For a more exhaustive look at this, a complete guide on how to make engaging tutorial videos can give you even more ideas. A well-prepared recording session is a calm and efficient one.
Your Guide to a Perfect Recording Session
With your script and plan in hand, it’s time to hit record. This is where the magic happens, turning all that careful preparation into a polished, professional training video. You don’t need a Hollywood budget or a fancy studio; a successful recording session comes down to a few key details that separate the amateurs from the pros.
First things first: you need the right software. The market is flooded with options, from bare-bones free tools to complex editing suites. My advice? Don’t get distracted by a million features you’ll never use. Focus on what actually matters for creating great training: a clean, high-quality screen capture, reliable audio recording, and a few basic editing tools.
A platform like Tutorial AI is built for this exact purpose, combining the recording and AI-powered editing into one smooth workflow. But other tools have their strengths, too. Camtasia is a powerhouse for in-depth post-production, while Loom is fantastic for quick, shareable clips. The “best” tool is simply the one that fits your project, workflow, and budget.
Nailing the Technical Setup
Before you press that red button, spend just a couple of minutes dialing in your settings. This tiny time investment pays huge dividends in the final quality of your video.
- Resolution: Always, always record in the highest resolution you can, ideally 1920x1080 (1080p) or better. This keeps everything on screen sharp and ensures text is easy to read. You can always export a smaller video file later, but you can never add quality that wasn’t there to begin with.
- Frame Rate: For software walkthroughs, 30 frames per second (FPS) is the sweet spot. It looks perfectly smooth to the human eye without creating massive file sizes. You’d only need to bump it to 60 FPS if you were recording something with extremely fast on-screen motion, like a video game.
- Audio Input: This is the most common mistake I see. Dig into your settings and make sure the software is using your external microphone, not the tinny one built into your laptop. It’s a simple switch that makes a world of difference.
It’s no surprise that educators have embraced this technology. Research shows a staggering 80% of educators now use screen recording to build their online courses. It’s become a fundamental tool for digital-first teaching. You can dive deeper into these trends and discover more insights at Superagi.com.
Essential Pre-Recording Checklist
A smooth recording session starts before you ever hit the record button. I use a quick checklist like this one to make sure everything is perfect, preventing those “oops” moments that force a do-over. It covers your environment, software, and hardware in one quick pass.
| Category | Checklist Item | Best Practice |
|---|---|---|
| Environment | Minimize background noise | Close windows, turn off fans, and put your phone on silent. Inform others you are recording. |
| Environment | Tidy up your desktop | Hide personal files and close all irrelevant applications and notifications. A clean desktop looks professional. |
| Software | Check recording settings | Confirm 1080p resolution, 30 FPS, and that your external microphone is selected as the primary audio source. |
| Software | Do a short test recording (5-10 seconds) | Play it back to check for clear audio, smooth video, and correct screen area capture. This is a non-negotiable step. |
| Hardware | Position your microphone correctly | Place it 4-6 inches from your mouth, slightly off to the side to avoid harsh "plosive" sounds. |
| Hardware | Have your script or outline ready | Keep it on a second monitor or a tablet so you can glance at it without looking away from your main screen. |
Running through this list takes less than five minutes but can save you an hour of re-recording. It’s a habit worth building.
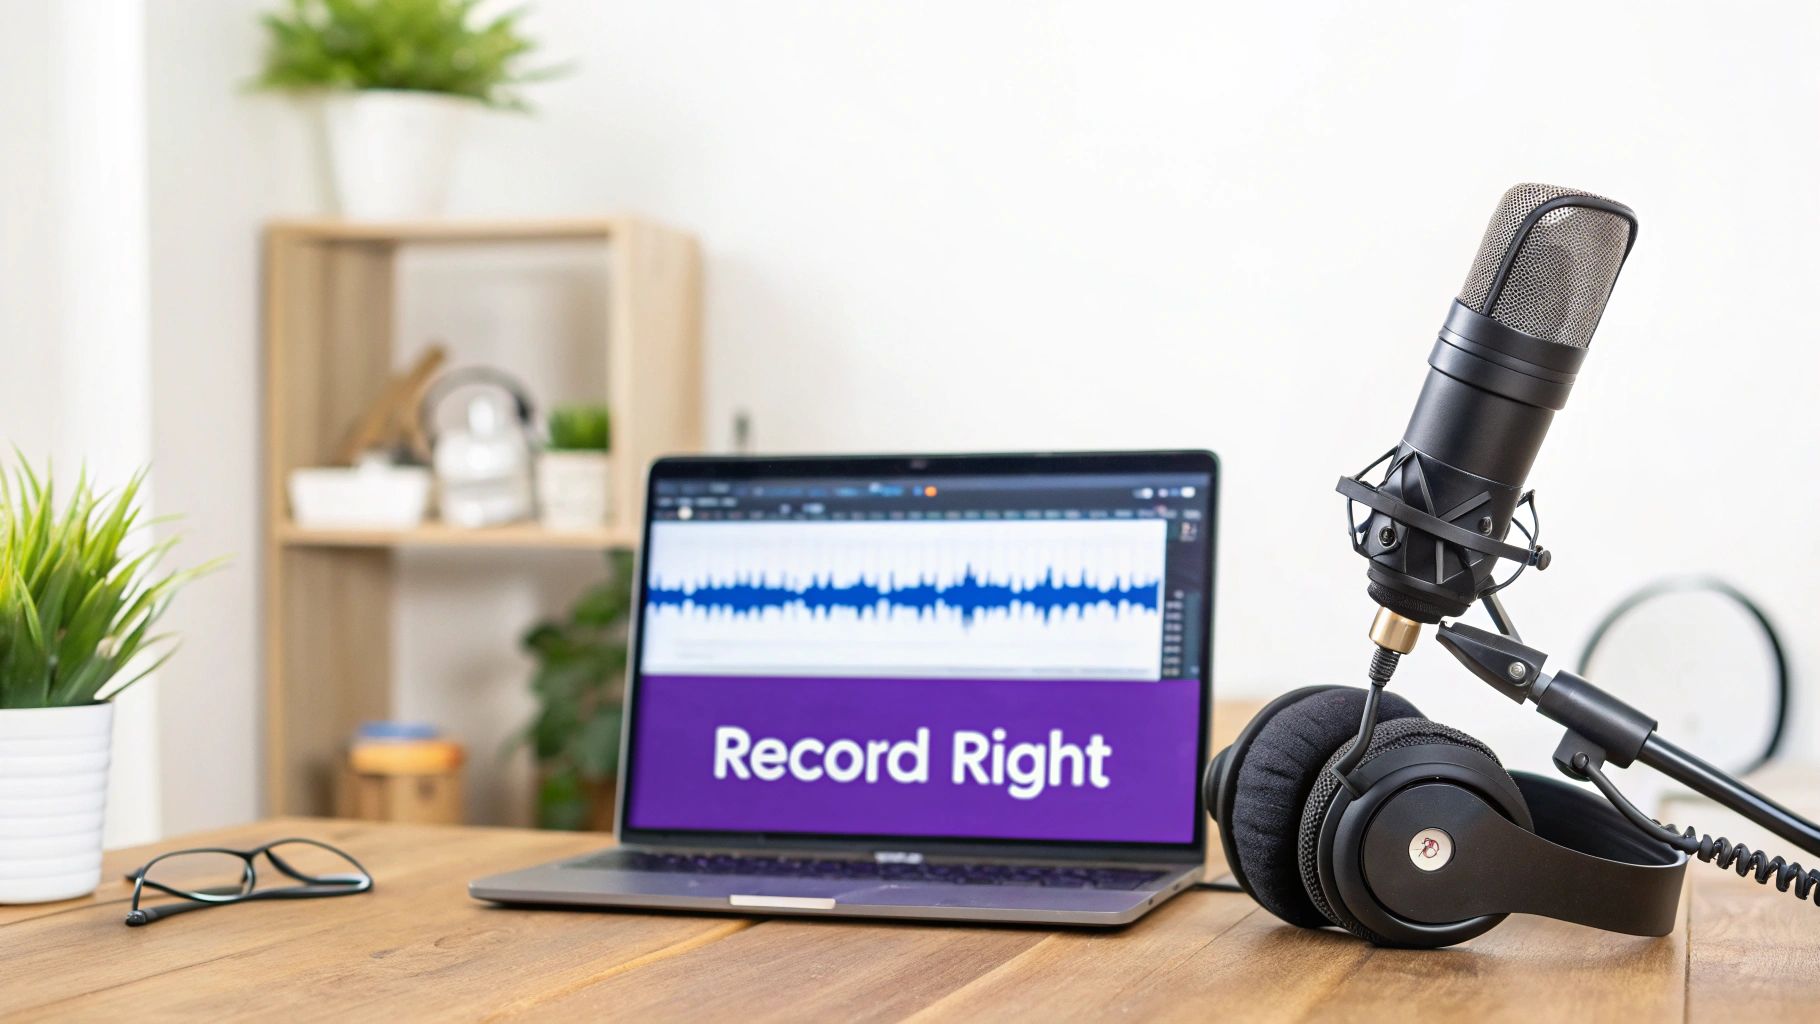
How to Get Professional-Grade Audio at Home
Great audio can make or break your training video. The good news is, you don’t need a professional sound booth. The single most important thing you can do is use an external microphone—even a basic USB mic or a decent headset is a huge leap in quality over your computer’s built-in option.
The secret to clear narration isn’t just the microphone—it’s the environment. Record in a small room with soft surfaces like carpets, curtains, or even a closet full of clothes to absorb echo and background noise. Microphone placement is also key. Avoid speaking directly into it, which causes those harsh “p” and “b” sounds called plosives. Instead, position the mic just off to the side of your mouth. Speak at a clear, even pace, almost like you’re explaining something to a friend sitting right next to you.
Mastering Your On-Screen Movements
Your cursor is your audience’s guide—every movement should be intentional. Frantic, jerky mouse movements are confusing and unprofessional. Slow down and make every click and scroll count.
Think of your cursor as a laser pointer. Before you click a button or select a menu, let the cursor rest on it for a beat. This gives your viewer a moment to catch up and see what you’re about to do. Tools like Tutorial AI even let you add cursor effects in the editing phase, like a highlight or a smoothing effect, to make your actions even clearer.
Finally, don’t be afraid to use zooms to direct attention. When you need to show a small detail, like a specific setting or a line of code, zoom in tight on that area. This technique is a cornerstone of effective screen recording for training because it cuts out the visual noise and forces the viewer to focus on exactly what matters.
Turning Raw Footage into a Polished Masterpiece
Recording your screen is just the first step. The real magic happens in post-production, where you take that raw footage and shape it into a professional, engaging training tool. This isn’t just about snipping out mistakes; it’s about crafting a learning experience that’s clear, intentional, and easy to follow.
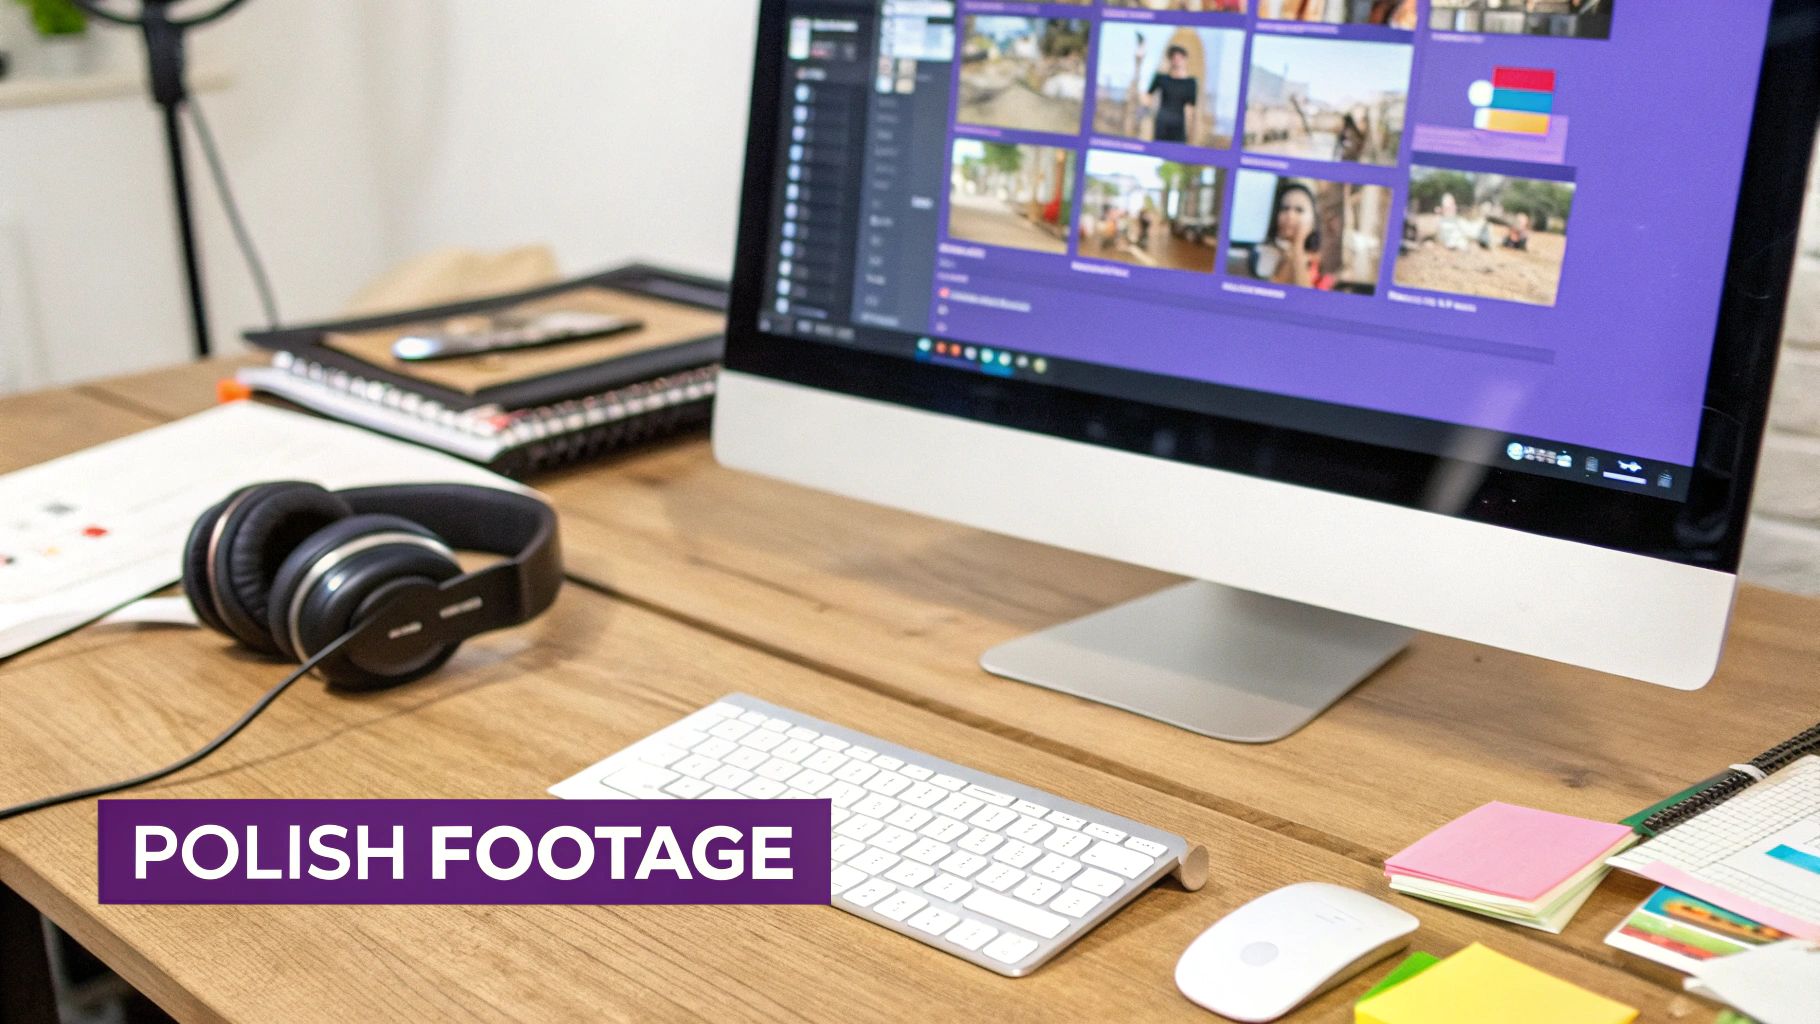
Let’s get past simple cuts. We’ll dive into how zooms, annotations, and some brilliant AI-powered tools can speed up your workflow and deliver a far superior final product. This is the polish that makes your video a go-to resource.
Let AI Do the Heavy Lifting in Your Edit
The editing bay used to be where your time disappeared. I’ve spent countless hours manually slicing out “ums” and “ahs,” painstakingly syncing audio, or worse, re-recording a whole ten-minute take because of one flubbed word. Thankfully, those days are over.
Imagine you’ve finished narrating a complex tutorial and realize you mispronounced a key term. In the past, that meant firing up the microphone all over again. Now, with AI voice regeneration, you just type the correct word. The AI seamlessly generates the fix in your own voice, patching it right into the original audio. It’s a game-changer.
Modern platforms like Tutorial AI take this even further with text-based video editing. Instead of scrubbing through a timeline, you just edit the transcript. Delete a sentence from the text, and poof—the corresponding video and audio clip is gone. To learn more about the tech behind this, check out our guide on AI transcription and its applications in our guide.
Guide Your Viewer’s Eye with Visual Polish
A static screen is a boring screen. To keep your learners locked in, you have to actively direct their focus. This is where a few simple effects make a massive difference.
- Smart Zooms: Stop forcing people to squint. When you mention a specific button or a tiny piece of text, use a smooth zoom to bring it front and center. It feels natural and keeps your audience focused on what matters most.
- Cursor Effects: Your cursor is the main actor in a screen recording. Don’t leave it as a boring little arrow. Give it a subtle highlight or a colored ring to make it easy to follow. With a tool like Tutorial AI, you can even smooth out jerky mouse movements after you’ve recorded.
- Annotations and Callouts: Need to point something out? Use a clean arrow or a simple box. These should pop up just long enough to make your point and then fade away. The goal is clarity, not clutter.
The point of visual effects isn’t to be flashy. It’s to reduce the viewer’s cognitive load. By clearly showing what’s important, you make the information stick.
Protect Sensitive Data with Zero Hassle
When you’re demoing internal software, you’re bound to run into sensitive information on screen—customer names, email addresses, you name it. Going through and manually blurring every single instance is a recipe for a headache (and potential mistakes).
Here again, modern tools come to the rescue. AI-powered blurring can automatically find and hide sensitive data patterns like names, numbers, and emails across your entire video. With one click, you can apply a consistent blur, protecting privacy and ensuring compliance without the tedious manual labor.
The Finishing Touches: Audio and Pacing
A few final tweaks to your audio and transitions will really elevate the final product.
- Audio Enhancement: Most editors now have AI audio tools that are shockingly good. They can kill background hum, even out your volume levels, and automatically cut out long, awkward pauses. The result is a crisp, clean sound that’s pleasant to listen to.
- Subtle Background Music: A quiet instrumental track can add a layer of professionalism. The key is to keep the volume extremely low—it should be almost unnoticeable, just enough to fill the silence without being a distraction.
- Clean Transitions: Stick to the basics. When you cut between clips, a simple, direct cut or a soft fade is all you need. Ditch the flashy star wipes and page curls; they just make your training look dated.
Getting Your Training in Front of the Right People
You’ve done the hard work of creating a fantastic training video. The export is finished. But don’t close the project file just yet—the final, and arguably most critical, phase is making sure your content actually reaches your audience and does its job.
This is where you switch hats from creator to strategist. How will people find and watch this training? What about your team members who speak different languages? And the big one: how will you even know if it’s working? Answering these questions is what turns a good video into a powerful, long-lasting training asset.
Where Should Your Video Live?
The platform you choose to host your video dictates who sees it, how they see it, and how you can track what they do. There’s no single “best” option here. The right choice really hinges on your audience and your ultimate goal.
Think about it: are you training internal employees on proprietary software, or are you creating public-facing tutorials for your customers? Each scenario demands a different home for your video.
Here’s a quick rundown of the usual suspects:
- Learning Management System (LMS): This is the classic choice for formal, structured corporate training. An LMS is perfect when you need to assign videos, track who has completed them, and even quiz people on what they’ve learned. Think compliance training or a new hire onboarding curriculum.
- Company Intranet or Knowledge Base: For more informal, on-demand help, hosting on something like SharePoint, Confluence, or an internal portal is a great move. It puts your videos right where people are already working, making them easy to find. This is how you build a powerful, self-service library of knowledge base videos.
- Private Video Hosting (Vimeo, Wistia): If you need more granular control over branding, top-tier analytics, and where your video can be embedded, a dedicated platform like Vimeo or Wistia is the way to go. They provide professional, ad-free players and can show you exactly which parts of a video people are re-watching or skipping.
- Public Platforms (YouTube): For any training meant for the masses—like customer walkthroughs or product demos—nothing beats the sheer reach of YouTube. If you go this route, using YouTube keyword research tools is a smart play to make sure people can actually discover your content.
Going Global: Making Your Training Accessible to Everyone
In a world of remote and distributed teams, your people might be spread across several continents. It’s no longer a “nice-to-have” to make your training accessible to everyone, regardless of their native language; it’s a necessity for creating a consistent and inclusive culture.
The good news is that modern AI tools have made this incredibly simple. You don’t need a huge budget or weeks of extra production time to serve up multilingual content anymore.
Localization isn’t just about language; it’s about respect. It shows your global team that you value their experience and are committed to giving everyone the same opportunity to learn and succeed. With a platform like Tutorial AI, you can generate accurate subtitles in dozens of languages in just a few minutes. Even better, a feature like AutoRetime can automatically adjust all your on-screen actions—the zooms, the clicks, the highlights—to sync up perfectly with a new, translated AI voiceover. This means the visual cues in the video align seamlessly with the new narration, creating an experience that feels truly native.
Keeping it Consistent and Measuring What Matters
Your training videos are a direct reflection of your company’s brand. Every tutorial, from the colors and fonts in your callouts to the logo in the corner, should feel professional and consistent. Using a Brand Kit feature is a lifesaver here, as it ensures every video automatically sticks to your company’s visual guidelines.
This small step builds a cohesive, trustworthy library of content. When an employee sees a polished, branded video, it instantly reinforces the value of the training.
Finally, you can’t improve what you don’t measure. Analytics are your direct line of feedback.
Keep an eye on a few key metrics to see what’s working:
- View Count: A simple one—are people watching it?
- Engagement Rate: Are viewers sticking around for the whole thing or bailing after the first minute? Heat maps can show you exactly which parts are holding their attention.
- Completion Rate (in an LMS): For mandatory training, are people actually getting to the end?
- Qualitative Feedback: Don’t forget to ask! Use surveys or just a simple comments section to get direct input from your audience.
By digging into this data, you can see which topics are a hit, where your explanations might be a bit fuzzy, and how to make your next screen recording for training even more effective. It’s a continuous loop: create, deliver, measure, and improve.
A Few Common Screen Recording Questions, Answered
Even with the best-laid plans, a few practical questions always seem to surface once you hit the record button. Getting these sorted out can make a real difference in your workflow and the quality of your final video. Let’s dig into some of the most common ones we get asked.
What’s the Ideal Length for a Training Video?
If you remember one thing, make it this: shorter is better. We’ve found the sweet spot for a focused training video is somewhere between 3 and 7 minutes. This hits the mark for modern attention spans and makes it way easier for viewers to actually absorb and remember what you’re showing them.
When you’re faced with a big, complicated topic, fight the temptation to produce a 30-minute monolith. Your audience will thank you. A much better approach is to break that beast down into a series of bite-sized micro-learning videos. A playlist of five 6-minute videos feels far less daunting and is genuinely more effective than one long slog.
How Can I Get Great Audio Without a Pro Mic?
You don’t need a fancy studio to get clean audio. Honestly, your recording space matters just as much as your gear. Try to find a small, quiet room that has soft surfaces—things like carpet, curtains, or even a closet packed with clothes are great for dampening echo.
While a decent USB mic is a solid investment, you can get surprisingly good results with a standard gaming headset or even the mic on your smartphone’s earbuds. The real trick is in the placement. Position the mic just off to the side of your mouth instead of directly in front. This little adjustment helps you avoid those harsh “popping” sounds (called plosives) that happen when you breathe right into the mic.
A lot of modern editing software comes with AI audio cleanup tools. With just a click, you can often remove annoying background hum, balance out your volume, and make your voiceover sound impressively polished. This tech can be a lifesaver, rescuing a recording you might have otherwise had to scrap.
What Resolution Should I Record In?
Always, always record in the highest resolution your computer can handle without chugging. The standard to aim for is 1920x1080, or 1080p. This ensures your video looks sharp and professional, whether someone is watching on a giant monitor or their phone.
Think of it like taking a photo. You can always shrink a big, high-quality image down, but you can never add detail that wasn’t there to begin with. Recording in high-res gives you the most flexibility down the road. You can always export a smaller version later if you need to, but starting with a pristine source file is a non-negotiable for creating a quality screen recording for training.
Ready to create professional, AI-powered training videos in minutes? Tutorial AI combines screen recording with a text-based editor, AI voice regeneration, and automated visual polish to make your workflow faster and simpler. Get started for free and see the difference.
Article created using Outrank