Video production for training is all about creating video content to teach employees, customers, or partners what they need to know. Think of it as moving beyond the traditional classroom setting to offer learning that’s scalable, consistent, and available whenever someone needs it. We're talking about everything from software demos and onboarding walkthroughs to quick explainer videos for your knowledge base. The real goal is to make learning stick and fit seamlessly into how modern teams actually work.
Why Better Training Videos Are No Longer Optional
Let's be honest, traditional training methods are having a tough time keeping up. In a world with distributed teams and information that changes at the drop of a hat, relying only on in-person workshops or dense manuals just doesn't cut it anymore. Today's learners need flexible, engaging content they can access on their own schedule. This is where a modern approach to video production for training becomes absolutely essential, not just a "nice-to-have."
For most teams, the problem isn't understanding why they need video; it's figuring out how to produce it without a massive headache. The very thought of creating high-quality training videos often conjures images of expensive production crews, complicated software, and specialized editing skills. This perception creates a huge bottleneck, preventing subject matter experts from sharing their knowledge quickly and effectively.
Shifting from the Classroom to On-Demand
The corporate training world is in the middle of a massive shift. Organizations are leaving behind the limitations of classroom-first models and building learning ecosystems centered around video. This transition has real budget and time implications for Learning and Development (L&D) teams. U.S. companies spent a mind-boggling $102.8 billion on training, with $16 billion of that going to outside products and services like video platforms and production tools.
At the same time, employees are receiving fewer training hours per year. That puts immense pressure on making every single moment count, pushing companies toward on-demand formats like video that deliver more impact in less time.
This diagram really captures the move away from traditional, in-person training toward a more agile, video-first approach.
It highlights how video breaks down the old barriers of time and location, making a consistent, scalable educational experience possible for everyone.
A Modern Workflow for Today's Teams
The good news is, there’s a modern, agile workflow that lets you ditch the slow, expensive production cycle for a much smarter, faster approach. It’s designed to empower the people who know the material best—your subject matter experts—to create polished, on-brand content without needing a film degree.
The most effective training content is created by those with the deepest knowledge. The goal of a modern workflow is to remove every technical barrier standing between their expertise and the learner's screen.
This guide will walk you through a complete, step-by-step process for producing effective training videos, from the initial planning stages all the way to measuring your success. By adopting this new way of working, you can build a powerful library of tutorials, demos, and guides that truly empower your team and customers. For a comprehensive look at this topic, check out our guide on training employees online.
Planning Your Training Video for Maximum Impact
Before you even think about hitting the record button, remember this: a solid plan is your most valuable asset in creating effective training videos. I’ve seen it time and time again—jumping straight into recording without a clear roadmap is a recipe for confusing content, endless re-shoots, and frustrating edits. A few hours of thoughtful planning upfront will honestly save you days of headaches later on.
This whole pre-production phase isn't about creating some Hollywood-level screenplay. It's simply about figuring out what your audience actually needs to learn and the best way to deliver that knowledge. The entire process starts with one simple question: what problem is this video solving?
Defining Your Learning Objectives
First things first, you need to do a quick needs analysis to pinpoint the specific knowledge gaps. Are new hires stumbling over a particular software feature? Are your support folks getting hammered with the same customer questions over and over? Your goal here is to identify the single most important takeaway for your viewer.
Once you know the problem, you can set clear, measurable learning objectives. A good objective is always action-oriented and specific. For example, a vague goal like "Teach users about our dashboard" is pretty useless. A much better objective would be, "After watching this video, the viewer will be able to successfully add a new user and assign them the correct permissions."
Getting this level of clarity is critical. It becomes your North Star, dictating every decision you make from scripting to editing. It’s what keeps your training video focused, concise, and ensures it delivers real, tangible results for the learner.
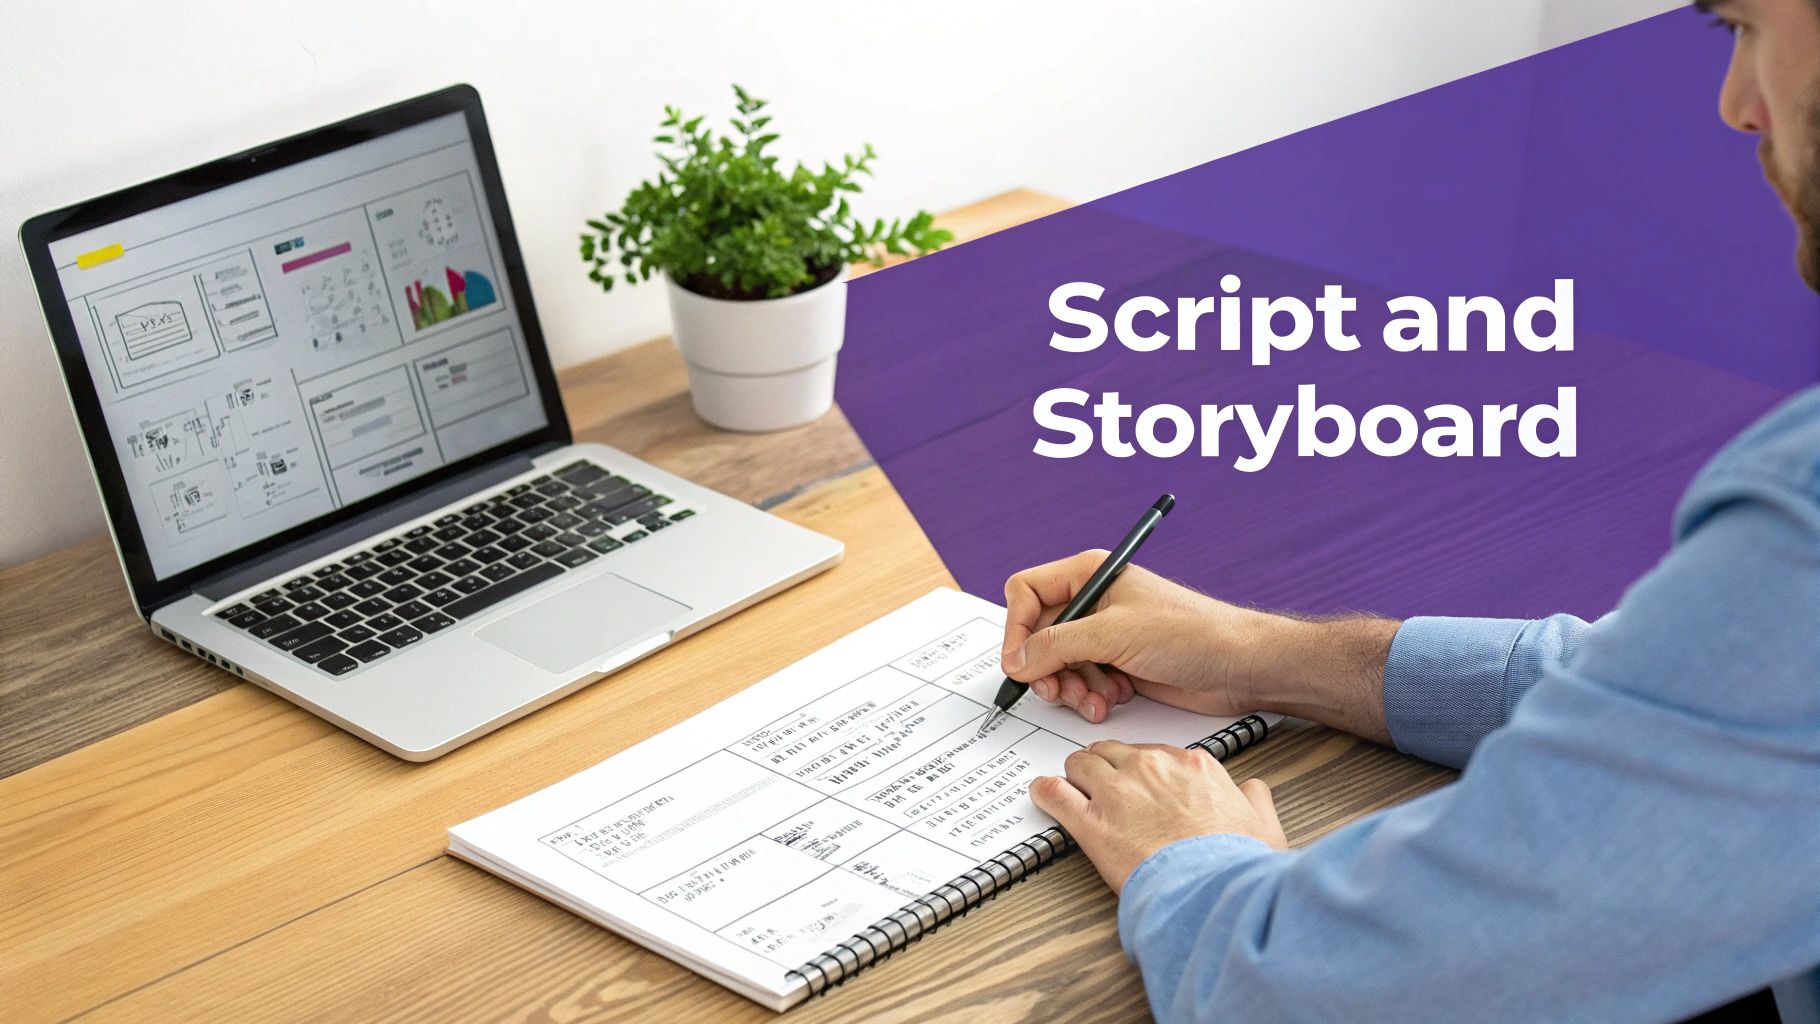
Crafting a Clear Script and Storyboard
With your objectives locked in, it's time to start scripting. Yes, even for a simple screen recording, writing out what you’re going to say is absolutely essential. It forces you to organize your thoughts, cut out the jargon, and make sure everything flows logically from one step to the next.
Your script doesn't need to be overly formal. In fact, it should sound conversational and natural when you say it.
- Write for the ear, not the eye. Use shorter sentences and simple language. Seriously, read your script out loud to catch any awkward phrasing.
- Be direct and get to the point. Every word should serve the learning objective you just defined.
- Include action cues. I find it helpful to note where I will click, type, or highlight something on the screen (e.g., "[Click on the 'Settings' icon in the top right corner]").
After the script is in a good place, you can move on to a simple storyboard. This doesn't have to be a work of art! A storyboard is just a visual outline that matches your script with a rough sketch or a quick description of what will be on screen. For a software demo, this could just be a series of screenshots with the corresponding narration snippets underneath.
A storyboard is your video's blueprint. It helps you visualize the final product, catch missing steps, and ensure your visuals and narration are perfectly aligned before you ever press 'record'.
This visual planning is incredibly powerful. Taking the time to build this blueprint is a critical step; exploring actionable examples of storyboards can really refine your approach and show you just how simple yet effective this process can be. It ensures your final video is polished and easy to follow, achieving its core goal without costly revisions down the line. By investing in this upfront work, you truly set the stage for a smooth and efficient production process.
Getting Your Raw Footage: A Practical Guide
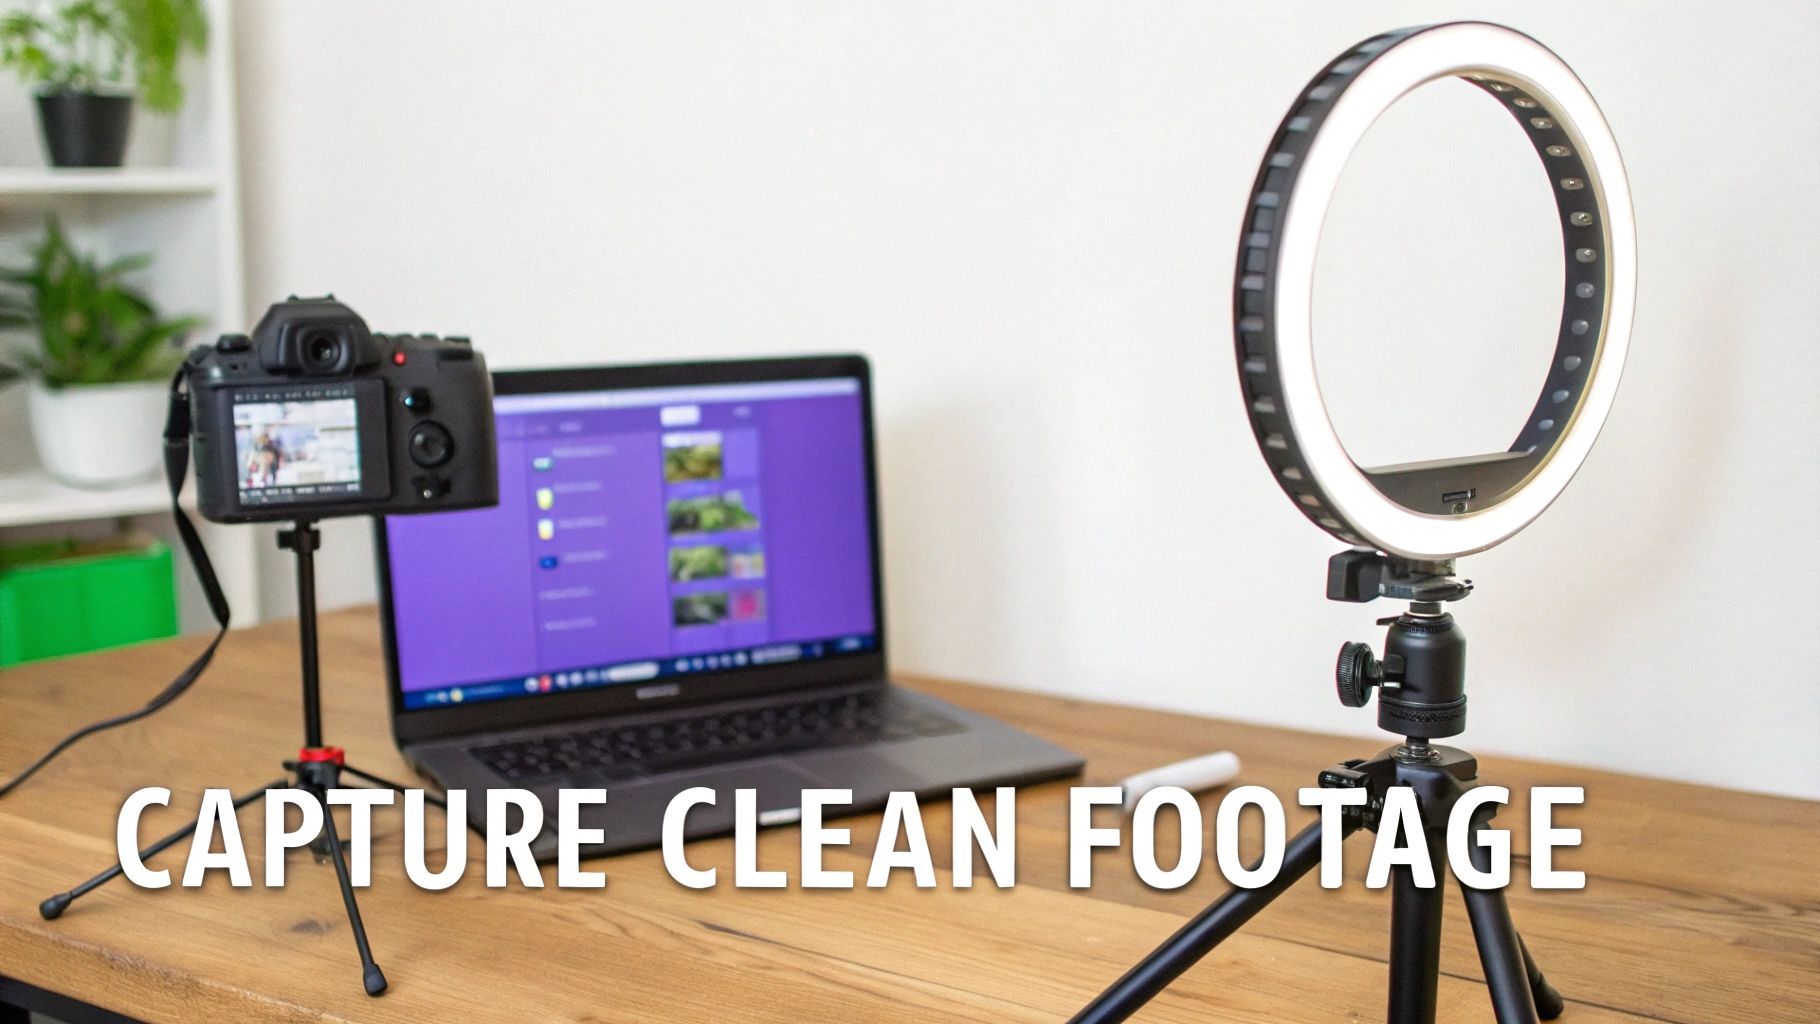
Alright, with your plan and storyboard in hand, it’s time to roll up our sleeves and get to the production part of your video production for training. This is where we capture all the raw material that will become your final video. And no, you don't need a fancy studio. A quiet corner in your office or even a well-lit room at home is often all you need to get fantastic results.
Most training videos are a mix of two key elements: "talking head" clips where you're on camera, and screen recordings, which are often the main event. For any on-camera segments, just focus on the fundamentals. Good lighting, clear audio, and a steady camera. A simple ring light and an external USB mic are game-changers—they’ll immediately elevate your video quality far beyond what your laptop's built-in gear can manage.
Making Your Screen Recordings Shine
For software walkthroughs or process tutorials, your screen recording is the star. The goal here is simple: make it clean, professional, and dead easy for your audience to follow along. Before you even think about hitting that record button, spend a few minutes prepping your digital workspace.
- Nail the Resolution: Always record in a standard 16:9 aspect ratio, like 1920x1080 pixels. This ensures your video will look sharp and fill the screen on any modern device, no ugly black bars.
- Declutter Your Desktop: Nobody needs to see your personal files or the 27 browser tabs you have open. Close everything non-essential. A clean screen keeps the focus where it belongs.
- Guide with Your Cursor: Think of your cursor as your pointer. Move it smoothly and with purpose. Frantic, jerky mouse movements are distracting. Every click and drag should be deliberate.
These small pre-flight checks make a huge difference in the final product. For a deeper look, check out our guide on screen recording for training for more pro tips.
Ditching the "Perfect Take" Myth
Here's a trap I see subject matter experts fall into all the time: trying to record one perfect, flawless take. It’s a recipe for frustration, leading to endless restarts and a delivery that sounds stiff and robotic.
This is a common side effect of using simple recording tools like Loom. While they're fantastic for quick, informal messages, the videos are often 50-100% longer than necessary. They're full of "ums," long pauses, and self-corrections because they’re usually sent off without any editing.
On the flip side, you have powerful editing suites like Camtasia or Adobe Premiere Pro. They can do anything, but they come with a brutal learning curve. Most experts simply don't have the time to master timelines, audio mixing, and keyframes. It creates a painful choice: create long, raw videos fast, or sink a ton of time and money into professional editing.
My best advice? Just hit record and talk. Explain the concept naturally, as if you were showing a colleague. Don't sweat the mistakes, pauses, or flubbed words. Your first take is just clay—you'll shape it later.
A Better Way to Record and Edit
Thankfully, modern tools are finally closing that gap. You can now focus purely on sharing what you know without worrying about a perfect on-camera performance.
With a platform like Tutorial AI, you can generate video tutorials based on screen recordings for all kinds of content, such as demos, onboarding videos, explainer videos, feature release videos, knowledge base videos, and support article videos.
The challenge with easy-to-use recording tools like Loom is that the videos are often 50-100% longer than necessary, while professional video editing software like Camtasia or Adobe Premiere Pro requires expert video editing knowledge. Tutorial AI's tools let you speak freely without any practice, and still your video will look professional, as if it was edited in Adobe Premiere Pro. It allows the subject matter expert to create on-brand videos extremely efficiently. This approach completely takes the pressure off, turning their knowledge into valuable content in a fraction of the time it used to take.
Transforming Raw Recordings with AI Editing
Alright, you've captured your screen recordings. Now the real fun begins. This is where a modern approach to video production for training completely changes the game compared to the old, soul-crushing methods. Post-production used to be the biggest bottleneck, a complex maze reserved for specialists who lived and breathed complicated software. Today, with the right AI tools, it’s becoming the fastest and most flexible part of the entire workflow.
For years, we’ve been stuck with a frustrating trade-off. Easy-to-use screen recorders are great for getting something done quickly, but the raw footage is often 50-100% longer than necessary. It's littered with awkward pauses, restarts, and "ums" and "ahs"—all things that make for a terrible learning experience. The alternative? Professional software like Adobe Premiere Pro or Camtasia. They’re incredibly powerful, but they also come with a brutal learning curve that most subject matter experts (SMEs) simply don’t have the time to tackle.
This forced a painful choice: sacrifice quality for speed, or sacrifice your time and budget for quality. The good news is, you don't have to make that choice anymore.
Editing Video Like a Text Document
What if editing your video was as easy as editing a Word doc? That’s the fundamental shift AI brings to the table. Modern tools are designed to bridge that massive gap between simple recorders and complex pro editors, letting the SME create polished, on-brand videos with astonishing speed.
The whole process kicks off the second you finish recording.
An AI engine immediately gets to work transcribing everything you said, creating a word-for-word script that’s perfectly synced to your video. This one feature completely upends the traditional editing process. Gone are the days of scrubbing through a timeline, trying to pinpoint the exact moment you misspoke or paused for too long.
Instead, you just read the transcript. See a sentence you don't like? A filler word like "um"? Just highlight the text and hit delete. The corresponding video and audio are instantly snipped out, seamlessly. This text-based approach shatters the technical barrier, empowering the person who knows the material best to be the one who perfects the final cut.
The core idea is simple: let experts focus on their expertise, not on mastering keyframes and audio tracks. When editing becomes as intuitive as using a word processor, you unlock a massive amount of creative potential and speed.
To truly grasp the difference, let’s look at how the workflows stack up side-by-side.
Traditional vs AI-Powered Video Editing Workflow
As you can see, the AI-powered approach removes entire categories of tedious, technical work, allowing the creator to focus purely on the message and clarity of the content.
Generating the Perfect Take Every Time
This workflow is a game-changer for any kind of training material where clarity and precision are non-negotiable.
- Software Demos: Clean, crisp narration is essential to show how a product works.
- Employee Onboarding: Guide new hires through processes with professional, straightforward instructions.
- Explainer Videos: Break down complex topics with a polished, confident delivery.
- Feature Release Videos: Announce new functionality with excitement and clarity.
- Knowledge Base & Support Videos: Provide support content that is accurate and gets straight to the point.
In every one of these scenarios, an SME can now just hit "record" and speak freely, without worrying about perfection. They can explain the concept naturally, knowing any flub can be fixed in seconds. Even better, once the script is tidied up, an AI voice can generate a new, flawless narration track instantly. You can change a single word or rewrite an entire paragraph, and a perfectly human-sounding voiceover is created and synced for you. For a deeper dive into this tech, you can explore what a modern AI voice generator for videos is capable of.
This completely eliminates the need to re-record, which is hands-down the most dreaded part of making videos. The final product sounds and looks like it was meticulously produced in a high-end suite, without any of the headache. And when it comes to post-production, knowing how to transcribe video to text with AI is a crucial skill for making your content accessible and easy to work with.
Adding Professional Polish with Smart Effects
A great training video doesn't just present information—it guides the viewer's attention. With an AI-driven editor, adding professional effects that used to take ages becomes a simple, one-click affair. Because the software actually understands the content of your recording, it can apply intelligent effects automatically.
You can easily add polish that makes your content clearer and far more engaging. Think about things like:
- Smart Zooms: Automatically punch in on key areas of the screen to highlight a button click or an important piece of text.
- Cursor Effects: Add a highlight or spotlight to your cursor so viewers never lose track of what you're doing.
- Blurring Sensitive Data: Quickly obscure any personal info, API keys, or confidential data on the screen with a simple click-and-drag.
This whole approach turns editing from a technical chore into a creative process. It puts the power of a pro video editor into the hands of the people who know the material best, letting them produce high-quality, on-brand training videos faster than ever before.
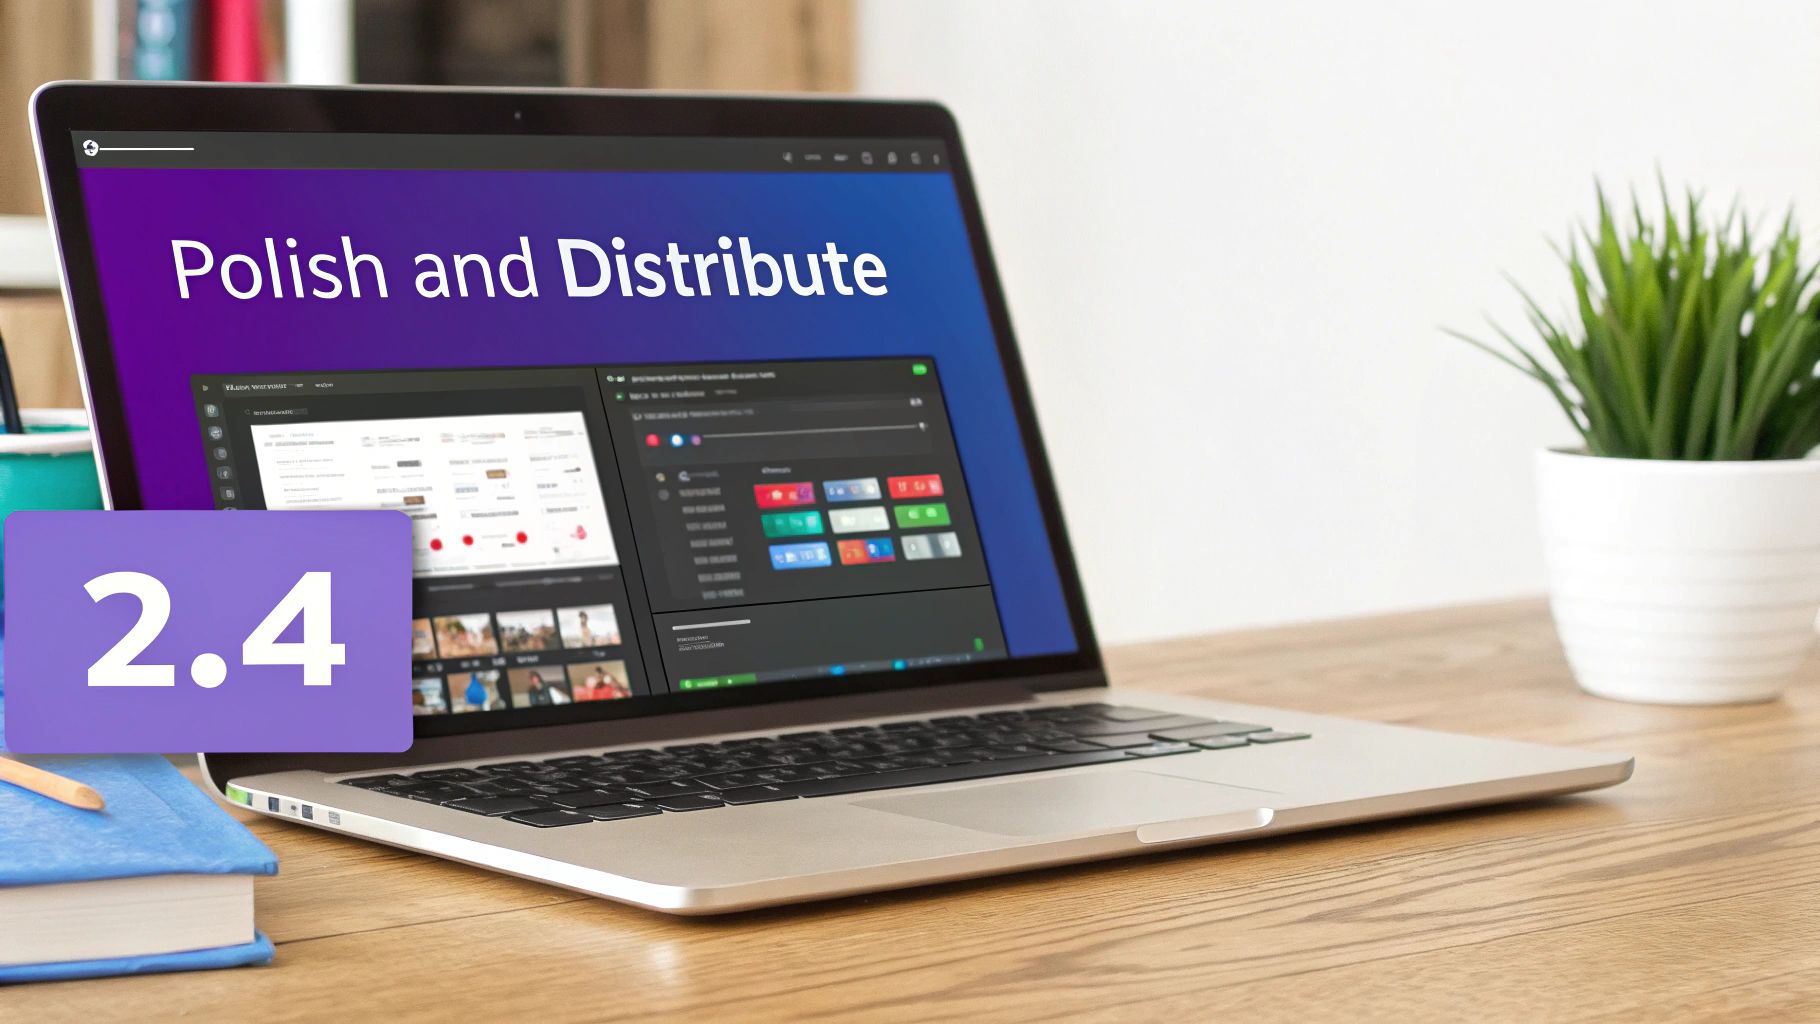
You’ve done the hard work of creating a fantastic training video. Now what? The final stretch is all about polish and delivery—turning that great recording into a professional, accessible, and long-term asset for your organization. This is where you transform your content from a simple video file into an effective learning tool that builds trust and reaches everyone who needs it, wherever they are.
There's no denying the massive shift toward video for learning. It's not just a trend; it's a more effective way to teach. Compared to static documents, video is far more engaging and scalable, which is why it's quickly becoming the standard for everything from software tutorials to customer education. Some corporate video experts have found that interactive content can boost learner retention by up to 3× and dramatically increase on-screen engagement.
With about 50% of companies now creating videos in-house, internal teams are under pressure to produce more content, faster. You can find more details on these corporate video production trends if you're interested. This push makes efficient, repeatable workflows for branding and distribution absolutely essential.
Keep Your Brand Consistent Without the Hassle
Every single video your team puts out is a direct reflection of your company. When the colors, fonts, and logos are all over the place, your content can look amateurish and lose credibility. Nobody wants to spend hours manually adding brand elements to every video—it's slow, tedious, and easy to mess up.
Fortunately, modern tools have solved this problem. Using a centralized brand kit, you can set everything up just once.
- Logos and Watermarks: Drop your logo in the same spot, every time, automatically.
- Color Palettes: Lock in your official brand colors for all text, shapes, and backgrounds.
- Custom Fonts: Keep all on-screen text looking consistent with your brand’s typography.
- Animated Slides: Use pre-made, on-brand intros and outros for a polished, professional feel.
Once your brand kit is loaded, applying it is as simple as a single click. This guarantees that every piece of content, from a quick two-minute tutorial for your knowledge base to a comprehensive onboarding course, feels like part of a unified, professional library.
Go Global with Smart Localization
If you have a global audience, your job isn't done until your training is accessible to everyone. That means accurate captions and translations. Traditionally, localizing video content has been a notoriously slow and expensive nightmare. But this is another area where a little AI-powered help goes a long way.
You can now generate incredibly accurate captions in seconds. Even better, you can translate both the captions and the voiceover into dozens of different languages in just a few minutes.
One of the biggest headaches in video localization has always been the timing. A sentence that takes five seconds to say in English might take eight seconds in German, which completely wrecks the sync with your on-screen visuals.
This is where a feature like auto-retime localization is a game-changer. It intelligently adjusts the timing of your scenes, cuts, and animations to perfectly match the pacing of the newly translated narration. A process that used to require days of painstaking manual editing now happens on its own, letting you deploy multilingual training content at a scale and speed that was once unimaginable.
Get Your Videos Where Your Learners Are
Your polished, branded, and localized video is ready. The final step is getting it in front of your learners. The best distribution strategy is the one that meets people where they already work. Don't make them go searching for your content; embed it directly into the platforms they use every day.
Most modern video platforms give you simple copy-and-paste embed codes that integrate perfectly with:
- Learning Management Systems (LMS): Place your videos right inside formal training courses.
- Knowledge Bases and Help Centers: Embed support videos directly within the relevant articles.
- Company Intranets and Wikis: Make internal tutorials and process guides instantly available to your team.
By embedding your videos directly, you make sure your training content is always just a click away. This maximizes its visibility, its impact, and ultimately, its value.
Common Questions About Training Video Production
Even with a streamlined workflow, teams often run into the same questions when they start building out a library of training content. Getting ahead of these common concerns can help you sidestep a lot of the usual pitfalls and create a far more effective process for your video production for training.
Let's walk through some of the most frequent questions that pop up.
How Can I Create On-Brand Videos Efficiently?
This is a big one. So many teams get stuck in a technology gap. On one side, you have super-easy tools like Loom that are great for quick captures, but the final videos are often 50-100% longer than they need to be and lack any real polish. On the other side, you have powerful editing suites like Camtasia or Adobe Premiere Pro that can produce amazing results but demand a level of video editing expertise most subject matter experts (SMEs) simply don't have.
This is where a new generation of AI-powered tools comes in. For example, Tutorial AI is designed to bridge this exact divide. It allows you to generate video tutorials based on screen recordings, perfect for demos, onboarding videos, explainer videos, feature release videos, knowledge base videos, and support article videos.
The challenge with easy-to-use recording such as recording via Loom is that it is often 50-100% longer than necessary, whereas professional video editing software such as Camtasia or Adobe Premiere Pro requires expert video editing knowledge. Tutorial AI's tools let you speak freely without any practice and still your video will look professional as if it was edited in Adobe Premiere Pro. It allows the subject matter expert to create on-brand videos extremely efficiently.
What is the Ideal Length for a Training Video?
The best training videos almost always embrace the principles of microlearning. While the perfect length will always depend on how complex your topic is, a great target to aim for is somewhere between 3-7 minutes. This length respects your learner’s time and has been proven to seriously boost knowledge retention.
If you’re tackling a bigger subject, resist the temptation to create one massive video. Your best bet is to break the content down into a series of shorter, more focused videos. You can then group them in a playlist or a single learning module, which makes it way easier for people to digest the information and, just as importantly, find specific answers when they need to come back later. You'll see much higher completion rates with shorter videos.
What's More Important: Video Quality or Audio Quality?
This isn't even a contest: clear audio is non-negotiable. Viewers are surprisingly forgiving of visuals that aren't perfect, but they have zero tolerance for audio that's muffled, distorted, or hard to hear. If your audience can't clearly understand what's being said, the training has failed before it’s even begun.
The single best investment you can make to immediately improve your video production quality is a decent external microphone. It will have a more significant impact than any camera or lighting upgrade.
Once your audio is crystal clear, the next most important things are a well-thought-out script and a logical flow to your visuals that's easy to follow.
How Can I Make Screen Recordings More Engaging?
Let's be honest, a static screen recording can put anyone to sleep. To keep your viewers locked in, you need to actively guide their attention with dynamic effects you add in post-production. These little touches are what turn a passive viewing experience into an active learning one.
- Use Smart Zooms: Automatically zoom in on important parts of the interface, like text fields or buttons, right as you mention them.
- Highlight the Cursor: Add a colored circle or a spotlight effect to the cursor so it’s easy for viewers to track every click and movement.
- Blur Sensitive Data: Keep things professional and secure by blurring out any personal, confidential, or just irrelevant information on the screen.
Adding things like animated title cards, text callouts that reinforce key points, and consistent branding also goes a long way. It all works together to keep learners engaged and makes your content feel more polished and authoritative.
How Often Should I Update My Training Videos?
For any training that covers software or internal processes, you should plan to review your videos with every major product release or significant workflow change. This is where a modern, script-based editor gives you a massive advantage over traditional video tools.
Instead of having to re-record an entire 10-minute video just to fix one step that's now out of date, you can simply edit the script. This lets you re-record just the narration and replace only the tiny segment of the screen recording that has changed. It completely transforms video maintenance from a dreaded, time-consuming project into a quick, simple task, ensuring your training library stays current.
Ready to create studio-quality training videos in minutes, not weeks? With Tutorial AI, your subject matter experts can record their screen and voice freely, while our AI handles the rest—from transcription and editing to professional voiceovers and branding. Turn your team's knowledge into your most powerful training asset today.