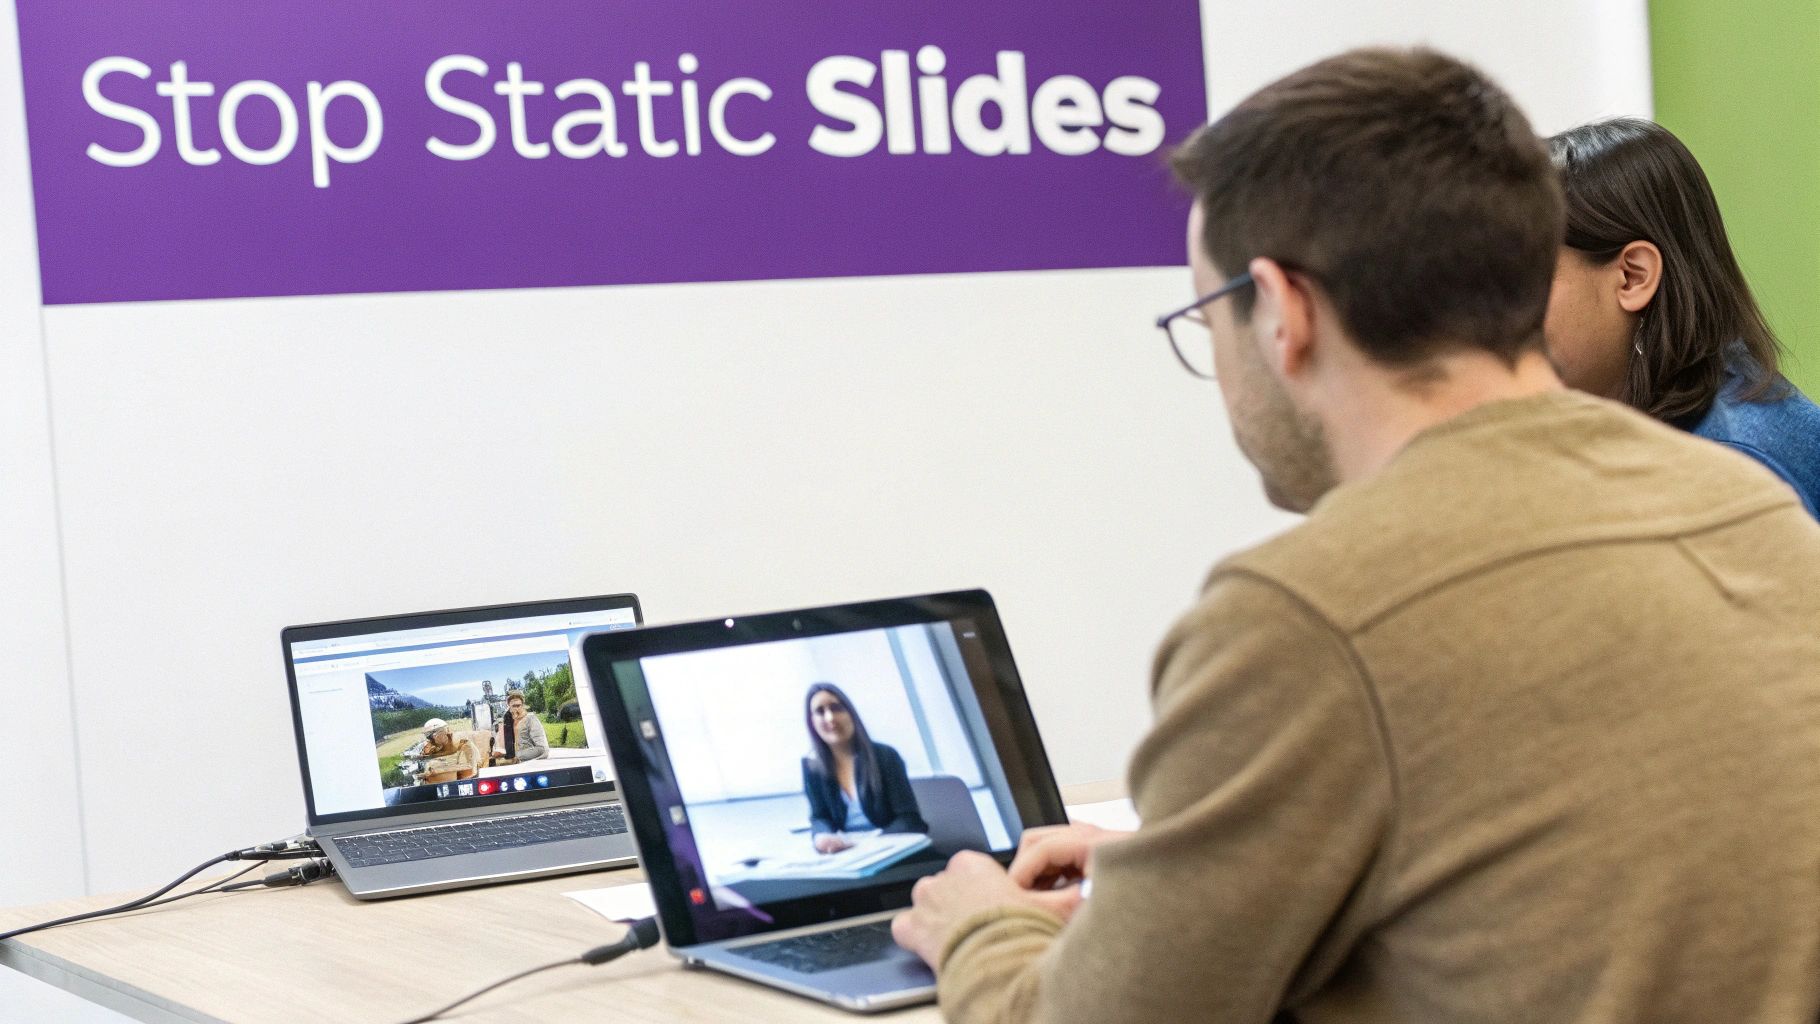
Let’s face it, your standard PowerPoint click-through is losing its punch. Today’s audiences—whether they’re new hires in a training session or potential customers watching a sales pitch—are wired for more engaging, dynamic content. Static slides just don’t capture and hold attention like they used to, and when attention wanes, so does information retention.
Imagine taking a dense, text-heavy technical presentation and turning it into a concise, shareable demo video for your sales team. Or transforming a lengthy troubleshooting guide into a visual knowledge base article that actually helps reduce support tickets. That’s the real power you unlock when you convert a PowerPoint into a video.
The Numbers Don’t Lie: Why Video Wins
Moving from slides to video isn’t just a style choice; it’s a strategic decision with real, measurable benefits. Time and again, video content proves to be king for both engagement and comprehension.
This isn’t just theory—it has a direct impact on business goals. A staggering 80% of marketers report seeing a direct increase in sales after incorporating video into their strategy. This lines up perfectly with broader trends, where video marketing leads to a 157% jump in organic traffic from search results. For SaaS teams creating tutorials and demos, this makes the PPT-to-video workflow a no-brainer. If you’re curious about the data, you can dig deeper into video marketing statistics.
By converting your presentations, you make information more digestible, accessible, and memorable. A well-produced video ensures your message is not just seen, but truly understood and retained. The difference in how audiences interact with static slides versus video is stark. One format encourages passive skimming, while the other invites active watching and learning.
Engagement Showdown: PowerPoint Slides vs. Video Content
| Metric | Static PowerPoint Slides | Dynamic Video Content |
|---|---|---|
| Attention Span | Prone to audience disengagement; easy to skim or ignore. | Captures and holds attention with motion and audio. |
| Information Retention | Lower recall rates; viewers often forget key points quickly. | Significantly higher; combination of visuals and audio boosts memory. |
| Emotional Connection | Difficult to convey tone, emotion, or personality. | Builds connection through voice, music, and storytelling. |
| Accessibility | Limited; relies on text and static images. | More accessible with captions, voiceover, and visual cues. |
| Shareability | Clunky to share; requires specific software to view. | Easily shared across platforms, from email to social media. |
Ultimately, video transforms a one-dimensional message into a multi-sensory experience that sticks with your audience long after they’ve finished watching.
Creating Polished Content Without the Headaches
Our goal here isn’t just to export a slideshow and call it a day. We want to create a polished, professional video that looks and feels like it was crafted by an expert—because it was. The problem is that traditional tools often get in the way.
Easy-to-use recording via tools like Loom is a good start, but the raw footage is often 50-100% longer than necessary, filled with ums, ahs, and pauses. On the other end of the spectrum, professional video editing software such as Adobe Premiere Pro or Camtasia requires expert video editing knowledge and has a steep learning curve.
This is where a tool like Tutorial AI comes in. It’s designed for generating video tutorials based on screen recordings—perfect for demos, onboarding videos, explainer videos, feature release videos, knowledge base videos, and support article videos. Tutorial AI’s tools let you speak freely without any practice, and still your video will look professional as if it was edited in Adobe Premiere Pro. It bridges the gap, allowing the subject matter expert to create on-brand videos extremely efficiently.
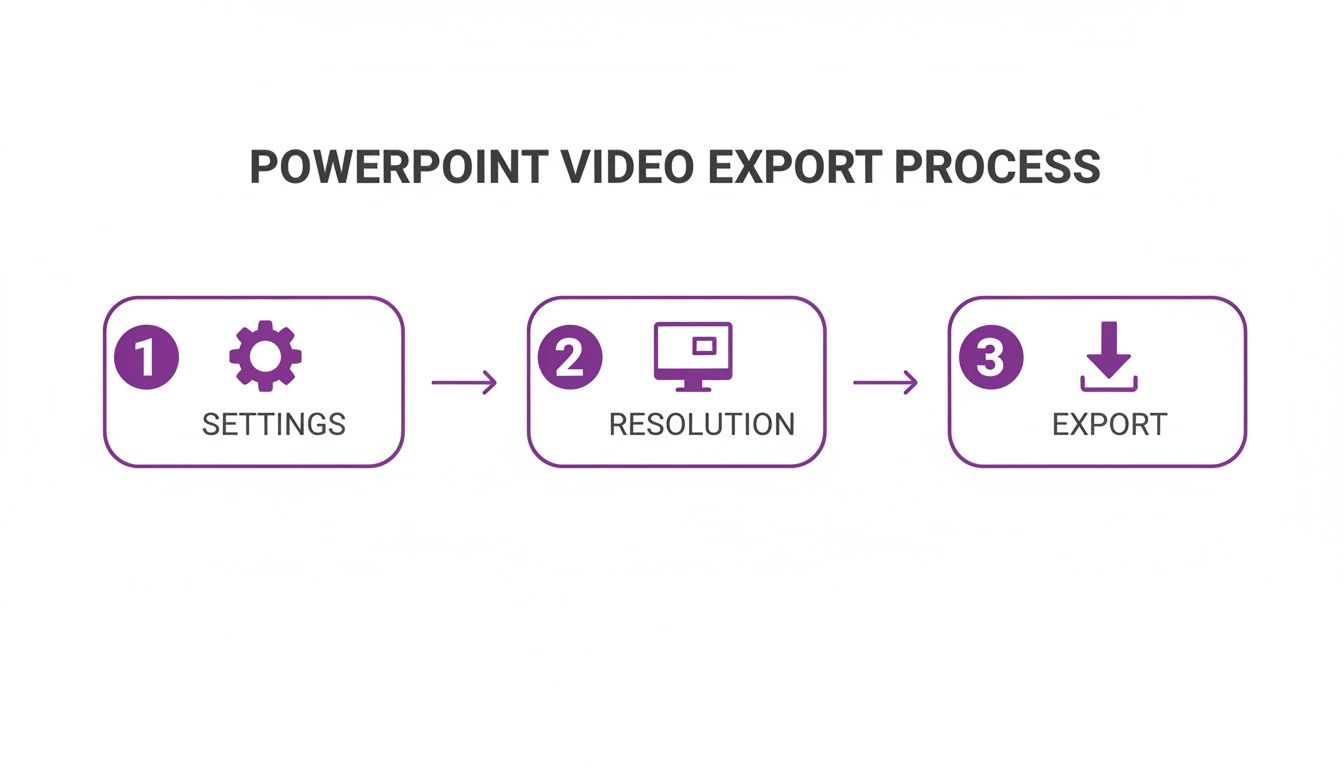
Before you even think about fancy editing software, let’s talk about the tool you already have: PowerPoint itself. Its built-in video export function is surprisingly robust, but most people just click ‘Export’ and hope for the best. Getting this first step right is the foundation for a professional-looking final video, whether you’re on a Mac or Windows.
Don’t just jump to the highest quality setting. While exporting in 4K (Ultra HD) sounds impressive, it creates a massive file that can be a real pain to upload and share. For almost everything you’ll do—from YouTube uploads to internal training videos—1080p (Full HD) is the sweet spot. It delivers a crisp, clear picture without the headache of a huge file size.
Getting Your Export Settings Just Right
Once you’ve picked a resolution, you’ll see an option that says “Use Recorded Timings and Narrations.” This is a game-changer if you’ve already recorded your voiceover and perfected your animations right inside PowerPoint. Checking this box locks everything together, making sure your voice, slide changes, and animations are all perfectly in sync.
This is the standard export dialog you’ll see. The two dropdowns for video quality and recorded timings are where you’ll make the most important decisions.
But what if you’re planning to add your voiceover later? Maybe you’re recording it separately for better audio quality or using an AI voice generator. In that case, you’ll want to uncheck that box. Instead, just set a default time for each slide—say, 5 or 10 seconds. This creates a silent “base” video, giving you a clean visual track to work with in your editing software.
My Two Cents: Before you hit export, always do one last full-screen run-through in “Slide Show” mode. You’ll be surprised at the little things you catch—a clunky animation, an awkward pause. A quick check here can save you a ton of editing time down the road.
Export vs. Record: Which to Choose?
Knowing when to use PowerPoint’s export feature and when to use a different tool is key. Here’s how I think about it based on the project:
- Simple Narrated Slideshows: If your presentation is mostly static slides with a voiceover you’ve already recorded, the native export is your fastest and best option. It’s clean and efficient.
- Complex Software Demos: If you’re demonstrating software or showing a process with lots of on-screen action, don’t rely on PowerPoint alone. It’s much better to record your screen with a dedicated tool and then use the exported slides to add context or introduce new sections.
Ultimately, the goal is to create a high-quality video file that’s ready for the next step. Think of your PowerPoint export as the raw footage. The same principles apply whether you’re working with slides or want to turn a sequence of images into engaging video; you need good source material before you can polish it into something special.
Taking Your Raw Recording to the Next Level with AI
So you’ve got your base video file. Maybe you exported it directly from PowerPoint, or perhaps you did a quick screen share using a tool like Loom. That’s a great first step, but what you have now is just raw material.
Let’s be honest—these initial recordings are usually bloated. They’re often 50-100% longer than they need to be, full of ums, uhs, long pauses, and those inevitable moments where you lose your train of thought and have to restart a sentence.
This is exactly where most subject matter experts get stuck. The idea of firing up a complex video editor like Adobe Premiere Pro or Camtasia is just a non-starter. Who has the time to learn all that? It creates a huge gap between knowing your stuff and being able to share it effectively through video.
Getting the video file out of PowerPoint is the easy part. Just dial in your settings, pick a resolution, and hit export.
Once you have that file, you have the foundation. Now, it’s time for the AI magic to begin.
How AI-Powered, Text-Based Editing Works
This is where AI video editors like Tutorial AI completely flip the script. The whole workflow is designed for the person who has the knowledge, not a professional video editor. You can just hit record and talk through your presentation naturally, without needing a perfect script, and still end up with a polished, professional video.
Here’s a look at how it actually works:
- Just Record Your Screen: Go ahead and capture your demo, onboarding flow, or walkthrough. Speak off the cuff and don’t stress about mistakes.
- Import and Let AI Transcribe: Upload your raw recording. The platform’s AI gets to work, automatically transcribing all your audio into a text script, usually in just a few minutes.
- Edit Your Video by Editing Text: This is the game-changer. To cut a part of your video, you just delete the corresponding words in the transcript. See an “um” or a rambling sentence? Highlight it, hit delete, and that segment of video and audio is instantly gone.
This text-first approach feels incredibly natural. It makes video editing as simple as proofreading a Word doc.
What used to take hours of painstakingly scrubbing a video timeline now takes a few minutes of reading and deleting text. This empowers the actual expert—the person with the knowledge—to create high-quality, on-brand videos without ever having to become a video editing specialist.
Closing the Gap Between Raw Footage and a Polished Final Cut
This workflow is a lifesaver for creating all kinds of instructional content. Think about it: explainer videos, new feature announcements, or visual guides for your support articles. You’re no longer chained to a teleprompter or a perfectly memorized script.
You can just speak your mind, record your screen, and then tighten up your message later by cleaning up the text. This lets your expertise come through loud and clear, without all the friction of traditional video production.
The rise of AI in video is changing how teams approach turning PowerPoint into video. According to Wyzowl’s latest video marketing report, 63% of marketers plan to use AI for content creation by 2026, a significant jump from 51% the year before. For a SaaS company, this means a platform like Tutorial AI can transform a complex product demo into a series of multilingual tutorials, complete with lifelike AI-generated narration.
From Expert Brain Dump to On-Brand Asset
The final video isn’t just a trimmed-down recording; it’s a professional asset ready to be deployed. Because the editing is so fast, experts can spend their time focusing on what really matters: making sure the content is clear, concise, and accurate.
They can pump out polished, on-brand videos for their knowledge base, sales presentations, or marketing campaigns. You can dive deeper into how this technology works in our guide to AI video editing software.
Ultimately, this method gives the power of creation to the people who hold the knowledge. It closes the loop, dramatically cuts down on production time, and ensures every video is not only accurate but also meets your company’s professional standards.
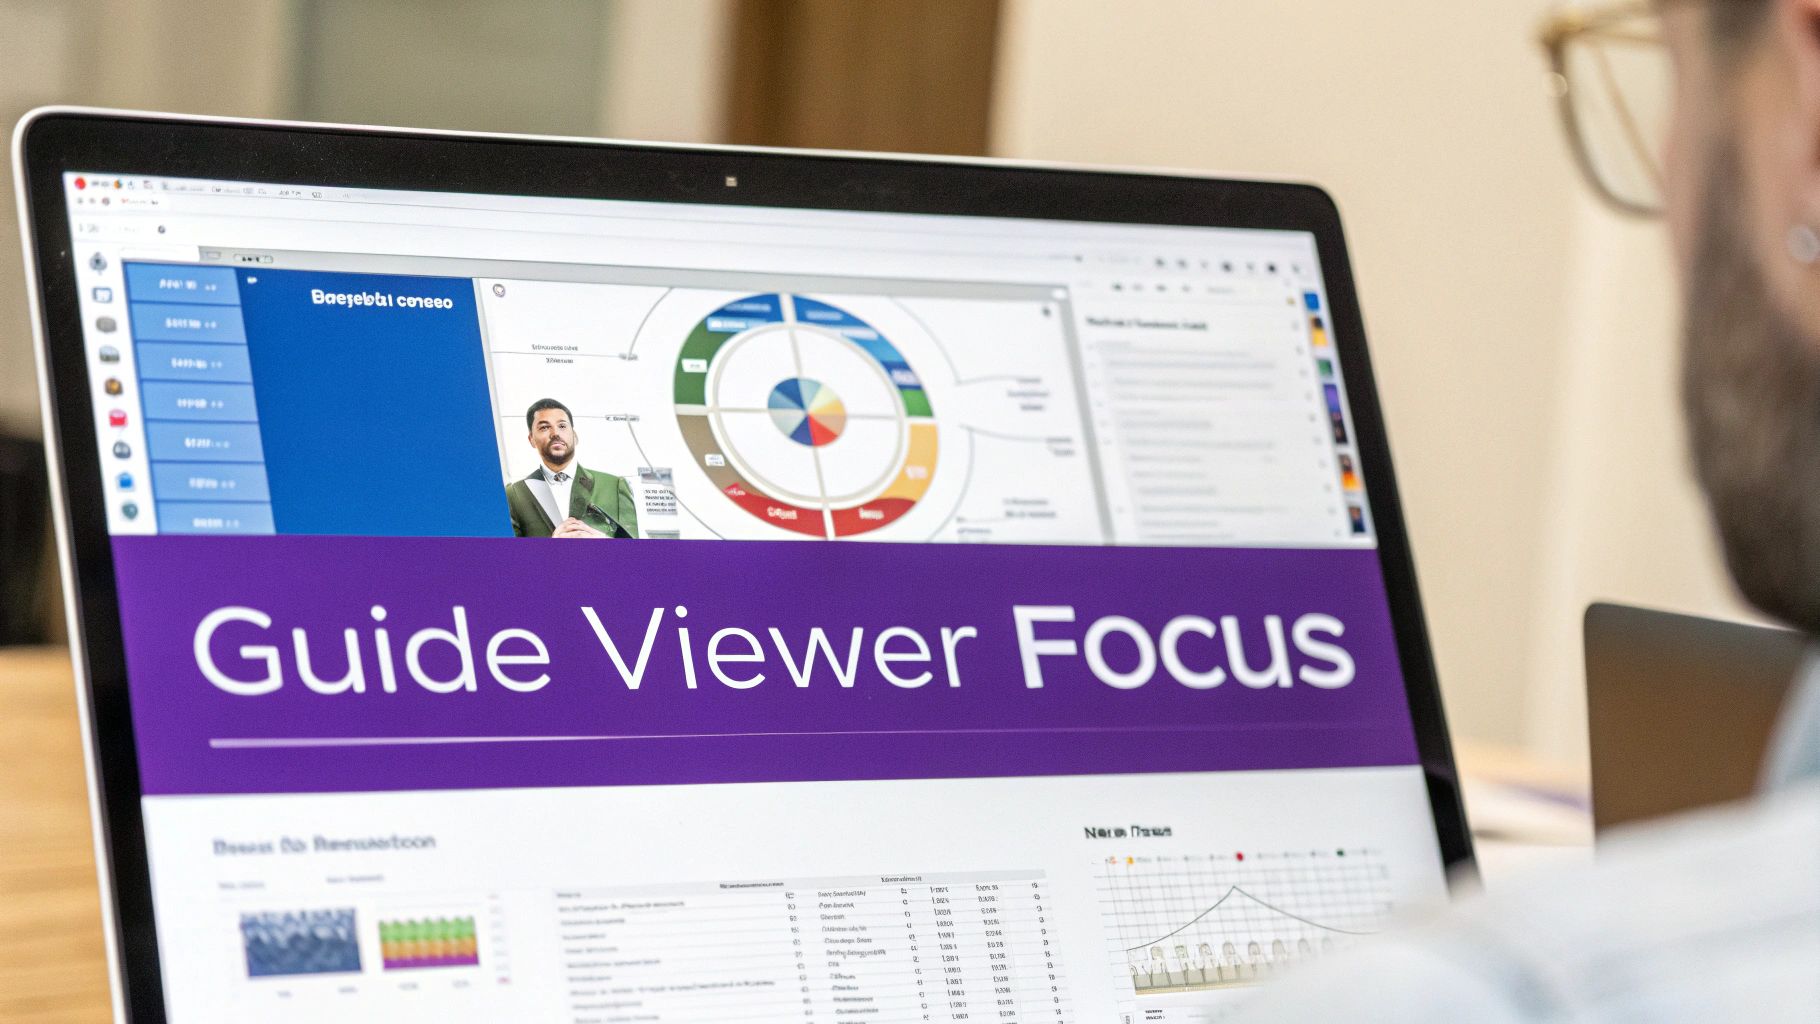
Guiding Viewer Attention for Maximum Clarity
A simple screen recording of your slides is a good start, but a truly great video tutorial is a guided experience. After you’ve got your initial recording and narration sorted, the real magic happens when you add visual cues that steer your audience’s focus. This is how you take them from passively watching to actively learning.
Think of your mouse cursor as your digital pointing stick. In a raw recording, though, it’s often small, erratic, and distracting. The good news is that with a little post-production work, you can make every movement look intentional and crystal clear.
Refining Cursor Movement and Focus
Your cursor’s path across the screen should feel deliberate, not frantic. Instead of subjecting viewers to a shaky, hurried mouse trail, you can apply effects that smooth out the motion and make it easy to follow.
Here are a few of my go-to cursor enhancements:
- Resize for Visibility: The first thing I often do is make the cursor bigger. This simple change ensures it never gets lost, even on a cluttered slide.
- Apply Smoothing: This is a lifesaver. Smoothing gets rid of all the jerky, nervous twitches and creates a graceful, flowing path that just looks more professional.
- Add Highlights: A subtle halo or colored circle around the cursor is fantastic for drawing the eye. It emphasizes what you’re pointing to without actually covering it up.
It’s amazing what a difference these small tweaks make. They ensure your audience is always looking exactly where you need them to be.
Using Smart Zooms to Eliminate Distractions
Let’s be honest, some slides are packed with information, but you’re probably only talking about one piece of it at a time. This is where smart zooms are an absolute game-changer. Rather than showing the whole slide and hoping people follow along, you can automatically zoom in on the specific chart, text, or image you’re discussing.
This technique is brilliant for cutting through the clutter and keeping your audience locked in. It’s especially powerful when you need to:
- Pinpoint a specific data point on a graph.
- Focus on a single bullet point while you elaborate on it.
- Magnify a small but important part of a diagram.
Getting this right is a core skill for creating clear tutorials. You can dig deeper into the specifics of how to zoom in on a video to really master the technique. A focused view prevents your audience from feeling overwhelmed and helps your key points land with real impact.
The goal is to create a guided visual path for your viewer. Every zoom, highlight, and cursor movement should serve a purpose—to clarify, emphasize, and direct focus.
Adding Professional Polish and Protecting Information
Finally, a couple of finishing touches can seriously elevate your video’s production quality. If your presentation shows any sensitive information—like a customer’s name, an email address, or account numbers—blurring is non-negotiable. It’s incredibly easy to apply a blur effect to a specific area of the screen, protecting privacy without breaking the tutorial’s flow.
You can also add things like custom backgrounds or a subtle drop shadow to the entire video frame. This gives your content a clean, branded feel that looks far more polished than a basic screen share. It’s these small details that make your video feel authoritative and well-crafted.
Adding the Final Polish: Branding and Accessibility
You’ve nailed down the core content and flow of your video. Now it’s time for the final touches that separate a decent recording from a truly professional-grade asset. This last stage of turning your PowerPoint into a video is all about making it polished, on-brand, and accessible to everyone.
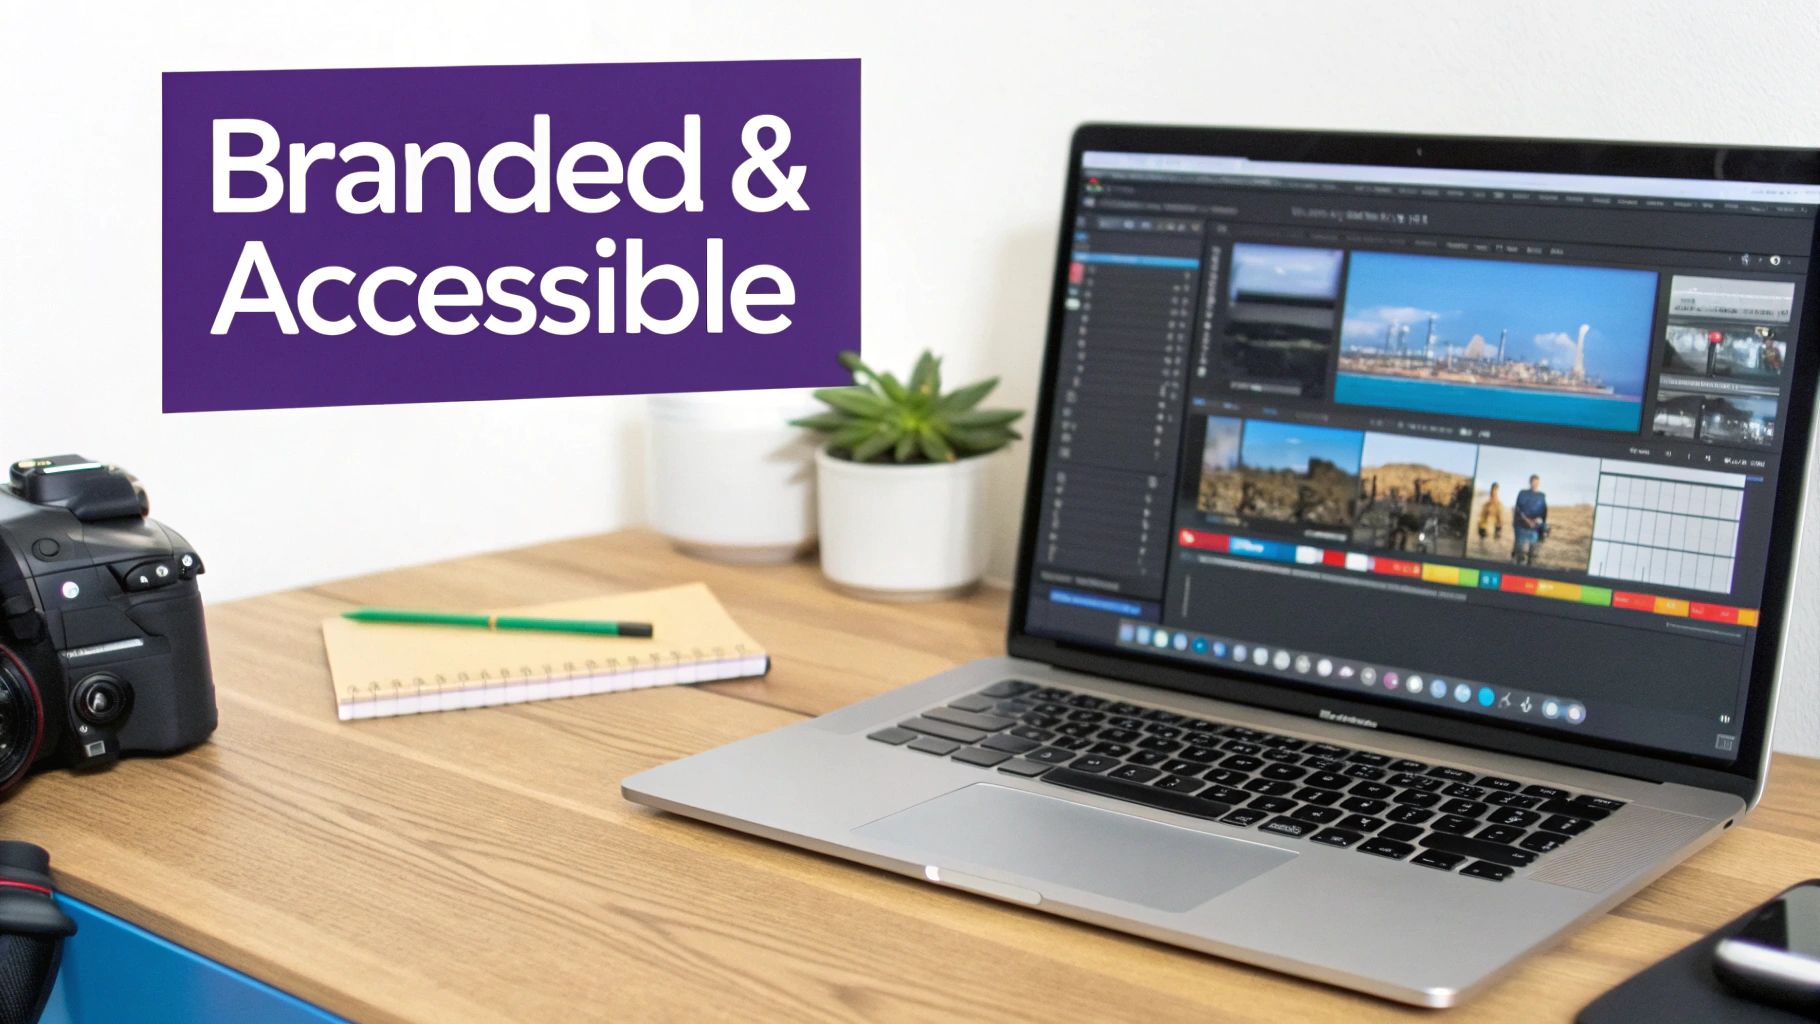
This is where a little effort goes a long way. Consistent branding, for example, builds instant trust and makes your content feel authoritative. Instead of manually dropping in logos and color-correcting every single video, look for tools that let you apply a pre-set Brand Kit.
With a good Brand Kit, every video you create will automatically feature:
- Your company logo as a clean, unobtrusive watermark.
- A defined color palette for elements like captions, backgrounds, and highlights.
- Custom fonts that match your official brand guidelines.
This single step ensures that every tutorial and demo looks like it came straight from your marketing team, creating a cohesive experience for your viewers.
Reaching Everyone with Captions and Translations
Accessibility isn’t just a nice-to-have; it’s fundamental to your video’s reach. Accurate captions are a must, not only for viewers with hearing impairments but also for the huge number of people watching in noisy offices or on their commute without headphones.
In fact, studies show that 80% of people who use captions aren’t deaf or hard of hearing—they just prefer watching with them on. If you’re new to this, learning how to add closed captioning to a video is a fantastic way to immediately improve user experience.
But why stop there? Imagine instantly translating not just the captions but the entire voiceover into dozens of different languages. This used to require a massive localization budget, but modern tools have made it incredibly simple, opening your content up to international teams and customers.
One feature I’ve found to be a total game-changer is AutoRetime. When you translate a voiceover from English to, say, German, the sentence length and timing will naturally change. AutoRetime is smart enough to automatically adjust all your existing edits—zooms, cuts, and effects—to perfectly match the new audio track. This saves an unbelievable amount of manual work and makes a multilingual video library a realistic goal.
Bookend Your Video with a Professional Intro and Outro
Finally, give your content a proper frame. A clean, animated intro with your logo sets a professional tone right from the start. It grabs attention and lets viewers know they’re in the right place.
An outro is just as important. It’s your chance to provide a clear call to action, point viewers toward other helpful resources, or just offer a polished sign-off.
By combining these elements—branding, accessibility, and professional intros/outros—you’re doing much more than just converting a slideshow. And if you started with a silent recording, you can even generate a brand new AI voiceover at this stage. We cover that whole process in our guide on how to voice over a PowerPoint. This final layer of polish is what guarantees you’ll deliver a high-impact, globally-ready video every single time.
A Few Common Questions About Turning PowerPoint Into Video
When you’re getting started with turning presentations into videos, a few questions always seem to pop up. Answering them upfront can save you a ton of headaches and help you make something genuinely useful, whether it’s for your knowledge base, a new sales demo, or an internal training guide.
Let’s dive into some of the most common ones.
Can I Turn a PowerPoint Into a Video Without Narration?
Yes, you absolutely can. PowerPoint lets you export a totally silent video based on preset slide timings, which gives you a clean visual foundation to build on.
But here’s a pro-tip for a much more polished result: record your screen silently as you click through the slides. Then, take that video and use an AI tool to generate a perfect voiceover from your script. This approach lets you create a flawless narration without needing a quiet room, a fancy microphone, or any public speaking chops.
What Is The Best Video Format to Export from PowerPoint?
For pretty much any use case you can think of—from uploading to YouTube to embedding in your company’s learning platform—MP4 (with H.264 encoding) is the way to go. It’s the industry standard for a reason, hitting that sweet spot between great visual quality and a file size that won’t take forever to upload.
When you see the export options, stick with 1080p (Full HD). It delivers a sharp, professional look that’s perfect for most screens. The only time you’d really need 4K is if your slides are packed with super fine details, but just be aware that the file size will be significantly larger.
How Do I Edit My Video After Exporting from PowerPoint?
This is a big one. Once you export your presentation as an MP4, it’s a locked-in video file. You can’t go back and edit the text on a slide or tweak an animation. All of that needs to be done in a proper video editor.
For tutorial videos or product updates, a purpose-built tool like Tutorial AI is perfect. You can drop your MP4 file in and start making powerful edits just by changing the text transcript. This makes it incredibly easy to trim out mistakes, add an AI-generated narration, apply smart zooms to highlight key areas, and pop in your company branding. It’s how you take a basic screen recording and make it look professional.
Key Takeaway: It helps to think of the exported PowerPoint video as your raw footage. The real magic happens in the editing suite, where you can trim the fat and add those polished touches that keep your audience focused and engaged.
What Is The Ideal Length for a PowerPoint Video?
There’s no magic number here—it all comes down to your audience and what you’re trying to achieve. Still, after making hundreds of these, I’ve found some guidelines that work well.
- Marketing & Explainer Videos: Shorter is almost always better. Aim for 60-90 seconds to grab attention and get your main point across before people click away.
- In-depth Training or Knowledge Base Videos: These can definitely be longer. The trick is to break them up into logical, bite-sized chapters, with each one running about 5-7 minutes.
No matter the total length, the goal is always to be as concise as possible. A good editor that lets you easily snip out pauses, “ums,” and repetitive phrases is your best friend for keeping viewers hooked.
Ready to turn your presentations into professional, on-brand tutorials without the typical production headaches? With Tutorial AI, you can record freely, edit your video as easily as a text doc, and generate flawless AI voiceovers in minutes.