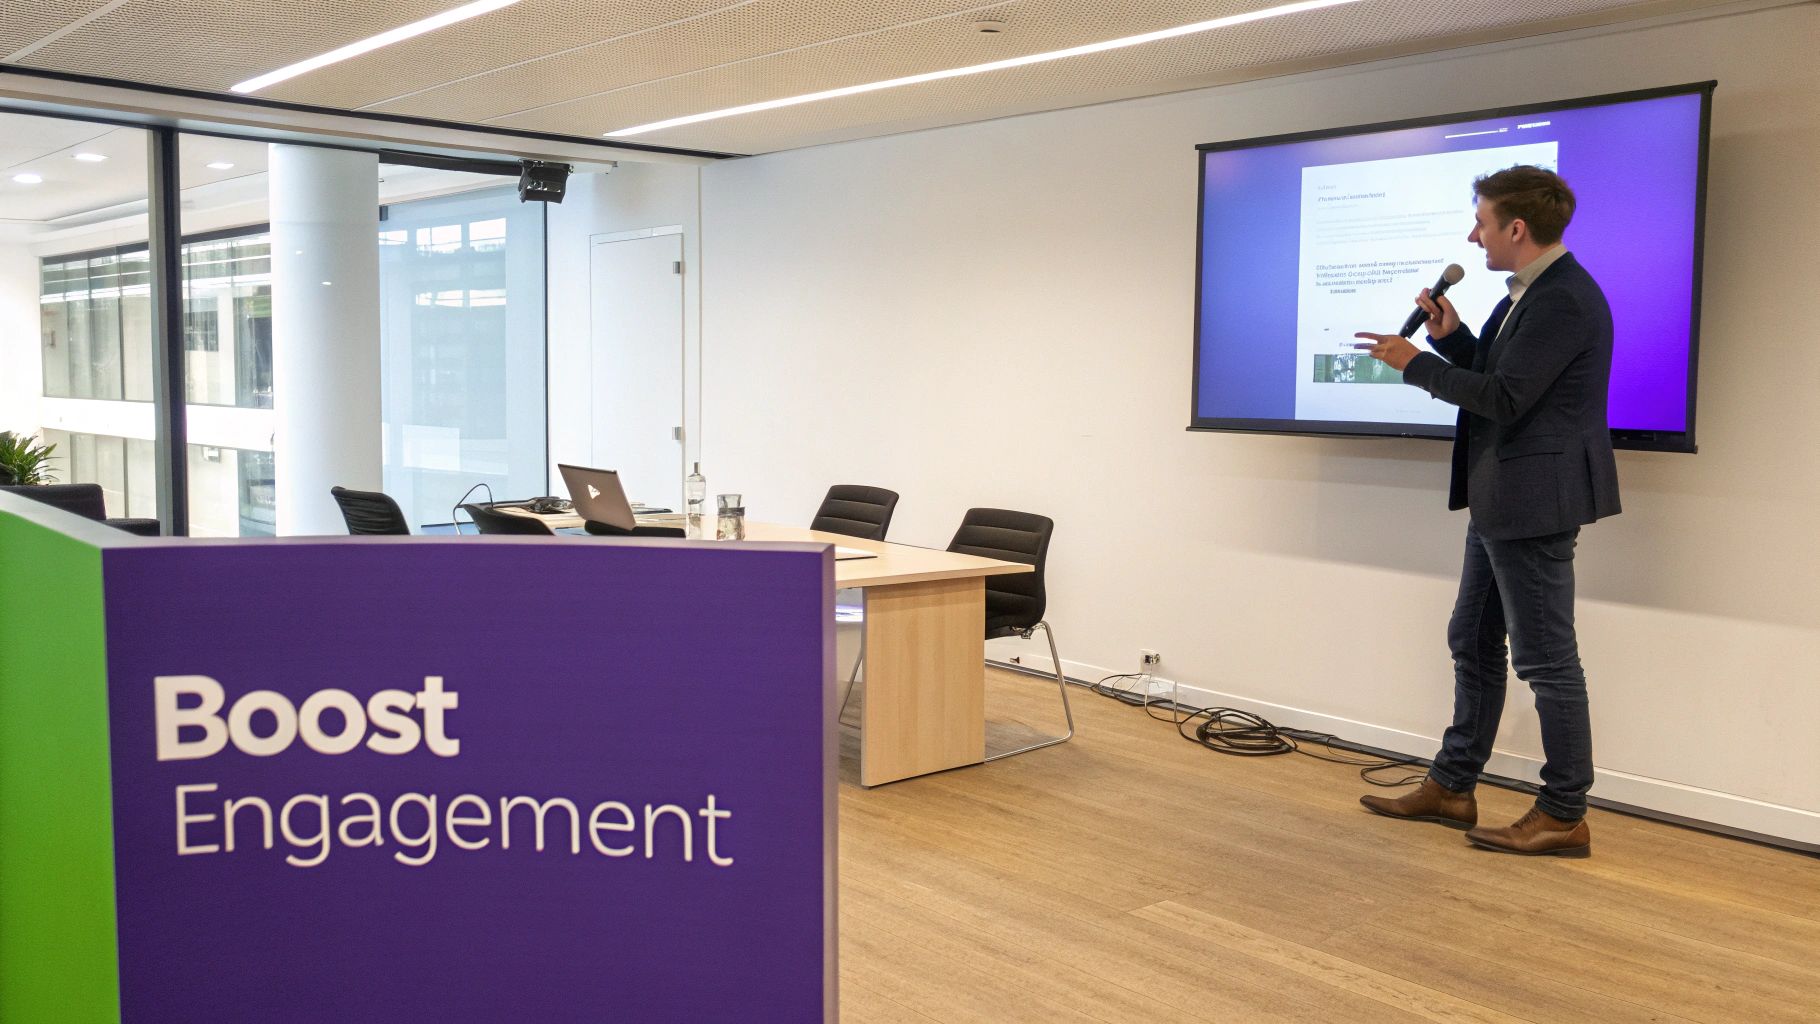
Let's face it: turning your presentation from a PowerPoint into a video is probably the single best thing you can do to make your message land. Instead of attaching a slide deck that gets skimmed (or, more likely, ignored), a video grabs attention, makes sure your key points are actually heard, and can be shared just about anywhere.
Why Bother Turning Your PowerPoint Into A Video?
Think about the last time someone emailed you a PowerPoint deck. Did you really open it and read every single slide? Probably not. Static presentations, packed with text and bullet points, just don't command attention anymore. They put all the work on the viewer to click through, piece the story together, and find the motivation to care. It’s a passive experience, and that’s a recipe for a missed connection.
When you convert that same presentation into a dynamic video, you completely change the game. It’s no longer just a document; it’s an engaging experience. By adding your voice, motion, and intentional pacing, you get to guide your audience through the story exactly as you planned. This isn't just about a file format change; it’s a strategic decision to make your message stick.
From Ignored Decks To Engaging Assets
The switch from slides to video brings real-world benefits to almost every team. This isn't just a marketing gimmick; it solves practical business problems.
Here are a few scenarios where this simple conversion makes a massive difference:
- For Sales Teams: A salesperson can transform a dense, feature-heavy deck into a punchy, two-minute demo video. They can send it ahead of a call to warm up a prospect, include it in a follow-up email, or post it on LinkedIn to generate new leads. It’s far more effective than a static PDF.
- For Internal Training: HR and learning teams often fight an uphill battle with training compliance. A video walkthrough is infinitely more engaging than a 50-slide presentation on new company policies. Plus, employees can watch it when they have time, and you can easily track who has completed the training.
- For Marketing Campaigns: A product marketer can take the slides from a recent webinar and repurpose them into a sharp, shareable video for YouTube. This breathes new life into the content and reaches a much bigger audience that prefers watching to reading.
The real win here is control. With a video, you control the narrative, the timing, and the tone. You’re not just hoping people understand your message; you’re delivering it as a complete, compelling package.
This isn’t just a hunch; it’s backed by huge market trends. The digital video ad spending market skyrocketed from $32 billion in 2020 and is projected to hit over $99 billion by 2024. That kind of money doesn't move unless businesses are seeing a clear return. Video has become the primary way brands communicate and engage. You can dig into more video marketing statistics to see just how dominant it has become.
Let's look at a quick breakdown of how these two formats stack up.
How PowerPoint Slides And Video Content Compare
The numbers don't lie. Video isn't just a "nicer" format; it fundamentally improves how well your message is received and remembered.
The Power Of Accessibility And Reach
Beyond just keeping people engaged, turning your PowerPoint into a video makes your content accessible to a much wider audience.
Videos can have captions, which is a huge help for people watching in a loud office or for those with hearing impairments. You can also easily add translated subtitles or dub the audio for international teams, breaking down language barriers that a text-heavy slide deck can’t.
Finally, a video is a simple, self-contained asset. You can upload it to your website, host it on a learning management system (LMS), or just send someone a link. This flexibility means your message can reach anyone, on any device, making your communication efforts far more efficient and powerful.
Using The Built-In PowerPoint Export Feature
Sometimes the simplest path is the best one. The most direct way to turn your PowerPoint into a video is by using the export tool that's already baked right into the software. It’s the quickest route from a finished deck to a shareable video file, no extra costs or downloads required. Think of it as your baseline—a great starting point for anyone.
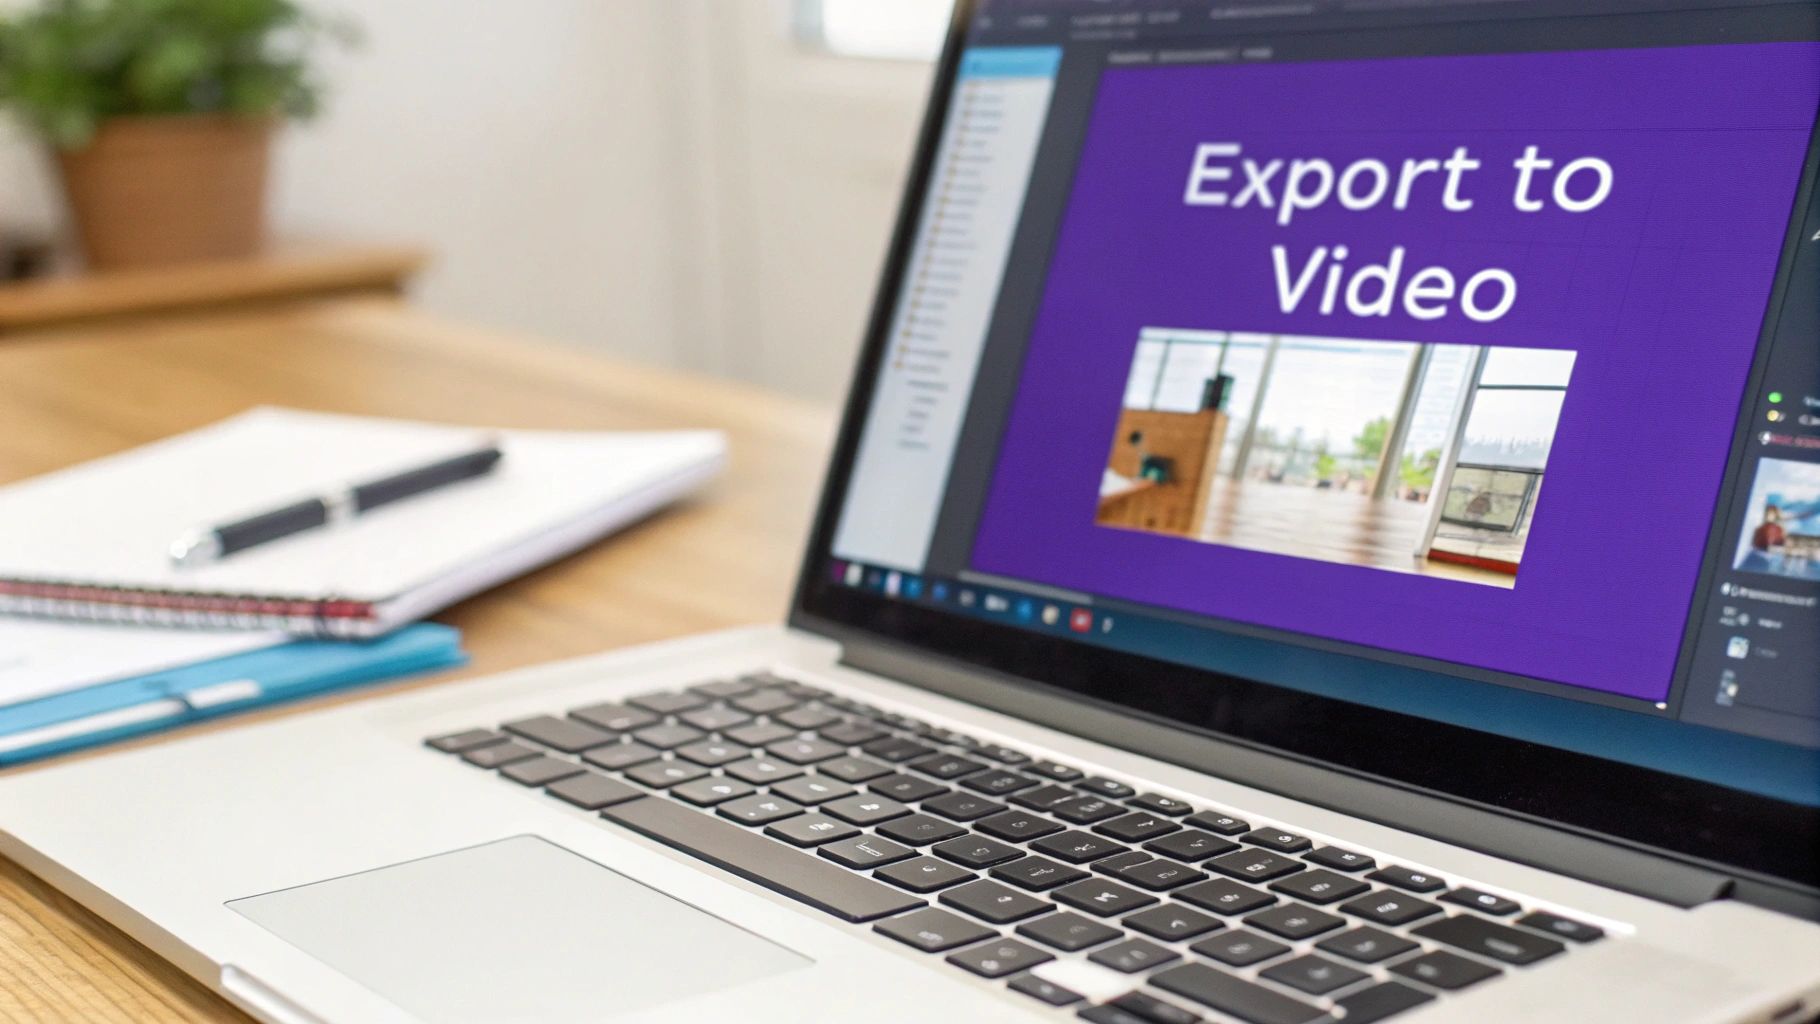
This method essentially packages your slides, animations, and transitions into a standard MP4 file, creating a self-playing slideshow. The process is pretty straightforward, but the choices you make during the export process are what separate a decent video from a blurry, clunky one.
Choosing The Right Export Settings
Before you hit that final "Create Video" button, you’ll face a few critical choices. The first, and arguably most important, is video quality.
PowerPoint gives you a few resolutions, but let's be real, you're usually deciding between two:
- Full HD (1080p): This is your go-to, the workhorse of video resolutions. It looks crisp and professional on platforms like YouTube or your company's internal training hub, all while keeping file sizes manageable.
- Ultra HD (4K): Only pick this if you’re working with incredibly high-resolution photography or intricate diagrams meant for a giant 4K screen. Honestly, for most business presentations, the massive file sizes you get with 4K just aren't worth it.
The other key setting to pay attention to is "Use Recorded Timings and Narrations." If you've already used PowerPoint's "Record Slide Show" feature to add a voiceover, this is a must-check box. It embeds your audio and syncs it perfectly with your slides. If you leave it unchecked, you'll just get a silent movie that flips through slides on a timer.
The Honest Pros Of Native Export
Let's be clear: this method has its place. Its biggest strengths are its speed and the fact that you already have it.
- Speed and Simplicity: You can convert a finished deck to an MP4 in a matter of clicks. There's no learning curve.
- Zero Additional Cost: It’s part of the software you already own. For a quick, one-off project, that's a huge win.
- Consistency: The video will be a perfect replica of your presentation, preserving every font, animation, and transition exactly as you designed them.
This method is perfect for when speed trumps polish. It's ideal for a quick internal team update, an asynchronous weekly report, or just archiving a presentation for someone who couldn't make the live meeting.
The Significant Cons You Can't Ignore
Now for the reality check. For anything customer-facing, formal training, or marketing-related, the built-in export just doesn't cut it. The lack of creative control is its Achilles' heel.
The video you get is a static recording. You have no ability to edit pacing, trim mistakes from a narration, or add professional touches like background music or lower-third titles. What looks fine in a live presentation can feel stiff and dated in a video.
Worse yet, updating is a nightmare. Spot a typo on slide 12? You can't just fix that one spot. You have to go back to the original .pptx file, make the change, and then re-export the entire video from scratch. This makes it a terrible option for any content that needs regular maintenance, like a product demo that changes with every new feature release. This is precisely why so many of us end up looking for better tools.
Get More Control by Screen Recording Your Presentation
If PowerPoint's built-in export feels a bit too rigid, your next best move is screen recording. This is the perfect middle-ground—it gives you a ton of flexibility without forcing you to learn complicated video editing software. The idea is simple: you record your screen while you present, capturing your slides, your voice, and your on-screen actions all at once.
You can approach this in a couple of ways. You can narrate live as you click through the slides, which gives the final video a really engaging, conversational feel. Or, you could record the slide progression silently first and then add a perfectly polished voiceover later. Either way, you get a much more dynamic result.
The real win here is authenticity. When you're narrating live, you can use your cursor to circle a key stat on a chart or underline an important phrase. It’s these little human touches that transform a sterile slideshow into a personal, one-on-one walkthrough.
Setting the Stage for a Clean Recording
A good screen recording is made or broken before you ever hit the record button. Trust me, spending a few minutes on prep work can save you from the headache of having to scrap a recording and start all over again. You want to create a totally controlled environment where your presentation is the star of the show.
Here’s a quick pre-flight checklist I always run through:
- Silence All Notifications: There's nothing worse than a Slack notification dinging right in the middle of a key point. Use your computer's "Do Not Disturb" or "Focus" mode to kill all pop-ups and sounds.
- Clean Up Your Desktop: Even if you're only recording the presentation window, it's just good practice. Close out of other apps and hide your desktop icons. This prevents any accidental clicks from pulling you out of the flow.
- Check Your Audio: Clear audio is non-negotiable. You don't need a pro-level microphone, but a simple USB mic or even the one on your earbuds will be a huge step up from your laptop's built-in one. Do a quick test recording to make sure you're not picking up weird background noises like an air conditioner or street traffic.
The best screen recordings feel spontaneous and natural, but that’s an illusion. They are almost always the result of a few minutes of careful setup. Prepping your digital workspace ensures your video is clean, professional, and completely free of distractions.
Choosing the Right Tool for the Job
You don't need to break the bank to get started. In fact, you might already have everything you need. Both Windows (with the Xbox Game Bar) and macOS (with the Screenshot toolbar) have free, built-in recorders that work just fine for basic jobs.
When you're ready for more features, dedicated apps are the way to go. Tools like Loom have become super popular because they make it incredibly easy to record your screen, camera, and mic all at once and share it with a simple link. If you want to shop around, you can explore some of the best free screen capture software to find one that fits your exact needs, whether that’s simple trimming or more advanced annotation tools.
A Practical Scenario: The Product Demo
Let's say you're a product marketer who needs to create a video explaining a new software feature. Just exporting the PowerPoint slides would give you a series of static screenshots. It gets the point across, but it’s not exactly going to get anyone excited.
This is where screen recording shines. You can start your video with a few intro slides from your presentation, then seamlessly switch over to a live demo of the software itself. As you talk, you can move your mouse to highlight the new buttons, walk through a common user workflow, and show the feature in action.
This flow—from the "what it is" on the slides to the "how it works" in the live demo—is far more convincing. Your conversational tone and the natural movement of the cursor make the video feel authentic and trustworthy, creating a connection that a basic slide-to-video export just can't match.
Creating Professional Videos With AI Tools
Screen recording your presentation gives you fantastic control, but it opens up a new can of worms. Raw footage is almost always full of those awkward pauses, "ums" and "ahs," and sections that just drag on. Easy-to-use recording tools like Loom are great, but the raw output is often 50-100% longer than necessary.
This is where you hit a fork in the road. On one side, you have professional video editing software like Adobe Premiere Pro or Camtasia. They’re incredibly powerful, but require expert video editing knowledge and a serious time commitment. It’s like booking a film studio when all you need is a clean, polished knowledge base video.
On the other side, you have Tutorial AI, a new breed of AI-powered tool designed to generate professional video tutorials based on your screen recordings. It allows you to speak freely without any practice, and your final video will look as if it was edited in Adobe Premiere Pro. This approach empowers the subject matter expert to create on-brand videos extremely efficiently, making it perfect for:
- Demos
- Onboarding videos
- Explainer videos
- Feature release videos
- Knowledge base videos
- Support article videos
Transforming Raw Footage With Smart Editing
The central idea behind a tool like Tutorial AI is to make editing a video feel as simple as editing a text document. Once you’re done recording, you just upload the file. The AI immediately gets to work, transcribing every single word you said.
This transcript becomes your new timeline. Instead of painstakingly scrubbing through audio waveforms to make precise cuts, you just read the text. Find a sentence where you tripped over your words? Just delete that text, and the corresponding slice of video and audio is instantly gone. It’s a surprisingly intuitive way to tighten up your content.
This text-based approach is liberating. It means you can speak freely while recording, without worrying about a perfect script or making mistakes. The final video looks like it was meticulously edited in a professional suite, but all you did was clean up a few sentences.
The Power of AI-Generated Voice and Audio Polishing
Here's a hard-won lesson: clear audio is often more important than perfect video. A recording filled with background noise or an uneven speaking tone is incredibly distracting. This is another area where AI tools completely change the game when you turn a Powerpoint into video.
Instead of stressing about your microphone quality or the dog barking in the background, you can let the AI fix it. For example, a tool like Tutorial AI lets you regenerate your entire narration using a crystal-clear, lifelike AI voice. Your original recording acts as the guide for timing and inflection, but the final audio is studio-quality. This is a huge help when you need consistent narration across a whole series of training videos. To see what’s possible, check out how an AI voice generator for videos can elevate your projects.
The ability to regenerate your voice means the subject matter expert can focus entirely on delivering their knowledge, not on their vocal performance. This efficiency allows them to create on-brand, professional videos at a speed that was previously impossible.
Beyond replacing the voice, you can also clean up the original audio. For a deeper dive into this, you can explore professional techniques for noise reduction in video and see how advanced tools can strip out hums, clicks, and other distracting sounds.
Before you even hit record, this little decision tree can help you decide whether to narrate live or add a voiceover later.

As you can see, a live narration is great for dynamic, in-the-moment presentations, while adding a voiceover later gives you much more control for more polished, scripted content.
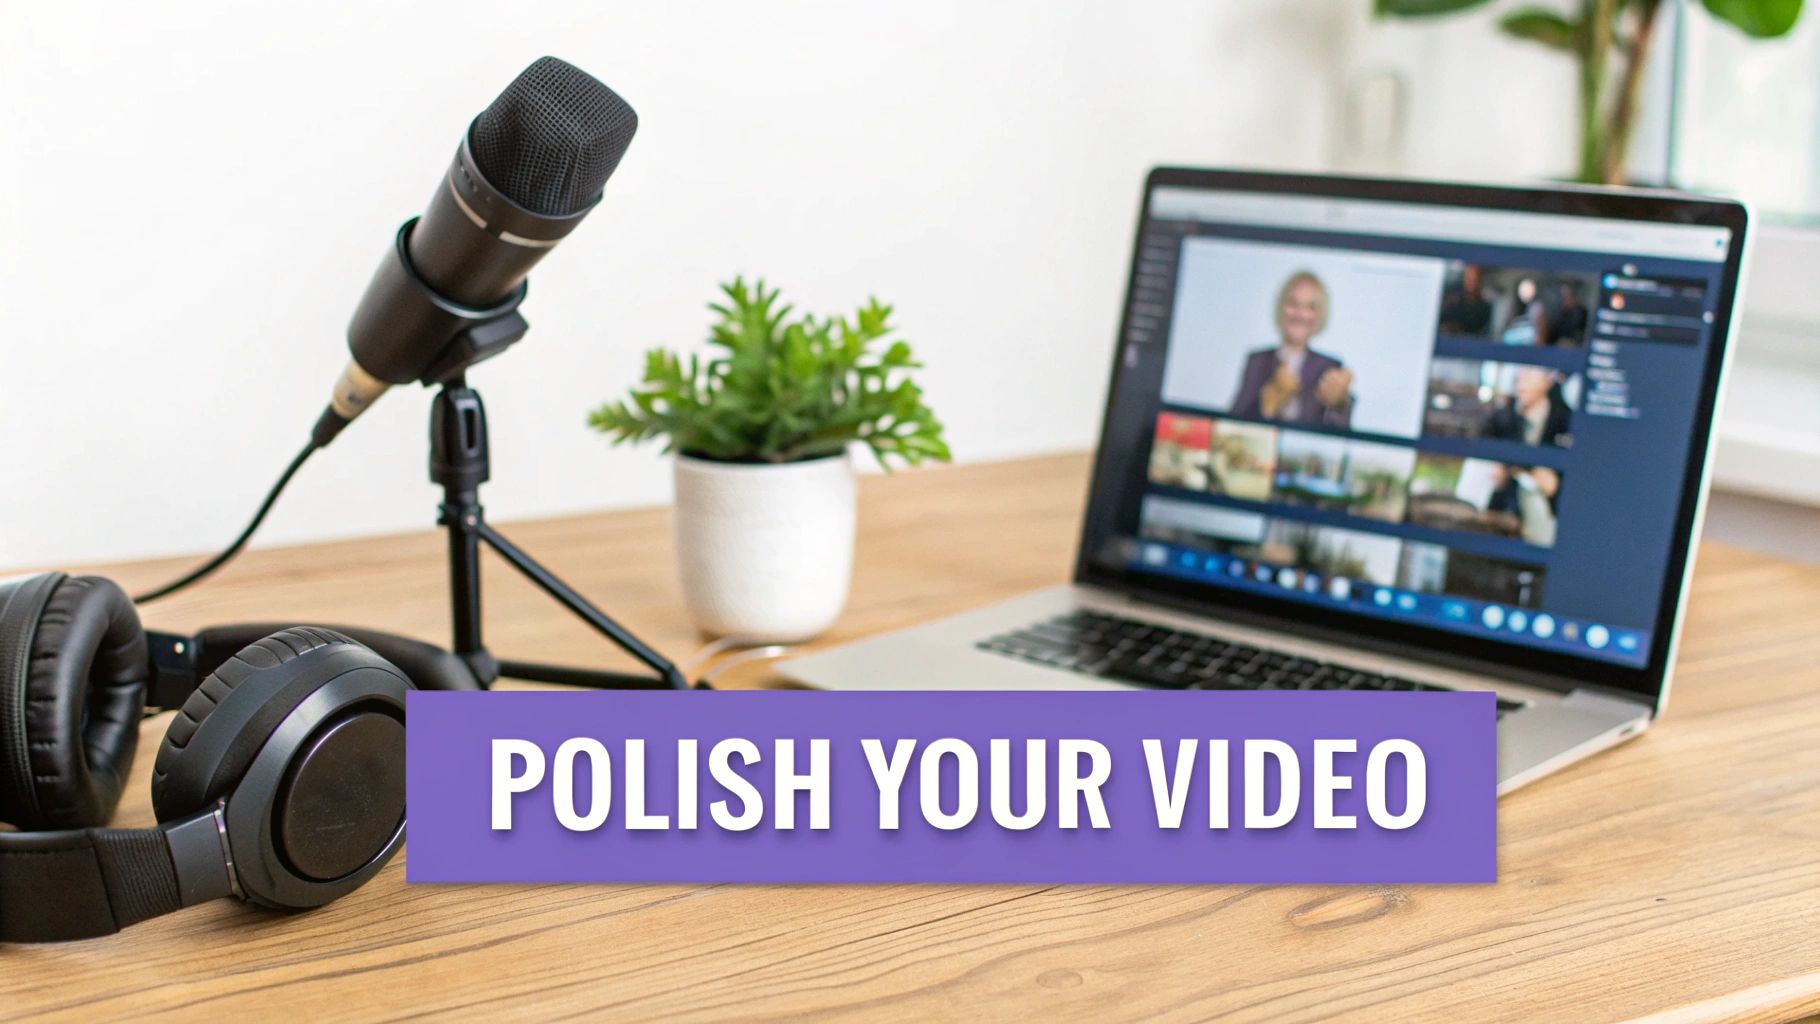
Adding Visual Polish and Branding
A truly professional video is more than just a clean recording—it’s a branded asset that feels like it belongs to your company. AI-powered tools can now automate the visual tweaks that used to take hours of manual work in an editor.
For instance, the software can add "smart zooms" that automatically pan and zoom in on the most important parts of your screen, guiding the viewer's eye right where it needs to be.
You can also apply your company's brand kit with a single click. This instantly adds your logo, custom fonts, and color scheme, ensuring every video you produce is perfectly consistent. This is a game-changer for teams producing high volumes of content, like dozens of knowledge base articles or sales demos that all need to look and feel the same.
This level of polish isn't just for show; it directly impacts how your message lands. People connect with video in a way that text can't match. Research shows that viewers retain 95% of a message when they watch it in a video, compared to just 10% when reading it. Even more compelling, a staggering 85% of consumers say they’ve been convinced to buy something after watching a brand's video. These numbers really drive home why turning a simple PowerPoint into a well-produced video is such a powerful move.
Best Practices For A Polished And Effective Video
Knowing the different ways to turn a PowerPoint into a video is just the start. The real challenge is creating a video people actually want to watch. A few thoughtful practices can elevate your project from a basic screen recording into a genuinely polished and professional asset, no matter which method you end up using.
This process really begins long before you hit the record button. It helps to start thinking of your presentation not just as a series of slides, but as a storyboard for your video. When each slide has a clear purpose in moving the story forward, you become much more intentional with your content and design.
Design For The Screen, Not The Conference Room
Let's face it: slides designed for a massive projection screen rarely look good on a laptop or phone. Visual clarity is everything in video, so you have to adapt your design for a much smaller format.
- Boost Font Sizes: That text that looks perfectly fine from the back of a room can become an unreadable blur on a small screen. My rule of thumb is to go a few sizes bigger than you think you need.
- Increase Contrast: You can't control what kind of screen your audience is using. High-contrast color palettes (like dark text on a light background) are your best friend for ensuring your message is always legible.
- Simplify Visuals: Resist the urge to cram everything onto one slide. A single, powerful image or a straightforward chart is far more effective than a slide packed with competing graphics and bullet points. Let your content breathe.
Nail Your Audio and Pacing
I can't stress this enough: bad audio will make people click away faster than anything else. You don't need a high-end recording studio, but you absolutely need a quiet space. Close the door, put your phone on silent, and be mindful of background noise like fans or open windows. Even an inexpensive USB microphone can be a game-changer for audio quality.
Pacing is just as critical. When you convert a PowerPoint into a video, you lose the real-time feedback you get from a live audience. To make up for it, you have to bring the energy and speak with clear intention.
Your goal is to keep the viewer engaged from start to finish. A video that’s too slow will bore them, while one that’s too fast will be overwhelming. Aim for a concise, focused delivery that respects their time.
Make Your Content Accessible and Actionable
Making your video accessible is a simple way to broaden its reach and impact. Captions are the perfect example—they're essential for viewers with hearing impairments but also a huge help for non-native speakers or anyone watching in a noisy environment. For a deep dive, this guide on how to add captions to videos is a fantastic resource.
Finally, every great video needs a purpose. What do you want your viewer to do after watching? Don't leave them hanging.
- Include a strong call-to-action (CTA) near the end. This can be a simple verbal instruction or a dedicated final slide.
- Make the next step crystal clear, whether that's "Download the report," "Schedule a demo," or "Visit our website to learn more."
And if you want to take engagement to the next level, consider how interactive elements can enhance the experience. Platforms like the Lumi H5P Cloud platform let you build quizzes and other activities right into your content. By combining these practices, you'll create videos that don't just look and sound great but also deliver real results.
Common Questions About Converting PowerPoint To Video
When you start turning slides into videos, a few questions always pop up. It's totally normal. Getting these sorted out early will save you a ton of headaches and help you pick the right approach for your project. Let's dig into some of the things people ask most often.
How Long Should My Final Video Be?
This is the classic "it depends" question, but the answer really does hinge on who's watching and where they're watching it. There’s no perfect length for every video, but we can get close with a few rules of thumb.
- Marketing or social media? Think short and punchy. You're fighting for attention, so aim for 1 to 3 minutes. Anything longer and you risk losing your audience to the next scroll.
- Training or complex explainers? Here, you can breathe a little. These videos can comfortably run anywhere from 5 to 15 minutes. If you find yourself pushing past that, consider breaking the content into a mini-series. It’s much easier for someone to digest three 5-minute videos than a single 15-minute behemoth.
The golden rule here is to respect your viewer's time. If a slide, a sentence, or even a pause doesn't add real value, cut it. Be ruthless.
What Is The Best Video Format To Use?
When you turn your PowerPoint into a video, don't overthink the format. Nine times out of ten, MP4 with an H.264 codec is exactly what you need.
It's the gold standard for a reason. This format gives you crisp, high-quality video without creating a massive file that takes forever to upload. It plays nicely with pretty much every platform you can think of—YouTube, social media, your company's internal training portal, you name it. When in doubt, just go with MP4.
Can I Edit My Video After Exporting It From PowerPoint?
This is a big one, and it's where the native PowerPoint export can really trip you up. Once you save that presentation as a video, it’s basically set in stone. You can't just hop back in to fix a typo or swap out an image.
To make any changes, you'd have to drag that finished MP4 into a totally separate video editor, which can be a real pain. That’s why using a screen recorder from the get-go gives you so much more flexibility—you can edit your recording to your heart's content before you produce the final video.
Do I Need An Expensive Microphone To Record Narration?
Not anymore. While a fancy microphone is always nice, it's definitely not essential, especially with the tools available today. A decent USB mic or even the one on your headset can get the job done if you find a quiet spot to record.
The real game-changer is a platform like Tutorial AI. It can take your "good enough" audio and clean it up, or even replace it entirely with a crystal-clear AI voice. This means your subject matter experts can just focus on getting the information right, without worrying about becoming professional voice-over artists overnight.
Ready to skip the hassle and create professional, on-brand videos from your screen recordings in minutes? Tutorial AI uses smart technology to edit your video like a doc, add a studio-quality voiceover, and apply your branding automatically. Start creating for free today.