Creating a training video isn't just about hitting record. It's a thoughtful process that moves from planning and scripting to recording, editing, and finally, getting it in front of the right people. It all starts with pinpointing your audience and learning objectives. This initial step is your best defense against time-sucking re-shoots and ensures the final video actually hits the mark.
Laying the Groundwork for Your Training Video
Before you even think about cameras or microphones, you need a solid plan. I've seen it time and again—a good plan is what separates an effective training tool from a complete waste of company resources. Rushing this first phase is the single biggest mistake you can make.
The first, and most important, question is always: Who is this for? The tone and detail needed for an onboarding video for brand-new hires are worlds apart from a quick feature update for seasoned power users. Getting a clear picture of your audience's current knowledge, their job role, and what frustrates them will shape every decision you make, from the language you use in the script to the examples you show on screen.
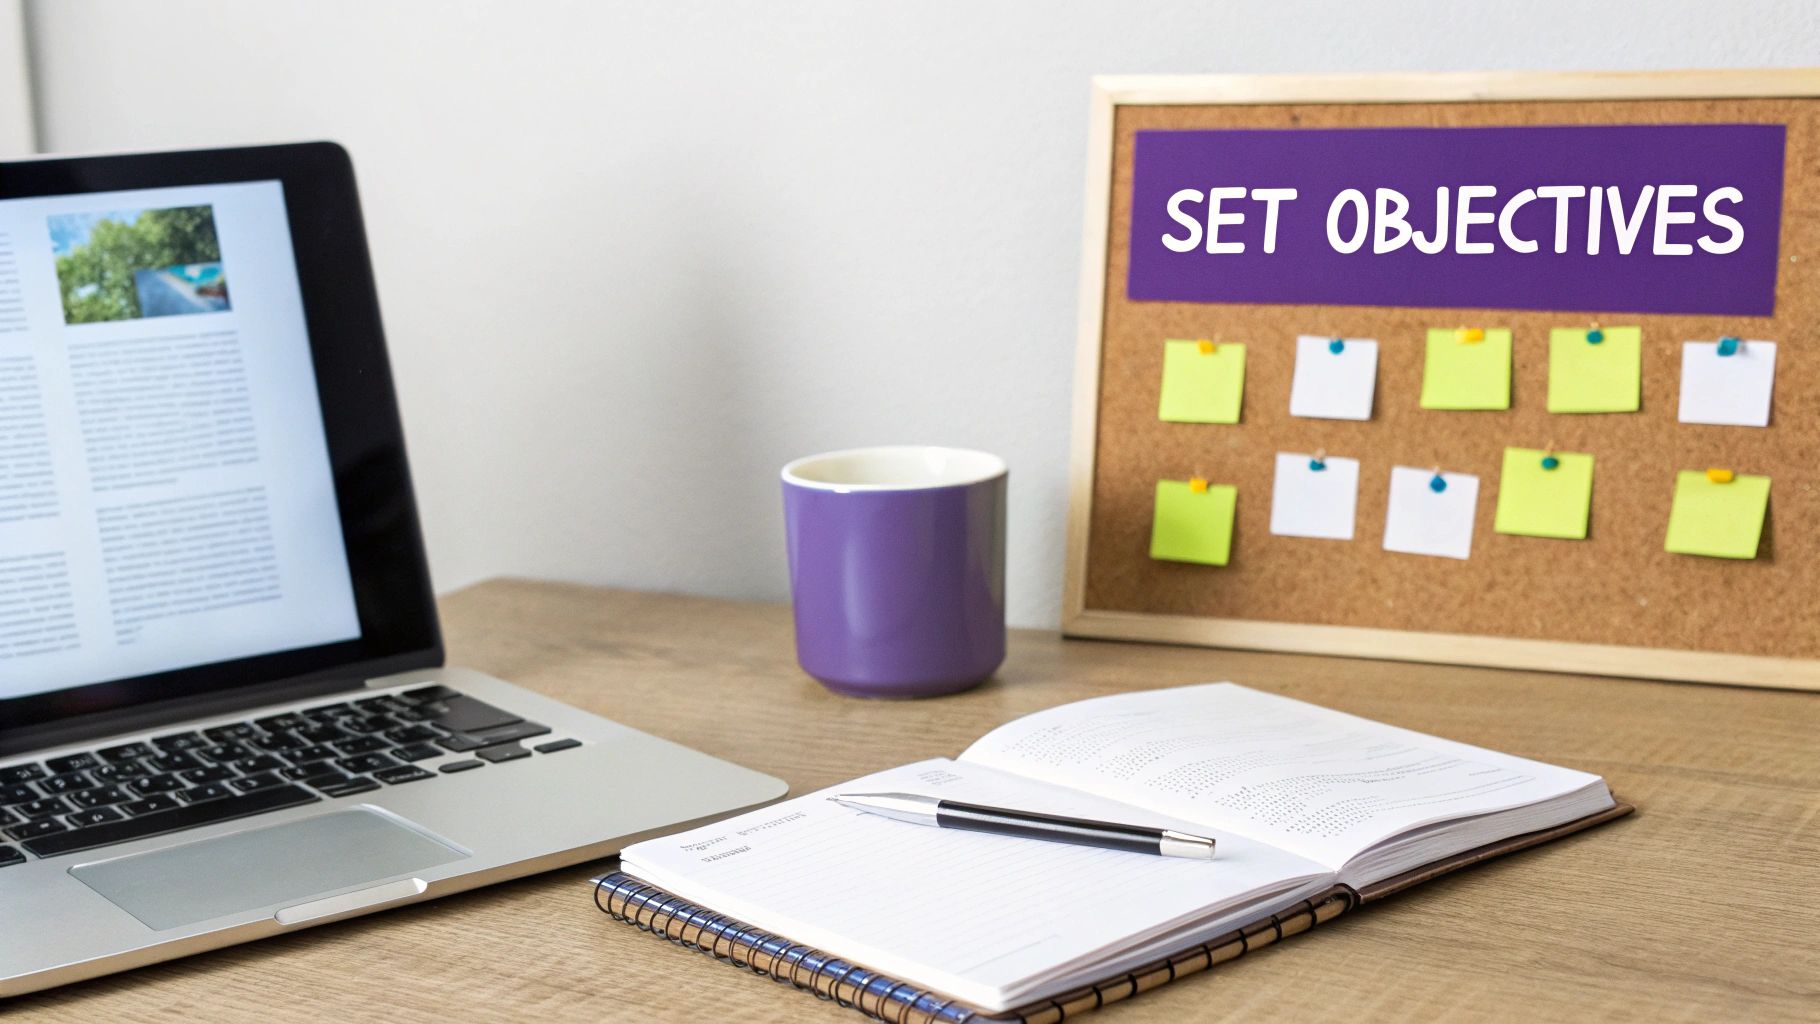
Define Clear Learning Objectives
Once you know your audience, you have to nail down what you want them to be able to do after watching. A fuzzy goal like "understand the new software" won't cut it. You need to create specific, measurable learning objectives.
For example, a strong objective sounds more like this: "After watching, the viewer will be able to create a new client profile in our CRM in under two minutes." This kind of clarity is your North Star—it guides your script, your visuals, and every cut you make in the edit, ensuring everything in the video serves a purpose.
Ask yourself these questions to sharpen your objectives:
- What specific skill or piece of knowledge is essential for the viewer to walk away with?
- How will I know if they've learned it? Can they complete a specific task?
- Is this goal realistic for one video, or should I break it up?
A video without a clear learning objective is just noise. A video with a defined objective is a powerful training tool that drives real performance improvements and delivers measurable ROI.
Choosing the Right Video Format
Not all training needs are the same, so your video format shouldn't be a one-size-fits-all solution either. The format you pick has to directly support your learning objectives. A quick software demo is perfect for showing off a single new button, but a comprehensive process walkthrough is what you need for a complex, multi-step procedure.
This strategic thinking is more critical than ever. The corporate e-learning market is projected to grow by $37.8 billion between 2020 and 2025, a boom that was kicked into high gear by a 400% surge in demand after the pandemic. This isn't just a trend; it shows how essential efficient and effective video training has become for any modern business.
Getting this groundwork right from the start is what prevents confusing, unfocused content. For a deeper dive into the entire workflow, it’s worth checking out guides on how to make professional-looking videos from start to finish. Think of this planning phase as the blueprint for your project—investing the time here will save you countless headaches down the road.
Crafting Your Script and Visual Storyboard
A great training video stands on two pillars: a solid script and a clear visual plan. I've seen countless projects get derailed because the creator skipped this step, thinking they could just "wing it." It’s like trying to build a house without a blueprint. You might end up with something standing, but it’s probably confusing, messy, and needs a ton of work to fix later.
Let’s start with the script. Your script isn’t an academic paper or a dense user manual. You need to write for the ear, not the eye. Use conversational language, keep your sentences tight, and adopt a tone that genuinely connects with your viewers.
The trick is to break down big, complex ideas into digestible chunks. Each part of your script should tackle one key point before moving on. This simple structure helps people follow along without getting overwhelmed. If you're staring at a blank page, this sample script outline is a great starting point for structuring your story.
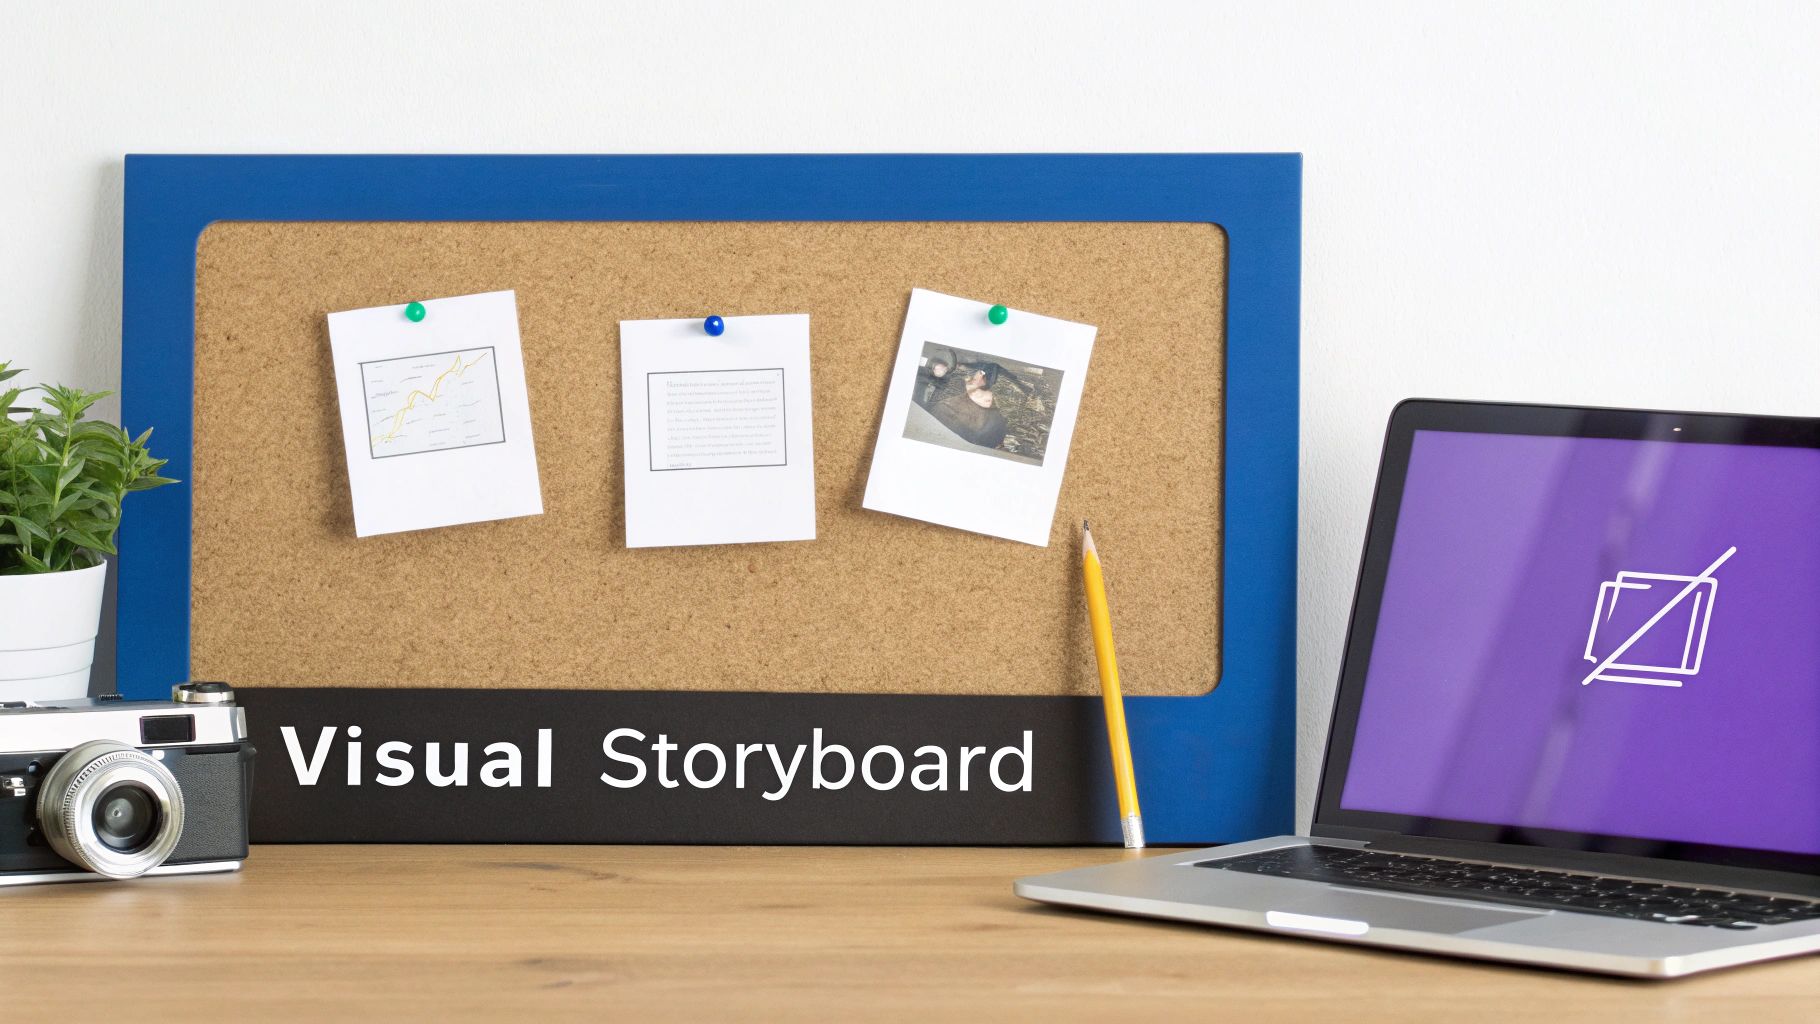
From Words to Visuals with Storyboarding
With a polished script in hand, it’s time to think visually. Your storyboard is the visual roadmap that pairs what people see with what they hear. It’s how you ensure your visuals don’t just decorate your narration—they actively support it.
Don't worry, you don’t need to be an artist. A storyboard can be as simple as stick figures or even just descriptive notes in a document. For every major point in your script, ask yourself a few questions:
- What absolutely has to be on screen right now? Is it a specific UI element, a menu, or a person’s action?
- Will I need any on-screen text or graphics? Things like arrows, highlights, or short text callouts are perfect for emphasizing key details.
- What’s the best camera angle or screen view? Should I show the whole application window or zoom in tight on a specific field?
Thinking through this process forces you to be intentional and helps you spot problems before you even press record. Trust me, it’s a crucial step that will save you a world of headaches in the editing room.
Planning your shots and script in a storyboard isn't just an extra step; it's a time-saving machine. A well-thought-out storyboard can cut your editing time in half by giving you a clear blueprint to follow, eliminating guesswork and costly re-recordings.
Why Every Subject Matter Expert Needs a Plan
Subject matter experts (SMEs) are the heart of any good training video. They have the knowledge, but they often aren't professional video producers. This is where a script and storyboard become their best friends. These documents provide the structure an expert needs to focus on what they do best: sharing their knowledge.
When making a training video, especially a software demo, it's common for an SME to go off-script, adding extra clicks or side comments. While these tangents come from a good place, they can easily result in recordings that are 50-100% longer than necessary, packed with pauses and detours that just confuse learners. A script keeps everyone on track.
The storyboard acts as a visual guide, ensuring the expert captures the exact screen actions that match the script. This one-two punch of script and storyboard empowers your most knowledgeable people to create polished, effective training content without needing a background in film. It’s all about bridging the gap between deep expertise and clear execution.
Capturing High-Quality Video and Audio
Let's be honest: the quality of your recording sets the stage for everything that follows. You don't need a Hollywood budget, but getting the fundamentals right is absolutely essential. The goal here is to capture crisp, clear footage that gives you a solid foundation to build on, making the editing process worlds easier.
We're really talking about two key things: your audio and your visuals. And if I've learned one thing over the years, it's that people will forgive slightly shaky video, but they will not tolerate bad audio. If your audience can't hear you clearly, your training is over before it even starts.
Nail Your Audio Recording
You don't need to build a soundproof booth, but you do need to be deliberate about how you capture your voice. The built-in microphone on your laptop is designed to pick up everything—every echo, every keyboard click, every air conditioner hum. That's a recipe for a distracted learner.
A small investment in an external mic is the single biggest upgrade you can make.
- USB Microphones: These are the reliable workhorses for anyone creating content at their desk. Just plug one in, and the quality jump from your built-in mic is massive.
- Lavalier Mics (Lapel Mics): These little mics clip right onto your shirt. The huge advantage here is that the mic stays the same distance from your mouth, which keeps your audio levels perfectly consistent even if you shift or turn your head.
Once you have your mic, find a quiet spot. A room with soft furnishings—carpets, curtains, even a closet full of clothes—will do wonders for absorbing sound and killing that nasty echo. Just do a quick 30-second test recording; you'll immediately know if your space works.
Mastering Your Visuals On and Off Camera
Whether you’re recording yourself or your screen, visual clarity is everything. If you're on camera, lighting is your secret weapon. You don't need to buy a fancy kit; you can often get great results with a simple three-point setup using lamps you already own. Getting a handle on the best lighting for video recording is what separates amateur-looking footage from a professional-grade final product. And please, position your camera at eye level. It creates a much more direct and engaging connection with your viewer.
For screen recordings, which are the heart of most software tutorials, your digital setup is just as critical. Before you even think about hitting record, clean up your desktop. Close any extra apps and, most importantly, turn off all notifications. Set your screen resolution to a standard like 1920x1080 (1080p). This ensures that every bit of text and every button is sharp and easy to read, no matter what device your audience is using.
A clean, high-resolution screen recording with smooth, deliberate cursor movements is the visual equivalent of a clear, confident speaking voice. It builds trust and keeps the learner focused on what truly matters.
The Problem with Traditional Screen Recording Workflows
The real headache for most subject matter experts (SMEs) isn't just capturing the screen; it's the slog of turning that raw footage into a polished video. Easy-to-use tools like Loom are great for quick captures, but the recordings are often 50-100% longer than necessary. They're filled with mistakes, long pauses, and tangents that need to be edited out.
On the other end of the spectrum, professional video editing software such as Camtasia or Adobe Premiere Pro offers immense power but requires expert video editing knowledge. This creates a huge bottleneck, forcing a trade-off between speed and quality and often preventing the SME from creating the final video themselves.
This is where a different approach is changing the game. With tools from Tutorial AI, you can generate professional video tutorials from simple screen recordings. It’s ideal for creating demos, onboarding videos, explainer videos, feature release videos, knowledge base videos, and support article videos. Tutorial AI lets you speak freely without any practice, and still, your video will look professional as if it was edited in Adobe Premiere Pro. It allows the subject matter expert to create on-brand videos with extreme efficiency, closing the gap between raw expertise and polished training content.
Editing Raw Footage into a Polished Tutorial
This is where the real magic happens. Editing is how you take all those raw clips and stitch them together into a professional, cohesive tutorial that actually delivers on your learning goals. But let’s be honest—it’s also the biggest bottleneck in the whole process.
For years, you were caught between two frustrating options. You could either spend weeks trying to master powerful but complex tools like Adobe Premiere Pro or Camtasia, which require a ton of time and expertise. Or, you could settle for a simple screen recorder like Loom, which is quick but often leaves you with videos that are 50-100% longer than necessary, packed with all the pauses and mistakes.
This leaves subject matter experts (SMEs) in a tough spot. They have all the knowledge but lack the specialized skills to navigate a complicated editing timeline. The result? Huge production delays or training materials that just don't hit the mark.
A Smarter Way to Edit Video
Thankfully, a third, much more efficient path has opened up. AI-powered video editors are completely changing the game by automating the most time-consuming parts of post-production. This new way of working finally empowers the person with the knowledge to create the final video, no editing degree required.
This technology is a perfect fit for the kinds of screen recordings that make up the bulk of corporate training:
- Software Demos: Showing a team how to use a new tool or feature.
- Employee Onboarding: Guiding new hires through key systems and processes.
- Explainer Videos: Breaking down a complex workflow, step-by-step.
- Feature Release Updates: Announcing and demoing new product functionality.
- Knowledge Base Videos: Creating visual, easy-to-follow support content.
The Power of Text-Based Editing
The real breakthrough behind tools like Tutorial AI is the ability to edit your video by just editing text. Instead of painstakingly scrubbing through a timeline to find a mistake, you simply look at the auto-generated transcript of your recording and delete the words you don't want. The corresponding video and audio are snipped out instantly and seamlessly.
Imagine you just recorded a 10-minute software demo. You can speak freely, make mistakes, and not worry about practicing. Every "um," long pause, or repeated sentence can be removed in a few clicks. You don't have to nail it on the first take. The AI takes your raw recording and churns out a polished, professional video that looks like it came straight out of a pro editing suite.
This workflow is a game-changer because it allows the subject matter expert to own the entire creation process. They can now produce on-brand, studio-quality videos with incredible efficiency, dramatically cutting down production time.
This approach couldn't come at a better time. Video use in business is exploding, with 89% of businesses incorporating it for training and communication in 2025. Among them, a massive 95% of video marketers see it as essential to their strategy. As the learning management system (LMS) market is projected to hit $29.9 billion by 2025, the need for fast, scalable video creation is undeniable. You can dive deeper into these 2025 video marketing statistics and trends for more context.
Before jumping into the editing suite, let's take a look at the different tools you might use. Each has its own strengths and is built for a different type of user and workflow.
Video Editing Approaches Compared
As you can see, AI-powered editors fill a crucial gap, offering the polish of professional tools without the steep learning curve, making them a fantastic choice for creating high-quality training content at scale.
Visualizing Your Recording Plan
Before you even hit record, making one simple decision can save you a ton of time later. This decision tree helps you figure out whether to focus on a great screen recording or a well-lit on-camera shot.
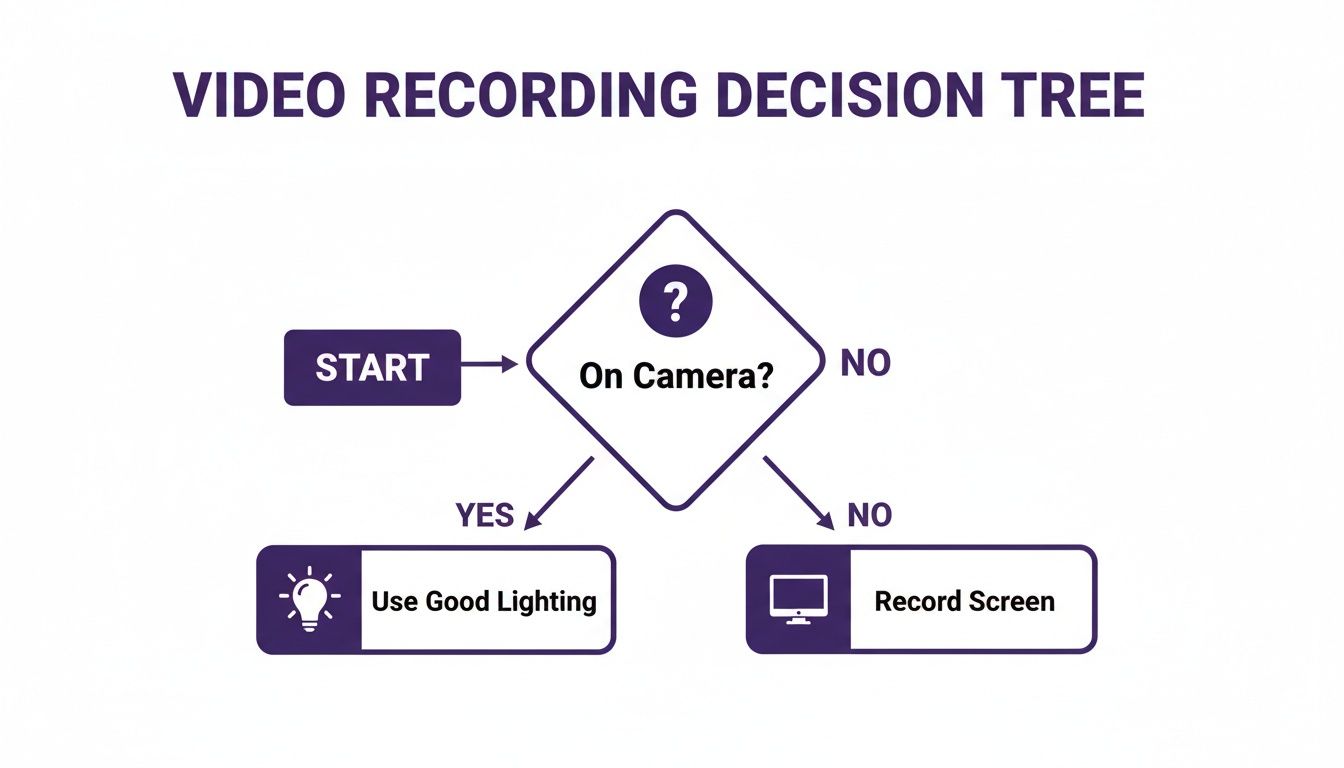
This chart makes it clear: for most software tutorials and process walkthroughs, your priority is a crisp, clean screen capture. For any on-camera segments, good lighting is what matters most. Knowing which format is your primary one from the start helps you prepare correctly and makes the whole editing process that much smoother.
This is where the magic really happens. With your video edited down to its core message, it’s time to add the professional layers that turn a simple recording into a polished, high-impact training tool. These finishing touches aren't just for show; they directly influence how well your audience learns, engages, and trusts your content.
A clean, clear narration is one of the most powerful elements you can add. A good voiceover acts as a guide, explaining what’s happening on screen and keeping the learner focused. But let's be honest, not everyone loves the sound of their own voice or has a quiet space to record. This is where technology has given us some incredible options.
Generate Flawless Narration with AI Voices
Using a high-quality AI voice can be a total game-changer. Instead of worrying about stumbles, background noise, or re-recording every time a small detail changes, you can generate a perfect voiceover directly from your script.
Think about it: when your software's UI gets an update, you don't have to book a studio or find a quiet moment to re-record the narration. You just tweak a few lines of text, and the audio is instantly updated. It’s a huge time-saver. This is especially helpful for subject matter experts (SMEs) who can now focus entirely on getting the screen capture right, leaving the vocal performance to the AI. You can see just how much this can improve your process by looking into an AI voice generator for videos.

The Critical Role of Captions and Accessibility
In today's world, captions aren't just a "nice to have"—they're essential. They open up your training to people who are deaf or hard of hearing, but the benefits go way beyond that. Captions boost comprehension for everyone, especially for visual learners, non-native speakers, or anyone watching in a loud office.
Thankfully, you don't have to type them all out by hand anymore. Most modern video editors can auto-generate captions from your voiceover, saving you a ton of tedious work. Making this a standard part of your workflow ensures you're creating truly inclusive and effective content.
It’s no secret that video is a powerhouse for learning. We’ve seen firsthand that shorter is often better—videos under three minutes consistently get the highest engagement, with 75% of viewers watching most of the content. You can find more data on the effectiveness of training video statistics that backs this up.
Maintain Consistency with Branding and Localization
Your training videos should feel like they come from your company. This means consistently using your brand’s logos, fonts, and colors. A good video tool will let you save a brand kit, so you can apply these elements with a single click instead of setting them up from scratch every single time. It's a small step that makes a huge difference in professionalism.
If you’re creating content for a global audience, localization is the final piece of the puzzle. It’s more than just translating the script. The best tools will actually re-time your scenes and captions to match the new voiceover's pacing. This ensures the visuals and narration stay perfectly in sync, no matter the language. It’s these thoughtful final steps that truly complete the process of making a training video that resonates with everyone.
So, you’ve put in the work—the video is finally done, edited, and looking sharp. But don't pop the champagne just yet. Creating a great tutorial is only half the battle; getting it in front of the right people and understanding its impact is where the real work begins.
Getting Your Video to Your Audience
Where you park your video has everything to do with who needs to see it. If you're creating a public-facing tutorial designed to attract new customers, platforms like YouTube or Vimeo are no-brainers. They offer massive reach and built-in analytics.
But for internal training, you need a more controlled, secure environment. That’s where your internal company platforms become your best friends.
- Learning Management System (LMS): This is your go-to for anything formal. An LMS lets you do the heavy lifting of tracking course completion, running quizzes, and managing learner progress in a structured way.
- Company Knowledge Base: Think of this as your "just-in-time" learning hub. Embedding videos directly into tools like Confluence or Notion puts answers right where your team is already searching for them.
- Internal Intranet: For company-wide updates or general training resources, your intranet or a SharePoint site can be the perfect central library.
No matter which platform you choose, a flexible, embeddable video player is a must-have. You want the experience to be seamless, letting the video live right inside the tools your team already uses. The last thing you want is to force them to click away to another site just to watch a quick tutorial.
Are People Actually Watching? Tracking What Matters
Once your video is out in the wild, your role shifts from creator to detective. You need to figure out what’s resonating and what’s falling flat. Just looking at the total view count is a vanity metric; it doesn't tell you anything about engagement.
Instead, zero in on the metrics that actually tell a story:
- Average Watch Time: This is a quick gut check. If people are only watching 30 seconds of your 5-minute video, you know you have a problem. It’s a clear sign your content isn't grabbing their attention.
- Audience Retention / Drop-off Points: This is the goldmine. A retention graph shows you, second-by-second, where people are bailing. A huge drop-off during your explanation of a critical step? That part is probably too confusing, too slow, or just plain boring.
- Completion Rate: What percentage of people stick it out to the very end? A high completion rate is a fantastic indicator that your video delivered on its promise and kept viewers engaged from start to finish.
This data is your most honest critic. It gives you direct, unbiased feedback on what worked and what didn't. It's not about grading your past work—it's about gathering clues to make your next video even better.
Using Data to Make Your Next Video Better
Great training content isn't a one-and-done deal; it's a cycle of improvement. The data you collect from one video should be the blueprint for your next one.
Notice a massive drop-off in the first 15 seconds? Your intro is too long—trim it down next time. See a segment that people are constantly re-watching? That’s a sign the topic is complex and might deserve its own focused micro-video.
And don't forget, making your video accessible is a huge part of its success. You can read our guide on how to add captions to videos to make sure everyone can benefit from your content. By embracing this loop of creating, sharing, measuring, and iterating, you'll slowly build a library of training content that truly makes a difference.
Ready to transform your raw screen recordings into polished, professional tutorials in minutes? With Tutorial AI, you can edit video by simply editing text, add studio-quality AI voiceovers, and keep everything perfectly on-brand. Start creating better training videos today.