A killer voice over is what separates a decent screen recording from a truly compelling, professional video. This guide is all about breaking down the entire process—from the nuts and bolts of preparation to using some really smart AI workflows. By the time we're done, you'll have the know-how to produce narration that sounds like it came straight from a studio and actually keeps your audience hooked.
How Professional Narration Can Transform Your Videos
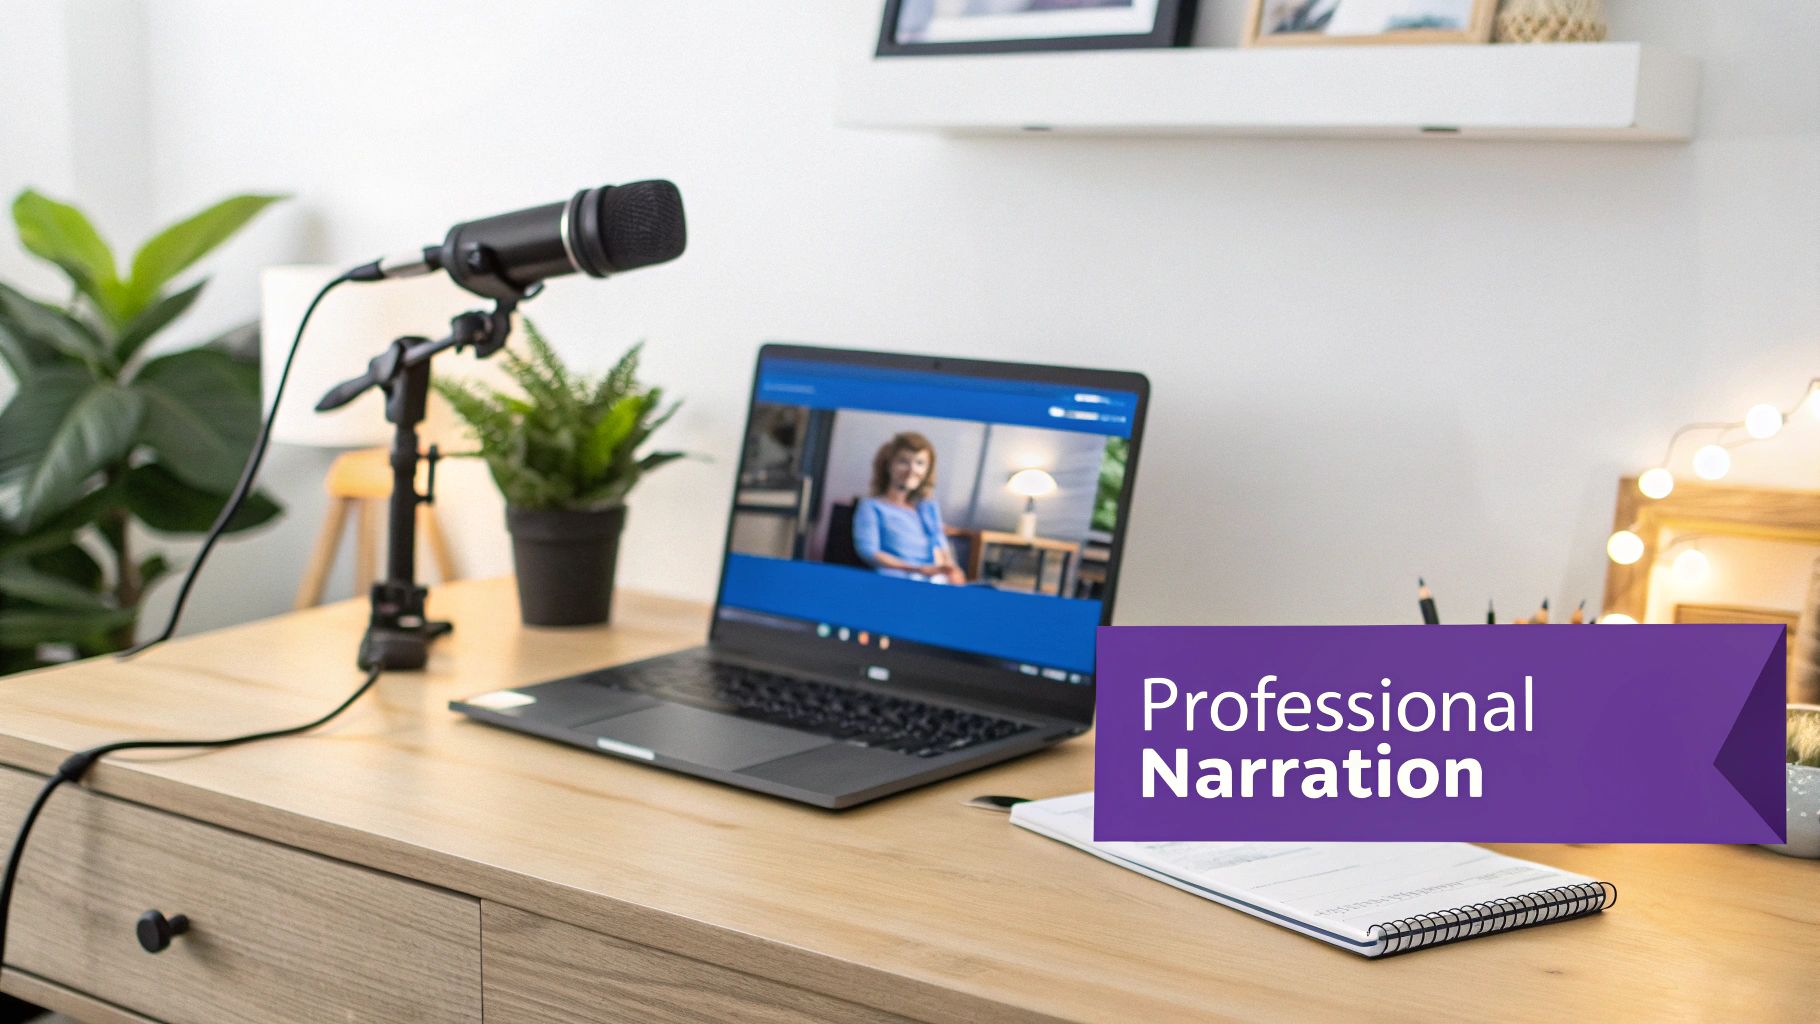
Figuring out how to do a voice over isn't just about reading a script. It’s about adding that essential layer of polish, clarity, and personality that makes people actually want to watch. There's a reason the professional voiceover industry is a multi-billion dollar giant; the boom in e-learning, corporate training, and knowledge base videos has made quality narration a must-have.
For any team creating these kinds of assets, a great voice over is the key to turning a raw screen capture into something that looks and sounds professional. The growth in this space is pretty staggering—if you're curious, you can find a ton of detailed stats over at Voiceoverxtra.com.
But let's be real. The traditional route to a polished video is often a nightmare. Easy-to-use recording via Loom is often 50-100% longer than necessary, littered with "ums," long pauses, and restarts. On the flip side, professional video editing software such as Camtasia or Adobe Premiere Pro requires expert video editing knowledge.
This leaves a huge, frustrating gap. The subject matter experts have all the knowledge, but they don't have the time or skills to edit like a pro. They need a better way to create effective training content without the headache.
A Modern Fix for Creating Videos Efficiently
This is exactly where AI-powered tools are changing the game. Take Tutorial AI, for example. Its tools let you speak freely without any practice and still your video will look professional as if it was edited in Adobe Premiere Pro. It generates video tutorials based on screen recordings, allowing the subject matter expert to create on-brand videos extremely efficiently.
This approach is perfect for cranking out all sorts of content with incredible speed. Think about it for:
- Demos, onboarding videos, and explainer videos that get straight to the point and show off your product's value.
- Feature release videos to get users up to speed quickly on what's new.
- Knowledge base videos and support article videos that answer common questions and help cut down on support tickets.
Of course, once you have that amazing narration, you want to make sure it looks great everywhere. It's a good idea to get familiar with things like Instagram video format specifications to make sure your hard work has the biggest impact on social media. For a deeper dive, you can also check out our guide on https://www.tutorial.ai/b/how-to-create-ai-video.
Setting the Stage for a Perfect Voice Over
Before you even dream of hitting that record button, there’s some crucial groundwork to lay. How well you prepare your script, your space, and your gear will ultimately decide whether your recording session is a creative breeze or a technical nightmare.
Think of it this way: every minute you spend on prep now saves you ten minutes of agonizing cleanup in post-production. It's the absolute foundation for getting a professional sound, and skipping it is a recipe for frustration.
Crafting a Script That Speaks Naturally
Here’s a rookie mistake I see all the time: writing a script that’s meant to be read on a page, not spoken into a microphone. Formal language, long-winded sentences, and dense paragraphs just sound clunky and unnatural when read aloud. Your mission is to write for the ear.
The best way to do this is to read every single line out loud as you write. Does it flow? Does it sound like something a real person would actually say? If it feels awkward in your mouth, it’ll sound ten times worse in the final recording. Rewrite it until it feels conversational.
A few practical tips for a better voice-over script:
- Keep it simple and direct. Ditch the jargon unless you're absolutely certain your audience speaks that language.
- Write in short sentences. They're easier to deliver with proper breath control and much easier for listeners to digest.
- Mark up your script. Use ellipses (...) or add notes like
(slight pause)to remind yourself where to breathe and let important ideas land. - Embrace contractions. Using "you'll," "it's," and "can't" instantly makes your delivery more relatable and human.
This focus on authentic delivery has never been more critical. Even with the rise of AI voices, the demand for genuine human connection is stronger than ever. In fact, over 50% of companies still plan to use human talent for their brand marketing. Corporate and explainer videos, in particular, are huge drivers for voice actors because they are so effective at boosting engagement. If you want to dive deeper, you can discover more insights about future voice over trends and how they’re shaping the industry.
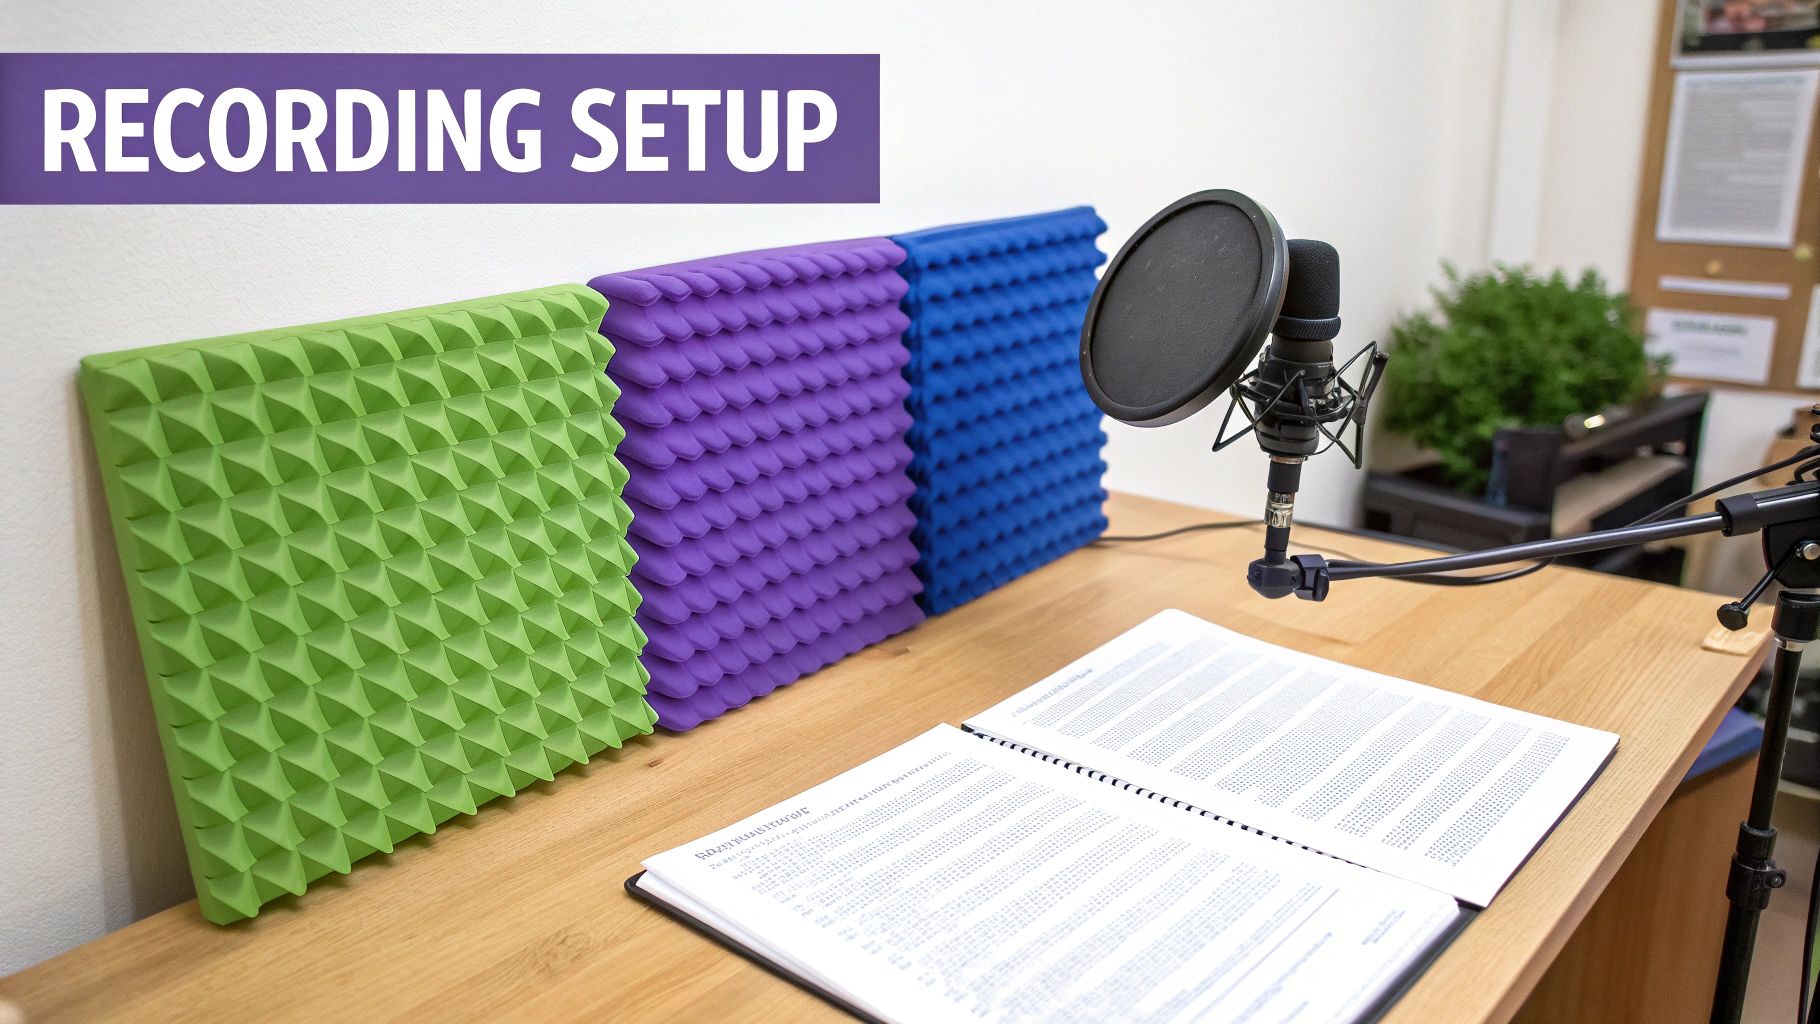
Creating Your Ideal Recording Environment
You don’t need to build a professional-grade studio to get clean, crisp audio. Your main objective is to defeat the two biggest enemies of a good recording: background noise and echo (also known as reverb).
Look for a small room with lots of soft surfaces. A bedroom with a thick carpet, a walk-in closet packed with clothes, or a study with heavy drapes are all excellent choices. These materials are fantastic at absorbing sound waves, preventing them from bouncing around and creating that hollow, amateurish echo.
Pro Tip: Try the clap test. Stand in your chosen space and give a single, sharp clap. If you hear a lingering metallic ring, you’ve got too much reverb. If the sound is a quick, dull thud, you’re in great shape.
Whatever you do, stay away from big, empty rooms with hard surfaces like kitchens, bathrooms, or garages. The natural echo in those spaces is a nightmare to remove later and will instantly degrade your audio quality.
Selecting the Right Microphone for Your Needs
Your microphone is the heart of your recording setup, but that doesn't mean you need to spend a fortune. For most people starting out, a high-quality USB microphone offers the perfect blend of performance, simplicity, and value.
You’ll generally choose between two main types of microphones:
- Condenser Mics: These mics are incredibly sensitive and capture a ton of detail, which is perfect for picking up the subtle nuances in your voice. They're the go-to for studio-style voice-overs in a quiet, controlled space. Most popular USB mics, like the Blue Yeti or Rode NT-USB, fall into this category.
- Dynamic Mics: These are the workhorses of the audio world. They’re less sensitive than condensers, which makes them fantastic at rejecting background noise. If your recording space is less than perfect, a dynamic mic can be a lifesaver. This is why you see so many podcasters using them.
Whichever you choose, mic placement is everything. A good starting point is to position the microphone about 6-8 inches from your mouth, slightly off to one side. This helps you get a warm, clear vocal tone while avoiding "plosives"—those harsh pops of air from "p" and "b" sounds that can ruin a take.
To help you stay on track, I've put together a quick checklist. Run through this before every session, and you'll set yourself up for success from the get-go.
Your Essential Voice Over Preparation Checklist
Follow these key preparation steps to ensure your recording session is a success from the start.
By making this checklist a non-negotiable part of your routine, you'll find your recording sessions become dramatically more efficient and the quality of your final product will speak for itself.
Mastering Your Vocal Delivery and Technique
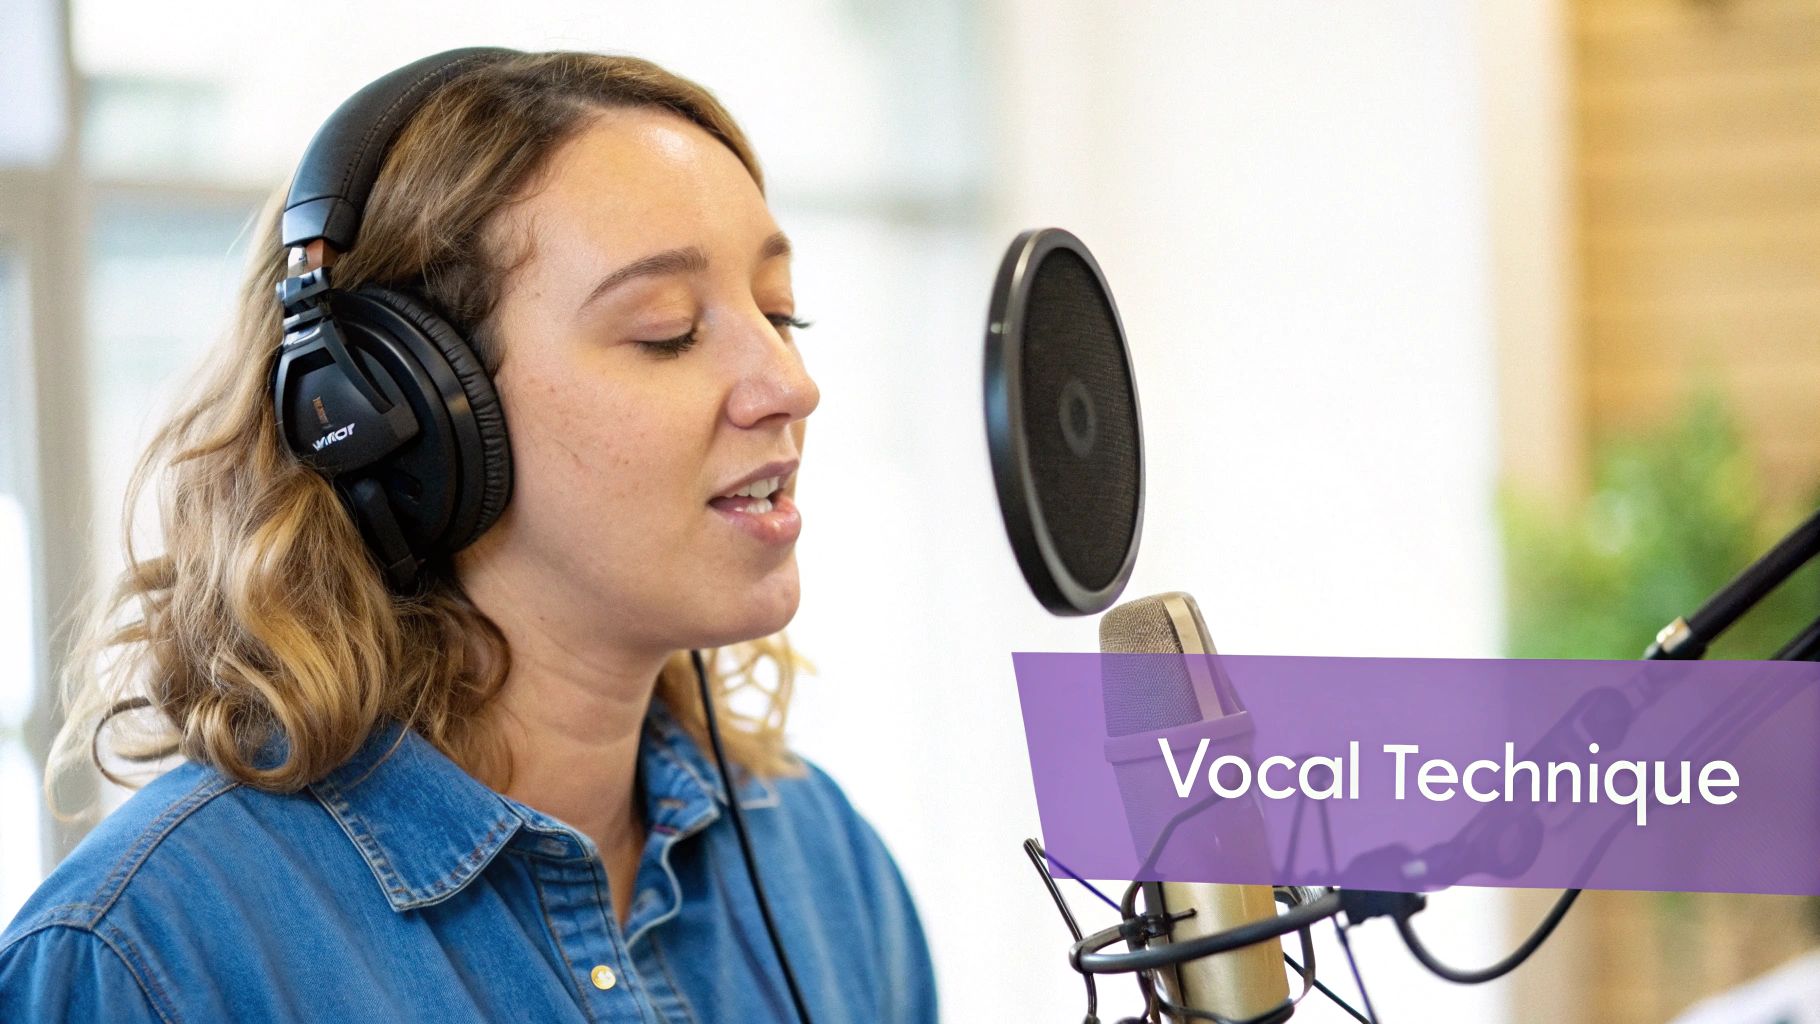
With your script polished and your recording space dialed in, the spotlight turns to the most important instrument you have: your voice. Knowing how to do a voice-over isn't just about reading words—it’s about breathing life into them. A fantastic delivery is what separates a tutorial that merely informs from one that truly connects with and captivates your audience.
This is where you shift from a writer to a performer. Your tone, your speed, and the energy you bring need to perfectly match the message. The goal is always to sound authentic and engaging, pulling the listener in rather than just pushing information at them.
Warming Up Your Voice for a Clear Read
Think about it: an athlete would never start a game without stretching. Your voice is no different. Jumping into a recording session cold can lead to a flat, tired delivery and even vocal strain, especially if you're narrating a longer piece. A few minutes of simple exercises can make a world of difference in your clarity and stamina.
Here are a few of my go-to warm-ups to get your voice ready for action:
- Lip Trills: You might know this as "lip bubbles." Just blow air through your loosely closed lips to make a motorboat sound. It’s a fantastic way to relax your facial muscles and get your breath support nice and steady.
- Tongue Twisters: These are more than just a bit of fun; they're a legitimate workout for your mouth. Running through classics like "Peter Piper" or "She sells seashells" forces your tongue and lips to work on precise articulation.
- Humming: Gently humming up and down your vocal range is a perfect, low-impact way to wake up your vocal cords without putting any real strain on them.
These exercises get your voice primed for performance, ensuring your first take is just as strong as your last. Trust me, this small step saves you a ton of editing time by preventing the mumbles and slurred words that sneak in when your vocal muscles are still waking up.
Finding Your Rhythm: Pace and Pitch
The rhythm and melody of your speech are your secret weapons for keeping people hooked. A monotonous, one-note delivery is the absolute fastest way to make someone tune out. To avoid that, you need to consciously vary your pacing and pitch to add texture, emotion, and emphasis.
It all depends on the goal of your video. A high-energy product demo probably calls for a faster pace and more excited inflections. On the other hand, a complex technical tutorial will benefit from a slower, more deliberate pace and a steady, reassuring tone that helps the viewer absorb the details.
Key Takeaway: Your vocal delivery should be a dynamic performance. Speed up to build excitement, slow down to emphasize a critical point, and use strategic pauses to give your audience a moment to process what they’ve just learned.
A great habit is to practice reading your script aloud and literally marking it up. Make notes on where to pause, which words to stress, and where you can inject a little more personality. This conscious effort to modulate your voice is what separates the pros from the amateurs.
The Foundation: Breathing and Enunciation
Proper breathing is the engine behind a strong, confident voice. So many beginners make the mistake of taking shallow breaths from their chest, which results in a weak, shaky tone and the dreaded "running out of air" mid-sentence. The solution is diaphragmatic breathing—breathing from your belly.
To get the hang of it, put a hand on your stomach and take a deep breath in through your nose. You should feel your stomach expand. As you speak, you'll exhale slowly and evenly, letting that column of air support your words. This one technique will give you a much richer, more resonant voice that can easily sustain longer sentences without fading out.
Finally, let's talk about enunciation. This is all about pronouncing your words clearly and distinctly, but without sounding like a robot. Pay close attention to the beginning and ending sounds of words, especially hard consonants like 't', 'd', and 's'. Recording yourself and listening back is an invaluable exercise. You might be surprised to hear where you tend to mumble or rush. By mastering these technical skills, you’ll transform your narration from amateur to authoritative.
The Hands-On Way: Recording and Editing from Scratch
With your script polished and your recording space sorted, it's time to actually capture your voice. The traditional method for creating a great voice over is a very hands-on process. It gives you absolute control over every detail, but be warned: it requires a good chunk of time and a willingness to get a little technical. This is the realm of Digital Audio Workstations, or DAWs.
Tools like the free and fantastic Audacity or the professional-grade Adobe Audition become your virtual recording studio. Your very first move is a technical but critical one: setting your recording levels. You're looking for that perfect balance—a signal that's strong and clear, but not so loud that it distorts or "clips."
Pro Tip: Aim for your voice to consistently peak between -12dB and -6dB on the audio meter. This is the sweet spot. It gives you a clean, robust signal with plenty of headroom for editing later.
Always, always wear headphones while you record. This is non-negotiable. It’s the only way you’ll catch that low hum from your computer fan, distracting mouth clicks, or the harsh puff of air from "p" sounds (we call those plosives) as they happen. Trust me, getting a clean take upfront will save you a world of pain down the line.
The Art (and Tedium) of Post-Production
Here’s the thing: recording your voice is just the opening act. The real work—and where most of your time will go—is in post-production. This is where you take that raw audio and painstakingly sculpt it into a polished, professional narration.
Your first pass is all about cleanup. You’ll listen through the entire recording, carefully slicing out every mistake, every awkward pause, and every last "um" and "ah." This takes a patient ear and a bit of finesse with the editing tools. After that, you'll run a noise reduction process to eliminate any background hiss your mic might have picked up. Understanding how all these audio elements come together is crucial, which we cover in more detail in our guide on how to screen record with sound.
Then, you have to zoom way in on the waveform for the micro-edits. This means manually cutting out those subtle mouth noises and sharp breaths between sentences. They seem small, but these little imperfections are often the biggest giveaways of an amateur recording.
Adding That Professional Shine with Audio Processing
Once the track is clean, you can start applying effects to really make your voice shine. This is where a little audio engineering knowledge goes a long way.
- Compression: This is your secret weapon for consistency. A compressor evens out your vocal performance, making the quiet parts a bit louder and taming the loudest parts. The result is a smooth, balanced track that’s much more pleasant for your audience to listen to.
- Equalization (EQ): Think of EQ as a tone control for your voice. You can boost the lower frequencies to add warmth and authority or trim some of the higher frequencies to get rid of any harshness. This is how you get that classic, rich "podcast" sound.
A word of caution: these tools are powerful, but it's easy to overdo it. Too much compression or a heavy-handed EQ can leave your voice sounding robotic and unnatural. A delicate touch is key.
The Final, Frustrating Step: The Sync
So, you've recorded, edited, and polished your audio to perfection. Now for the final boss: syncing it to your video. This is a meticulous, often frustrating, frame-by-frame process. You'll be dragging your audio clip along the video timeline, nudging it back and forth to line up key phrases with the actions happening on screen.
It’s a delicate dance. If you decide to cut just one sentence from the audio, it can set off a domino effect, throwing the timing off for the rest of the video. You’ll have to re-sync everything that follows. This step alone can eat up hours, demanding a massive amount of patience. Honestly, it's this time-sucking reality that has so many creators looking for a smarter, faster way to get the job done.
An AI-Powered Path to Flawless Narration
While going the manual route gives you total control, let’s be honest—it’s a grind. It’s a time-consuming and often frustrating process, especially if you're not a professional video editor. A more modern approach, built around AI tools like Tutorial AI, completely flips this model on its head. The focus shifts to speed and efficiency, but you don't have to sacrifice quality.
Imagine just hitting record on your screen and speaking your thoughts freely. There's no need to chain yourself to a script or stress about every "um," "ah," or awkward pause. This is where AI really shines, taking a rough, conversational take and turning it into a polished, professional video.
From Rough Take to Perfect Tutorial
The truth is, those easy-to-use recording tools like Loom often leave you with videos that are 50-100% longer than they need to be. They capture every single hesitation and restart, which means the subject matter expert ends up with a bloated recording that needs a ton of editing to be useful.
This is exactly the problem that AI-powered narration solves. Instead of wrestling with a complicated timeline editor, Tutorial AI automatically transcribes every word you say. Suddenly, your video editing process feels as simple as editing a text document.
- Delete a word or sentence in the transcript, and the corresponding slice of video and audio vanishes instantly.
- Fix a misspoken word in the text, and the AI can regenerate just that bit of the voice-over with a surprisingly lifelike AI voice.
- Need to add something you forgot? Just type the new text where it belongs, and the platform generates the narration for you.
This approach pretty much eliminates the need for deep expertise in software like Camtasia or Adobe Premiere Pro. It puts the power back in the hands of the person who actually has the knowledge—the subject matter expert—letting them create on-brand, studio-quality videos with incredible efficiency.
The old-school, manual voice-over workflow has a few very distinct (and time-sucking) stages.
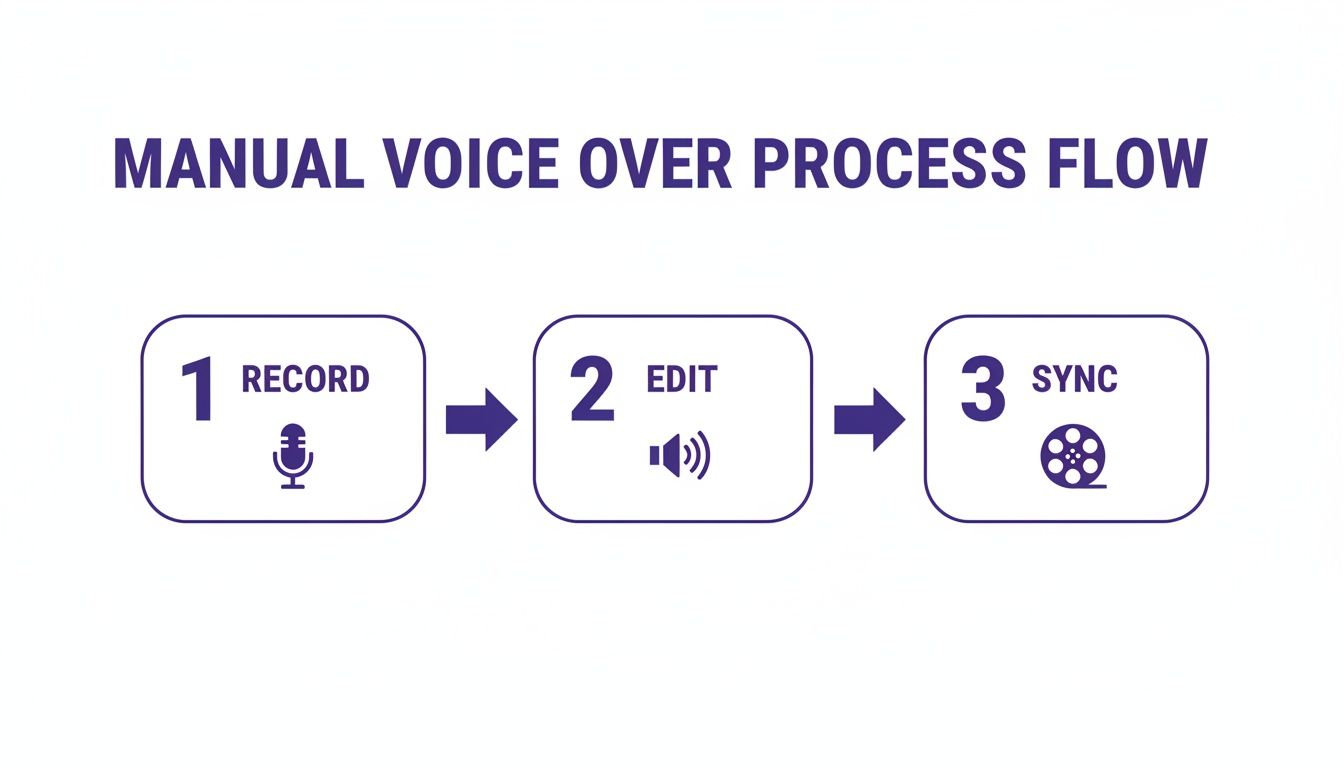
You can see how linear this is. A mistake in one step forces you to go back and repeat everything that follows, making even small edits a huge pain.
The Power of Text-Based Video Editing
This new way of working is perfect for any content where clarity and speed are the top priorities. It's a game-changer for creating effective software demos, onboarding videos, explainer content, feature release updates, and even customer support videos.
The growth of voice AI is impossible to ignore. By 2026, voice AI adoption is expected to hit a major turning point. A striking 55% of consumers are already using AI-powered voice interfaces, yet only 29% of companies have actually launched customer-facing voice AI solutions. This gap is precisely why tools like Tutorial AI are so valuable for product marketers and educators—they make polished narration effortless.
This workflow isn't just about fixing mistakes; it’s about making your content smarter. Tutorial AI can add dynamic zooms to focus viewer attention, apply consistent brand kits, and even regenerate your entire narration in a different language, all without you ever touching a complex editor.
If you're looking for more ways to make your video production smoother, our guide on using an AI voice generator for videos has even more tips. This text-based editing idea is at the heart of modern content creation, saving countless hours while ensuring a professional result.
Comparing Voice Over Workflows
To really get a feel for the efficiency gains, it helps to see the old and new ways side-by-side. The difference in time, effort, and required skill is pretty stark.
This comparison makes it obvious why so many teams are ditching cumbersome, manual editing. The AI-powered path opens up video creation, putting the power to produce high-quality instructional content directly into the hands of experts. And if you're curious about how AI is changing content creation behind the scenes, exploring how to use AI for faceless content can give you more ideas for your own narration projects.
Frequently Asked Questions About Voice Overs
When you're just starting out with voice overs, it feels like there's a million things to learn. Questions about gear, technique, and delivery can feel overwhelming. Let's clear up a few of the most common ones I hear so you can skip the guesswork and get right to recording.
How Can I Make My Voice Over Sound Professional?
Believe it or not, a professional sound has less to do with a thousand-dollar microphone and more to do with your recording space and how you use it. The two biggest enemies of clean audio are background noise and echo.
Your mission is to find a quiet spot and kill that reverb. A small room with plenty of soft surfaces is your best friend here—think a bedroom with a carpet and a made-up bed, or even a walk-in closet packed with clothes. These materials are fantastic at absorbing sound waves, preventing them from bouncing around and making your recording sound hollow.
Once you've got your space sorted, pay attention to your mic placement. A good starting point is to position yourself about 6-8 inches away from the microphone. This is close enough to capture the rich, warm tones of your voice but far enough to avoid those distracting "p" and "b" popping sounds, known as plosives. Slow your pace down just a touch from your normal conversational speed and really focus on clear enunciation. These tweaks alone will make a massive difference, even if you're using a simple USB mic.
What's the Biggest Mistake Beginners Make?
By far, the most common pitfall is reading the script in a flat, monotone drone. It happens to everyone. You get so focused on just saying the words correctly that you forget to add any life to them. The result is a recording that sounds robotic and completely disengages the listener. A great voice over feels like a genuine conversation, not an audiobook read by a computer.
The fix starts with your script. Write like you talk. Use contractions ("it's," "you'll") and read every single sentence out loud as you write. If a phrase feels clunky or unnatural to say, rewrite it until it rolls off the tongue. Practice is everything—the more you internalize the script, the less you'll sound like you're reading it, allowing your natural personality to shine through.
Should I Use an AI Voice Instead of My Own?
The choice between recording yourself and using an AI-generated voice usually comes down to two things: efficiency and consistency. Modern AI voices are a game-changer for projects that require a huge volume of content, like building out a full knowledge base or translating tutorials into several languages.
AI is also your best ally when you know you'll need to make frequent updates. Manually re-recording a sentence or two because a product feature changed is a real pain. With an AI tool, you just tweak the text, and poof—the audio is updated instantly. While your own voice is probably better for content that leans heavily on personal storytelling, for clear, instructional material, AI offers a polished, professional, and incredibly efficient way to get the job done.
Creating great tutorials doesn't have to be a grind. With Tutorial AI, you can capture your screen while you talk, then edit the final video just by editing the text transcript. It perfectly bridges the gap between basic screen recorders and complicated professional video suites, letting you create polished, on-brand videos in a fraction of the time. Learn more and get started for free at Tutorial.ai.