Embedding a video into your PowerPoint is probably the single best move you can make to level up your presentation. It’s about more than just adding a flashy element; it’s about making your message stick. If you’re not using video, you’re missing a huge opportunity to connect with your audience and make a real impact.
It’s a non-negotiable skill for modern professionals.
Why Static Slides No Longer Cut It
Let’s be real for a moment. We’ve all sat through those presentations filled with endless bullet points and static images, our eyes glazing over. In a world where we’re constantly swimming in dynamic visual content, a wall of text just doesn't capture and hold attention anymore.

When you weave a video into your PowerPoint, you’re not just presenting—you’re telling a story. A quick, well-placed video can break up the flow, demonstrate a complex process in seconds, or add a personal touch that text alone could never achieve. It transforms a one-way lecture into an engaging experience.
The Science of Engagement and Retention
There’s a clear psychological reason why video works so well. We are hardwired to process visuals far more effectively than text. The mix of movement, sound, and narrative creates a sensory-rich experience that dramatically improves how much people engage with and remember your content. The numbers don't lie.
Research consistently shows that an incredible 80% of consumers retain 95% of a message when they watch it in a video, compared to just 10% when reading it in text. This isn't a small difference; it's a massive advantage for anyone trying to teach, sell, or support.
This is why 91% of businesses now use video in their marketing, and 70% of marketers are boosting their budgets for things like webinars—a space where PowerPoint is king.
Video doesn't just present information; it makes that information stick. By appealing to both auditory and visual senses, you create stronger neural pathways, making your message harder to forget.
Mastering multimedia isn't just about PowerPoint, either. The same principles apply across different formats. For example, many professionals are now embedding video into other documents like PDFs to make them more dynamic. Whether you're crafting a sales pitch, a training module, or a product demo, knowing how to use video is essential.
Embedding a Video Stored on Your Computer
When you absolutely, positively need your video to play without a hitch—regardless of dodgy conference Wi-Fi or venue restrictions—your best bet is to add the video file directly from your computer. This makes your presentation a completely self-contained package.
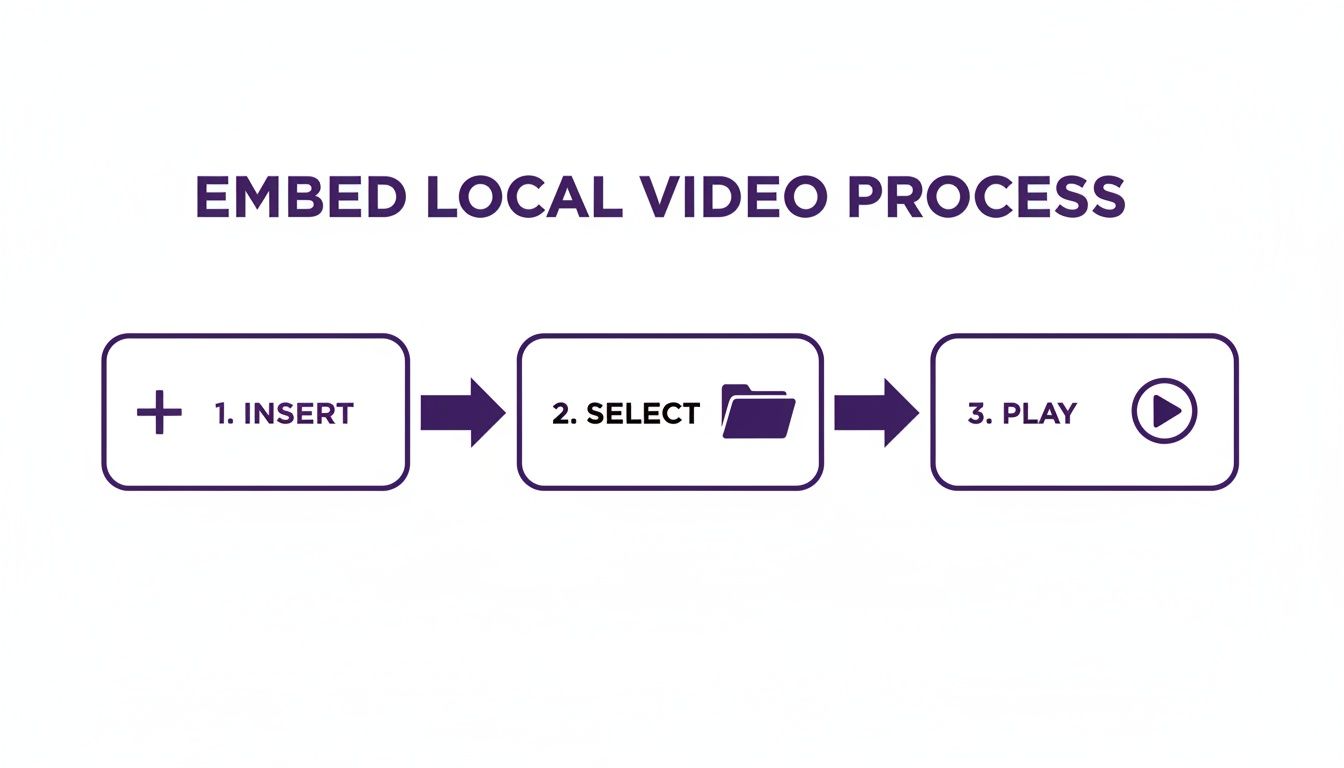
You'll start by heading to the Insert tab in PowerPoint's ribbon. From there, click Video, and then select This Device (or "Video on My PC" if you're on an older version). Just like that, the video is placed right onto your slide, ready to go.
Embedding vs. Linking Your Video
Now, PowerPoint gives you a choice when you add a video from your computer: you can either embed it or link to it. It’s a crucial distinction.
Embedding literally copies the entire video file and packs it inside your PowerPoint presentation. The upside is that your video is now part of the .pptx file. You can move the presentation to another computer or a USB stick, and it will always be there. The only drawback? It can make your presentation file size massive.
Linking, on the other hand, just creates a shortcut to where the video file lives on your computer. This keeps your PowerPoint file small and lightweight, but it's a risky move. If you move the presentation without also moving the video file—and keeping the exact same folder path—that link will break, and you'll be left with a black box on your slide when you try to play it.
For most situations, just embed the video. Seriously. The peace of mind is worth the extra file size.
Pro Tip: Always embed your video unless you have a strict file size limit. A "file not found" error in the middle of a live presentation is a nightmare scenario that can kill your momentum and credibility. It's just not worth the risk.
Choosing the Right Video Format
Making sure your video file is in a compatible format is half the battle. While PowerPoint can handle a few different types, the gold standard is MP4 encoded with H.264 video and AAC audio. This combo gives you the best balance of high quality, small file size, and near-universal compatibility across both Windows and Mac.
If you have a video in a different format, like MOV, you're rolling the dice on whether it will play smoothly. I always recommend converting any non-MP4 videos before you even think about putting them in your slides. A huge video file can also bog down your presentation, making it sluggish. If you’re dealing with a hefty file, check out our guide on how to compress an MOV file to slim it down without losing much quality.
There’s no denying that video is what audiences want. Back in 2022, the average person was projected to watch around 100 minutes of video content daily. That expectation carries over into every meeting, from sales demos to internal training. Embedding a short, sharp video is one of the most effective ways to grab and hold attention. To learn more about this trend, see why video is so critical in presentations on Graphic Mama.
Adding Online Videos from YouTube and Vimeo
Pulling a video from an online platform like YouTube or Vimeo is a fantastic way to embed video into PowerPoint without making your presentation file massive. The whole process is incredibly simple. You just head to Insert > Video > Online Videos, pop in the video’s URL, and boom—your clip is on the slide, ready to go.
This approach is perfect for keeping your presentation lean, especially when you want to show content that's already online, like a customer testimonial or a slick product demo. It’s a smart workflow, especially when you consider how dominant PowerPoint remains. Even with all the new tools out there, it holds a 22.75% market share, and a staggering 89% of users still prefer it. Given how many people watch YouTube daily, mastering this skill is essential for anyone building modern sales decks or training materials. You can dig deeper into these trends in Visme's analysis on presentation statistics.
The Big Catch with Online Videos
But here's the catch—and it's a big one. This method relies entirely on a stable internet connection. If you get to your presentation venue and the Wi-Fi is spotty or completely down, your video just won't play. Instead of a powerful video clip, your audience sees an ugly, unprofessional error message.
There’s another risk, too: you lose control over the viewing experience. YouTube can decide to run ads before your video plays or, even worse, show a grid of distracting "related videos" the second yours ends. Suddenly, your audience is looking at cat videos instead of your key takeaway. It can instantly cheapen an otherwise polished presentation.
Always Have a Backup Plan: If you're banking on an online video for a big presentation, do yourself a favor and download a local copy ahead of time. If the internet fails, you can swap in the local file in seconds and keep moving without missing a beat.
Mitigating Risks for a Smooth Presentation
A little prep work can save you from these potential disasters. Before you're in front of an audience, always test your embedded online videos on the exact computer and network you'll be using on the day. It’s a simple check that can uncover any nasty surprises with connectivity or playback.
If streaming from the web feels too risky for your situation, falling back on a local video file is your most reliable option.
This direct, offline approach ensures the video is baked right into your presentation file. It'll be there for you, ready to play every time, no internet required.
Creating Polished Videos for Your Presentation
Knowing the technical steps to embed video into PowerPoint is only half the battle. The real magic, the thing that will actually grab your audience, is having a high-quality, impactful video in the first place. The content of that video is what decides whether it elevates your presentation or just becomes another slide people tune out.
But here's the challenge: finding the right tool for the job. Easy-to-use screen recorders like Loom are great for quick captures, but the final video is often 50-100% longer than necessary, filled with pauses and mistakes. On the other end, professional video editing software like Camtasia or Adobe Premiere Pro requires expert-level knowledge that most subject matter experts don't have time to acquire.
Bridging the Gap Between Simple and Professional
This is where a new breed of AI-powered tools is changing the game. I’ve been working with Tutorial AI because it was designed specifically to bridge this gap. It lets you generate professional video tutorials from simple screen recordings. Tutorial AI's tools let you speak freely without any practice, and still your video will look professional as if it was edited in Adobe Premiere Pro. It allows the subject matter expert to create on-brand videos extremely efficiently.
The concept is beautifully simple: let experts do what they do best, and let smart technology handle the tedious editing work. You can just speak your mind, record your screen without a perfect script or a bunch of practice runs, and the platform cleans it all up behind the scenes.
The goal is to make video creation as easy as writing a document. You can record your screen naturally and still have your video look as if it was edited in Adobe Premiere Pro by a professional.
This approach is a lifesaver for creating the kinds of videos that really benefit from clarity and a professional touch in a presentation, like demos, onboarding videos, explainer videos, feature release videos, knowledge base videos, and support article videos.
Video Creation Tool Comparison
It’s clear that each tool serves a different purpose. For quick, internal notes, a simple recorder is fine. For a Hollywood movie, you need a pro editor. But for a polished presentation video, an AI-powered tool hits that sweet spot.
How AI Streamlines Video Creation
So, how does it actually work? Instead of forcing you to learn a complex timeline editor with tracks and keyframes, Tutorial AI uses a script-based approach. It automatically transcribes your voice, and you edit the video by simply editing the text.
If you delete a sentence from the transcript, the tool automatically snips out the corresponding video and audio segment. It’s an incredibly fast way to tighten up your message.
Beyond that, it automates all those little professional touches that make a video engaging. It can add smart zooms to focus on key areas of your screen, smooth out your cursor movements, and even generate a crystal-clear AI voiceover from your final, edited script. This means you can create a flawless demo without ever worrying about misspeaking or having background noise in your original recording.
The result is a concise, on-brand video that’s ready to embed video into PowerPoint and make a real impact on your audience.
Making Your Video Look and Feel Just Right
Dropping a video into a slide is just the beginning. The real magic happens when you make it feel like a seamless, intentional part of your presentation instead of a clunky afterthought. Once you embed a video into PowerPoint, you need to polish its playback and appearance to match the flow of your talk. This is where you transform a good presentation into a great one.

When you click on the video you've just inserted, you'll notice two new tabs pop up in the PowerPoint ribbon: Video Format and Playback. These are your command centers for customizing everything about your video. Let’s break down the essential tools you'll want to get familiar with.
Nailing the Playback Controls
The Playback tab is where you dictate exactly how and when your video plays. The first big decision is the Start option.
Setting it to Automatically is perfect for a video that should play the moment the slide appears, like an attention-grabbing opener or a subtle looping background. For most other scenarios, On Click is your best bet. It puts you in the driver's seat, letting you tee up the video with your own words before hitting play. No awkward surprises.
Here are a few other incredibly useful settings in this tab:
- Trim Video: This is a game-changer. You don't need a separate video editor to snip out a long, rambling intro or a sales pitch at the end. Trim your clip right inside PowerPoint to show only the most impactful segment.
- Fade In/Out: A simple fade can make a world of difference. It smooths the transition, so your video doesn't just abruptly appear or vanish, giving your presentation a much more polished feel.
- Loop until Stopped: Have a short, atmospheric clip you want to use as a dynamic background? This setting will keep it playing on a continuous loop while you talk over the slide.
Pro Tip: When you're working with YouTube videos, you can send viewers to the exact right spot. Learning to add timestamp to YouTube link is a great trick if you plan to share the deck later, saving everyone from scrubbing through a long video.
Blending the Video with Your Slide Design
Now, let's jump over to the Video Format tab. This is all about aesthetics—making your video look like it truly belongs on the slide.
One of the easiest and most effective tools here is the Poster Frame. By default, PowerPoint might show a black screen or a random, unflattering first frame as the video's thumbnail. The Poster Frame lets you choose a specific frame from the video or even upload a completely different image to serve as a clean, professional-looking placeholder.
You can also play with video shapes, add a subtle border, or apply color corrections to better match your presentation's branding. The goal is to integrate, not isolate.
Finally, a crucial part of customization is accessibility. It's always a good idea to include captions so your message lands with everyone, whether they're hard of hearing or watching in a noisy office. For a deep dive on that, check out our guide on how to add captions to videos.
Troubleshooting Common Video Embedding Issues
Nothing kills the momentum of a great presentation faster than a video that stubbornly refuses to play. You click, and… nothing. It’s a moment we all dread, but thankfully, most issues you'll run into when you embed video into PowerPoint are common and have pretty simple fixes. Knowing what to look out for is half the battle.
One of the most frequent culprits I see is the dreaded "unsupported file format" error. This usually pops up when you try to use a video file that PowerPoint isn't a huge fan of, like some MOV or AVI files. While they might work sometimes, they aren't nearly as reliable as the universally accepted MP4 format.
Solving File Format and Codec Errors
The easiest way to avoid this problem entirely is to convert your video to MP4 before you even add it to your presentation. There are dozens of free online tools and great desktop apps like HandBrake that can get this done in just a few minutes. Honestly, this one proactive step can save you a world of headaches later on.
Sometimes, the issue is a little more under the hood, boiling down to the video's codec. A codec is basically the software that compresses and decompresses a video file. If your computer is missing the right one, PowerPoint just won't know how to play the video. If you want to get a better handle on the tech, you can dive deeper in our guide on what a video codec is.
Fixing Choppy Playback and Performance Lag
Another common frustration is choppy, laggy playback. This almost always means the video file is just too large or has a resolution so high that it's choking your computer's resources. A massive 4K video might look stunning on its own, but it can bring your whole presentation to a grinding halt.
Fortunately, PowerPoint has a built-in tool for this.
- First, click on the video in your slide.
- Next, head up to the File menu.
- Under the Info section, you'll spot a Compress Media option.
- From there, just choose a lower quality setting like "Presentation Quality" or even "Standard Quality" to shrink the file size.
This simple optimization often smooths out playback issues without any major drop in visual quality.
Taking a moment to compress large media files is one of the best things you can do for a smooth, professional delivery. A video that plays flawlessly is always more impressive than a high-res one that stutters and freezes.
Finally, if you're working with online videos, the most common pitfall is a broken link or a spotty internet connection. Always double-check that the URL is correct and the video hasn't been set to private. Even better, have a local copy of the video downloaded and ready to go as a backup. If the Wi-Fi fails, you can quickly swap in the local file and keep going without missing a beat.
Creating polished, presentation-ready videos doesn't have to be a struggle. With Tutorial AI, you can record your screen and voice freely, and our platform will automatically edit it into a studio-quality tutorial. It handles the trimming, adds professional zooms, and generates a perfect voiceover, so you can focus on your expertise, not on complex editing software. Create your first professional tutorial for free today!