When we talk about educational video production, we’re really talking about creating videos to teach, train, or explain something to an audience. It’s about combining smart teaching principles with good video-making skills to create content that sticks, going way beyond what a simple text-based guide can accomplish.
Moving Beyond Traditional Educational Video Production
In the fast-paced worlds of corporate training, SaaS marketing, and customer support, the need for great video content is exploding. The old way of doing things—with long production timelines and a total reliance on specialized video teams—just can’t keep up anymore. This traditional approach is often slow, expensive, and creates a massive bottleneck that keeps your subject matter experts from getting their knowledge out the door.
The fundamental problem is simple: how can teams create professional-looking videos at scale without hiring a small army of video editors? The solution is to move away from those time-consuming manual processes and embrace modern, AI-powered tools.
The Old Way vs. The New Way
For years, making even a simple tutorial was a drawn-out, clunky process. An expert would record their screen, mistakes and all, then pass that raw footage to a video editor who would spend hours—sometimes days—cleaning it up. This handoff between the person who knows the material and the person who creates the video was always a major source of friction.
Today, a new workflow puts the power directly into the hands of the experts. Modern tools let them record, edit, and publish their own content, often from a single, easy-to-use platform. This doesn’t just make production faster; it also guarantees the final video is more accurate and feels more authentic.
This infographic really captures the shift from the slow, traditional workflow to a much more efficient, modern way of creating video.
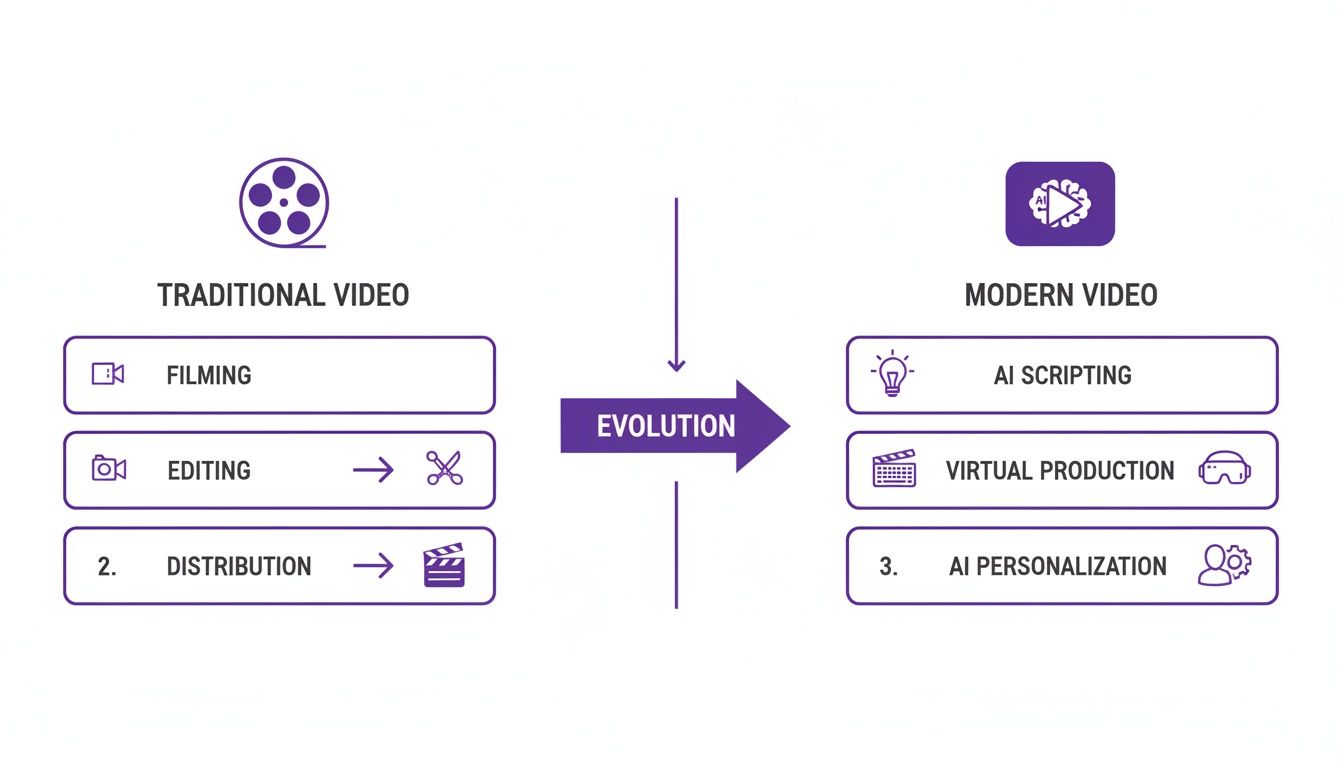
As you can see, what used to be a complex process involving multiple people over several weeks can now be a streamlined workflow handled by one person in a fraction of the time.
The goal is to get knowledge from an expert’s head to your audience with as little friction as possible. When your product marketing manager or top engineer can create a perfect demo video in minutes, you fundamentally change how your entire organization shares information. This guide is your complete roadmap for this new era of educational video production. We’ll walk through everything from planning and scripting to using AI for editing, branding, and getting your videos out there. By the end, you’ll have a solid strategy for creating powerful educational videos that connect with your audience and deliver real results—all without needing a professional video editor on standby.
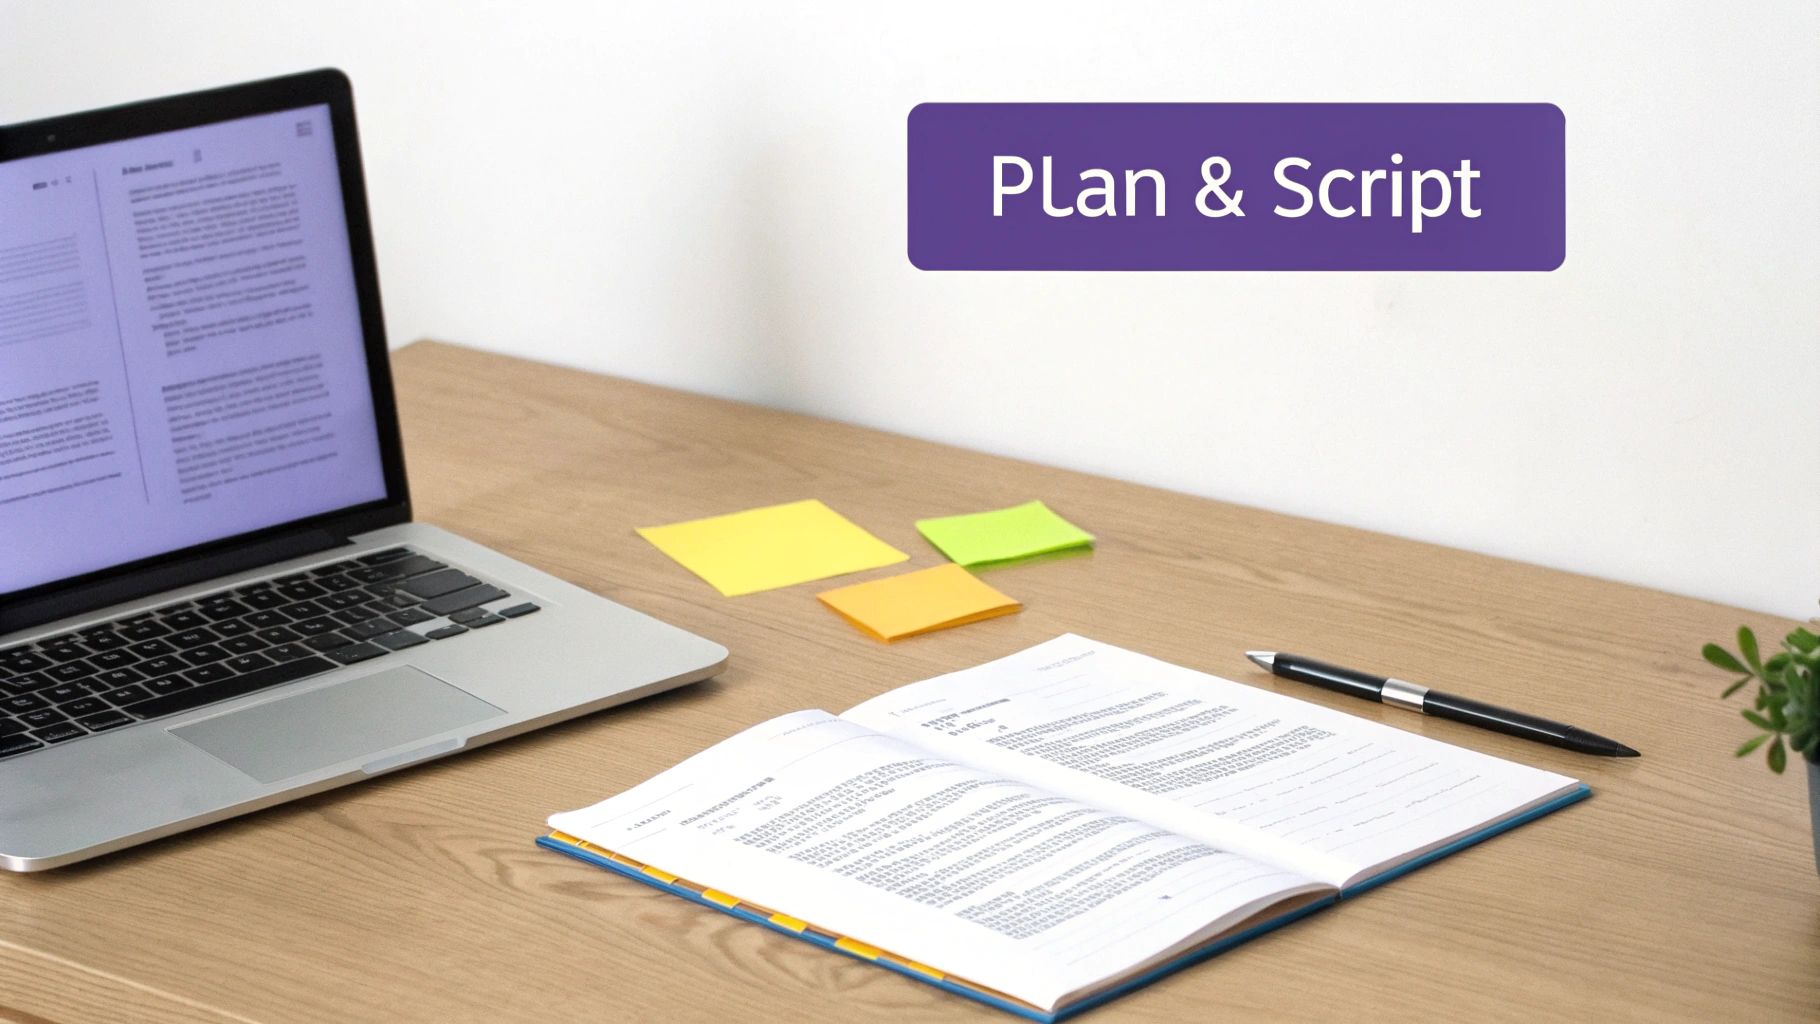
Planning and Scripting Your Video for Maximum Impact
Every great educational video starts long before you hit the record button. It’s built on a solid foundation of planning. Jumping straight into recording without a clear strategy is a surefire way to end up with rambling takes, confusing content, and hours of wasted time in the editing bay. Think of this pre-production phase as drawing the map for your video’s journey—it ensures every single element has a purpose.
This whole process really boils down to two critical questions. First, what’s the one thing you want your viewer to learn or be able to do after watching? That’s your learning objective. Second, who are you actually making this for? Getting a handle on your audience’s current knowledge and what they’re struggling with lets you shape the content directly to their needs, making it infinitely more effective.
Defining Your Learning Objectives
A sharp, clear learning objective is your North Star for the entire educational video production process. It keeps you focused and stops you from cramming too much into a single video. For instance, instead of a fuzzy goal like “explain our new feature,” a powerful objective is “show a new user how to create and save their first project in under three minutes.”
That kind of specificity is a game-changer. Here’s why:
- It keeps you concise: You’ll only include information that directly helps the viewer hit that objective.
- It guides your script: Every line you write should inch the viewer closer to that goal.
- It sets clear expectations: Viewers know exactly what they’re going to get out of watching.
Writing a Script That Connects
Once your objective is locked in, it’s time to write the script. This is where a lot of experts stumble. They tend to write a script that reads like a dense technical manual—that’s called “writing for the eye.” But for video, you have to write for the ear. This means using conversational, everyday language that sounds natural when you say it.
A great trick is to read your sentences out loud as you write them. Do they flow, or do they sound stiff and robotic? Go for shorter sentences, use contractions (think “it’s” instead of “it is”), and maintain a friendly, direct tone. You want to come across as a helpful guide, not a user manual.
A script is the backbone of any good educational video. It’s not just a collection of words, but a carefully structured plan that ensures your content is logical, engaging, and easy to follow. Below is a breakdown of the essential elements that make up a strong script.
Essential Elements of an Educational Video Script
| Script Component | Purpose | Example Snippet |
|---|---|---|
| Hook | Grab the viewer's attention in the first 5-10 seconds and state the video's value. | "Struggling to get your new project off the ground? In the next two minutes, I'll show you the fastest way to set it up." |
| Introduction | Briefly explain what the viewer will learn and what problem you're solving for them. | "We're going to walk through the three simple steps to create, customize, and save your first dashboard." |
| Main Content (Body) | The core of the video, broken into logical, step-by-step chunks of information. | "First, click the 'New Project' button in the top left corner. You'll see a pop-up window appear..." |
| Call to Action (CTA) | Tell the viewer what you want them to do next. This could be to try the feature, watch another video, or download a resource. | "Now that you've seen how easy it is, go ahead and create your own project! Let me know how it goes in the comments." |
| Outro | A quick, friendly sign-off that wraps up the video. | "Thanks for watching! For more tips, be sure to subscribe to our channel." |
By including each of these components, you create a complete and satisfying learning experience that guides the viewer from start to finish.
Visualizing the Flow with a Storyboard
A storyboard is just a simple visual outline of your video, scene by scene. It doesn’t have to be a masterpiece—stick figures or text descriptions in a table work perfectly fine. The point is to map out what the viewer will see on screen while they’re hearing your narration.
This simple step forces you to think visually and anticipate what you’ll need. Will you need to zoom in on a specific button? Should you add a text overlay to call out a key shortcut? Thinking through these moments beforehand makes recording and editing so much smoother. To get a head start, you can check out this sample script outline we put together to help structure your ideas.
Ultimately, by dedicating real time to planning, scripting, and storyboarding, you turn a potentially chaotic process into a focused, purposeful act of creation. This upfront work is the secret to making polished videos that actually teach something, without needing endless rounds of revisions.
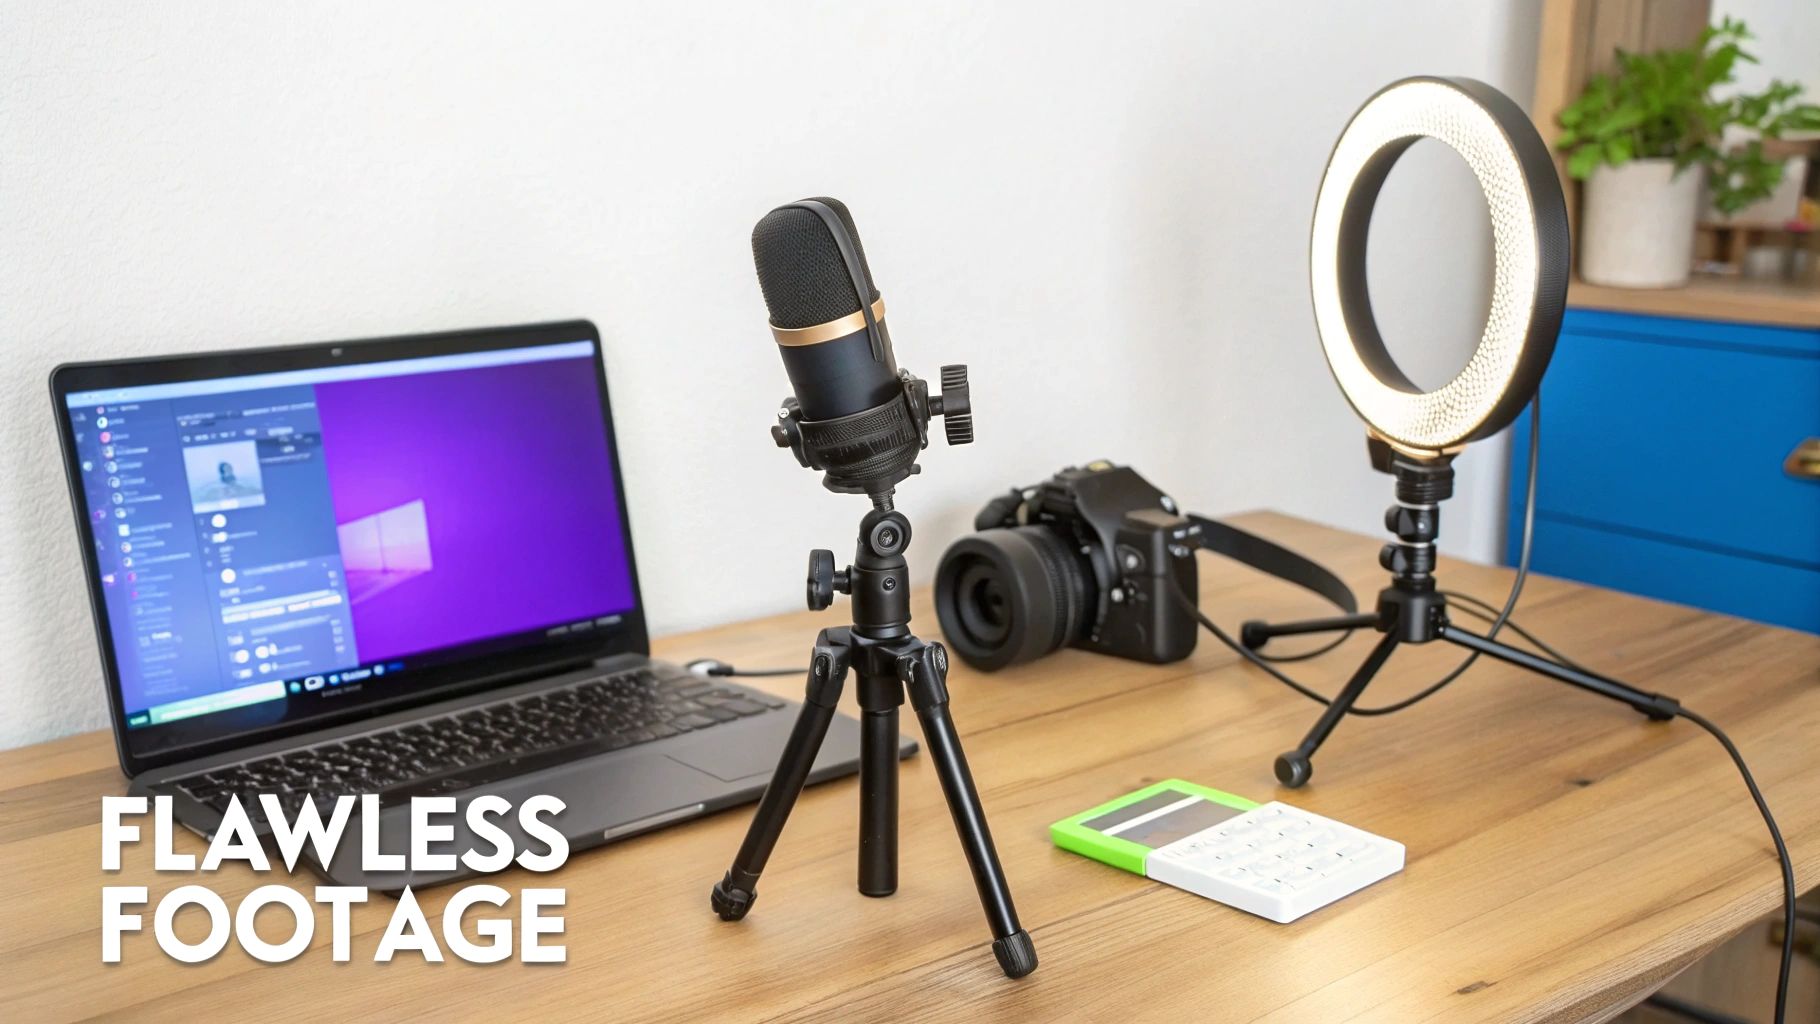
Mastering Recording Techniques for Flawless Footage
The secret to a polished educational video isn’t just fancy editing—it starts with high-quality raw footage. While today’s editing software can fix a lot of mistakes, you’ll save yourself a ton of headaches by getting it right from the beginning. Think of it as cooking a great meal; you need quality ingredients to start with. The same idea applies to educational video production.
The great thing is, you don’t need a massive budget to capture professional-looking footage. A few simple, deliberate habits during the recording phase will make a world of difference, whether you’re recording your screen, yourself, or both. A little effort upfront pays off big time in the final cut.
Setting the Stage for Screen Recording
When you’re creating a software tutorial or a product demo, your screen is the star of the show. The last thing you want is a cluttered desktop or random notifications pulling your viewer’s focus away from the lesson. So, before you hit that record button, take a minute to clean up your digital workspace.
This prep work seems small, but it has a huge impact. It keeps the viewer locked in on the workflow you’re teaching, not on your personal files or a chaotic mess of desktop icons.
Here’s a quick pre-flight checklist:
- Declutter Your Desktop: Hide your files and icons for a clean, minimalist look.
- Close Unnecessary Applications: Shut down everything that isn’t essential for the tutorial. This is the best way to avoid surprise pop-ups.
- Choose a Neutral Background: A simple, non-distracting wallpaper works best.
- Set the Right Resolution: Record in a standard 16:9 aspect ratio, like 1920x1080 pixels. This ensures your video will look crisp and professional on any device.
Once your screen is prepped, do a quick rehearsal. Guide your viewer’s eye with smooth, intentional mouse movements. Make it easy for them to follow every click and action. You can dive deeper into the nuts and bolts in our guide on how to screen record with sound.
Achieving Crystal-Clear Audio
Bad audio is the number one reason people click away from a video. If your audience is straining to understand you over background noise or a fuzzy microphone, they’re gone. Good audio isn’t just a nice-to-have; it’s absolutely essential for effective learning.
There’s an old saying in video production: audiences will forgive so-so video, but they will never forgive bad audio. Clear sound is critical for comprehension and keeping your viewer engaged. The single biggest upgrade you can make is ditching your computer’s built-in mic. A decent external USB microphone is an affordable investment that delivers a massive improvement in sound quality. After that, your environment is key. Record in a quiet room with soft furnishings—carpets, curtains, even a closet full of clothes—to soak up echo. And always remember to kill any background noise like fans or air conditioners before you start.
On-Camera Presence and Connection
If you’re going to be on camera, a few extra details will help you connect with your audience. First, lighting is everything. Always face your main light source, like a window, instead of having it behind you. This simple trick keeps your face well-lit and easy to see, avoiding that dreaded silhouette effect.
Next, think about your framing. Place the camera at eye level and frame yourself from the chest up. Using the classic “rule of thirds” creates a more balanced and visually appealing shot. But most importantly, look right into the camera lens when you speak. This creates a powerful sense of eye contact, which builds trust and makes your instruction feel much more personal and direct.
How AI Is Changing the Game in Video Editing and Narration
We’ve all been there. The process of creating educational videos often hits a wall. You have the raw screen capture on one side and the polished, finished video you want on the other. The chasm between them is where most educational video production projects get bogged down, burning through time and money.
This gap creates a real headache for teams. A quick screen recording made with a tool like Loom is often 50-100% longer than it should be. It’s littered with “ums,” “ahs,” long pauses, and mistakes that distract learners and water down the core message.
The traditional fix was to hand the footage over to a video editor who uses complex software like Camtasia or Adobe Premiere Pro. While these tools are incredibly powerful, they require expert video editing knowledge. This forced subject matter experts to rely on specialists, creating a bottleneck that slowed everything down.
Closing the Gap with AI-Powered Editing
This is exactly where new AI tools are stepping in to completely reshape the workflow.
Imagine a product expert who needs to whip up a video for a new feature release. Instead of memorizing a script or doing endless takes to get it right, they can just hit record, capture their screen, and explain the process naturally, off the cuff.
That raw, authentic recording becomes the starting point. AI tools can analyze the audio, automatically transcribe it, and then—here’s the magic—let you edit the video by simply editing the text. It’s an “edit like a doc” workflow that empowers the expert to polish the video themselves.
Forget about wrestling with timelines and keyframes. Now, you just edit the text. If you delete a sentence from the transcript, the tool automatically snips out the corresponding video and audio. If you rephrase a sentence, the AI regenerates the narration in your own voice, patching it in seamlessly.
This is a fundamental shift. It turns video editing from a highly technical, timeline-based skill into a simple, text-based one. The person with the knowledge can now create a studio-quality video without ever having to become a video editor. This approach is a perfect fit for all kinds of educational content:
- Demos and Explainer Videos: Create polished overviews of new products or features in a fraction of the time.
- Onboarding Videos: Build a library of consistent, high-quality training materials for new customers or employees.
- Knowledge Base & Support Article Videos: Transform dry support articles into engaging, easy-to-follow visual guides.
Get Perfect Narration, Every Single Time
One of the most impressive AI applications is in voice generation. After you record, a platform like Tutorial AI can generate a perfect script from your speech. You then edit that text, and the AI regenerates your voice to deliver the new lines flawlessly, matching your original tone and cadence while getting rid of any mistakes.
Tutorial AI’s tools let you speak freely without any practice, and your video will still look professional, as if it was edited in Adobe Premiere Pro. This allows the subject matter expert to create on-brand videos extremely efficiently.
This isn’t just a niche trend; it’s a huge market shift. The global AI video editing market is exploding, growing from USD 0.9 billion in 2023 to a projected USD 4.4 billion by 2033. In the education sector, 73% of online platforms now use AI-generated videos, which has been shown to increase learner engagement by 41%. And with new tools like AI Auto Captioning for Accessibility, this content is becoming more inclusive than ever. You can find more stats on this growth at gudsho.com.
At the end of the day, AI puts the power of professional educational video production directly into the hands of the people who know the subject best. It tears down the technical walls, simplifies the process, and makes creating high-quality, on-brand instructional content faster and easier than ever before.
6. Enhancing Viewer Focus with Smart Visual Effects
A great educational video doesn’t just throw information at the screen; it carefully directs the viewer’s gaze, making even the most complicated software easy to understand. Think of it as having a professional video editor working alongside you, but automatically. That’s the power of smart visual effects.
These aren’t just flashy additions. They are automated tools designed to guide focus, clarify your actions, and give your video a polished, professional feel without you ever having to open a complex editing program.
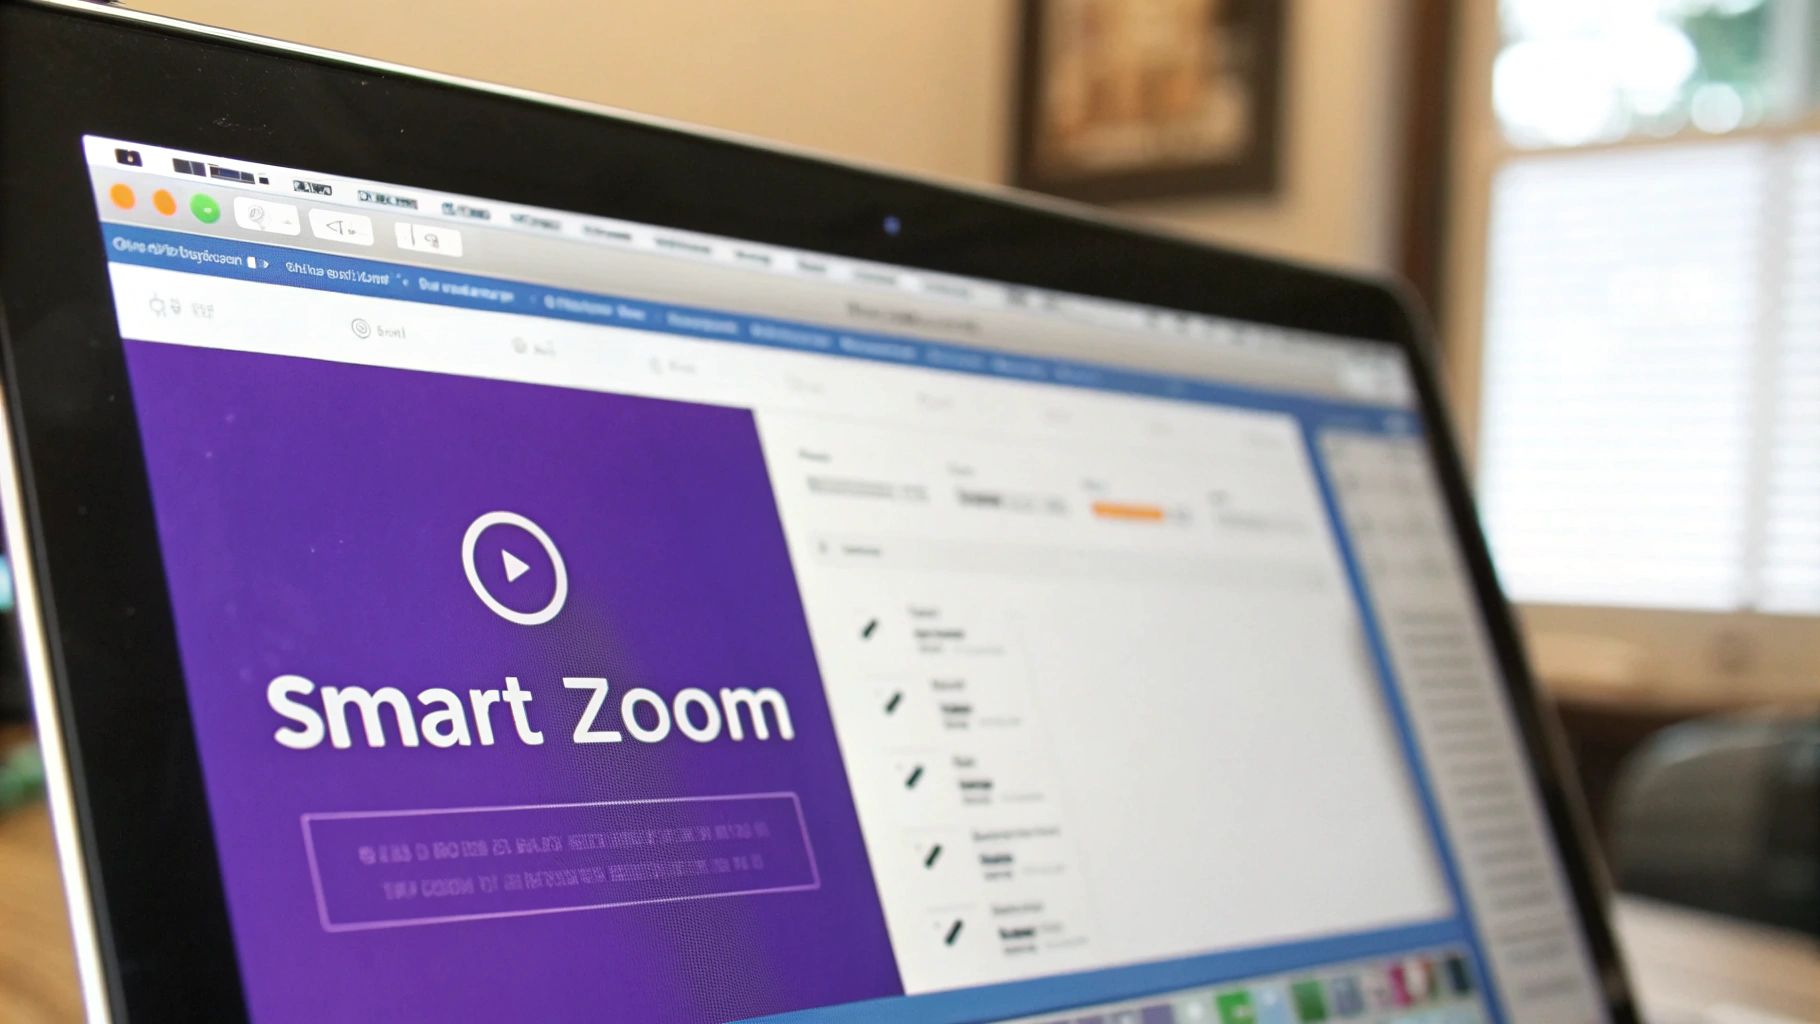
Guiding the Eye with Smart Zoom
One of the most effective tools in your arsenal is smart zoom. Let’s be honest, showing the entire screen for a whole tutorial can be overwhelming. This AI-powered feature is smart enough to know where the action is. It automatically zooms and pans to highlight exactly what you’re doing.
When you click a menu or type into a form field, the camera smoothly moves in on that spot, making your action the star of the show. Then, it pulls back out to give the viewer context for the next step. It’s a dynamic and engaging way to keep your audience locked in, preventing their eyes from wandering around a busy interface.
Clarifying Actions with Cursor Effects
Your cursor is your magic wand in a screen recording, but a tiny, frantic pointer is tough to follow. Smart cursor effects turn that little arrow into a clear and confident guide.
These effects are built to make your on-screen movements obvious:
- Highlighting: A subtle halo appears around the cursor, making it easy to spot, even when it’s moving quickly across a cluttered screen.
- Smoothing: The AI cleans up any shaky or hesitant mouse movements from your recording, creating a smooth, deliberate path that looks incredibly professional.
- Click Animations: Every time you click, a small visual cue—like a ripple—appears. This provides instant confirmation of the action for the viewer.
Together, these effects remove any guesswork, making it perfectly clear where you’re pointing and what you’re clicking.
A well-guided cursor is the digital equivalent of a presenter’s laser pointer. It tells the viewer, “Look here. This is what matters right now.” Automating this makes every single demonstration stronger.
Adding Professional Polish Automatically
Beyond just guiding the viewer, these automated effects add a layer of polish that builds trust and authority. Need to hide a customer’s name or a confidential API key on screen? You can instantly blur out sensitive information without the tedious work of manually masking it frame by frame.
You can also add a simple drop shadow to your main recording window. It’s a small touch, but it creates a sense of depth, making your content pop against a custom background.
These subtle enhancements add up to a high-quality video that feels expertly produced. And it’s not just about looks; our brains process visuals 60,000 times faster than text. It’s no surprise that the educational animation market, a core part of educational video production, was valued at around £3 billion in 2023 and is still climbing. You can find more educational animation statistics and their impact on learning to see just how powerful this trend is.
Scaling Production with Branding and Team Workflows
As your organization grows, making one-off videos just won’t cut it. You need a system. A way to make sure every video feels consistent, professional, and distinctly yours, no matter who on the team hits “record.” This is where you move from individual efforts to a cohesive, scalable strategy for your educational video production.
Consistency is what builds a recognizable brand. When someone watches your content, they should know it’s yours instantly. Thankfully, modern video platforms have a great solution for this: Brand Kits. Think of it as a central hub for all your visual assets.
You can preload your company’s specific fonts, color palettes, logos, and even standardized animated intros or outros. Once it’s set up, anyone can apply these elements to a new project with a single click. This means a quick product demo made by an engineer will have the exact same professional polish as a big marketing video from the creative team. No more guesswork.
Making Team Collaboration Actually Work
Beyond branding, you need workflows that let people work together without wanting to pull their hair out. The old method of emailing massive video files back and forth for feedback is a recipe for chaos. It’s slow, confusing, and you never know which version is the latest.
Today’s platforms are built with collaboration in mind. They offer shared workspaces where your whole team can access projects and media. Imagine your sales team, L&D department, and product marketers all pulling from the same video library. This breaks down silos and ensures everyone is using the most current, on-brand content.
Effective team workflows turn video production from a siloed task into a collaborative process. When feedback is centralized and versions are tracked automatically, you accelerate review cycles and get content published faster. Guest feedback features make this even smoother. Instead of sorting through a dozen different email threads, stakeholders can drop time-stamped comments directly onto the video. Revisions become clear, targeted, and easy to act on.
Taking Your Content Global with AI Localization
For any company with a global audience, localization has always been a massive headache. Translating a video used to mean far more than just swapping the audio. It required a complete re-edit to sync up on-screen actions, captions, and callouts with the new narration. It was a tedious, manual slog.
AI-powered tools have completely changed the game here. When you translate a video script into another language, the platform can automatically retime the entire video. The AI listens to the new voiceover’s pacing and intelligently adjusts the timing of every scene, zoom, and text overlay to match it perfectly. A task that once took a skilled editor days of painstaking work can now be done in minutes.
This automated retiming makes it practical to produce educational video production at a global scale. It lets you:
- Deploy Training Worldwide: Quickly adapt employee onboarding and training materials for your international teams.
- Reach New Markets: Localize product demos and marketing videos to speak directly to customers in their native language.
- Boost Accessibility: Ensure captions and on-screen text are perfectly synced in every language, creating a better experience for everyone.
By combining automated branding, truly collaborative workspaces, and smart localization, you can build a video production engine that doesn’t just create content, but supports your organization’s growth with quality and consistency every step of the way.
7. Getting Your Videos Seen and Measuring Their Impact
You’ve done the hard work and created a fantastic educational video. That’s a huge win, but it’s really just the halfway point. Now, you need to get that content in front of the right people and figure out if it’s actually working. Your distribution plan is every bit as crucial as your production quality; without one, even the best video goes unseen.
Where your video lives depends entirely on who it’s for. If you’re creating internal training, the answer is simple: put it where your team already works. Embedding videos directly into your Learning Management System (LMS) or company knowledge base makes learning seamless and on-demand. No one has to go hunting for it.
Choosing Your Channels
For videos meant for the public, a platform like YouTube gives you unparalleled reach. But that reach comes with a trade-off—distractions. A dedicated video hosting platform gives you far more control, letting you create a clean, focused viewing experience without ads or “up next” videos pulling your audience away.
If you do go the YouTube route, your thumbnail is your video’s first impression. In a sea of content, a great one is non-negotiable. It’s what earns the click, so it’s worth learning how to make great YouTube thumbnails that stand out.
And the audience is definitely there. The market for ad-supported educational video is booming, generating USD 2,171.1 million globally in 2024 and projected to skyrocket to USD 9,333.9 million by 2030. This isn’t surprising when you see that 55% of marketers are now using AI to create explainer videos, and 74% are publishing multiple videos a month because of it. For SaaS companies, these videos are essential for sales and training—especially since a staggering 90% of YouTube how-to videos are watched on a phone. You can see more data on the educational video market’s growth to get the full picture.
Measuring What Actually Matters
Once your video is live, the real learning—for you—begins. Analytics are your feedback loop, showing you what’s hitting the mark and what’s falling flat. Forget about vanity metrics like raw view count. The real gold is in the engagement data.
Analytics take the guesswork out of your video strategy. When you understand how people actually watch your content, you can stop guessing and start making informed decisions that achieve real learning goals. Here are the metrics that will tell you the real story of your educational video production:
- Watch Time: This isn’t just about views; it’s the total time people spent watching. It’s one of the best signs that your content is genuinely valuable.
- Audience Retention: This is my personal favorite. The retention graph shows you, second by second, where viewers lose interest and click away. A sudden drop is a red flag pointing to a boring or confusing part.
- Engagement Rate: Are people just watching, or are they reacting? Likes, comments, and shares tell you if your content is truly connecting with your audience on a deeper level.
By keeping a close eye on these numbers, you can see exactly which parts of your videos are resonating and which ones are causing people to tune out. That’s not just feedback; it’s a roadmap for making every future video even better.
Frequently Asked Questions
When you’re diving into creating educational videos, a few questions always seem to pop up, especially with all the new AI tools out there. Let’s tackle some of the most common ones so you can get started on the right foot.
What’s the Sweet Spot for Video Length?
There’s no magic number, but experience shows that shorter is almost always better. Aim for the six to ten-minute range. This is long enough to cover a concept well but short enough to keep your audience locked in without overwhelming them.
If you’re tackling a really dense subject, don’t try to cram it all into one epic video. Instead, break it into a mini-series of shorter, bite-sized videos. This “microlearning” strategy makes it much easier for people to absorb and remember what you’re teaching.
Do I Really Need to Buy Fancy Equipment?
Definitely not. While a professional setup is great, you can produce surprisingly high-quality videos with gear you probably already have or can get affordably.
The single best investment you can make is a good external USB microphone. Clear audio is non-negotiable. For the visual side of things, your smartphone camera or a decent webcam will do the trick, especially if you use good lighting—even just sitting by a window can make a huge difference.
How Can AI Help if I’m Not a Pro Editor?
This is where things get really interesting. AI tools have completely changed the game, making professional-level editing accessible to everyone.
Think about it: you can now record a casual, unscripted product demo, mistakes and all, and an AI can automatically clean it up. It can cut out the “ums,” awkward pauses, and dead air, making it look like a pro spent hours editing it in a tool like Adobe Premiere Pro. Tutorial AI is all about generating polished video tutorials from simple screen recordings. This is perfect for creating demos, onboarding videos, explainer videos, feature release videos, knowledge base videos, and support article videos. Easy-to-use recording tools like Loom are great for capturing your screen, but the raw footage is often 50-100% longer than necessary. On the other hand, professional video editing software such as Camtasia or Adobe Premiere Pro requires expert knowledge. Tutorial AI’s tools let you speak freely without any practice, and your video will still look professional, as if it was edited in Adobe Premiere Pro. It allows the subject matter expert to create on-brand videos extremely efficiently.
Ready to create studio-quality tutorials in minutes? With Tutorial AI, you can turn your screen recordings into polished, on-brand educational videos without any editing expertise. Start creating for free at /.