Making a great how-to video boils down to four key parts: plan your content, record your screen or yourself, edit everything for clarity, and then share it with your audience. You don’t need a Hollywood budget; the real secret is a smart workflow that respects your time and, most importantly, your viewer’s attention.
And here’s the good news: modern tools, especially those with AI features, have completely changed the game. Now, almost anyone can produce high-quality instructional content without a massive learning curve.
A Modern Blueprint for Creating How-To Videos
Ever feel like you’re shouting into the void with your instructional videos? Let’s cut through the noise. I’m going to lay out a practical, modern blueprint for creating how-to videos that actually get watched and make a difference. The process still revolves around four classic stages—planning, recording, editing, and distribution—but how we approach them has evolved.
This guide isn’t about generic advice. It’s about showing you how to use today’s tools to get around the common roadblocks, like hours of tedious editing or feeling like you need professional video skills. Think of this as a roadmap for anyone, from product managers to marketers, who wants to create polished, engaging videos without all the usual friction.
The need for this skill is impossible to ignore. Creating “how-to” videos has gone from a niche tactic to a core content strategy. By 2025, it’s estimated that 89% of businesses will use video in their marketing, and you can bet explainer and how-to videos will be at the top of that list. In fact, a 2024 study found that 73% of video marketers were already producing explainer videos. You can dive deeper into the numbers by checking out the full video marketing research on HubSpot.com.
This simple visual breaks down the entire journey from idea to finished product.
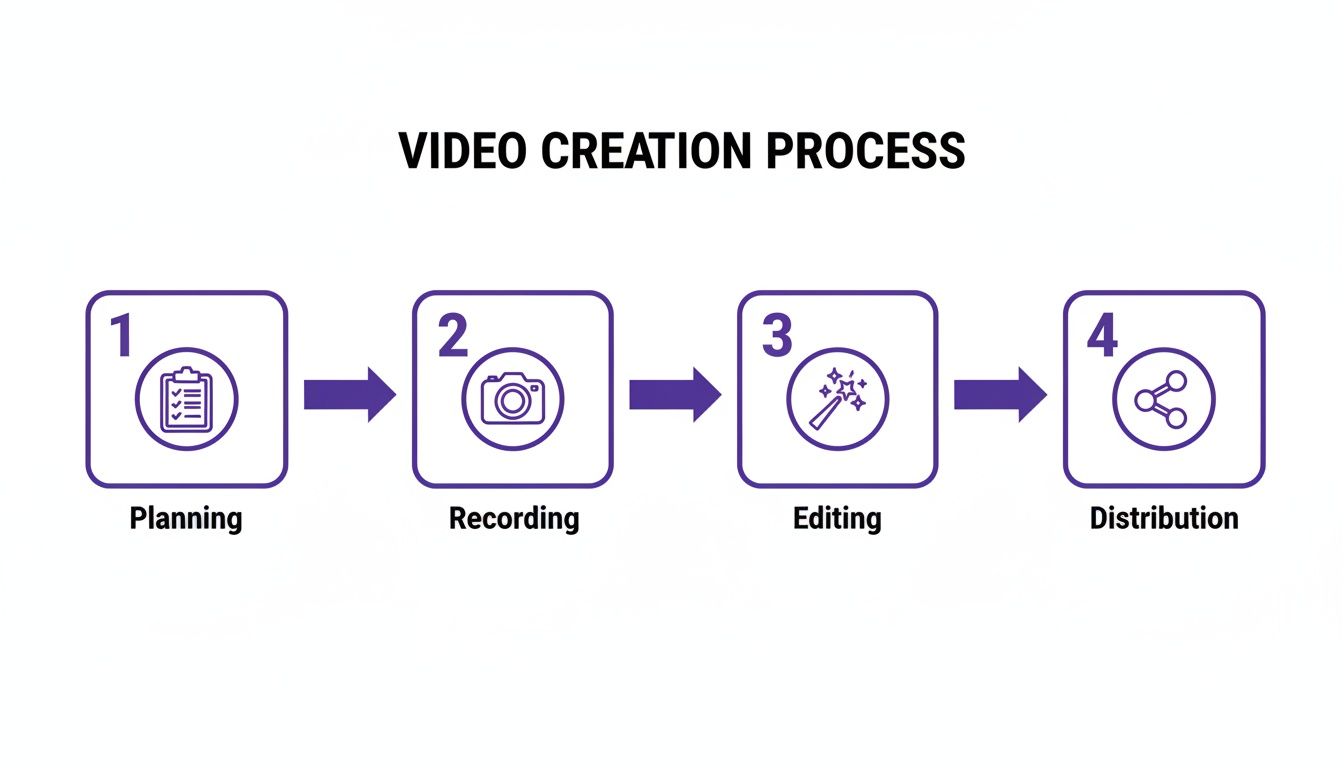
It’s a clear reminder that making a great how-to video is a sequential process. Each step really does build on the one before it.
The Four Core Phases of How-To Video Creation
Before we dive into the nitty-gritty of each step, let’s get a high-level view of the entire process. This table breaks down the key stages you’ll go through to take a video from concept to publication.
| Phase | Primary Goal | Key Activities |
|---|---|---|
| Planning | Define the video's purpose and structure to ensure it's clear and focused. | Identify your target audience, set a specific learning goal, and write a script or outline. |
| Recording | Capture high-quality raw footage of your screen, your product, or yourself. | Set up a clean recording environment, use a quality microphone, and capture the necessary visuals. |
| Editing | Transform that raw footage into a polished, easy-to-follow tutorial. | Cut out mistakes, add zooms and callouts for emphasis, incorporate branding, and add captions. |
| Distribution | Get the finished video in front of the right audience on the right platforms. | Optimize for search (SEO), publish to YouTube or your help center, and promote it. |
Getting familiar with these four phases gives you a solid framework for the journey ahead. It helps you see the bigger picture before we get into the specifics of each one.
Laying the Groundwork Before You Hit Record
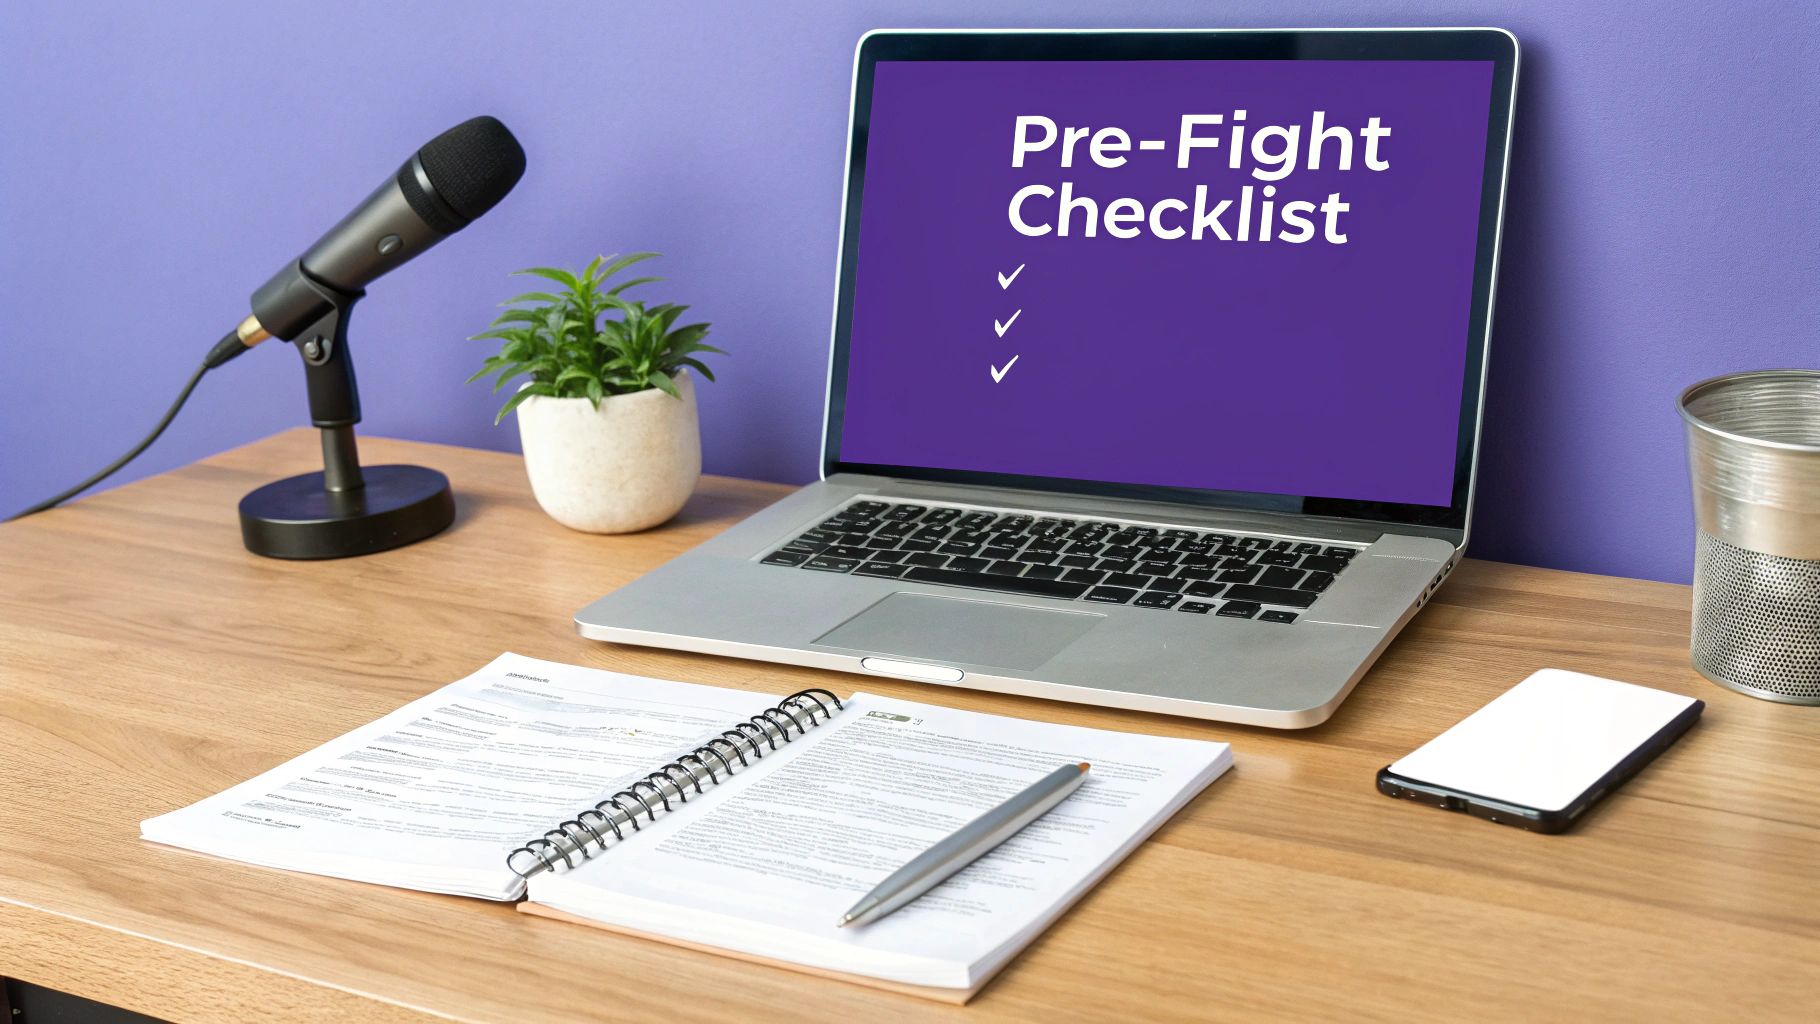
I’ve learned this the hard way: great videos are born from great plans, not just from hitting the record button. Jumping straight into screen capturing without a clear roadmap is a recipe for a painful editing process and a final product that just confuses people. Think of this pre-production phase as your pre-flight checklist. Taking the time here prevents massive headaches and saves hours of work down the line.
The first, most critical thing to do is define one sharp, singular objective for your video. What specific thing do you want the viewer to be able to do or understand by the end? Without that focus, your content will meander, and so will your viewer’s attention.
This single goal shapes everything, especially the type of how-to video you’re making. A quick video announcing a new feature has a completely different mission than a deep-dive tutorial for a support article.
Pinpoint Your Video’s Purpose and Audience
Are you trying to walk a brand-new user through their first five minutes on your platform? Or are you demonstrating a complex workflow for a seasoned power user? Getting crystal clear about your audience and what they already know is non-negotiable. It dictates your tone, your pacing, and just how much detail you need to cram in.
Let’s look at some common video types and their goals:
- Onboarding Videos: The main goal here is to slash that initial friction. You want to get users to their “aha!” moment as fast as humanly possible.
- Feature Release Videos: These are all about generating buzz and driving adoption of new stuff. They’re typically short, punchy, and focused on the benefits.
- Knowledge Base Videos: Think of these as comprehensive, evergreen resources. Their job is to solve specific user problems and hopefully cut down on your support ticket volume.
- Support Article Videos: These provide a quick visual answer to a common question and are usually embedded right in a help doc for maximum clarity.
Once you know who you’re talking to and what you want them to accomplish, you can build your content with purpose. This simple step keeps you from creating a one-size-fits-all video that ultimately helps no one.
Scripting for Clarity, Not a Performance
The word “script” can sound pretty intimidating, making you think you need a flawless, word-for-word monologue. It’s not like that at all.
Just think of it as a blueprint. A simple, even loose, script ensures you cover all the crucial steps in the right order. Trust me, it’s incredibly easy to forget a key detail or a small click when you’re “winging it.”
For a solid tutorial video, your blueprint just needs three parts:
- The Hook: Kick things off by stating the problem your video solves. Something like, “In the next two minutes, I’ll show you exactly how to connect your calendar to our app.”
- The Steps: This is the meat of it. Outline the direct, sequential actions the viewer needs to follow. Use simple, action-focused words and ditch the jargon.
- The Wrap-Up: Quickly summarize what they just learned and give them a clear next step (your call-to-action). This could be, “And just like that, you can start scheduling meetings,” or “Click the link below to explore the advanced settings.”
Pro Tip: Don’t get hung up on scripting every single word. The real goal is a clear structure, not a rigid performance. Modern editing tools make it incredibly easy to snip out the “ums,” “ahs,” and awkward pauses later. Focus on delivering clear instructions, not a perfect take.
Preparing Your Recording Environment
Okay, one last thing before you hit that red button. Take a minute to prep your digital and physical space. This tiny step makes a world of difference in your final quality and saves a ton of editing time. A clean, focused environment ensures your viewer is paying attention to your instructions, not your cluttered desktop.
Here’s a quick pre-flight checklist:
- Clean Your Desktop: Close every unnecessary tab, app, and notification. A screen full of pop-ups and icons is the ultimate distraction.
- Set Your Resolution: Make sure your screen resolution is set correctly before you start. Recording in a standard 1920x10080 (1080p) is a safe bet for nearly every platform.
- Check Your Audio: Do a quick test recording. Is your microphone picking up your voice clearly? Is there a weird hum in the background? Bad audio is the #1 reason people click away from a video.
By taking these few steps, you’re setting yourself up for a much smoother recording session. You’ve got a clear purpose, a structured message, and a clean environment. Now your expertise can really shine through.
Capturing Your Expertise on Camera
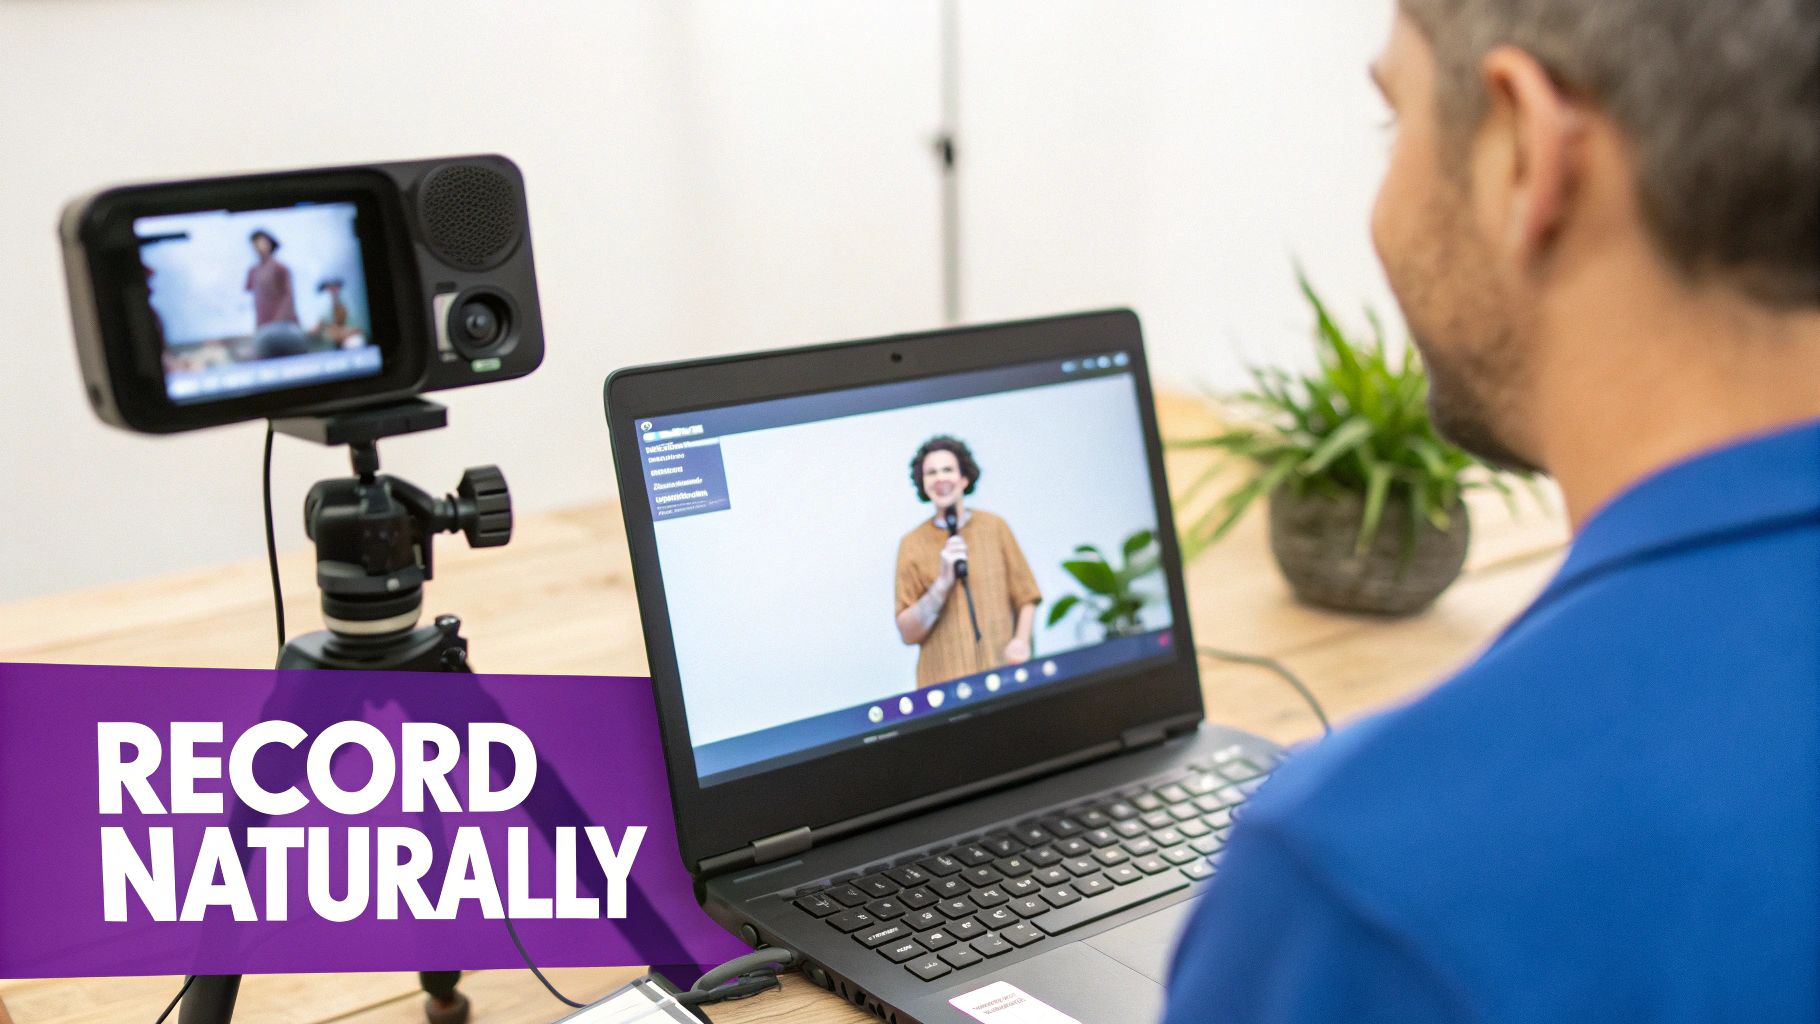
Alright, you’ve got your plan. Now it’s time to hit record and turn that expertise into actual footage. This is where a lot of people freeze up, aiming for a perfect, one-take masterpiece. Let’s get one thing straight: the goal here is clarity and efficiency, not a flawless performance.
Your only job during recording is to share what you know with confidence. Seriously, don’t sweat the small stuff. Modern tools make cleaning up mistakes a breeze later on. Embracing this mindset is a game-changer—it kills the recording anxiety and makes the whole thing feel less like a chore. Just talk through the steps naturally.
Screen Recording Best Practices
For most software demos, your screen is the star of the show. A clean, clear screen recording is the foundation of a great how-to video. You don’t need fancy, expensive software, but a few key techniques can make a world of difference in guiding your viewer’s attention. If you’re looking for a good tool to start with, our guide on the best free screen capture software is a great resource.
When you’re ready to start, keep these pointers in mind:
- Set the Right Resolution: Stick to a standard 1920x1080 (1080p) resolution. This keeps your video looking sharp on most screens without creating massive file sizes that are a pain to upload and edit.
- Guide Their Focus: Your cursor is your pointer. Move it deliberately to show where you’re clicking, and use zoom to draw attention to important details. Avoid frantic, unnecessary mouse movements.
- Keep a Steady Pace: Talk a little bit slower than you would in a normal conversation, and don’t be afraid to pause between steps. This gives your audience a moment to absorb what you’re showing them and, trust me, makes your life so much easier in the editing phase.
The number one mistake I see is creators flying through menus and clicks. What feels painfully slow to you as the expert is often the perfect speed for a beginner.
Why Crisp Audio Is Non-Negotiable
Here’s a hard truth I’ve learned over the years: viewers will forgive a slightly grainy video, but they will absolutely bail on bad audio. If they can’t understand what you’re saying, your video is pointless. Muffled, echoey, or quiet audio immediately signals “amateur hour” and sends people clicking away.
An external USB microphone is one of the best investments you can make. You don’t need a pro-level studio setup; a good mic in the $50-100 range will sound infinitely better than the one built into your laptop.
Remember, the whole point of a how-to video is to transfer knowledge from your brain to theirs. Your voice is the main way that happens, so making it crystal clear is absolutely essential.
The Old Way of Recording Is Broken
For most subject matter experts, the real headache isn’t the recording itself—it’s what comes after. You’re stuck between two bad options.
On one hand, you have simple screen recorders like Loom. They’re fantastic for quick, informal messages. But the raw recordings are often 50-100% longer than they need to be, full of “ums,” long pauses, and moments where you have to correct yourself.
On the other hand, you have professional-grade editors like Camtasia or Adobe Premiere Pro. They’re incredibly powerful, but they also have a brutal learning curve. Most experts simply don’t have the time to become professional video editors. This creates a huge bottleneck, leaving valuable knowledge either unshared or presented in a sloppy, unpolished way.
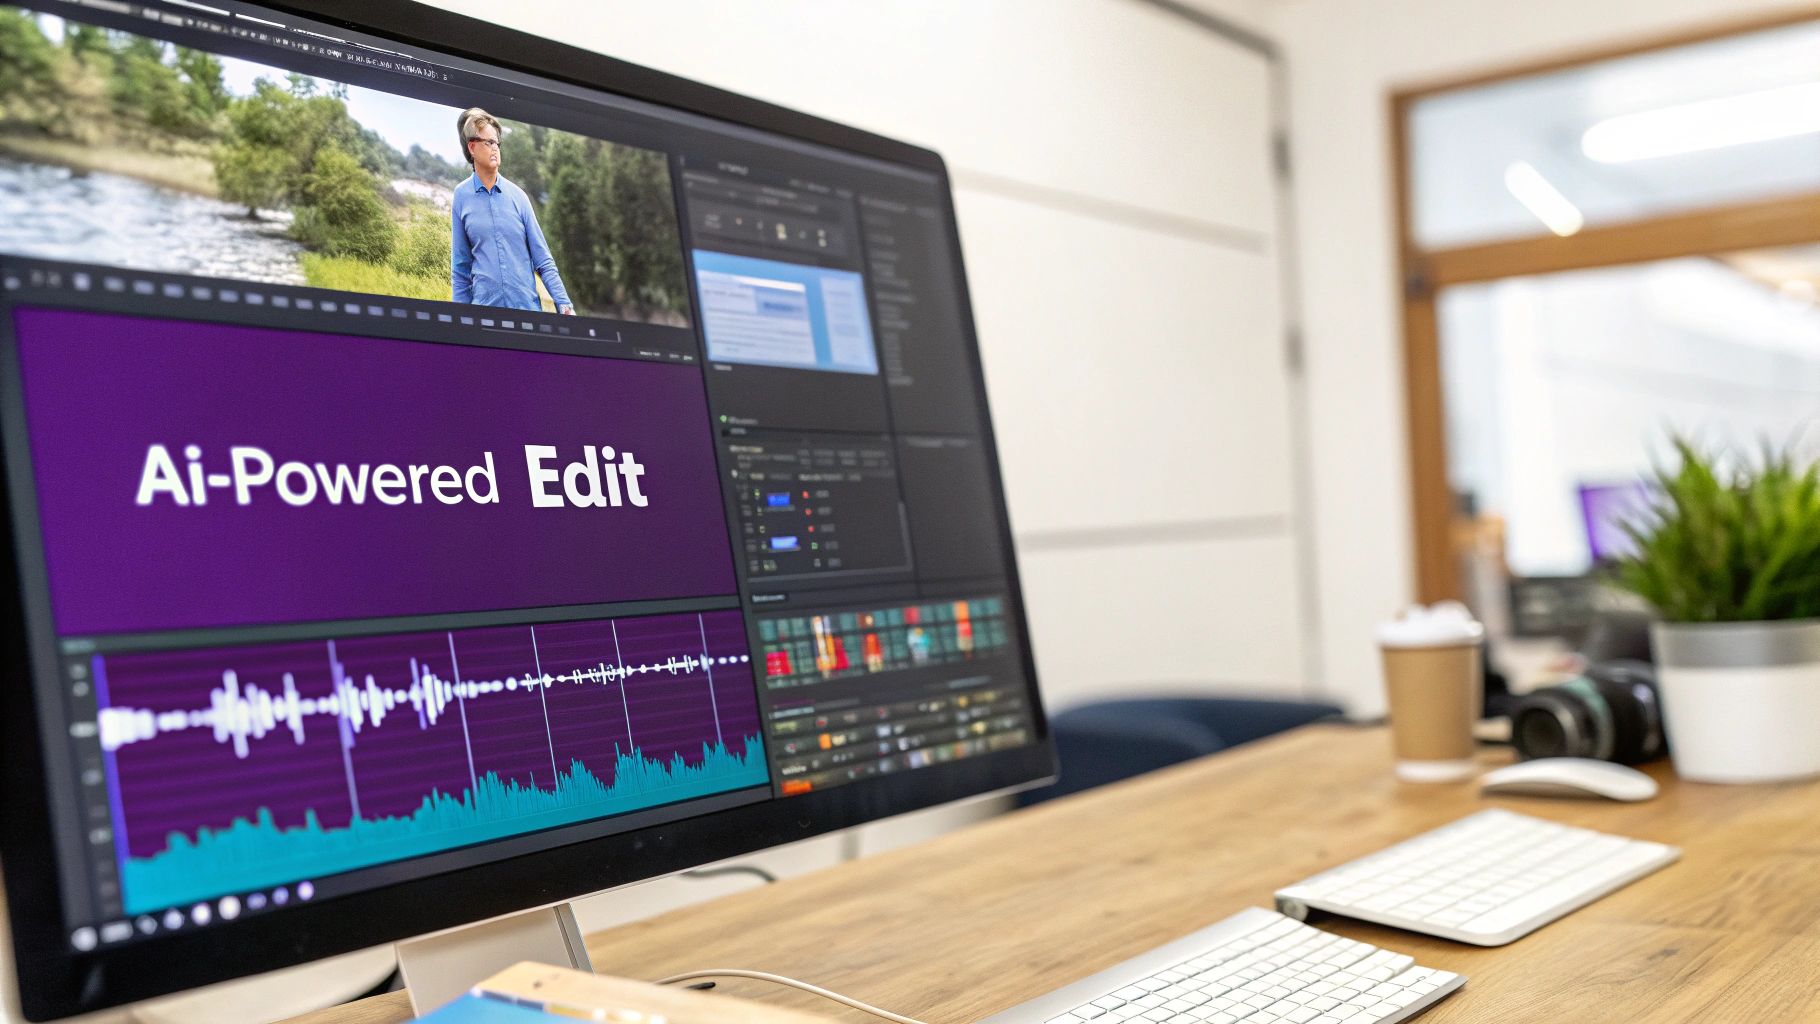
This is exactly where new AI-powered tools flip the script. With a platform like Tutorial AI, you can just hit record and talk freely, mistakes and all. The system is built to take that raw, natural footage and automatically transform it into a tight, professional video that looks like it was painstakingly edited by a pro. This frees you up to focus on what you do best—sharing your knowledge—while the AI handles the heavy lifting.
From Raw Footage to Polished Video with AI
You’ve captured your expertise, mistakes and all. Now comes the part that traditionally separates amateur how-to videos from professional ones: the edit.
This is where so many creators get stuck, facing a frustrating choice. Do you use a simple tool like Loom, knowing the final video will likely be 50-100% longer than it needs to be and riddled with awkward pauses? Or do you sink weeks into trying to master something complex like Adobe Premiere Pro or Camtasia, which really demand an expert’s touch?
This dilemma is a massive bottleneck. It slows down the whole process and often leads to videos that just don’t hit the mark. But there’s a much better way. Modern AI-powered editing platforms are completely changing the game, bridging that gap between easy-to-use and truly professional.
This new approach automates the most tedious parts of editing. That frees you up to focus on your message, not on wrestling with a complicated tool. The result? A highly polished video in a fraction of the time.
The New Way to Edit with AI
Picture this: you’re recording a screen demo and you can just speak your mind, without worrying about getting a perfect take. You can pause, restart a sentence, or say “um” as much as you need. This is the new reality of making how-to videos with a tool like Tutorial AI, which was built for subject matter experts, not professional video editors.
You just upload your raw, messy screen recording, and the AI goes to work. It automatically transcribes your entire narration, then intelligently snips out all the filler words, long pauses, and retakes. What’s left is a clean, tight, and perfectly paced voiceover.
This shift in workflow is more than a time-saver; it’s reshaping how content gets made. We’re already seeing the economic impact. Reports from 2024 and 2025 show a huge number of marketers and creators are bringing AI into their video production. One study even found that 51% of video marketers used AI to create or edit videos in 2024. In practical terms, that means big cuts in production costs—often around 20–25% for tasks like editing and captioning. You can dig into more of these video marketing statistics and their impact on strategy.
From Narration to Visual Polish, Automatically
Once the audio is perfect, the AI syncs the visuals to match. This is where the magic really kicks in. The system doesn’t just trim dead air; it adds dynamic visual effects that keep your audience hooked and focused.
Here’s how it can transform your raw recording into something that looks professionally made:
- Dynamic Zooms: The AI automatically zooms in on key areas of the screen as you talk about them, guiding the viewer’s eye exactly where it needs to go. This cuts out distractions and highlights the most important steps.
- Cursor Effects: Instead of a tiny, hard-to-follow mouse pointer, the AI can add a highlight or a magnifier to your cursor. Every click and drag becomes crystal clear.
- Intelligent Reframing: The system analyzes your content and can automatically reframe shots for better composition, making sure the critical information is always front and center.
These aren’t just cosmetic tweaks. They fundamentally improve the viewing experience, making your instructions far easier to follow. You end up with a video that looks and feels like it was meticulously edited in a pro-level tool, but without you ever touching a timeline. If you’re curious about the old-school approach, you can check out our guide on the best video editing software for beginners to see how they compare.
The real win here is efficiency. The subject matter expert—the person who knows the product inside and out—can now be the one creating the final, on-brand videos. There’s no need to hand off footage to a separate video team, which means less time wasted and fewer details lost in translation.
Creating On-Brand Videos at Scale
When you’re building a whole library of how-to content, consistency is everything. AI-driven platforms are brilliant for this because you can set up brand kits. That means every single video you create can automatically pull in your company’s logos, color palettes, and specific fonts.
This is a game-changer for producing different kinds of instructional videos, each with a specific job to do:
- Demos and Explainer Videos: Quickly show off your product’s value with a polished, engaging overview that’s always on-brand.
- Onboarding Videos: Make a great first impression on new customers by guiding them through setup with absolute clarity.
- Feature Release Videos: Announce new features with short, punchy videos that look just as professional as your marketing materials.
- Knowledge Base and Support Videos: Build a comprehensive library of help content that’s consistently branded and easy to follow, which helps cut down on support tickets.
In the end, this technology puts the power back in the hands of the person with the knowledge. You can just talk, record without pressure, and trust the AI to handle the grunt work of turning that raw footage into a polished, professional tutorial. This lets your team produce more high-quality instructional content, more efficiently, scaling your educational efforts without having to scale your team.
Adding the Final Polish for Maximum Impact
Your video’s core message is locked in, and the edits are clean. Now it’s time for the final touches—the small details that separate a good tutorial from a great one. This is where you really elevate the viewing experience, add a layer of professionalism, and make sure your content can reach absolutely everyone.
One of the easiest wins here is adding your brand elements. It’s what makes your video instantly recognizable and builds a sense of trust and authority. We’re talking about simple, effective assets that create a consistent look and feel.
Think about weaving in things like:
- Intro and Outro Bumpers: A quick, branded animation to bookend your video.
- Lower-Thirds: Clean text overlays to introduce a speaker or call out a key term without cluttering the screen.
- A Branded Watermark: A subtle logo tucked in a corner is a constant, gentle reminder of who created this helpful content.
When you do this consistently, every video—from a quick new feature announcement to a deep-dive tutorial—feels like it belongs to the same professional, high-quality library.
Enhancing Engagement with Sound
Never, ever underestimate what good audio can do. The right background music can completely transform the mood of a tutorial, making it feel more energetic, polished, and engaging. A simple, well-chosen track can keep viewers tuned in without ever becoming a distraction.
Thankfully, there are tons of great royalty-free music sites out there. This means you can find the perfect track for commercial use without getting tangled up in copyright headaches. Just make sure the music matches the vibe—maybe something upbeat for a launch video, or more mellow and focused for a highly technical walkthrough.
Making Your Video Accessible to Everyone
Polishing your video isn’t just about looks and sounds; it’s about making sure everyone can understand it. Accessibility is non-negotiable if you want to connect with a global audience and create an inclusive experience for all users. And honestly, this is another spot where AI has been a total game-changer.
Not long ago, creating accurate captions was a painfully slow, manual job. Now, AI can whip up a nearly perfect transcript in just a few minutes. This is obviously crucial for viewers who are deaf or hard of hearing, but it also caters to the 85% of people on social media who watch videos with the sound off. If you want to dive deeper into this, we have a complete guide on how to add captions to videos.
An accessible video is a more effective video. By adding captions and offering translations, you’re not just complying with best practices—you’re fundamentally expanding your content’s reach and impact.
Taking Your How-To Videos Global
The last layer of polish is the one that can take your content worldwide: localization. This used to be an incredibly expensive and complicated process, involving teams of translators and voice actors for every single language. That’s no longer the case.
AI-powered auto-translation and voice-over generation have completely changed the game. You can now take your original tutorial and, with just a few clicks, create versions for different languages. The technology generates a translated script and then produces a surprisingly natural-sounding synthetic voice to narrate it.
Suddenly, a single how-to video becomes a scalable global asset. Imagine your most helpful tutorial instantly becoming available to customers in Germany, Japan, or Brazil—all without blowing your budget. This is how you maximize the return on your effort, ensuring your expertise can help people no matter where they are or what language they speak.
You’ve poured your heart and soul into creating an amazing how-to video. You hit export, and the final file is sitting on your desktop. But the job isn’t done yet. Not even close.
A brilliant video that nobody ever sees is just a file taking up space. Now, we shift gears from creation to distribution. It’s time to get your masterpiece in front of the people who actually need it.
Getting Found: A Crash Course in Video SEO
Think of it this way: just like a blog post, you need to give platforms like YouTube and Google a roadmap to understand your video. This is video SEO in a nutshell, and it all starts with the holy trinity: your title, description, and tags.
Your title is your first impression. It has to be compelling enough for a person to click but also crystal clear for a search engine. Lead with the main keyword phrase someone would actually type into the search bar. So, instead of a vague title like “New Feature Update,” try something benefit-driven like “How to Instantly Create Reports with Our New AI Assistant.” See the difference?
The description is where you can really flesh things out. The first couple of lines are prime real estate—summarize the core value of the video right there. Below that, go deeper. Add more detail, sprinkle in related keywords, and if your video is longer than a few minutes, use timestamps to help viewers jump to specific sections. Finally, load up the tags with every relevant search term you can think of. These little signals are what help the algorithm connect your solution to someone’s problem.
That All-Important Thumbnail: Your Video’s Billboard
On a noisy platform, your thumbnail is what makes someone stop scrolling. It’s often the single biggest reason someone chooses your video over the dozens of others in their search results. A great thumbnail needs to pop. It should be clear, high-contrast, and make an instant connection.
Here are a few things I’ve learned from experience:
- Big, Bold Text: Pull a few powerful words from your title and make them unmissable.
- Human Connection: We are wired to look at faces. Including a person, especially one with a clear expression, is almost always a win.
- Build Curiosity: Show a compelling “after” shot or a teaser of a key moment that makes people think, “I need to see how they did that.”
- Keep it Consistent: Use your brand’s colors and fonts. It looks professional and builds recognition over time.
Spreading the Word: Your Distribution Playbook
Uploading to YouTube and calling it a day is a missed opportunity. A truly effective strategy means meeting your audience where they already are.
Embed your new how-to video directly into a relevant blog post or on a knowledge base page. This creates a much richer learning experience and keeps people on your site longer. You can also slice up the main video into short, attention-grabbing clips for platforms like LinkedIn or X (formerly Twitter), then link back to the full tutorial. And don’t forget your email list—featuring the video in your next newsletter is a fantastic way to engage your most loyal followers.
This approach ensures you get the most mileage out of every piece of content you produce. Just keep in mind that what works on one platform might not work on another. We’re seeing a huge trend toward shorter, more concise content. In fact, a recent study showed that 73% of video marketers feel that videos between 30 seconds and two minutes are the most effective. You can dive deeper into these kinds of valuable video marketing insights on Wyzowl.com.
Platform Guide for How-To Video Distribution
Choosing where to publish your video can feel overwhelming. Each platform has its own audience and its own rules of engagement. This table breaks down some of the most popular options to help you align your video with your specific goals.
| Platform | Best For | Optimal Length | Key SEO Considerations |
|---|---|---|---|
| YouTube | Building a long-term library of searchable content; establishing authority. | 5-15 minutes for detailed tutorials. | Title, description, tags, and transcripts are crucial. It's the second-largest search engine. |
| Your Website/Blog | Driving on-site engagement, supporting articles, and lead generation. | 2-5 minutes to complement existing text. | Video schema markup helps Google show a video thumbnail in search results. |
| B2B audiences, professional skill-building, and industry insights. | 1-3 minutes. Keep it professional and to the point. | Native video performs best. Focus on a strong opening hook and clear takeaways. | |
| Instagram/TikTok | Quick tips, behind-the-scenes, and driving brand awareness. | Under 60 seconds (Reels/TikToks). | Trending audio, relevant hashtags, and fast-paced editing are key. SEO is hashtag-driven. |
Ultimately, the best strategy is often a mix of these. Use a primary platform like YouTube as your main library, and then share shorter, tailored clips across other channels to drive traffic back to your core content.
Common Questions About Making How-To Videos
Even with the best plan in hand, you’re bound to run into a few practical questions once you hit “record.” I’ve been there. To help you push through those moments of doubt, here are some straight-up answers to the most common queries I hear from people making their first how-to videos.
How Long Should a How-To Video Be?
Honestly, it depends. The right length is dictated by two things: how complex your topic is and where the video will live.
If you’re creating a quick tip for social media, keep it tight—think 30 to 120 seconds. But for a detailed software tutorial that’s going on YouTube or into your knowledge base, you’ll likely need more runway. A good range to aim for is 5 to 10 minutes.
The real goal isn’t to hit a specific time; it’s to be as concise as you can be without sacrificing clarity. Don’t gut your explanation just to shave off a few seconds. If it takes seven minutes to explain something well, take seven minutes.
What’s the Single Most Important Part of a How-To Video?
I’ll say it loud for the people in the back: ** clear audio**. It’s absolutely non-negotiable.
Viewers are surprisingly forgiving of video that isn’t perfectly crisp or professionally lit. But if they can’t understand what you’re saying because of muffled, echoey, or quiet sound? They’re gone. It’s frustrating to watch and immediately makes your content feel amateurish.
If you do one thing to improve your video quality, invest in a decent external microphone. Your voice is how you transfer your expertise, so make sure it comes through loud and clear.
How Can I Make My Screen Recordings More Engaging?
A static screen recording can put anyone to sleep. The key is to actively guide your viewer’s attention so they know exactly where to look and what to click.
Think of yourself as a tour guide for their screen.
- Make your cursor stand out. Give it a highlight or a different color so it’s easy to track.
- Zoom and pan like a pro. Focus in on the important details and crop out all the unnecessary noise on your screen. This directs the viewer’s eyes exactly where they need to be.
- Keep your energy up! Your enthusiasm (or lack thereof) in the voiceover is contagious.
- Use simple text callouts or title cards to break up longer sections and keep the viewer oriented.
These little touches make a world of difference. They turn a passive viewing experience into an active, engaging one.
Do I Really Need to Be a Professional Video Editor?
Not anymore. This is probably the biggest myth that stops people from even trying.
On one hand, you have simple screen recorders like Loom, which are great for quick, informal messages. The problem is that these raw recordings are often 50-100% longer than they need to be. On the other end of the spectrum, you have powerful tools like Adobe Premiere Pro or Camtasia, but they come with a steep learning curve that requires expert video editing knowledge.
This is where modern, AI-driven tools come in. For instance, Tutorial AI was built to solve this exact problem. It’s designed for generating video tutorials based on screen recordings—perfect for demos, onboarding videos, explainer videos, feature release videos, knowledge base videos, and support article videos.
Tutorial AI’s tools let you speak freely without any practice, and still your video will look professional, as if it was edited in Adobe Premiere Pro. It allows the subject matter expert to create on-brand videos extremely efficiently, freeing you up to focus on what you actually know, not on becoming a video editing wizard.
Ready to stop wrestling with complicated editing software and start creating polished how-to videos in minutes? With Tutorial AI, you can record freely and let our AI handle the rest—from removing mistakes to adding engaging effects.