
Update or replace part of a recording
Your UI changed, you forgot a step, or you want to combine recordings — fix just the part that needs it, without recording the whole tutorial again.
Tutorials go out of date. A screen gets redesigned, a setting moves, or you notice a step you never showed. With Clips you record only the part that changed and swap it in — the rest of your video, script, and effects stay as they are.
This article walks through the three most common jobs. Each one combines splitting and removing clips with inserting a recording.
💡 Clips is available on all paid plans.
Replacing a section where your UI changed
- Record the new footage. Capture just the part that changed with the Desktop App, or upload a recording.
- Isolate the outdated part. In Clips, split the clip just before and just after the outdated section, so it becomes its own clip.
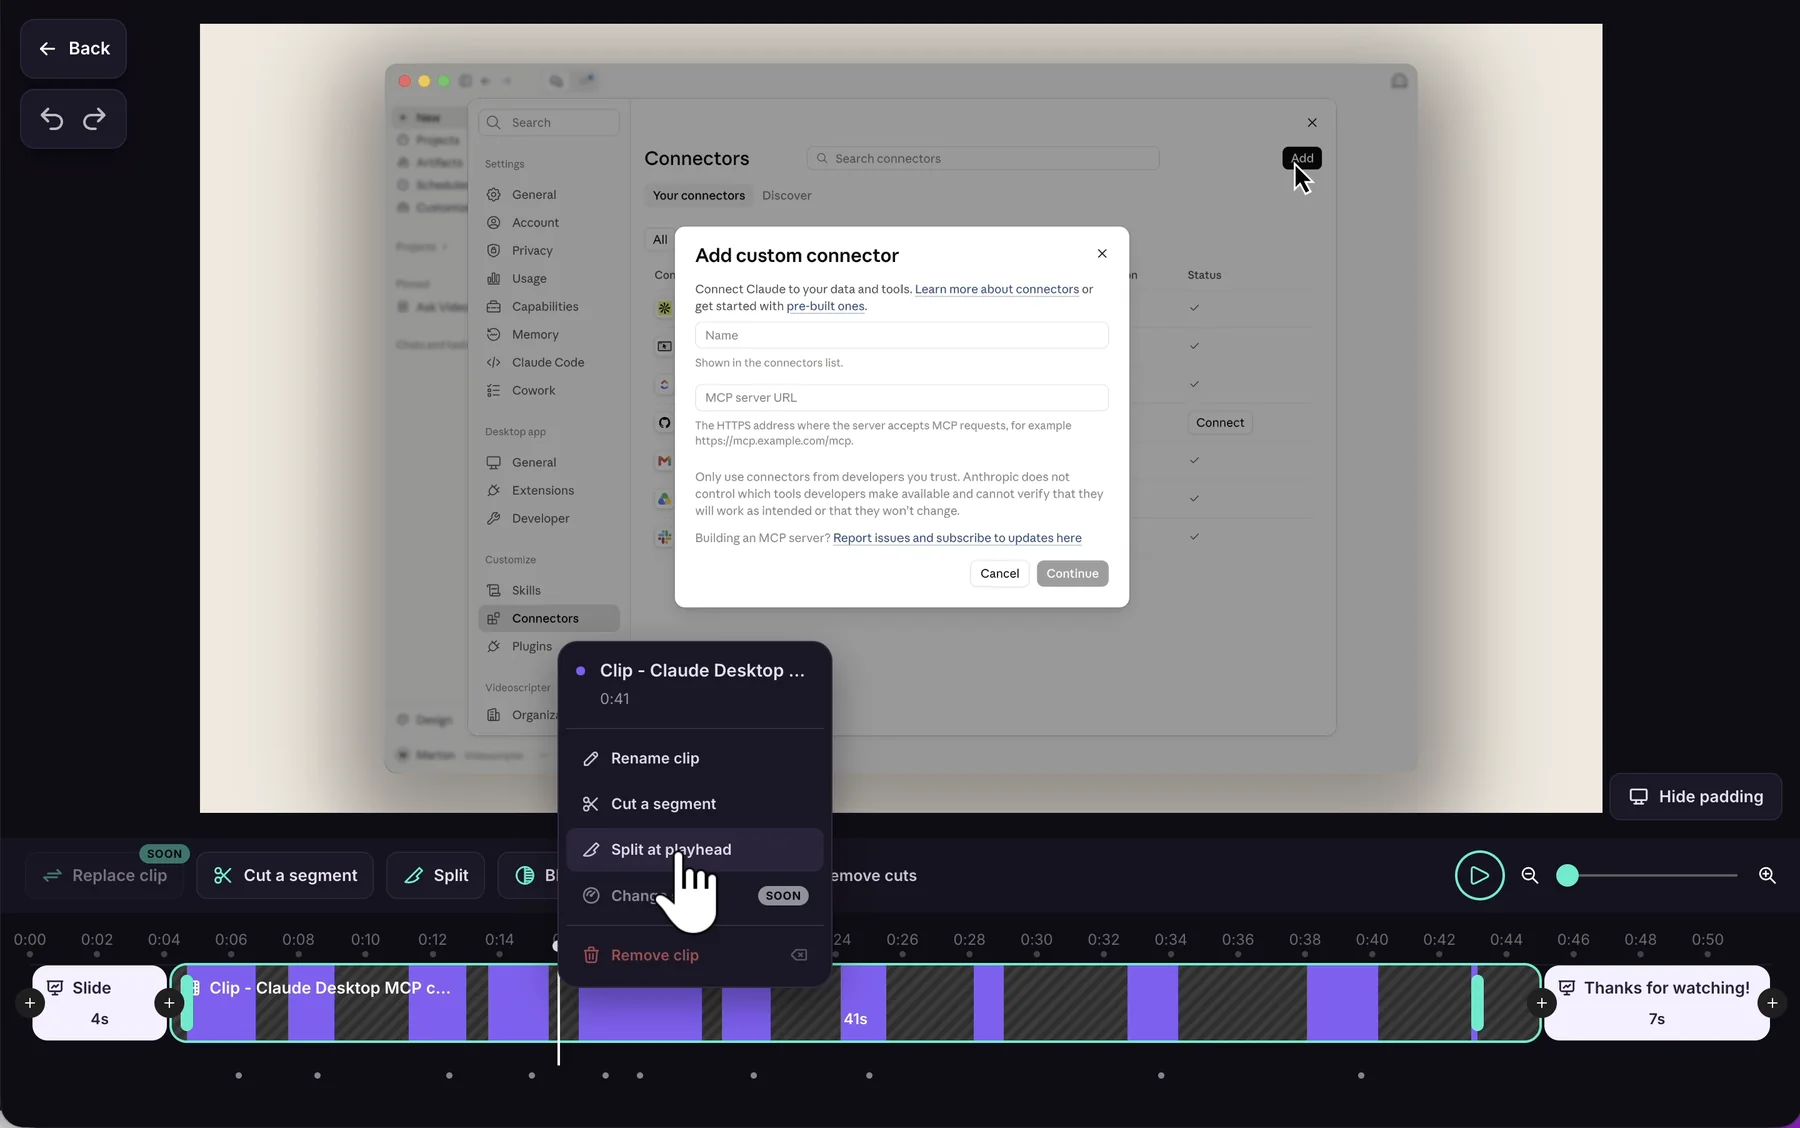
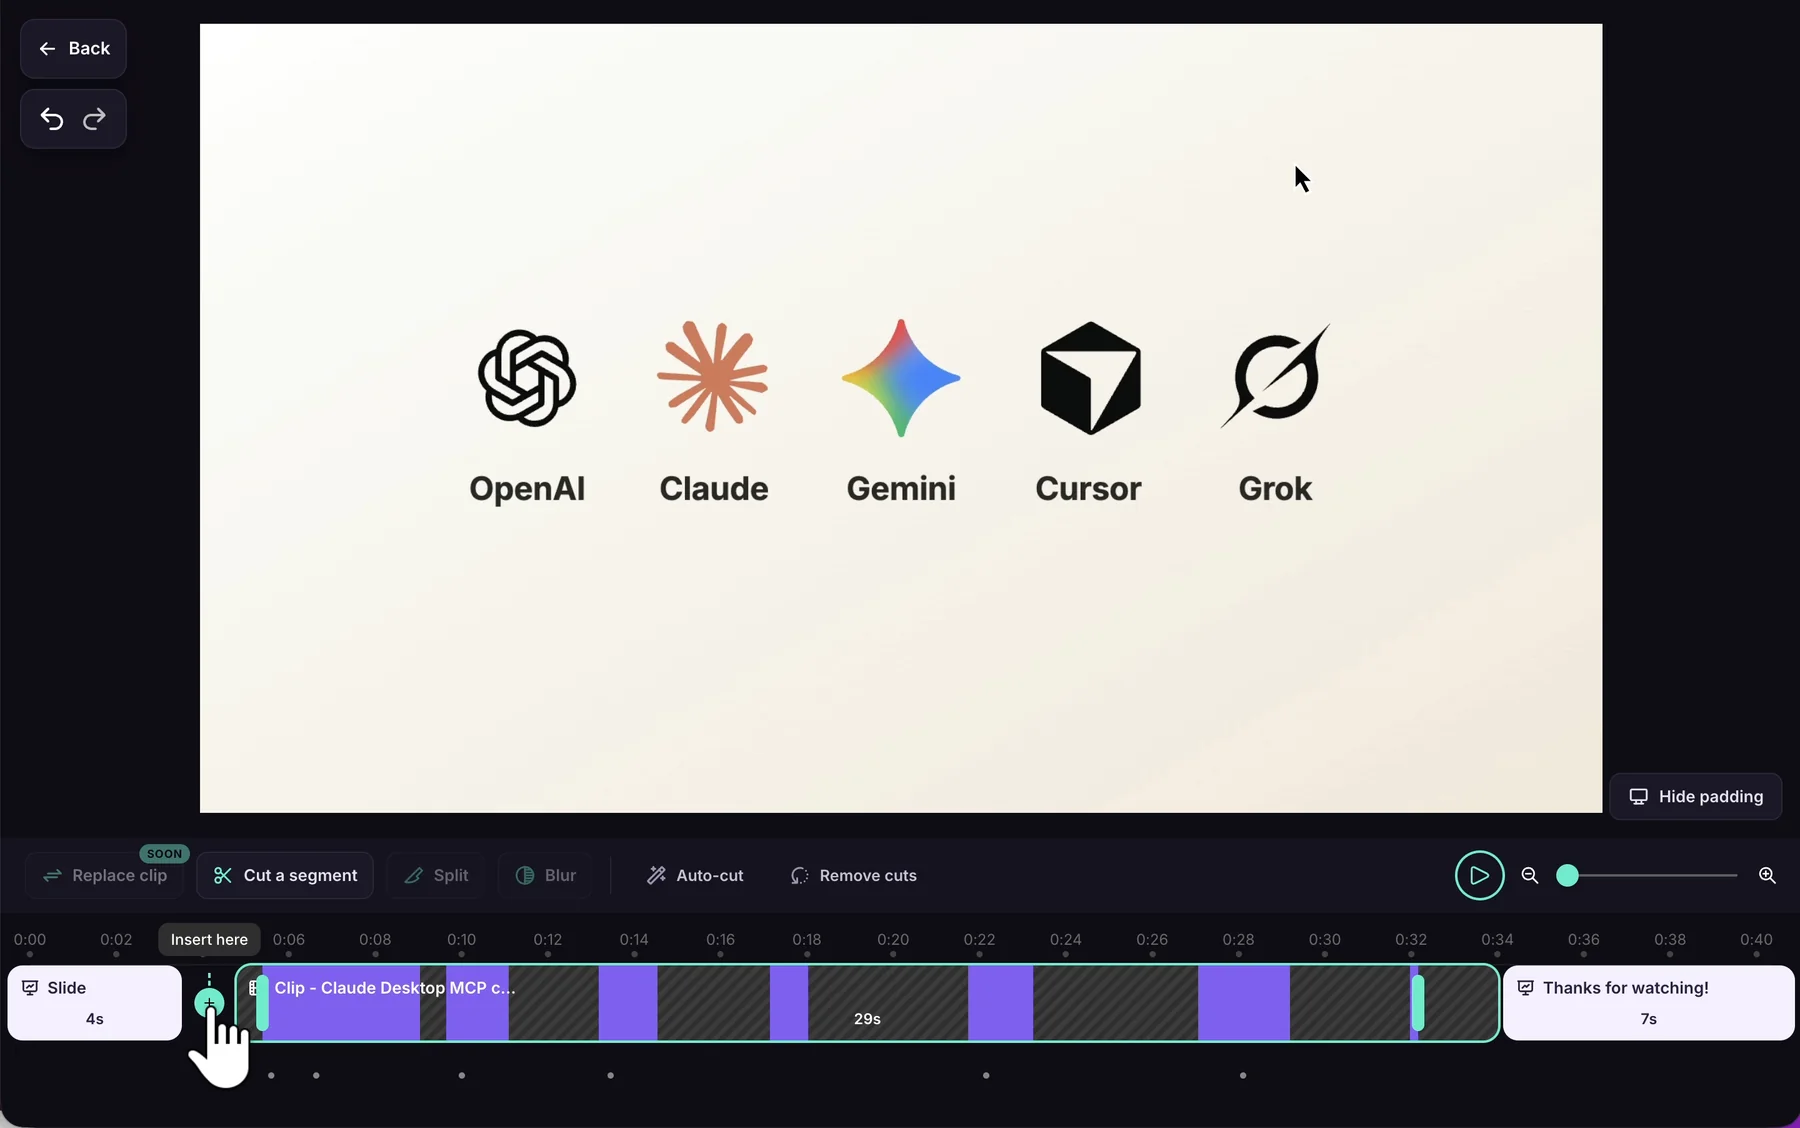
- Insert the new recording next to it. Click the + beside the outdated clip, choose Screen recording, pick the new recording, and confirm with Insert video & open script. AI writes narration for it.

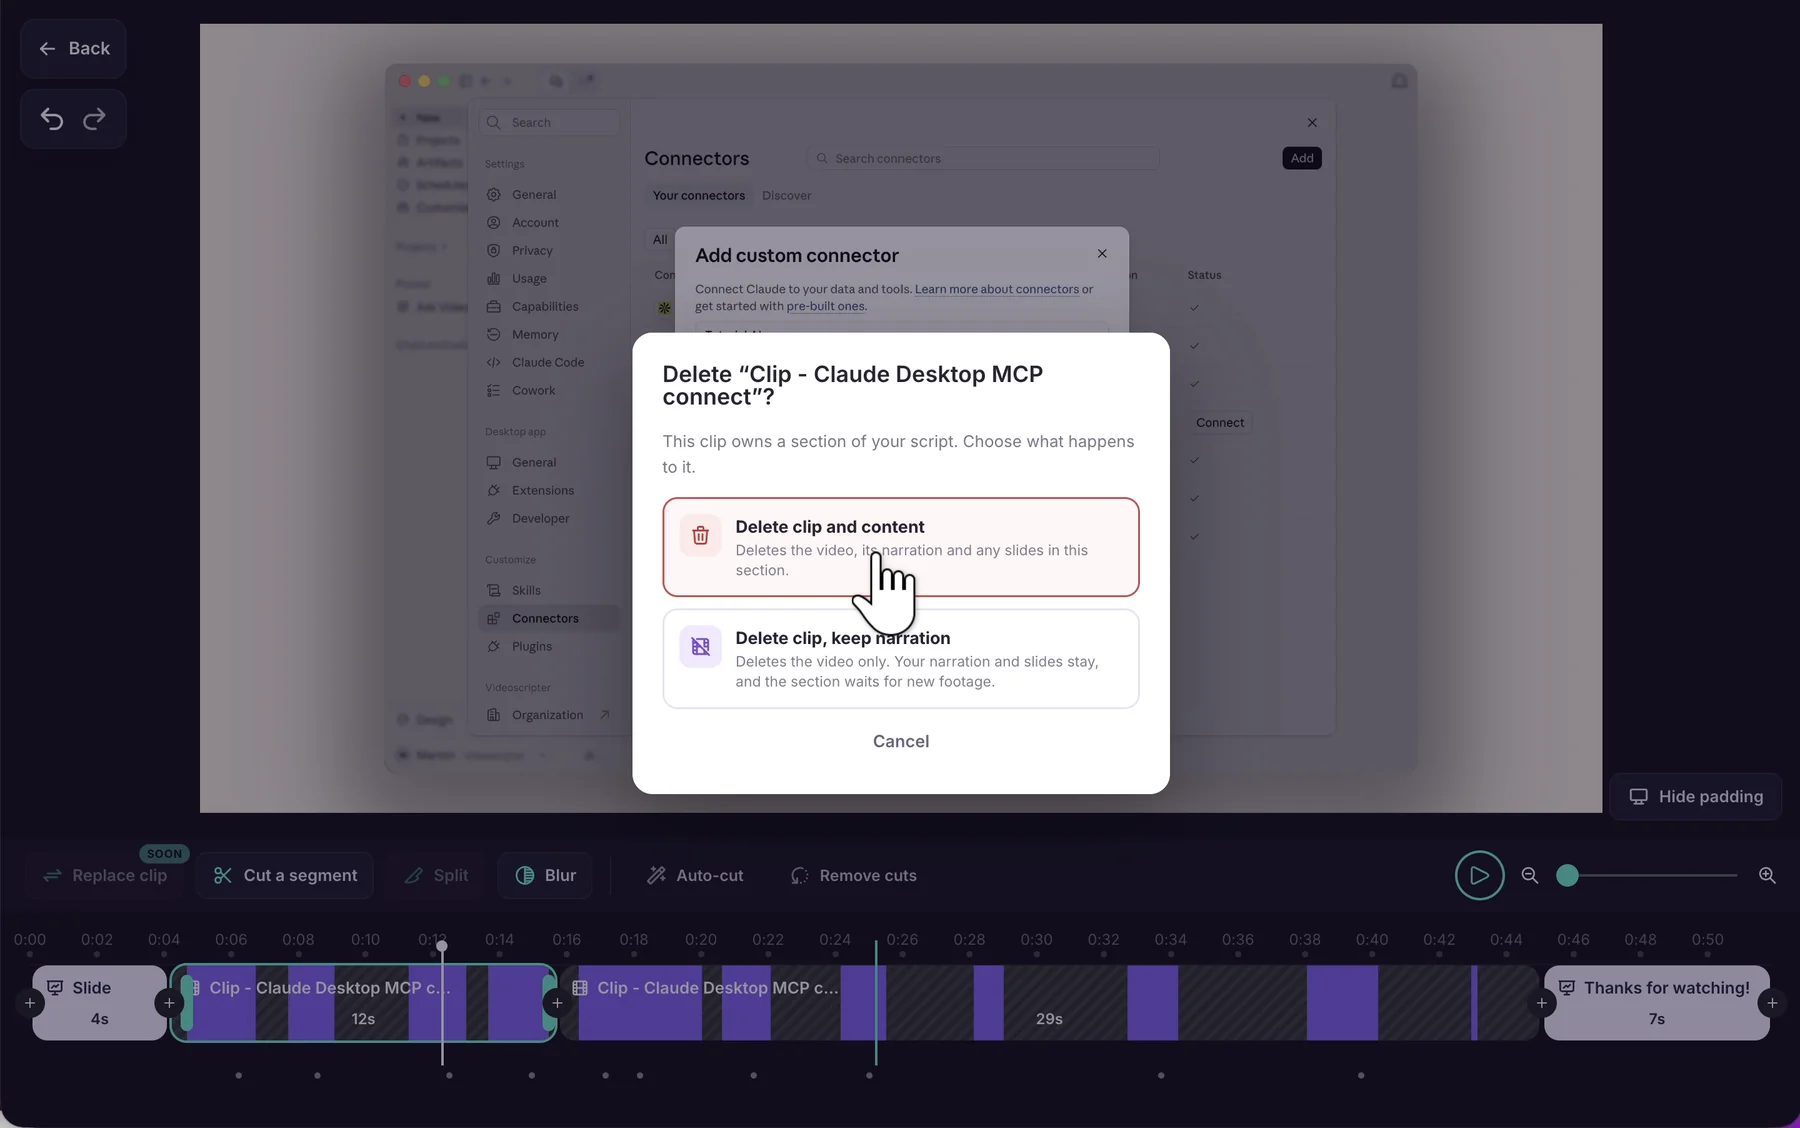
- Remove the outdated clip. Right-click it and choose Remove clip, then:
- Delete clip and content if the new clip’s narration replaces the old one, or
- Delete clip, keep narration if you want to keep the words you already wrote.
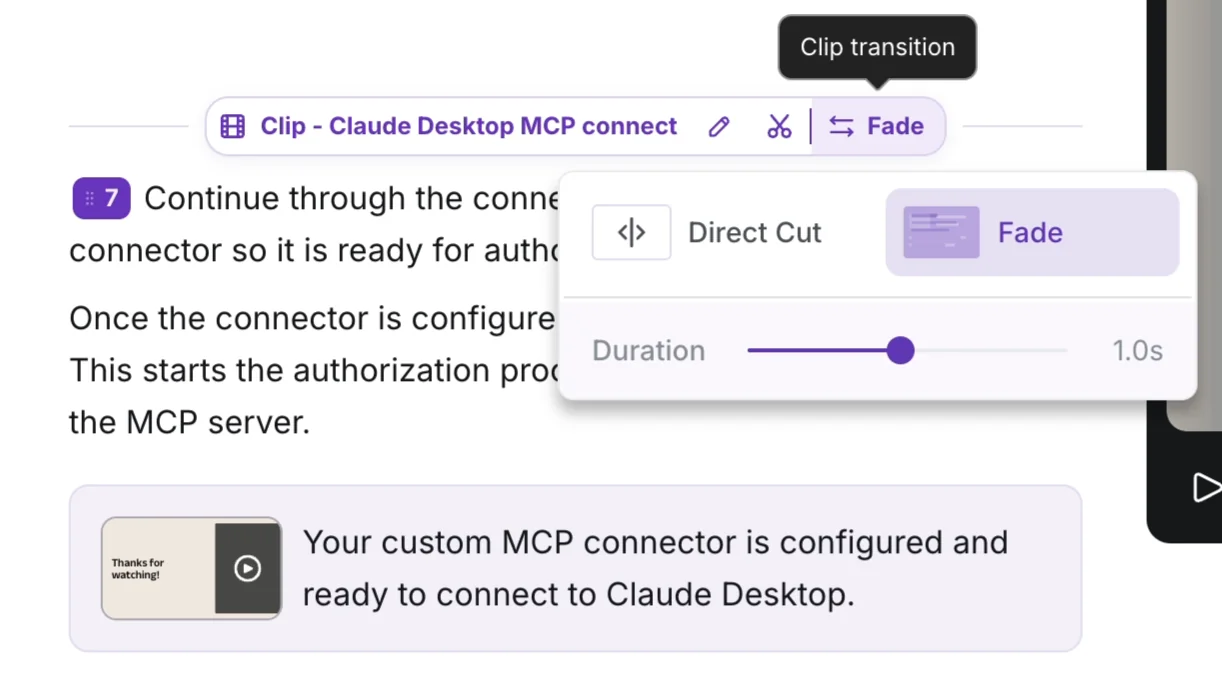
- Pick the transition. On the new clip’s heading in the script, choose Direct Cut if the old and new footage show the same app at the same window size, or Fade if they look different.
- Preview. Play across both joins to check that the footage and narration flow naturally.
What “keep narration” does. The removed clip’s narration and slides stay in your script and join the previous clip — or the next one, if you removed the first clip — so they play over that clip’s footage. To use the wording with your new footage instead, copy it into the new clip’s section of the script and delete what you no longer need.
Insert the new recording before removing the old clip: once a clip is removed, there’s no insert point left where it used to be.
A Replace clip action is coming soon, which will swap a clip’s footage and keep its script in a single step.
Adding a step you forgot to show
- Record the missing step on its own.
- Split where it belongs. In Clips, move the playhead to the moment the step should appear and split the clip.
- Insert the recording at the split. Click the + at the split point, choose Screen recording, pick the new recording, and confirm.
- Check both joins. Set a transition on each side and preview the result. Nothing was removed, so the narration on either side stays exactly as it was.
Combining recordings or reusing a clip
To add more recordings to a video, or reuse an intro or demo from another project, without changing what’s already there, see Combine multiple recordings into one video.
Tips
- Name your clips. Clear clip names in the script make the right section easy to find the next time you update the video.
- Match the recording setup. Record replacement footage in the same app, window size, and theme as the original so a direct cut looks seamless.
- Check the order before publishing. Make sure the clips tell the story in the right sequence.