Slide Animations
Control how individual text and image elements appear, exit, and move on your slides — for instructional pacing or marketing punch.
Available on all Plans
Tutorial AI applies built-in animations to auto-generated slides — Title, Agenda, and Topic intro slides come pre-animated. But you have full control over how every individual text box and image enters, exits, and moves on the slide. Use animations to pace instructional content, or to add motion to marketing videos.
This article covers the four animation areas you’ll use: entrance, timing, exit, and motion effects.
Opening the Animations panel
- Select the image or text box you want to animate.
- In the right-hand panel, switch to the Animations tab.
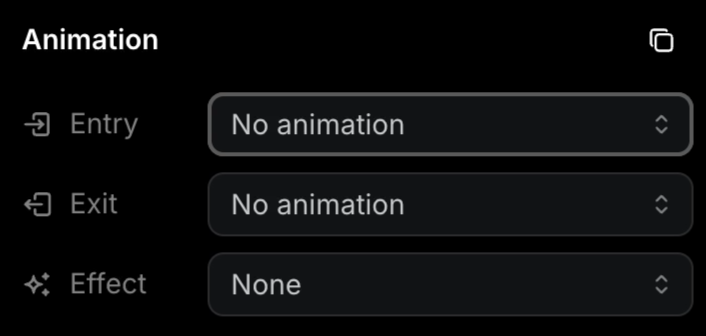
All four animation controls live here.
Entrance animations
Choose how an element appears on the slide from the Animation Type dropdown.
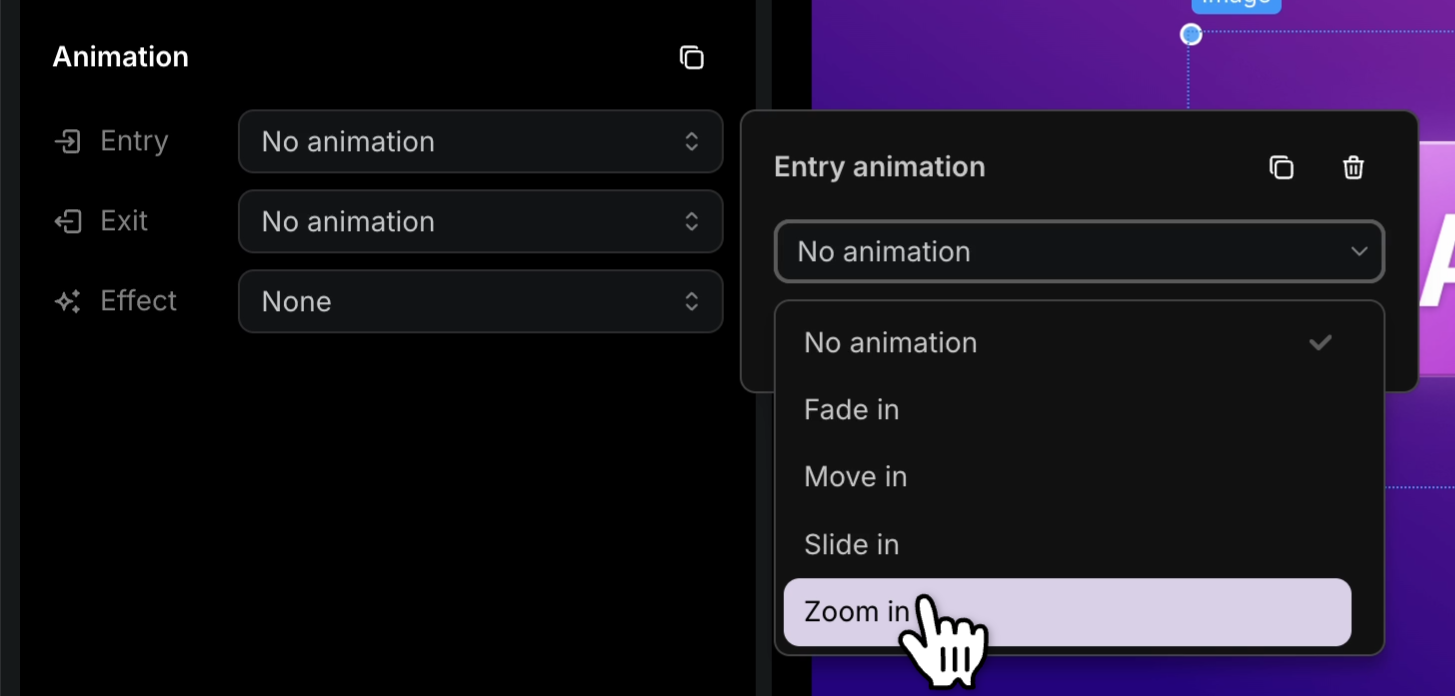
Available entrance options:
- Fade in — element softly appears from invisible
- Move in — element travels into position from off-element
- Slide in — element slides in from outside the slide edge
- Zoom in — element scales up from small to full size
Animation timing
By default, an animation plays at the start of the slide. To stagger elements for storytelling — for example, revealing bullets one by one or holding the title before introducing visuals — add a delay.
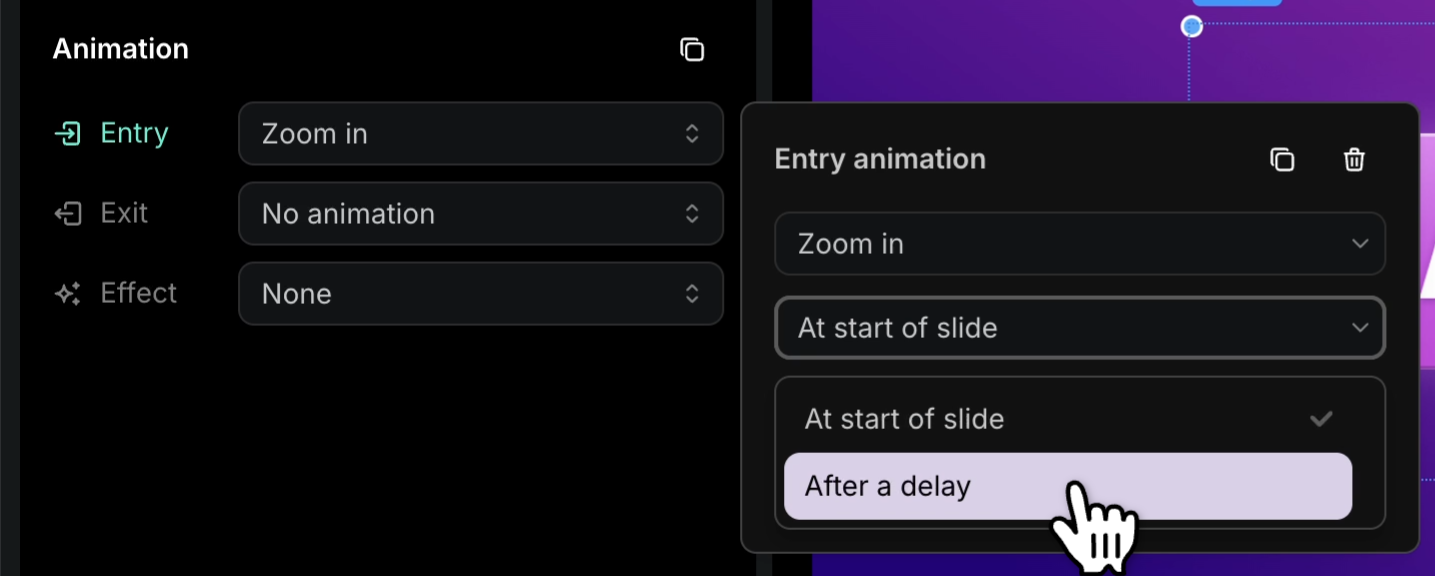
- Set the timing to begin at the start of the slide, or
- Specify a delay (in seconds) before the animation starts.
Exit animations
By default, elements stay visible until the slide ends. To make an element leave the slide before the slide itself transitions out, set an exit animation.
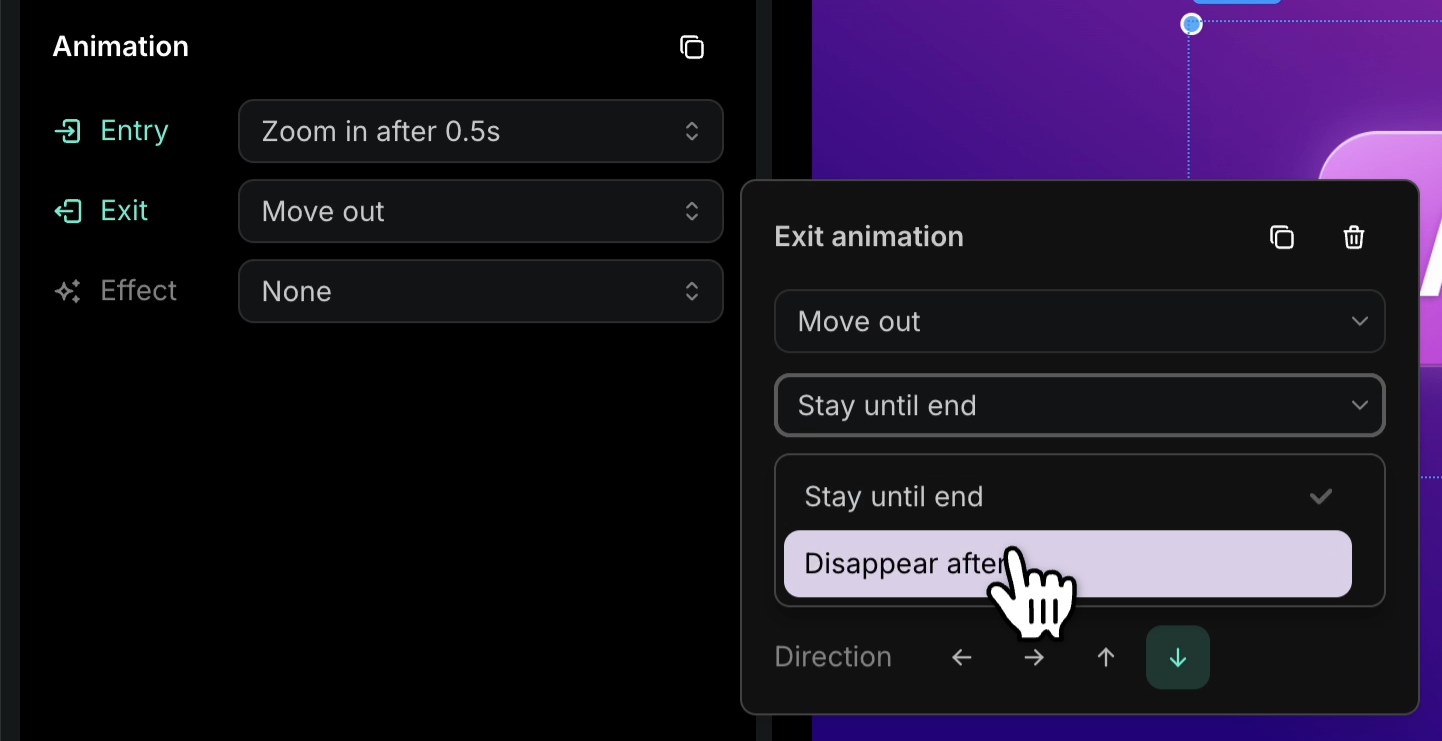
- In the Animations tab, find the Exit Animation section.
- Choose an exit style: Fade out, Move out, Slide out, or Zoom out.
- Use Disappear after to control when the exit triggers — useful for marketing videos where elements need to clear before the next visual lands.
Motion effects
Motion effects animate an element while it’s on screen, not just on entrance or exit. Currently one motion effect is available:
- Pan — combines movement and zoom into a single continuous animation. Pan parameters:
- Distance — how far the element travels
- Direction — which way it moves
- Starting zoom — the scale at the beginning
- Ending zoom — the scale at the end
Pan is great for keeping static images and text boxes feeling alive — for example, a product shot that slowly zooms in while drifting across the slide.
Copying animations between elements
Once you’ve dialed in an animation you like, you can apply the same settings to other elements without repeating the setup.
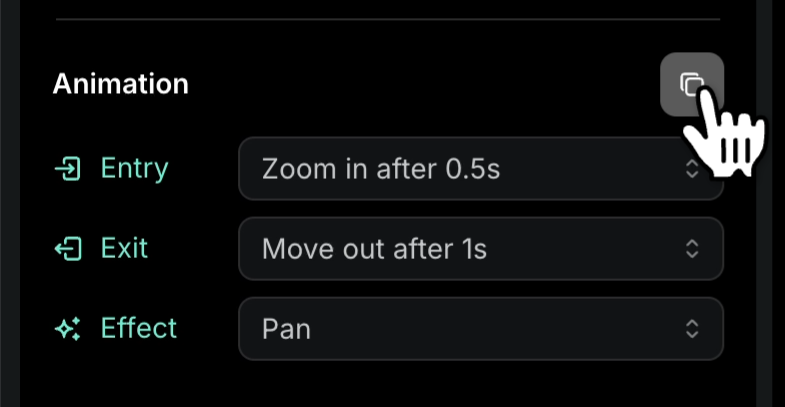
- On the source element, click the Copy button in the Animations tab.
- Select the target element.
- Press Cmd-V (Mac) or Ctrl-V (Windows) to paste the animation settings.
This is the fastest way to keep animation behavior consistent across multiple bullets, image rows, or stacked text blocks.
Tips
- Match the entrance to the content’s tone — Fade in reads as professional, Zoom in as energetic, Slide in as directional.
- Keep delays short (0.2–0.5s) for readable pacing; longer delays only when you want viewers to dwell on the previous element.
- Use exit animations sparingly. They’re powerful for marketing but can feel busy in instructional content.
- For consistent storytelling across a project, copy a single tuned animation onto every comparable element instead of re-picking each time.
💡 Slide transitions and element animations can interfere with each other, especially when both have longer durations — the slide is still moving in while elements are already trying to animate. If you want element animations to be the focus, set the Slide Transition to Direct Cut so the slide arrives instantly and gives your element animations room to breathe.